
Pre-made starch solution can be found in the laundry aisle of your supermarket if you look hard enough. Check the top shelf and the far ends — they know that starch is never an impulse purchase and don't waste eye-level space on it.

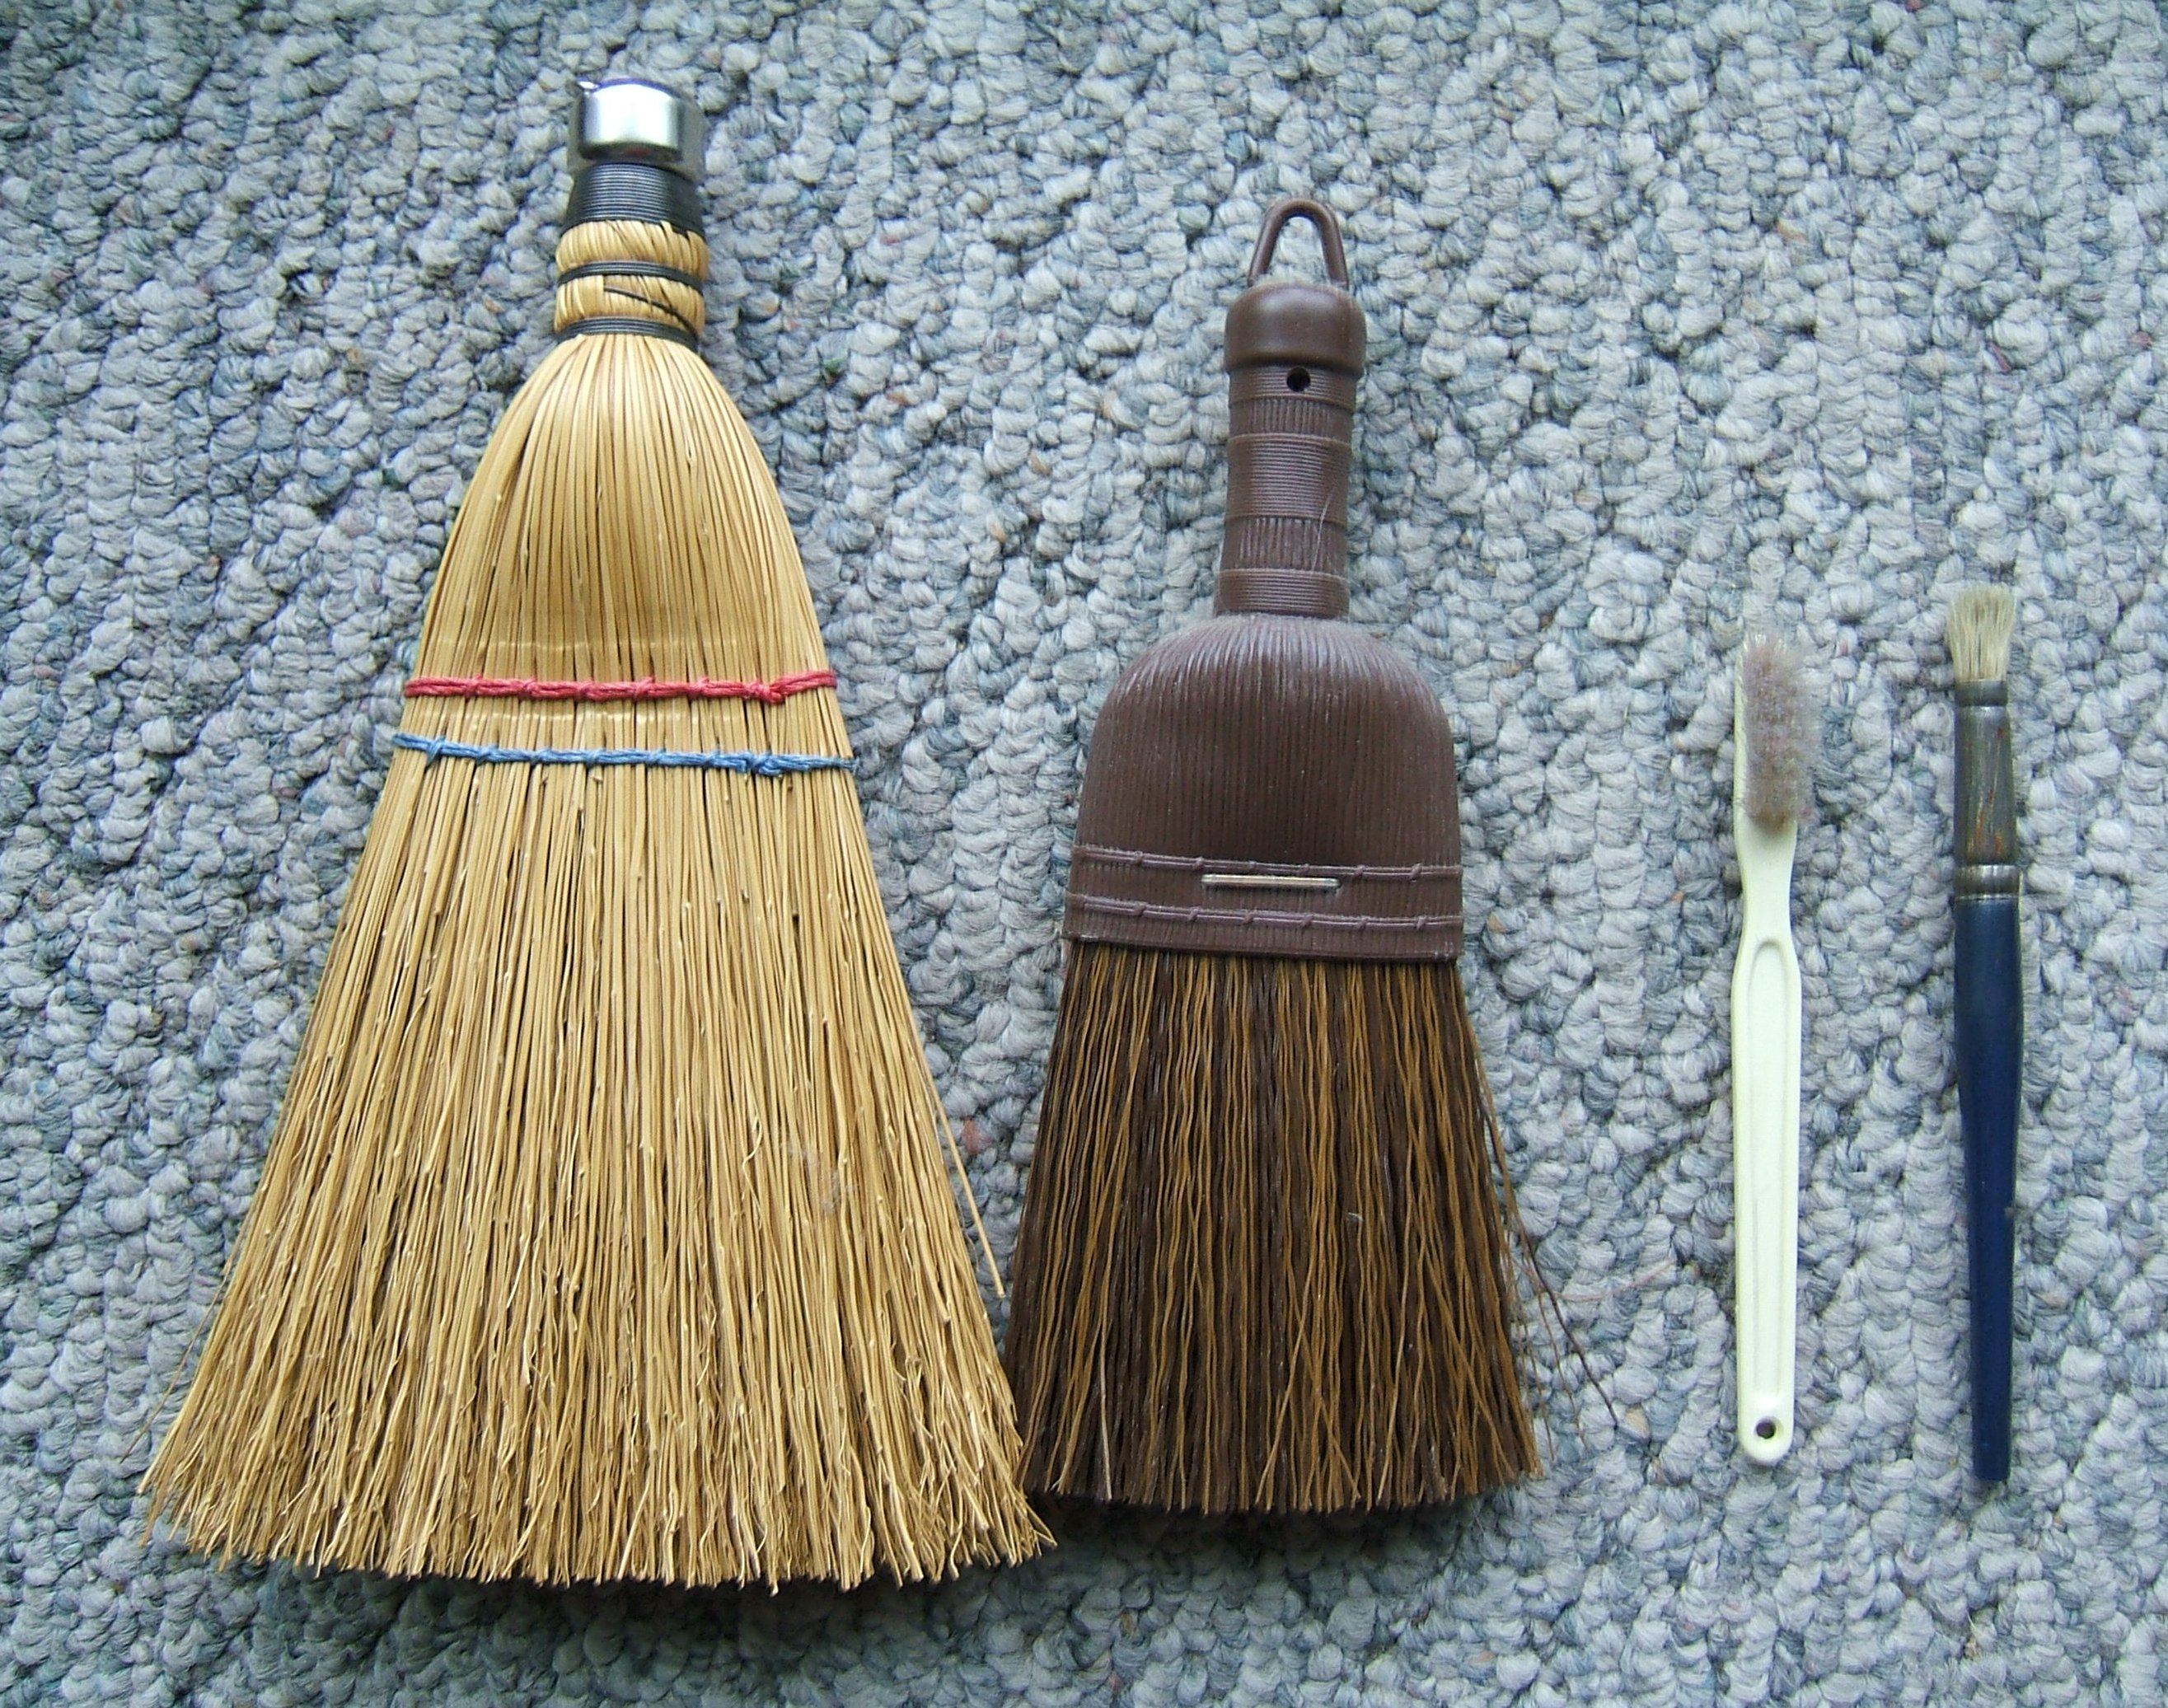
So I hung it in the laundry room and forgot about it until I happened to knock it off its hook and the "pumice" popped off when it hit the floor. When I picked it up, I realized that this was the perfect tool for getting lint out of pockets, and later found it much better than a whisk broom for getting small specks off fabric I'm about to cut.
(And it turned out that a small lightweight block of concrete is very handy for cleaning erasers and other things.)
I'm pretty sure that real-bristle clothes brushes are available, but I'll bet they don't cost $0.75! And clothes brushes that I've seen are larger and less handy for getting into pockets.
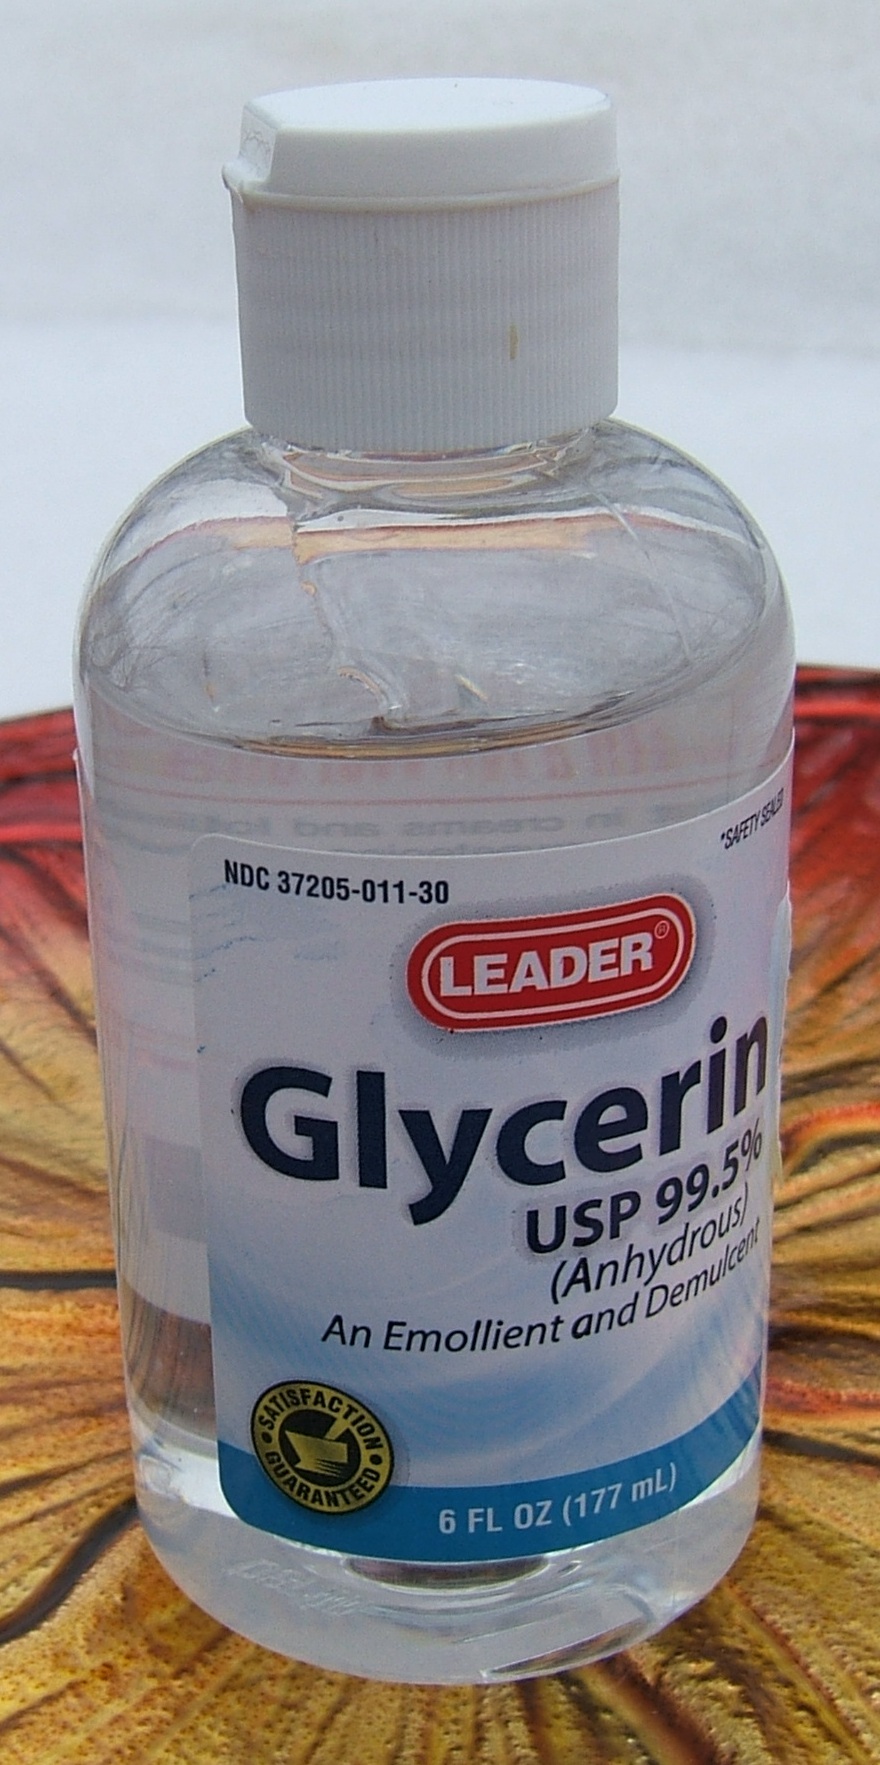
If you get too much glycerin on your fingers, blot them on your elbows and knees.

I bought this in Hawaii in the early 1960s, but it wasn't until 2017 that I found out what it was. The stick is one cloth shaku long, and is divided into ten sun. Wikipedia says that a tenth of a sun is a bu, but doesn't say whether "bu" applies to both the carpentry shaku and the cloth shaku. The cloth shaku is longer than the carpentry shaku, which makes me think of the "clothyard arrows" mentioned in Robin Hood tales (or something of about that era.)
It has been very useful. I've used it mostly for centering, but I sometimes measure in bu when neither centimeters nor inches works out neatly.
I learned something from buying this light. My other light adjusts the brightness by turning on only two of its LEDs when you push its button. Push again, and four light up. Push a third time and all eight come on. The fourth push turns the light off.
This one adjusts the brightness by adjusting the power to its three LEDs. That's all very well and good, but it comes on at maximum brightness. That renders the dimmer setting pretty much useless, because one's eyes have already adjusted to the brighter setting.
But then, a single-brightness light works. That used to be the only kind there was.
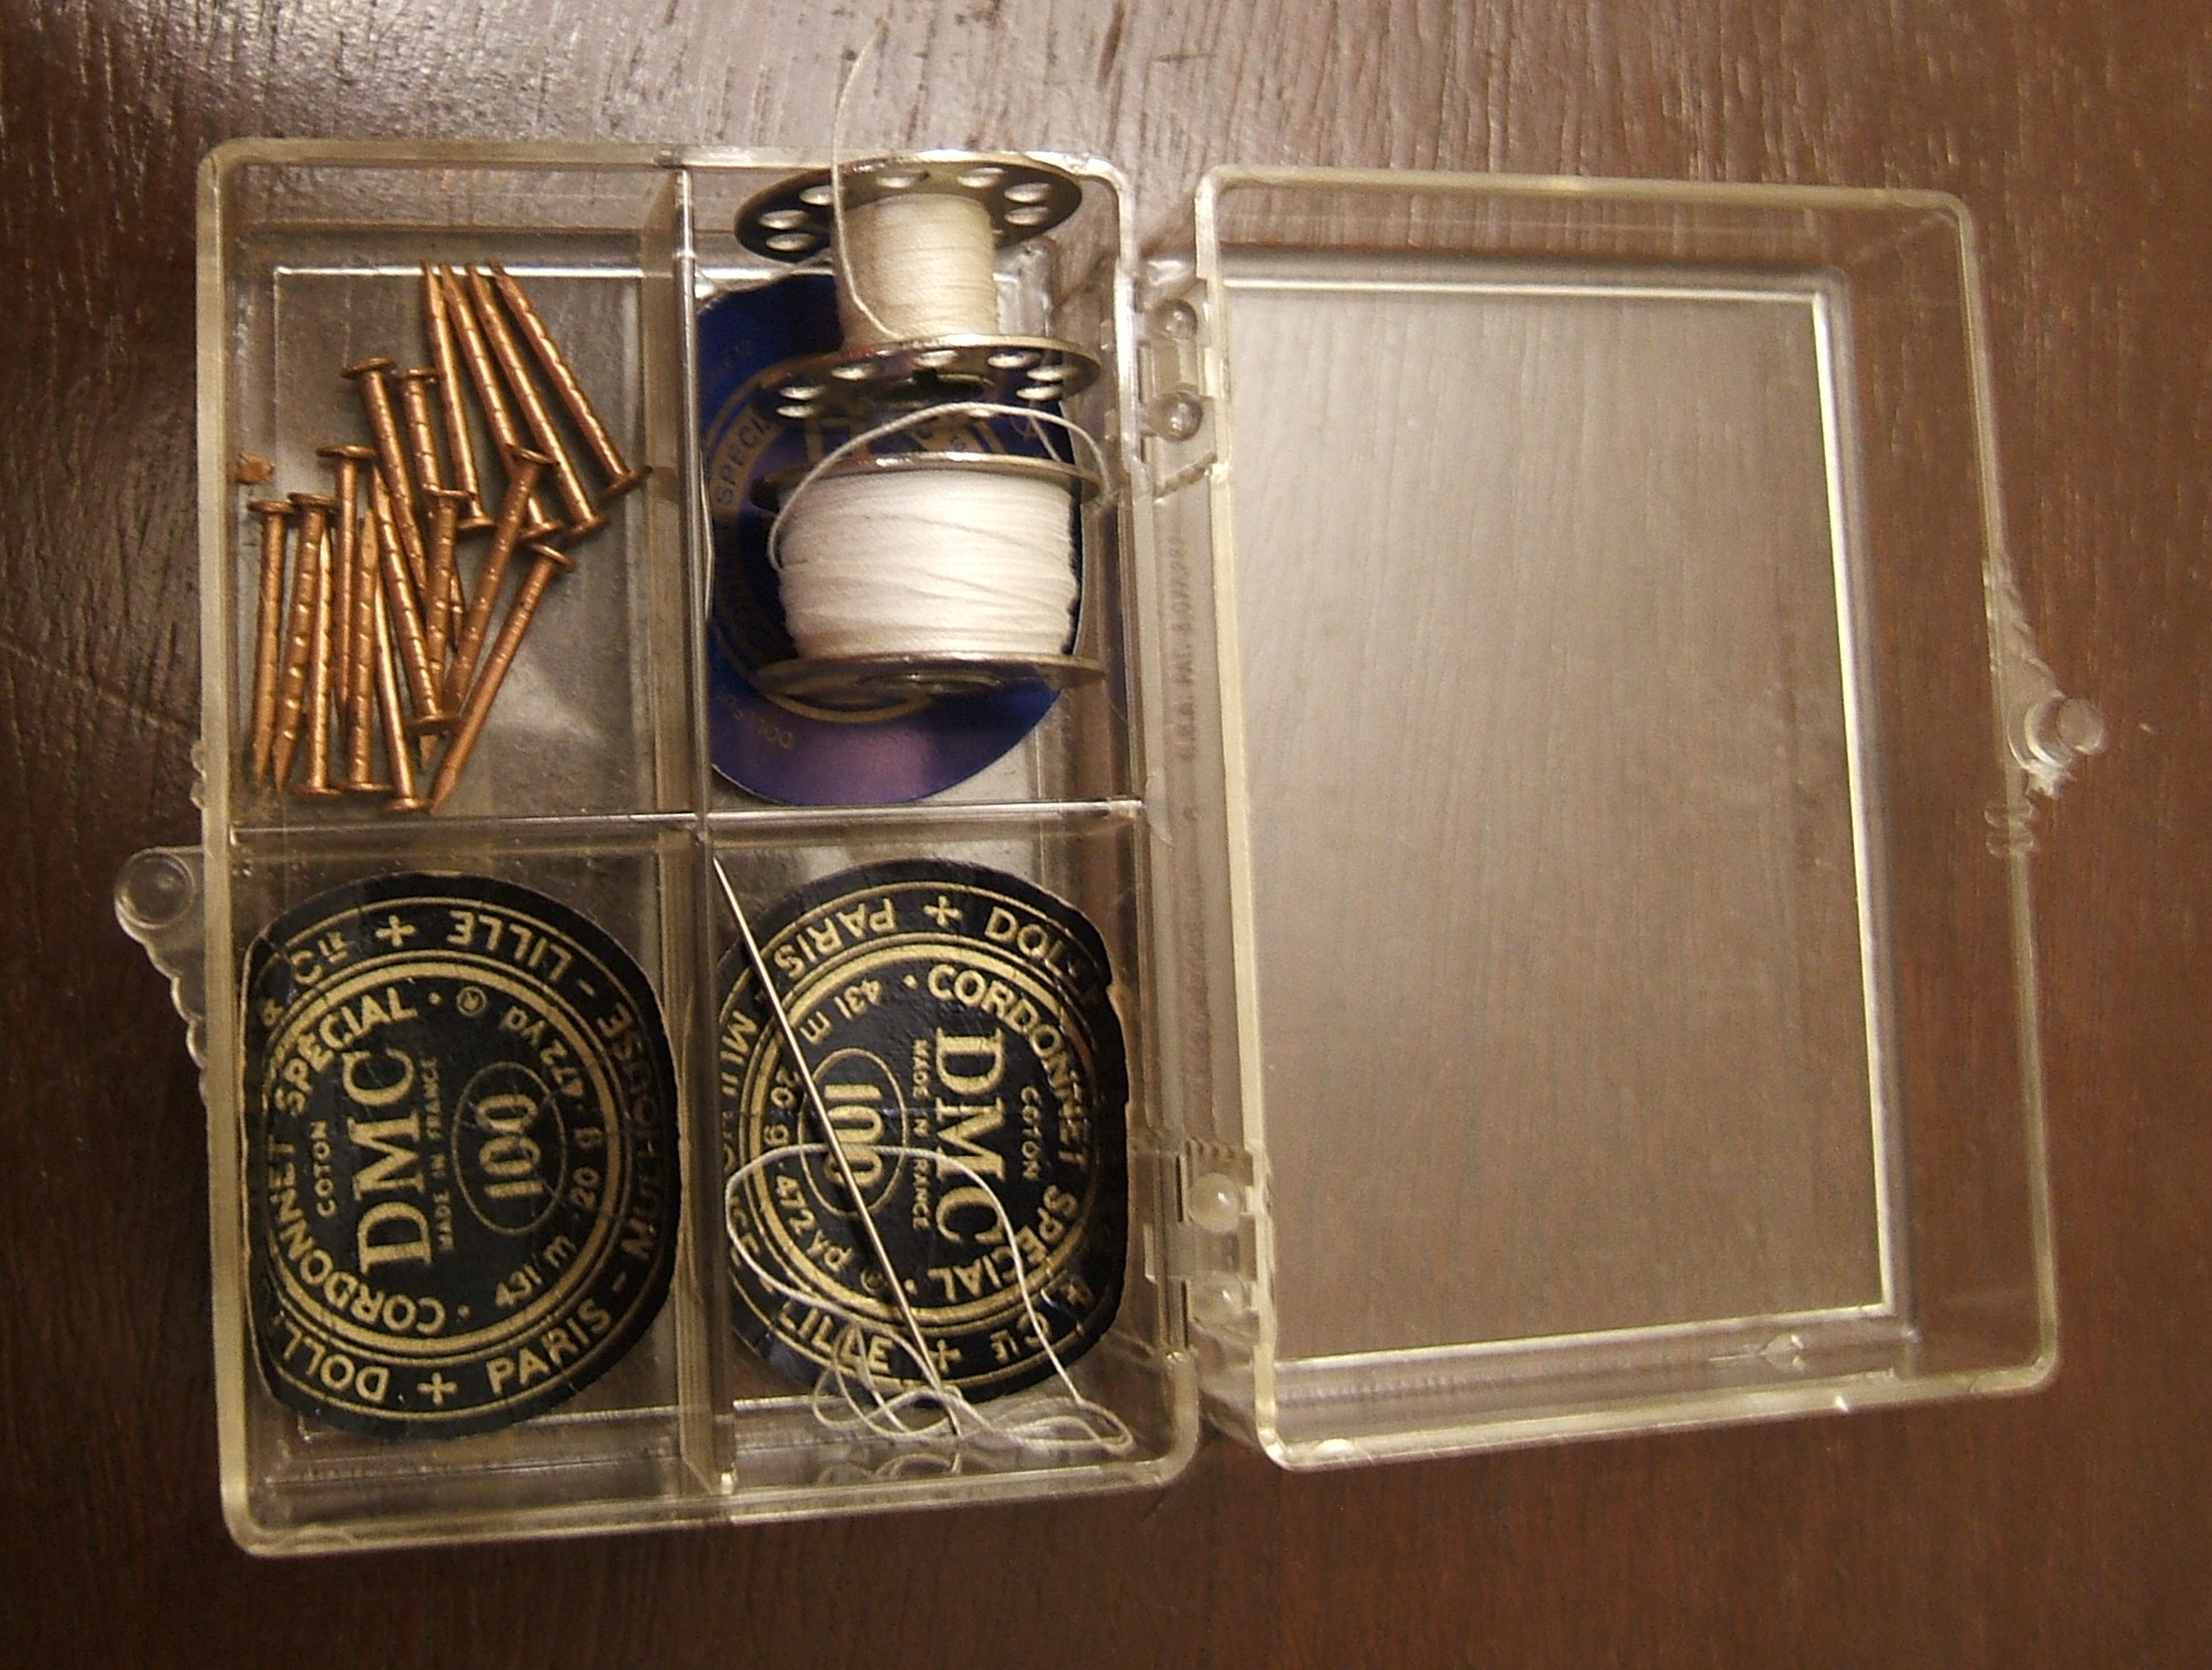
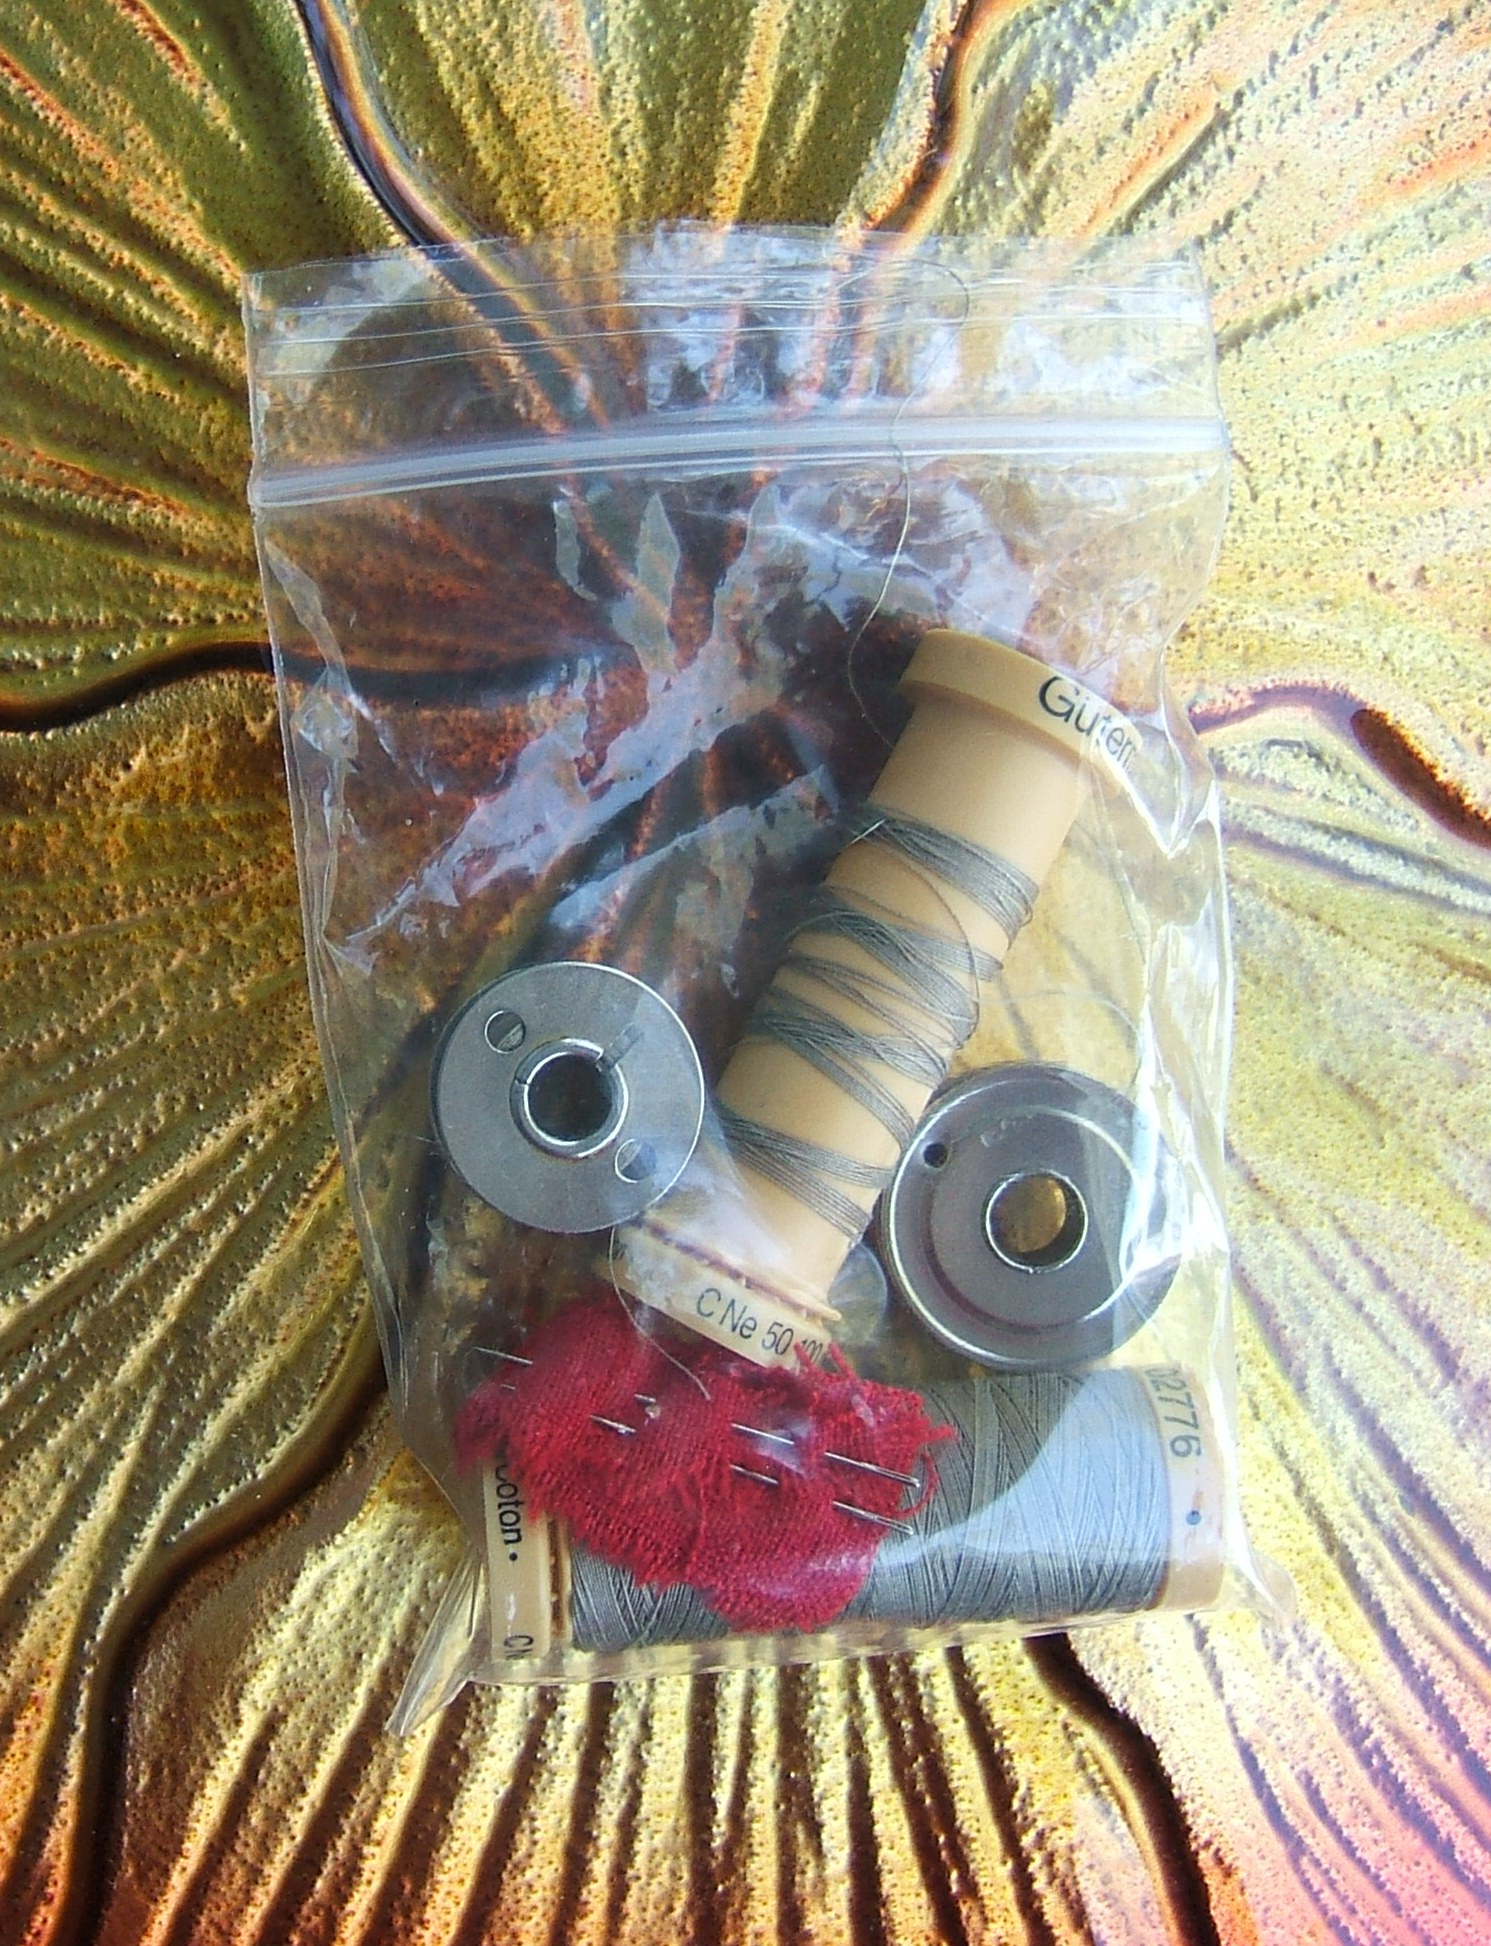
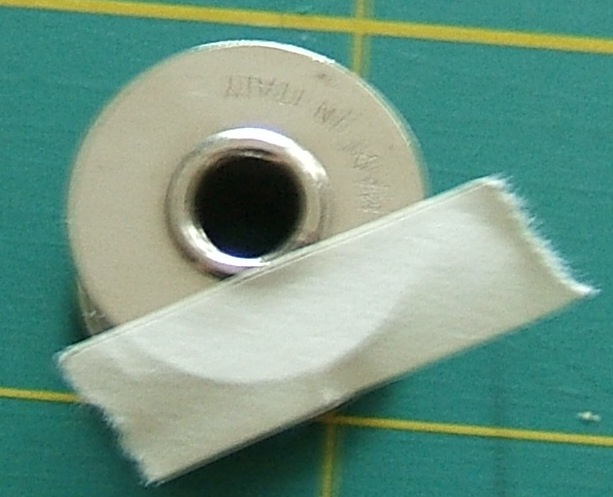
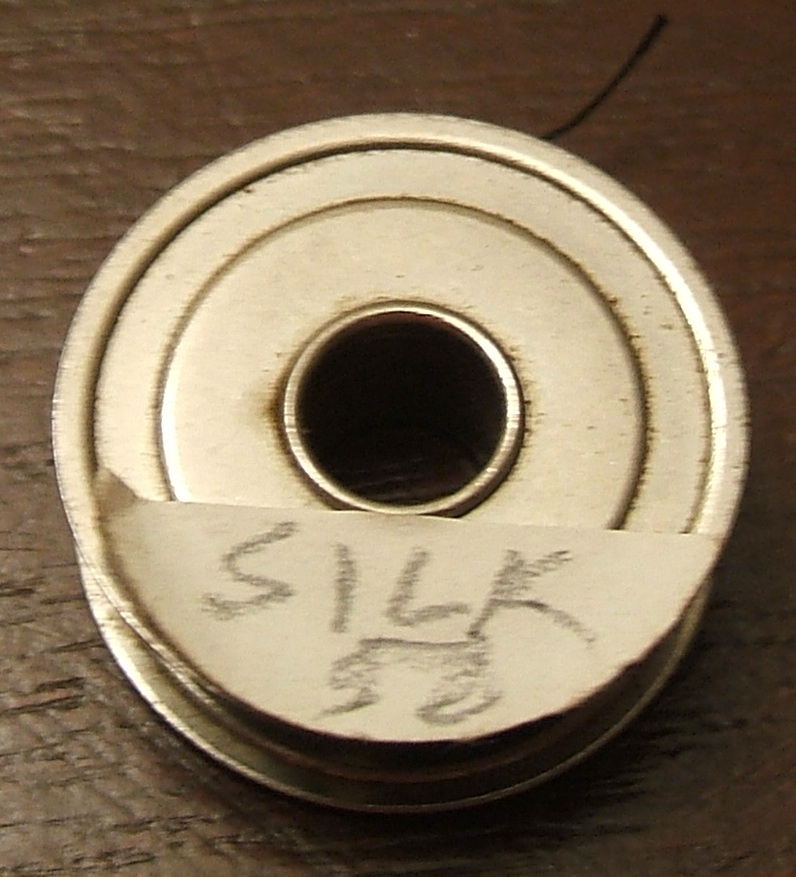
Since 100/6 cotton thread is what I use most, it was convenient to give it a bobbin box of its own. It currently contains, besides the nails, a white bobbin, an ecru bobbin, and a threaded needle. The corresponding spools are on a shelf to the left of the Necchi. The White bobbins of cotton 100/6 are in the bobbin slots of the White.

Then I thought it best to add all my other pieces of plywood. Well, except the two that are "temporarily" allowing me to keep a scanner on a printer stand. And that's the entire collection; I must have been doing everything with the leg board.
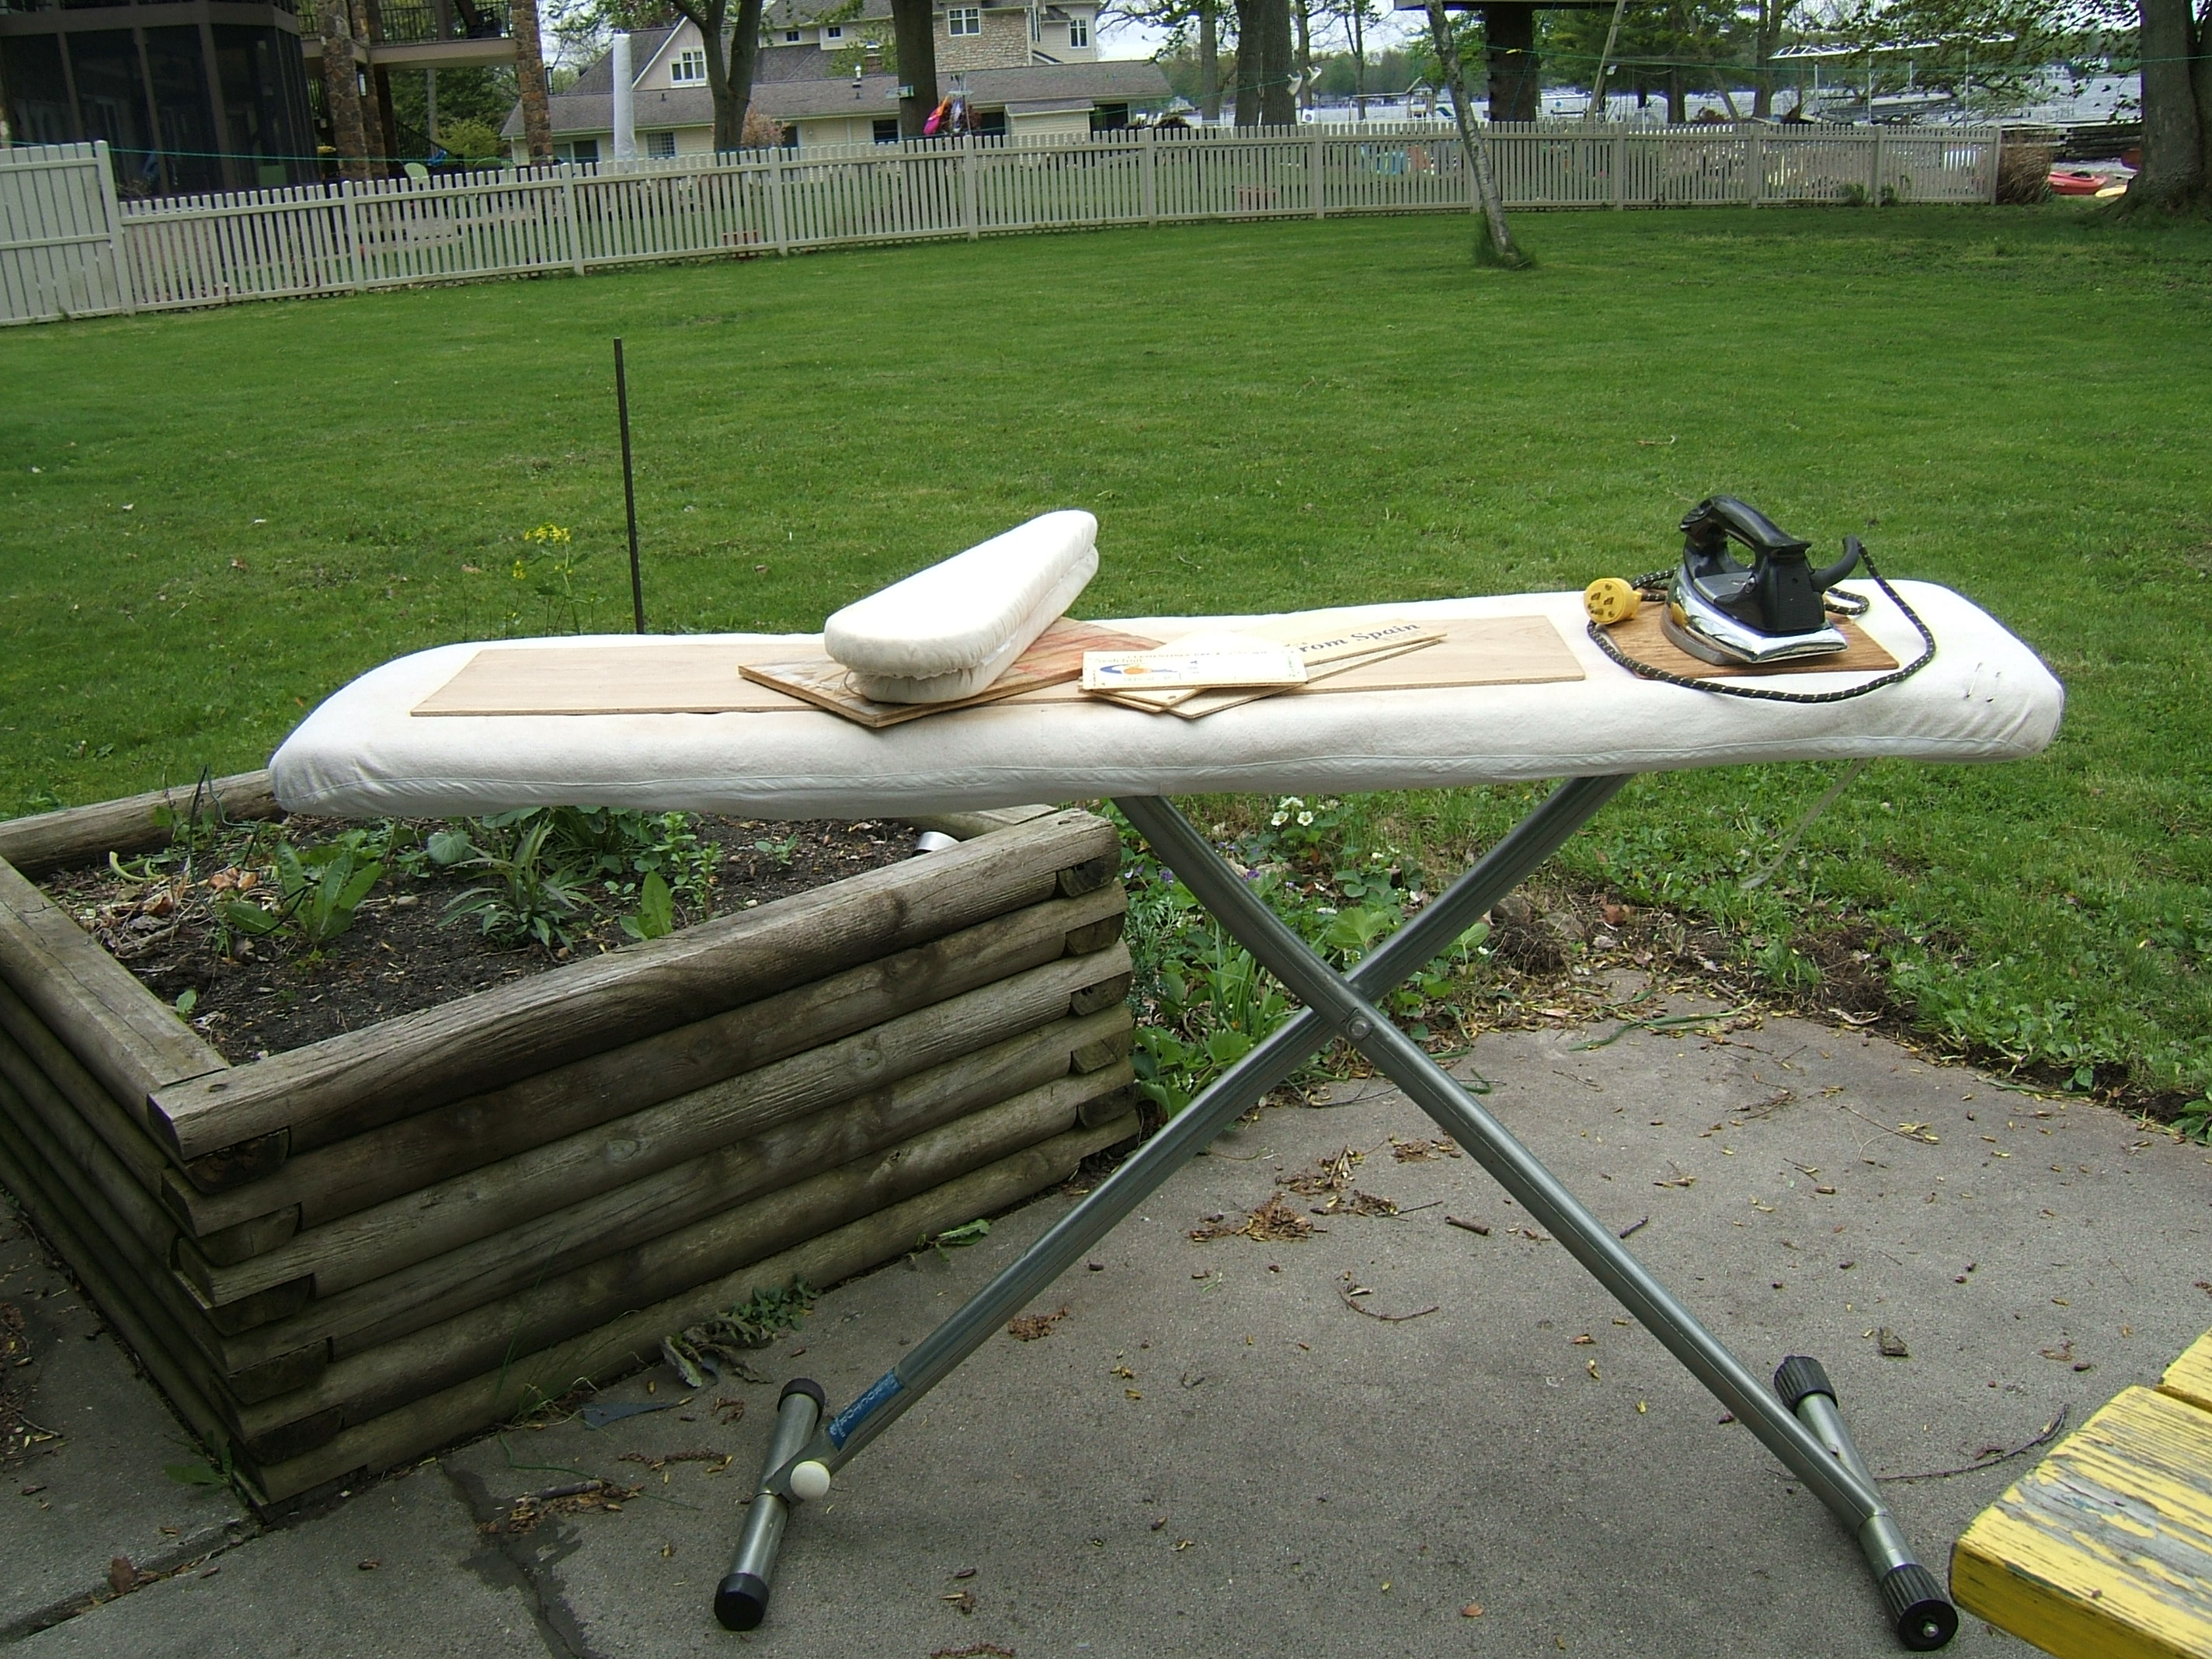
When I put the plywood that lives under the iron on the board, the iron naturally came with it. The padding on my ironing board is so thick that the iron falls over, so I keep a small piece of plywood under the iron. Despite being beat up from the feet of the iron, this often serves when I want to press a crease against something hard.
Then I remembered that I keep a piece of plywood in my embroidery-gig backpack. The folding sleeve board that moved into the backpack permanently after I bought a cantilever sleeve board just naturally came along. Originally the plywood and a thick towel served as a pressing surface; it stayed after the sleeve board moved in because I need a safe place to put the iron when working on a plastic table or a synthetic carpet. Some of the paint that got on it when it was a useless scrap didn't sand off, but I never use it as a raw-wood pressing tool.
The small bits of eighth-inch plywood were salvaged when I disassembled a tangerine crate. Sometimes I find a use for one. None of them have been sanded up or corner blunted.
The leg board is a scrap from the banner board that lives behind a bookcase at the church. The banner committee needed something to protect the plastic tables when we were ironing appliqués onto banners. I bought a sheet of "cabinet grade" plywood and had eight inches trimmed off one side so that it would fit into the closet. "Cabinet grade" is thinner than regular plywood, but is already sanded, so one needs only to blunt the corners and sand the cut edges.
My husband cut bits off the scrap for a few small projects, then one day I realized that what was left was just right for shoving inside pants legs when pressing seams, and when trying to stick pins and needles in without catching all layers. So I blunted the corners with an Exacto knife and rubbed the edges with a sanding sponge. It has been surprisingly useful — not least because I store it on the ironing board; when I pick up the leg board, the accumulated clutter comes with it and I can iron without first spending an hour putting stuff away.

I quickly learned that that meant that I always had a firm place to put the mat, and that continues to be a great advantage, when, for example, I wanted to shorten a dress that was draped over my thickly-padded ironing board.
Note the cutting line drawn with a blue wash-out marker an inch above the stitching of the hem.

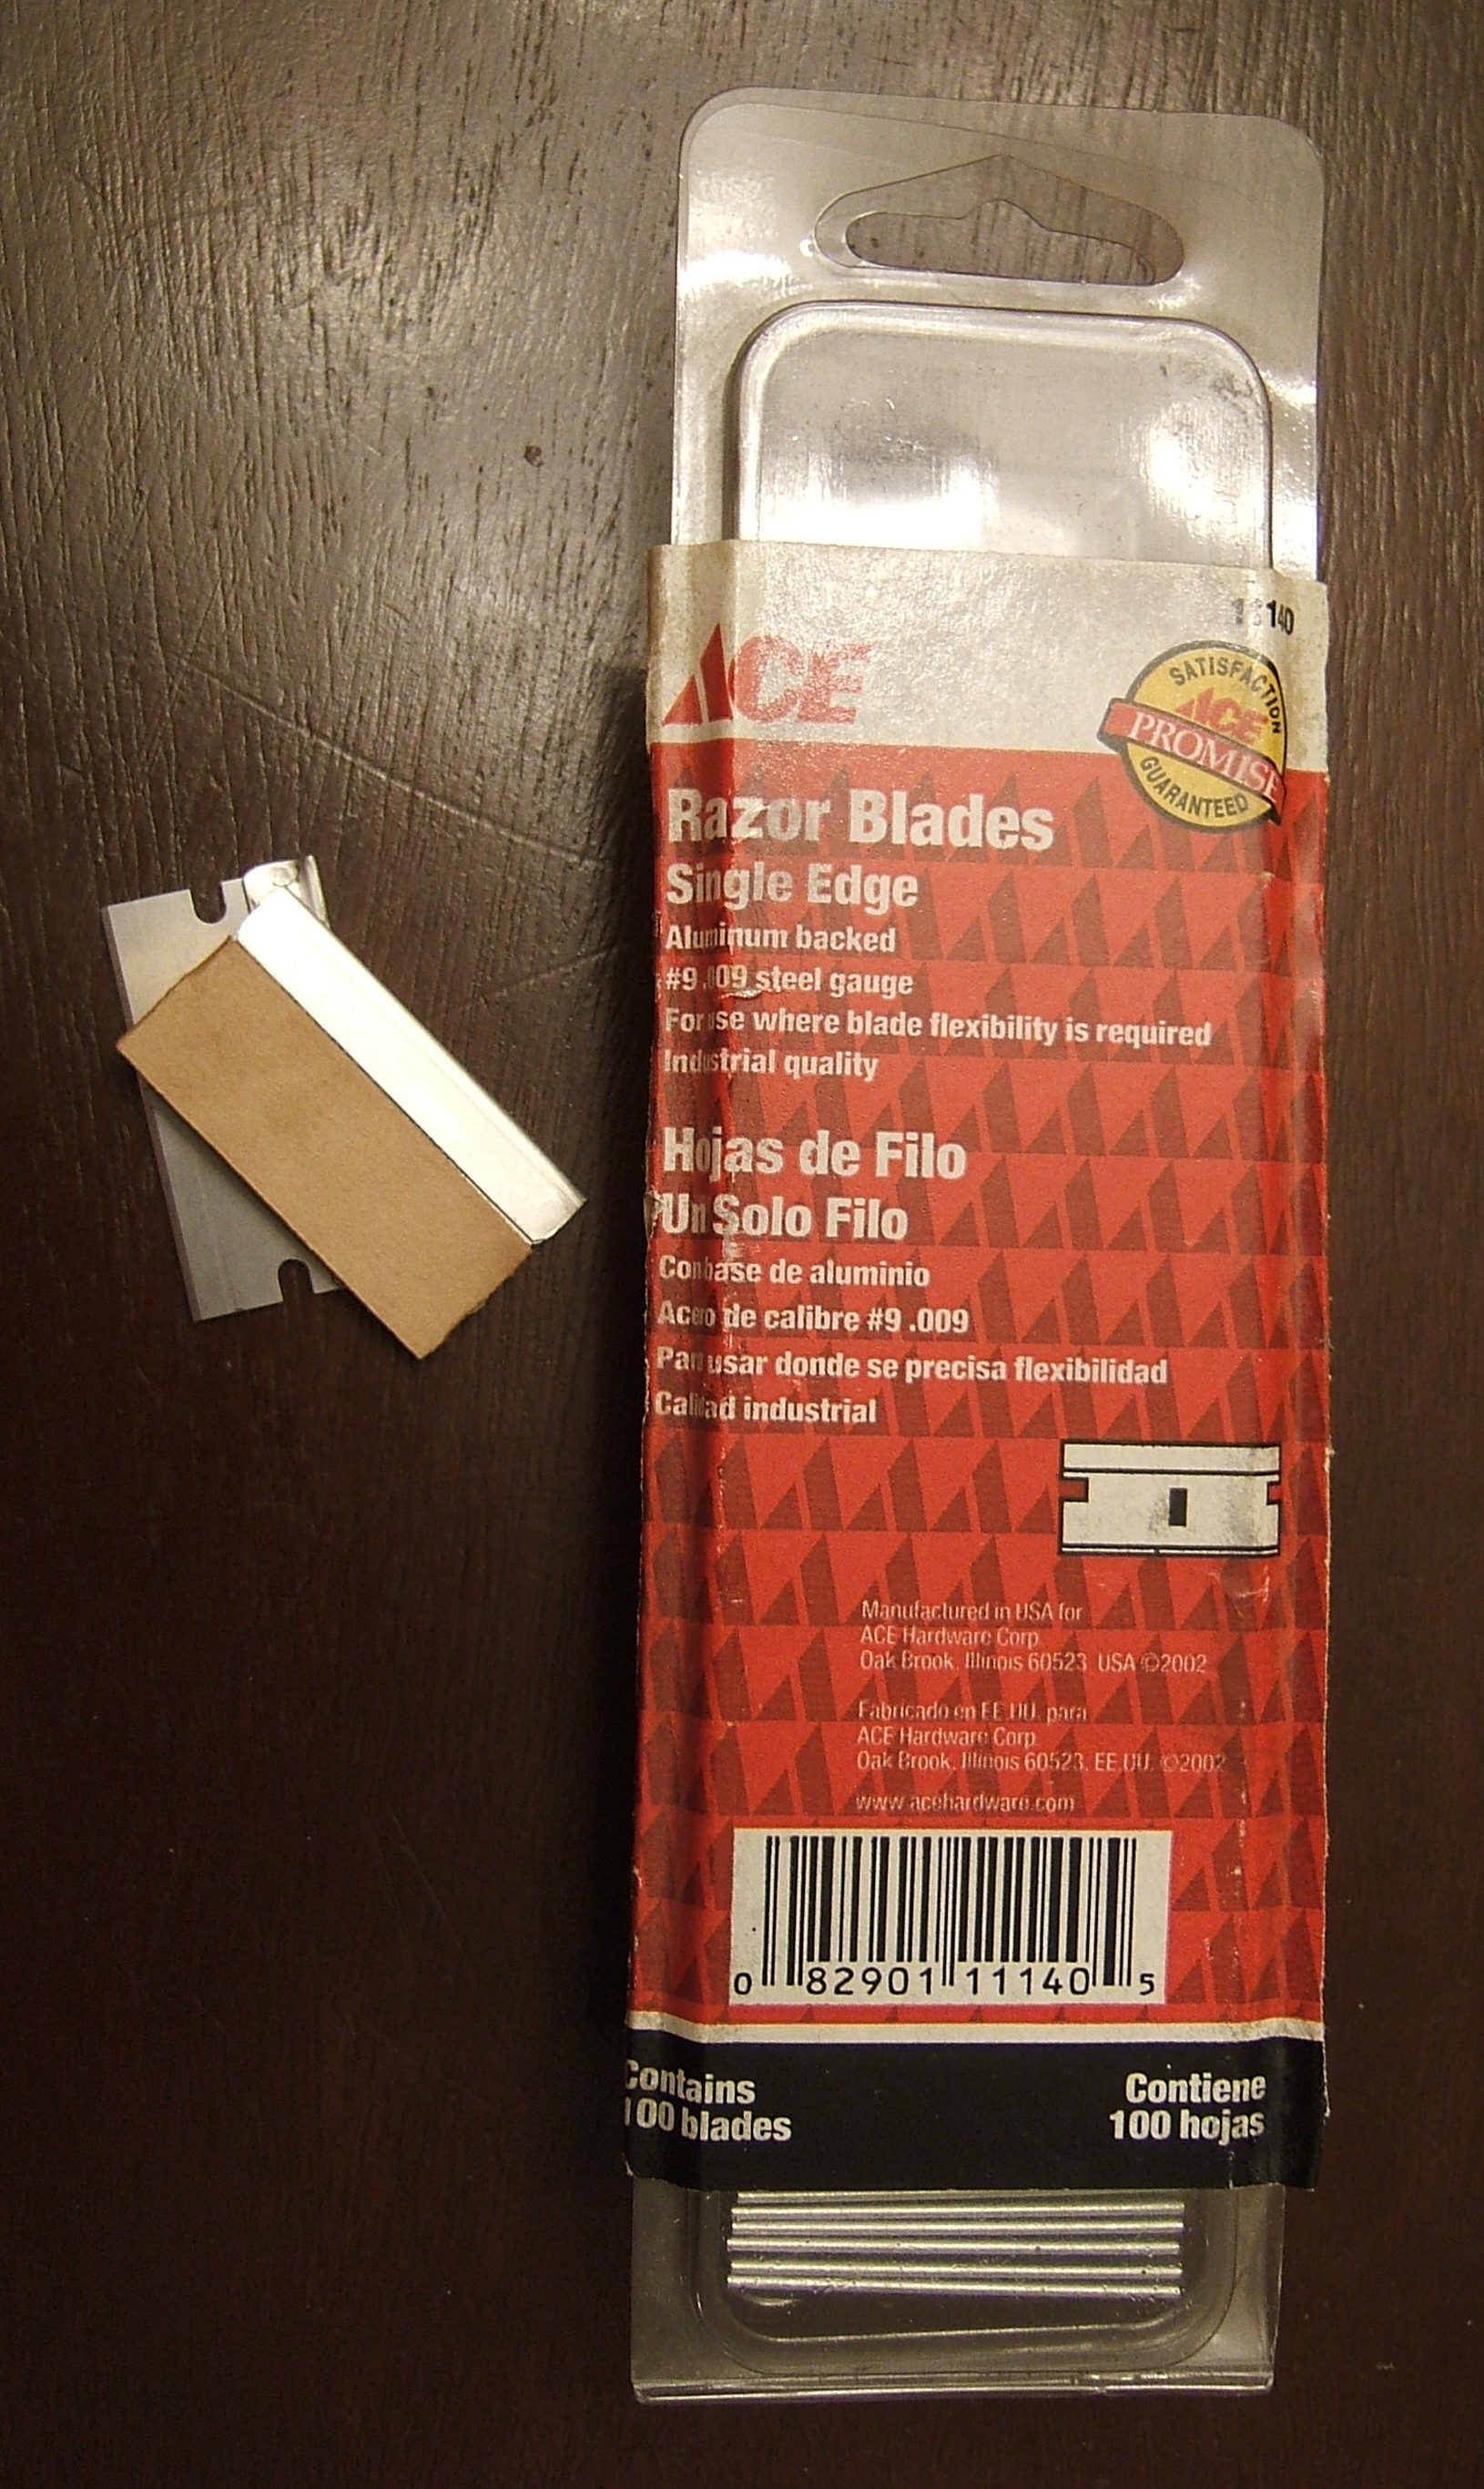
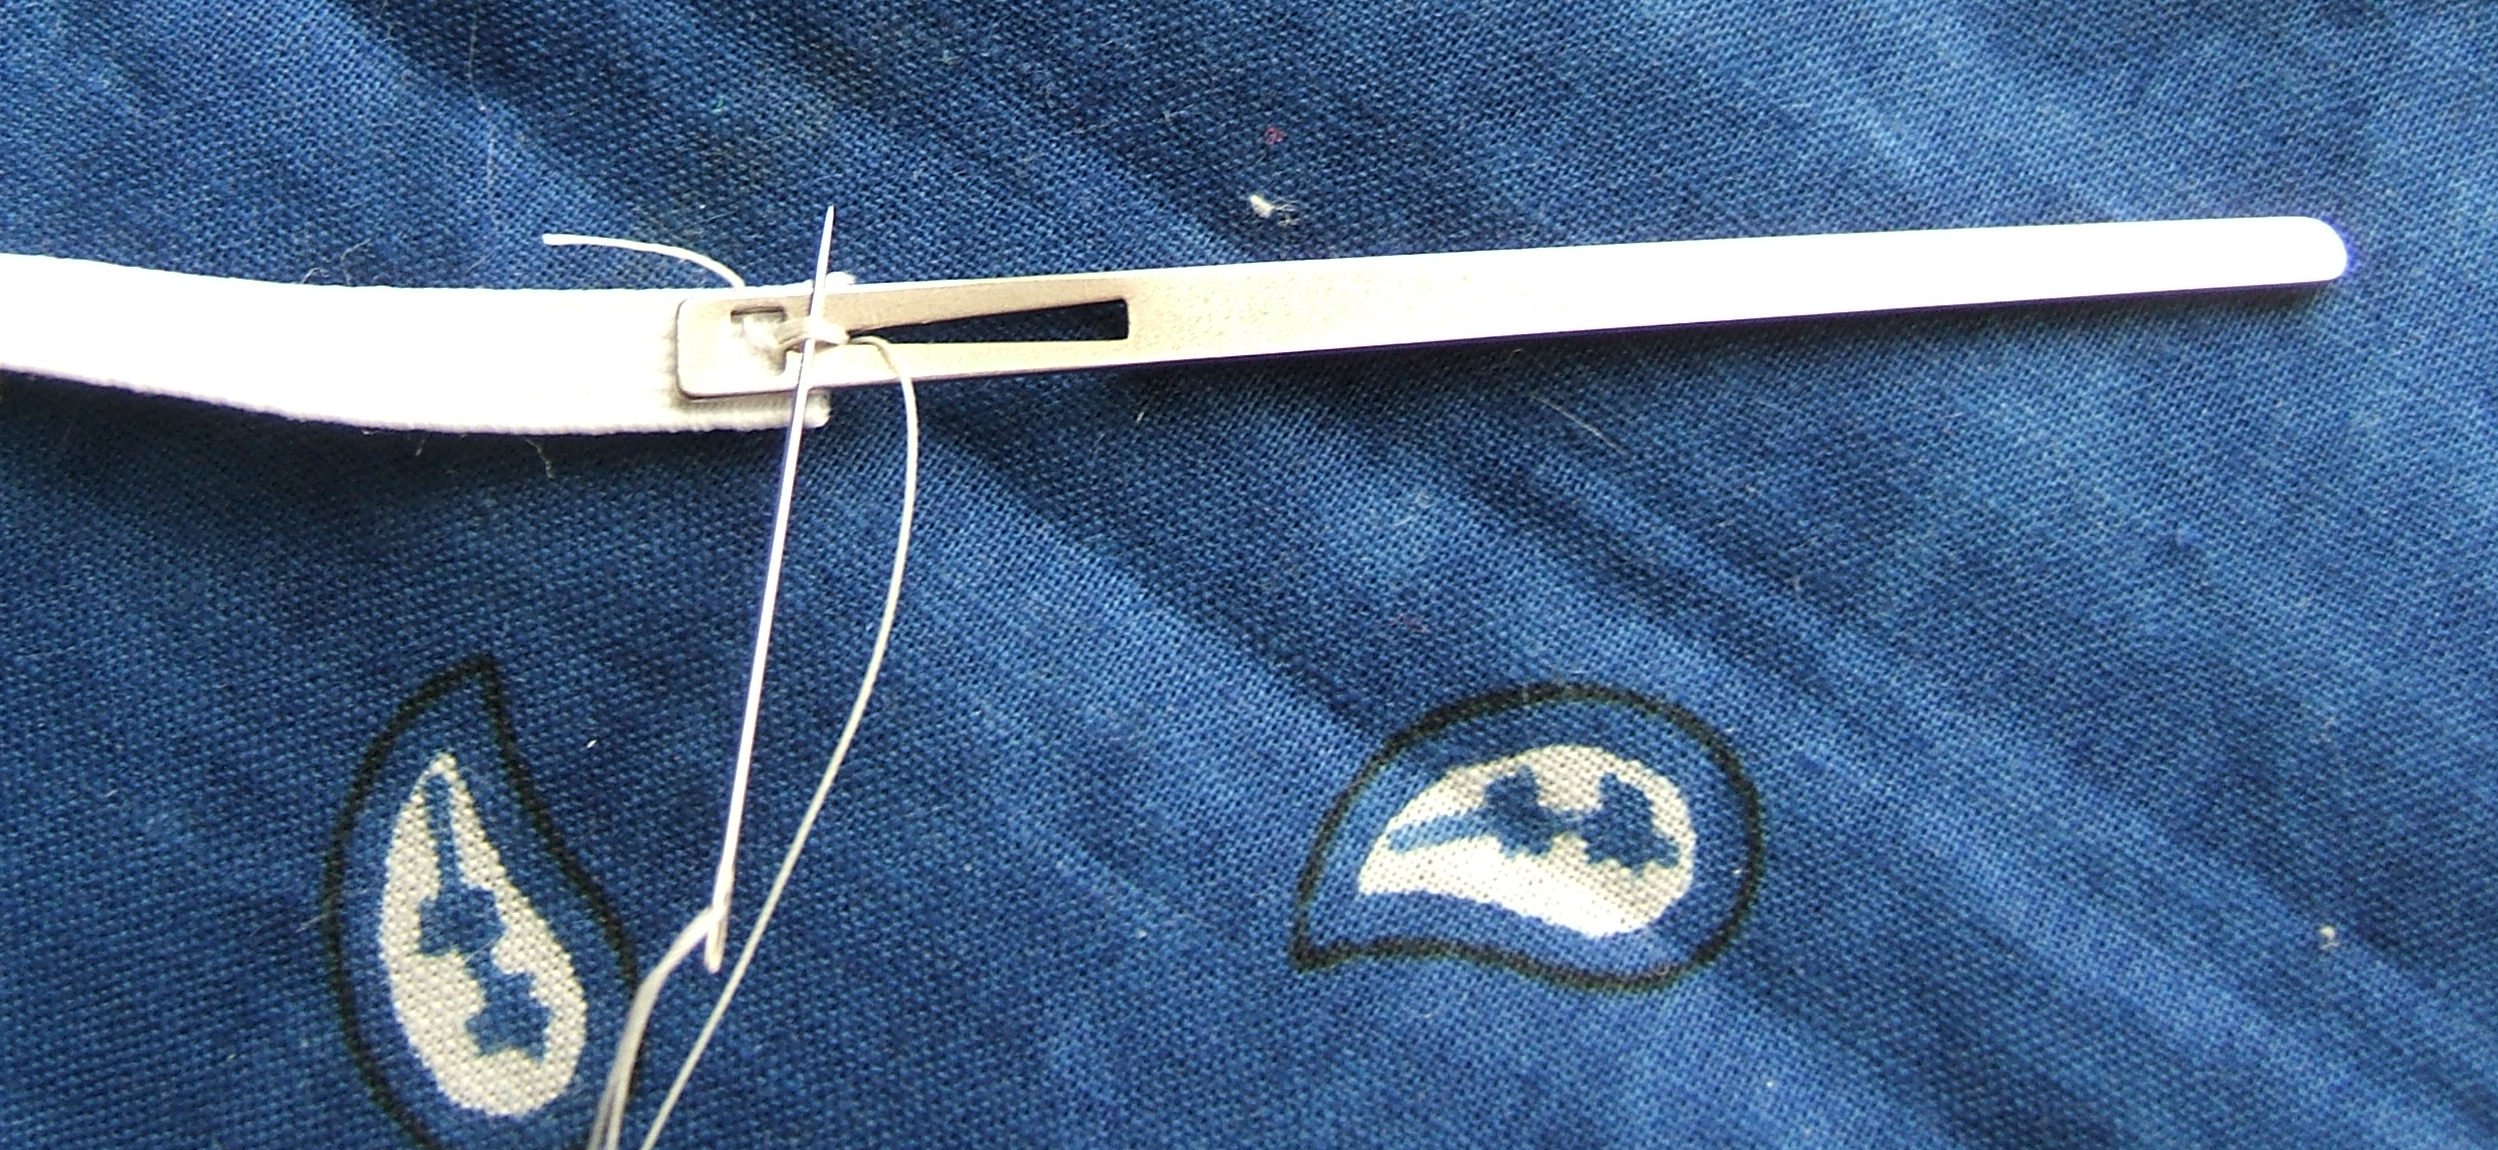
Old machine needles are classic for putting slack into the thread when sewing on buttons: the narrow end for light fabrics, the shank for heavy fabrics. Even the narrow end is thicker than a sewing pin, and it's less inclined to bend. (Once I used the handle of a seam ripper when sewing a button onto a heavy winter coat.)
I was trying to nail a rolled-wool pincushion to the wall to make a place to hang press cloths, and feeling frustrated because the thinnest nails were too thick. Two old machine needles anchored it perfectly. No chance of getting a picture; it's right beside the window, so the light will never be right. I nail the rags to the pincushion with two T-pins — pulling them out one at a time enables me to add or remove a rag without dropping all of them.
I have found that old sewing-machine needles are better than brads or nails for hanging patterns on the wall. Pound them in pointing slightly up.
It has been a convenient clamp, at times.
Oh how I wish I could have bought her sewing machine at her sale. The person who did buy it trashed it before my eyes. When her quilts started going at a price that suggested that the buyers wanted to cut them up for one-season "art to wear", I bid in all of them, and my niece has them now.
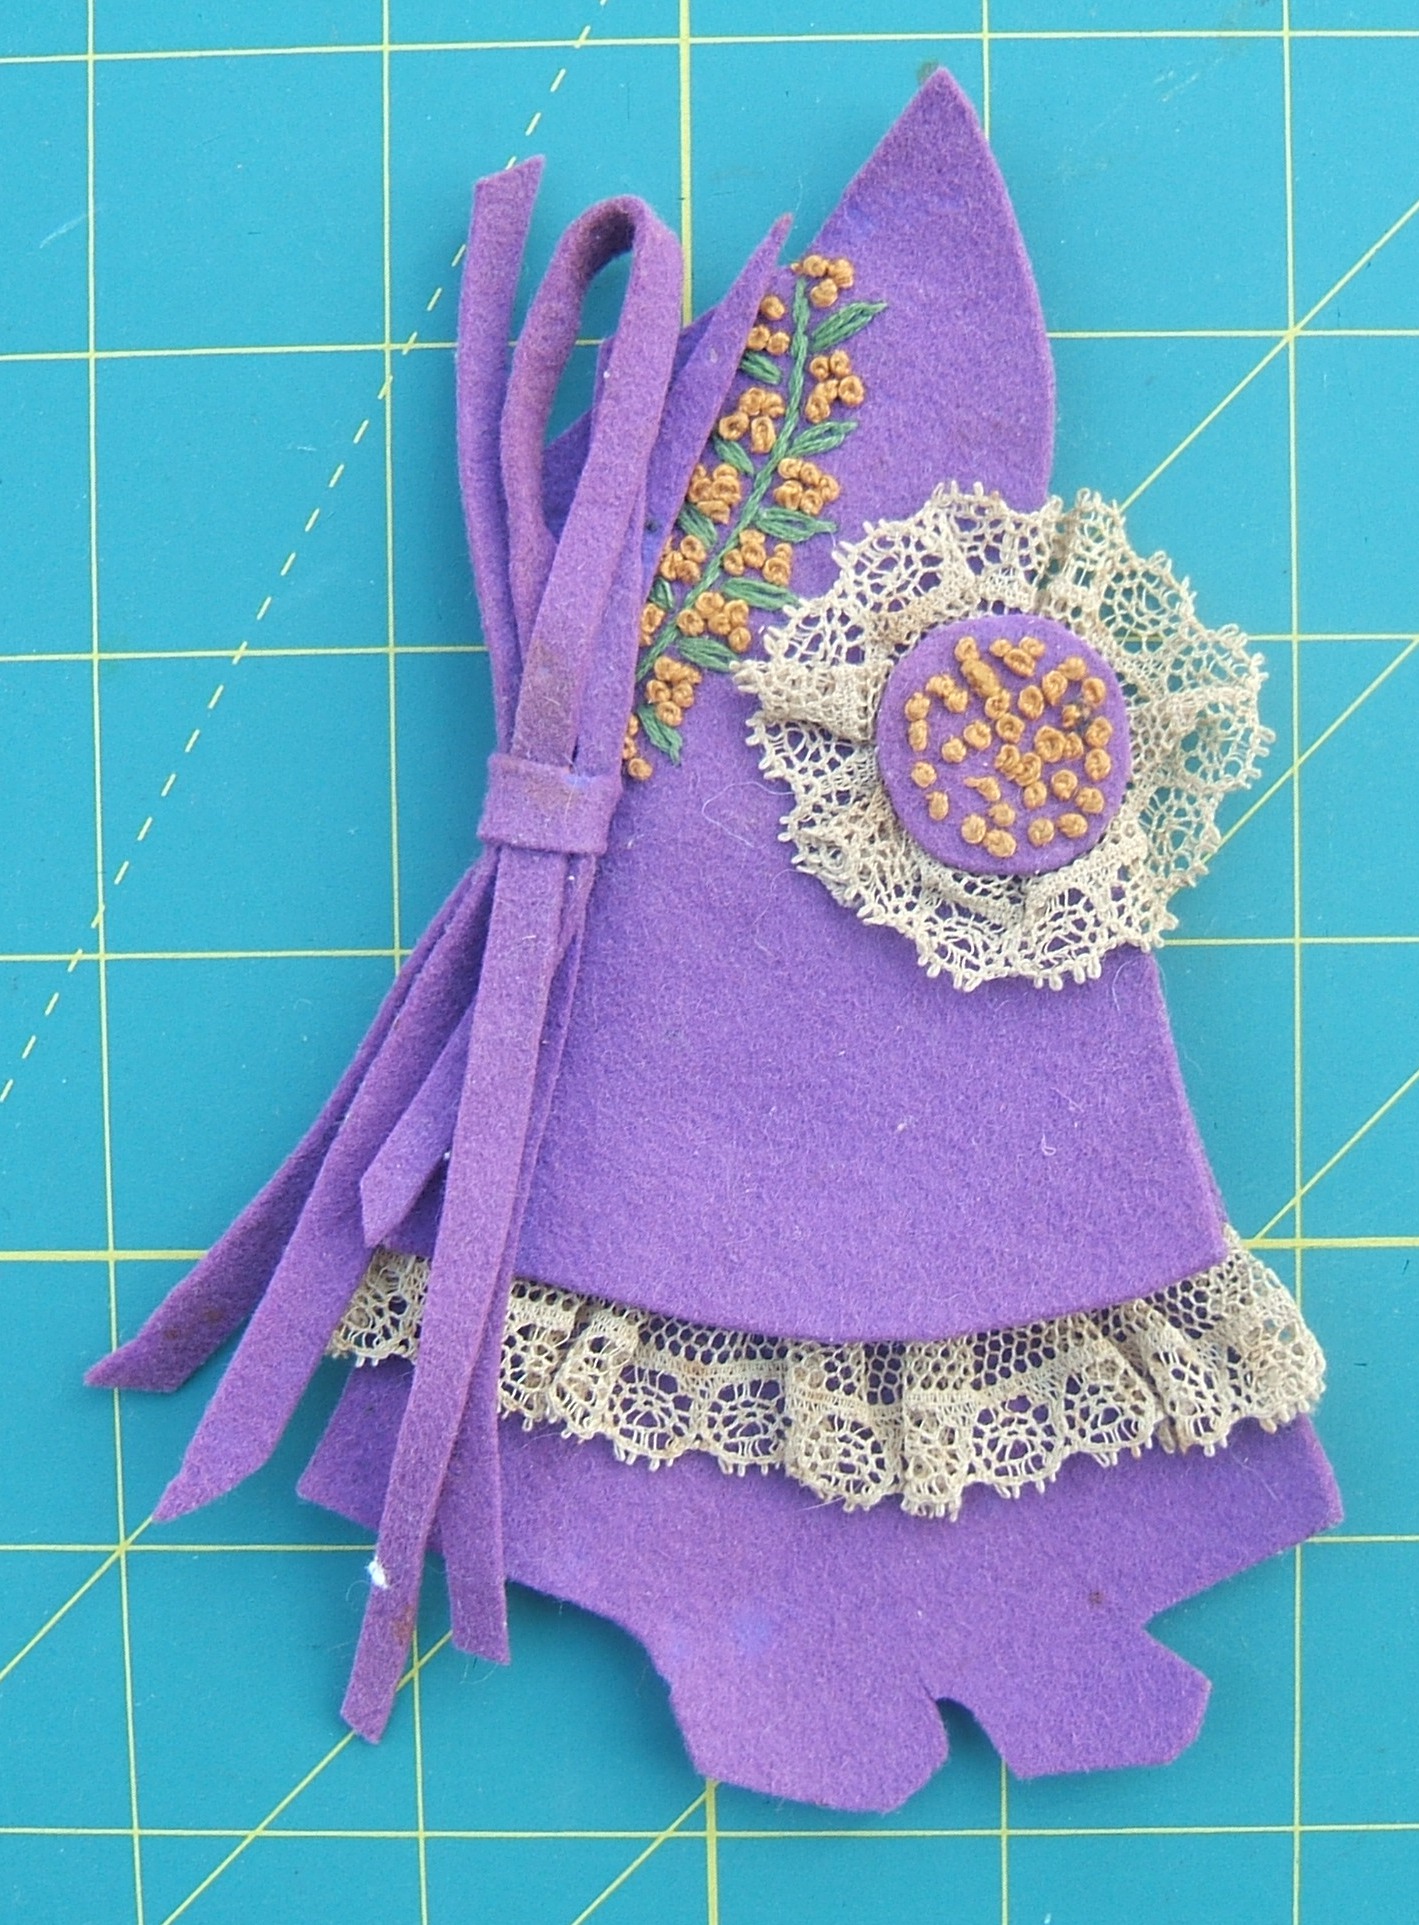

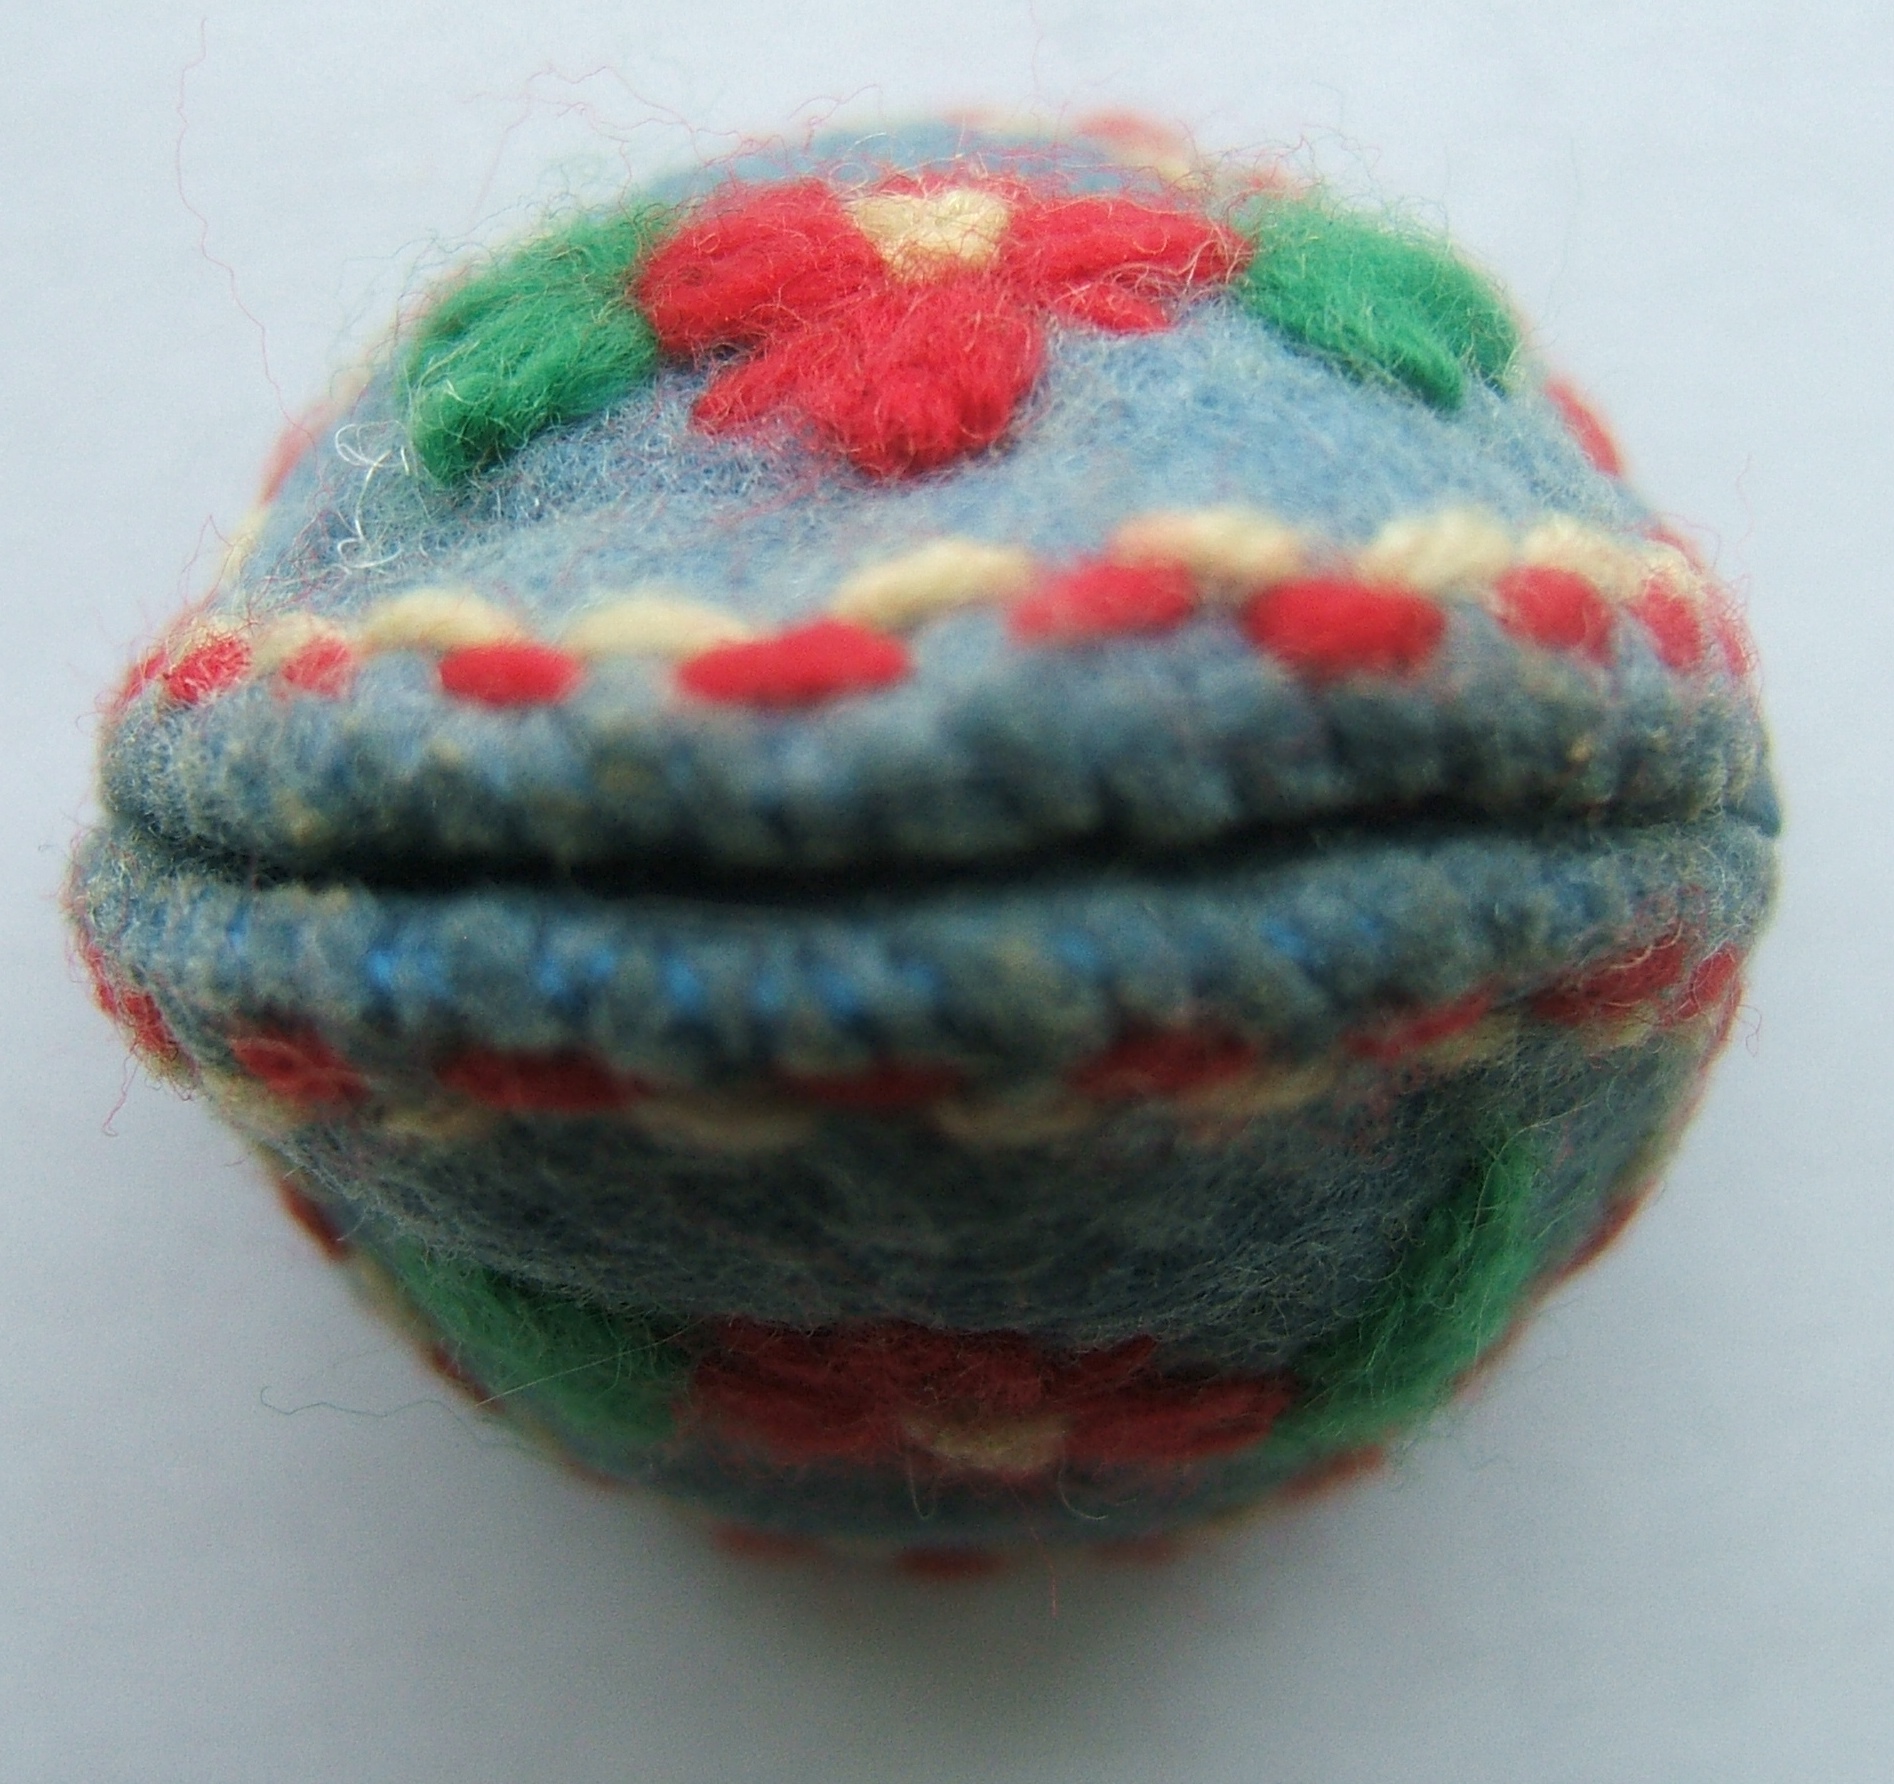
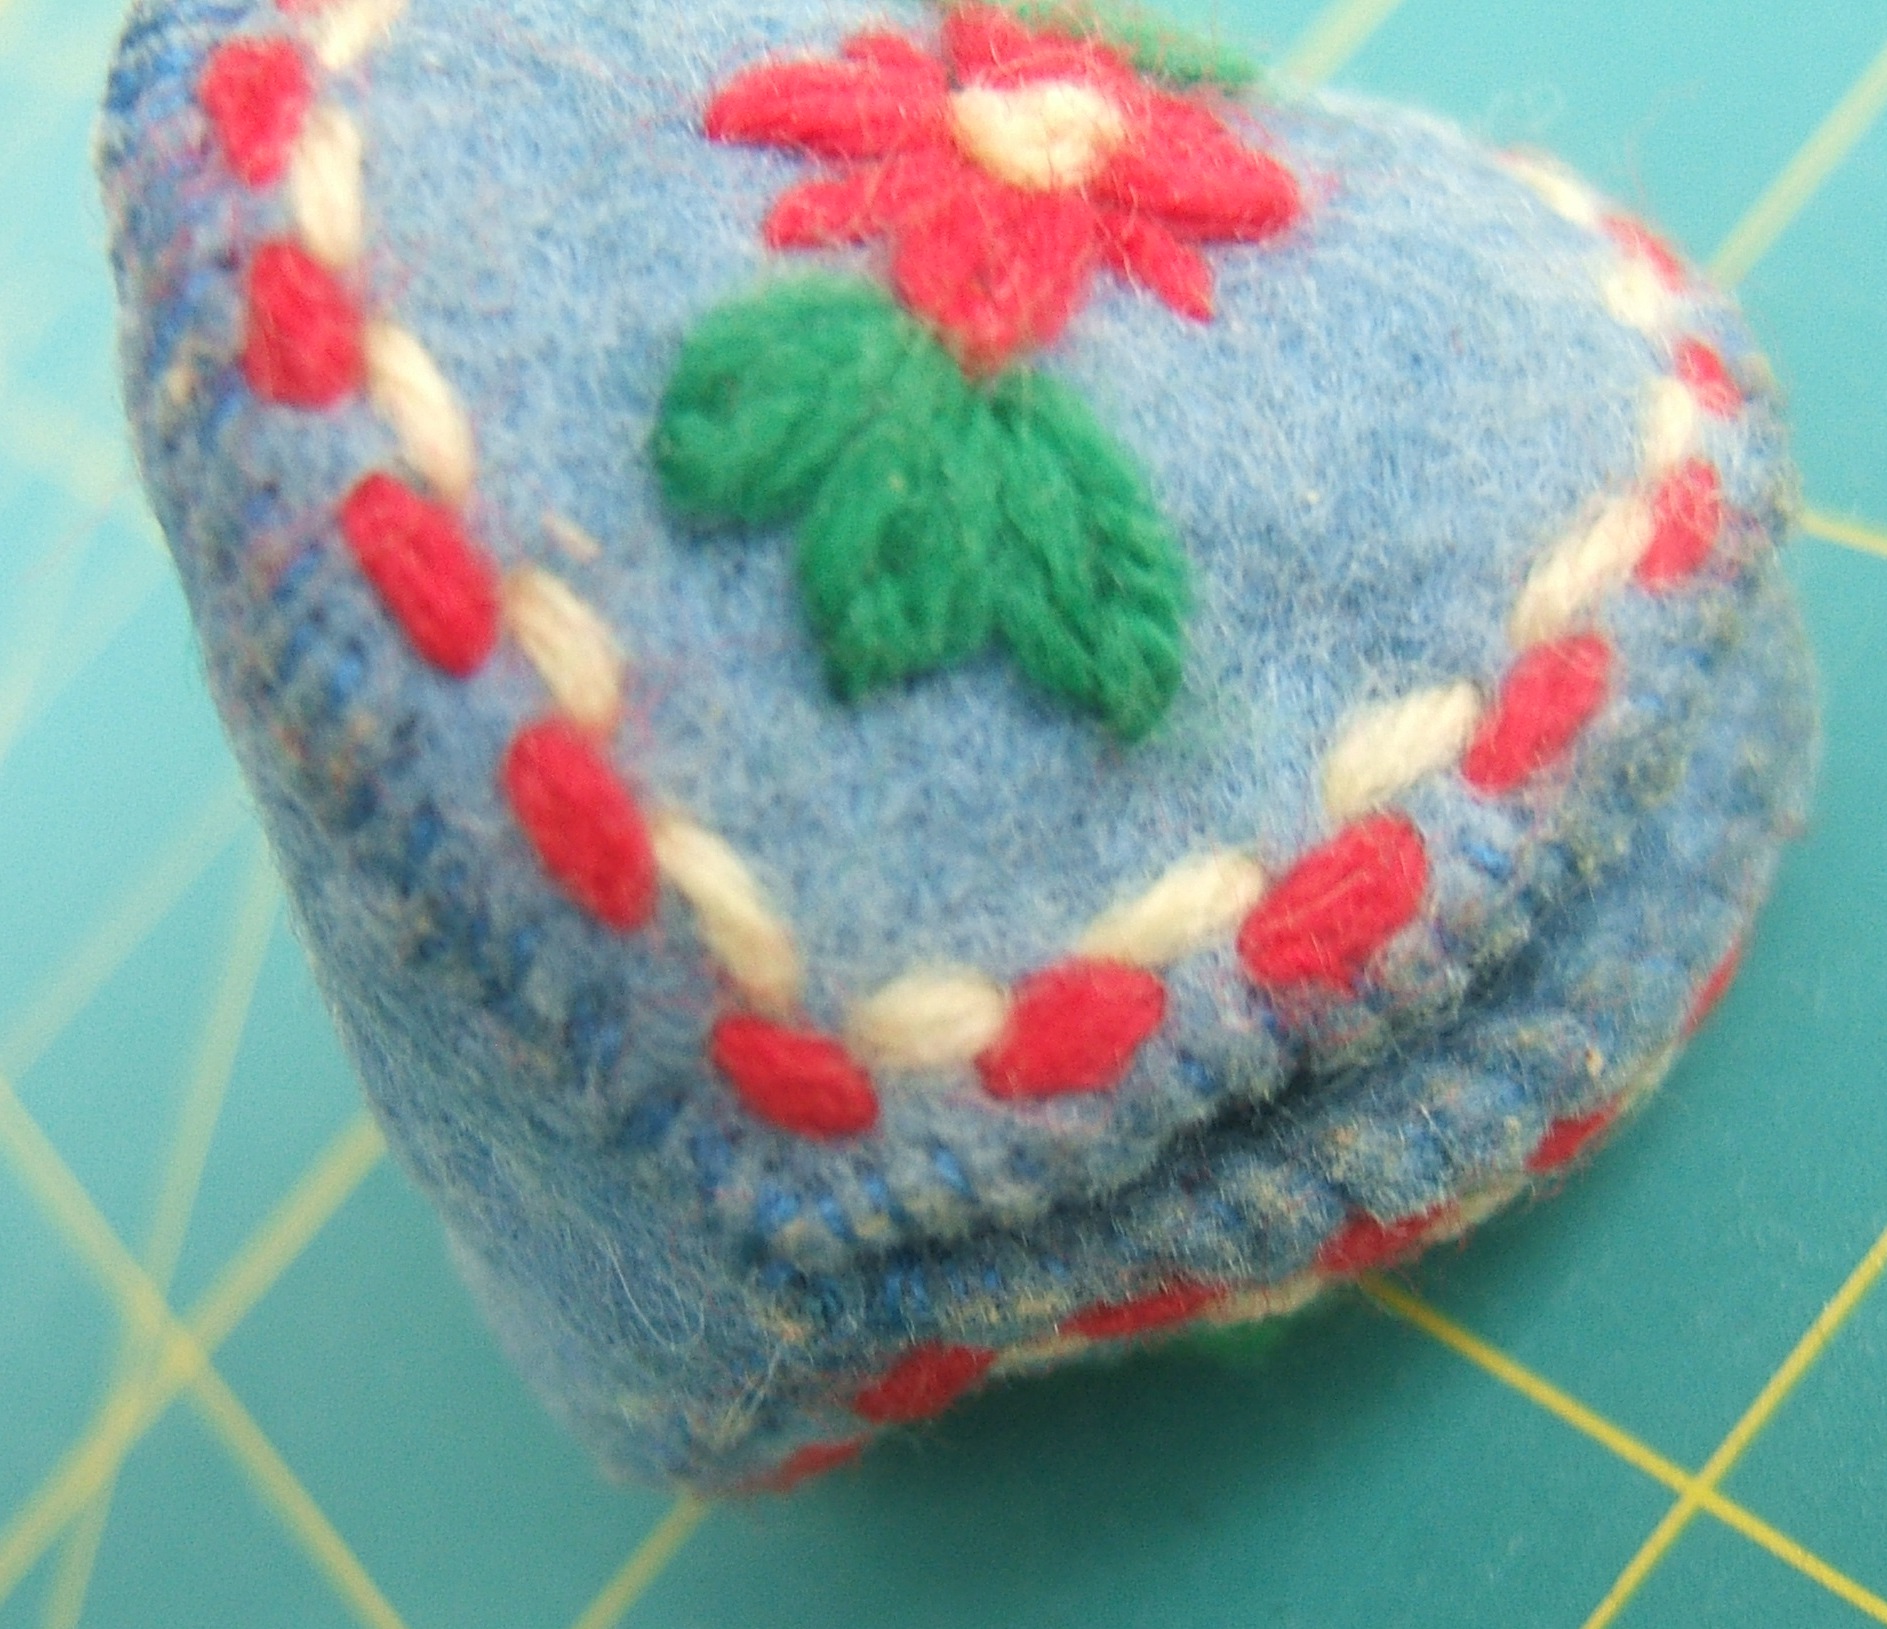
Top view, showing the opening that lets you put the thimble in.
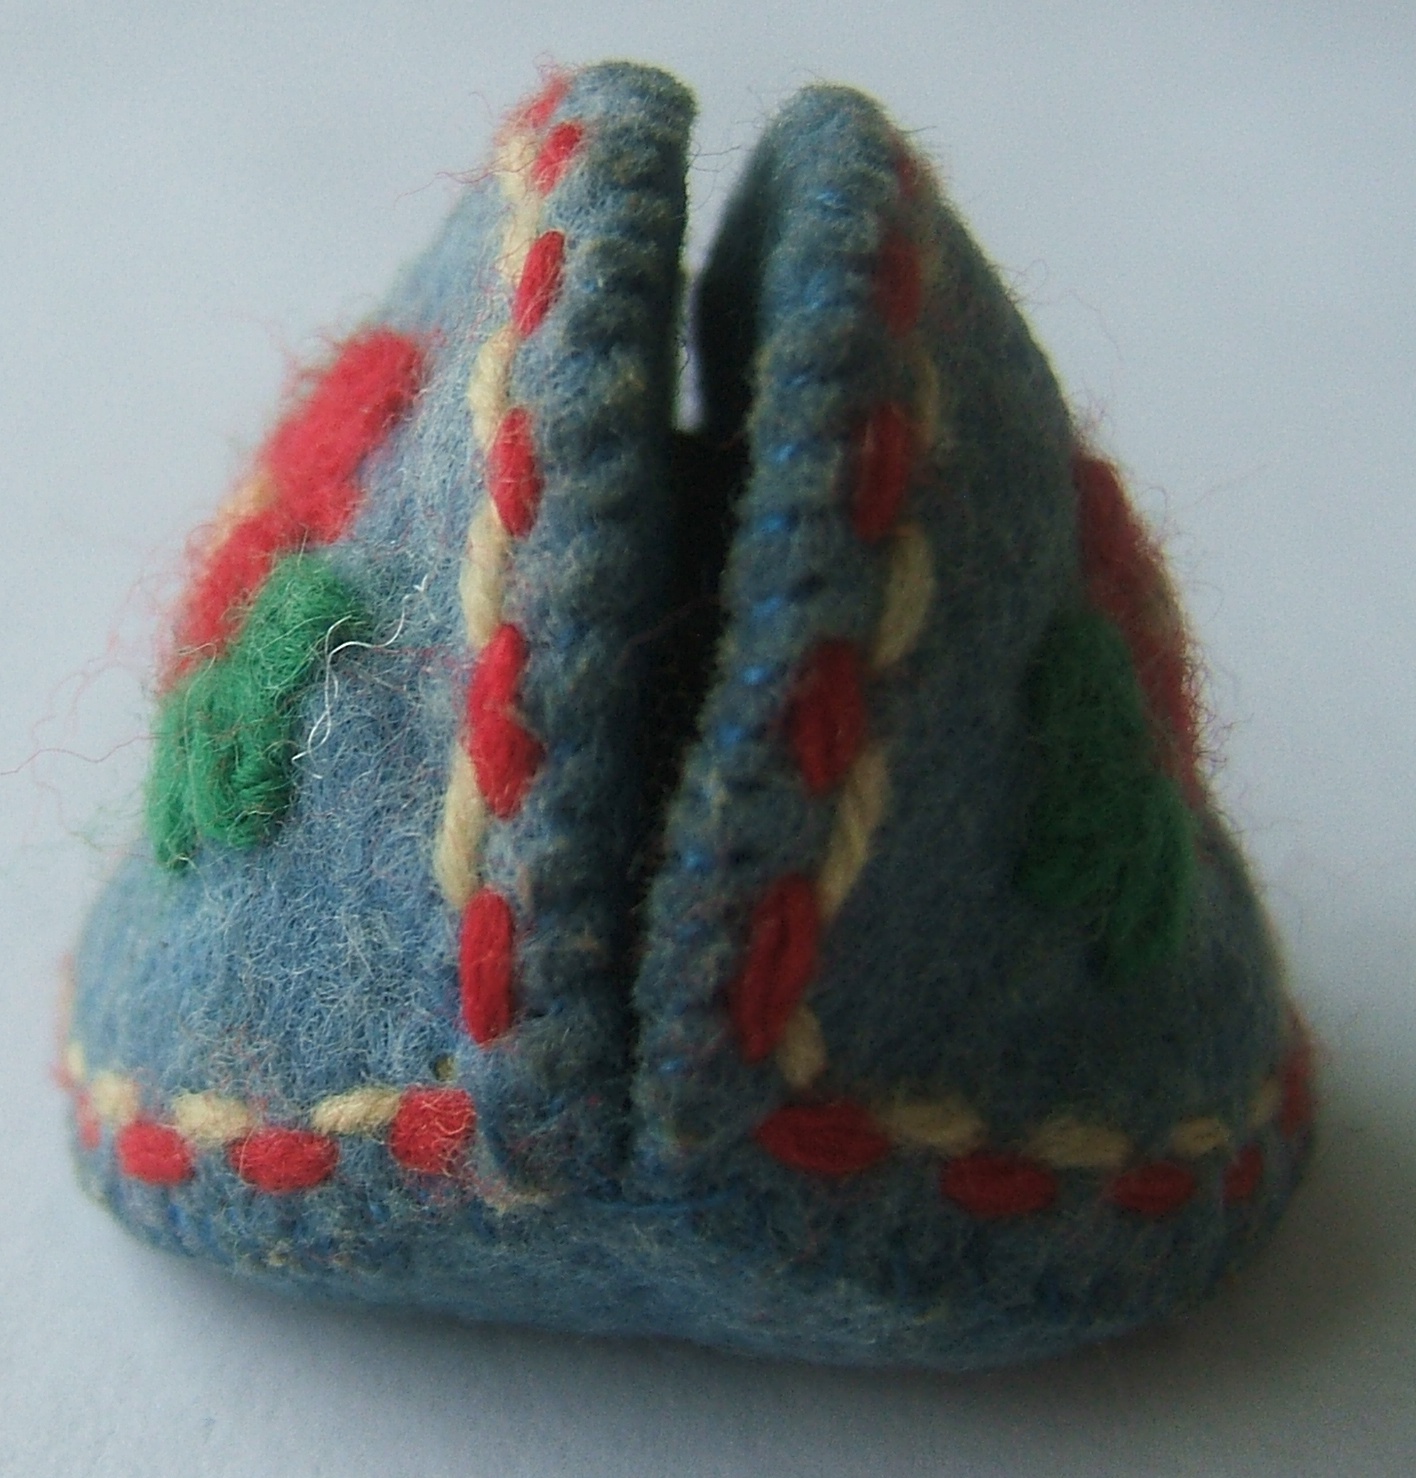
End view, showing how the three pieces were sewn together.
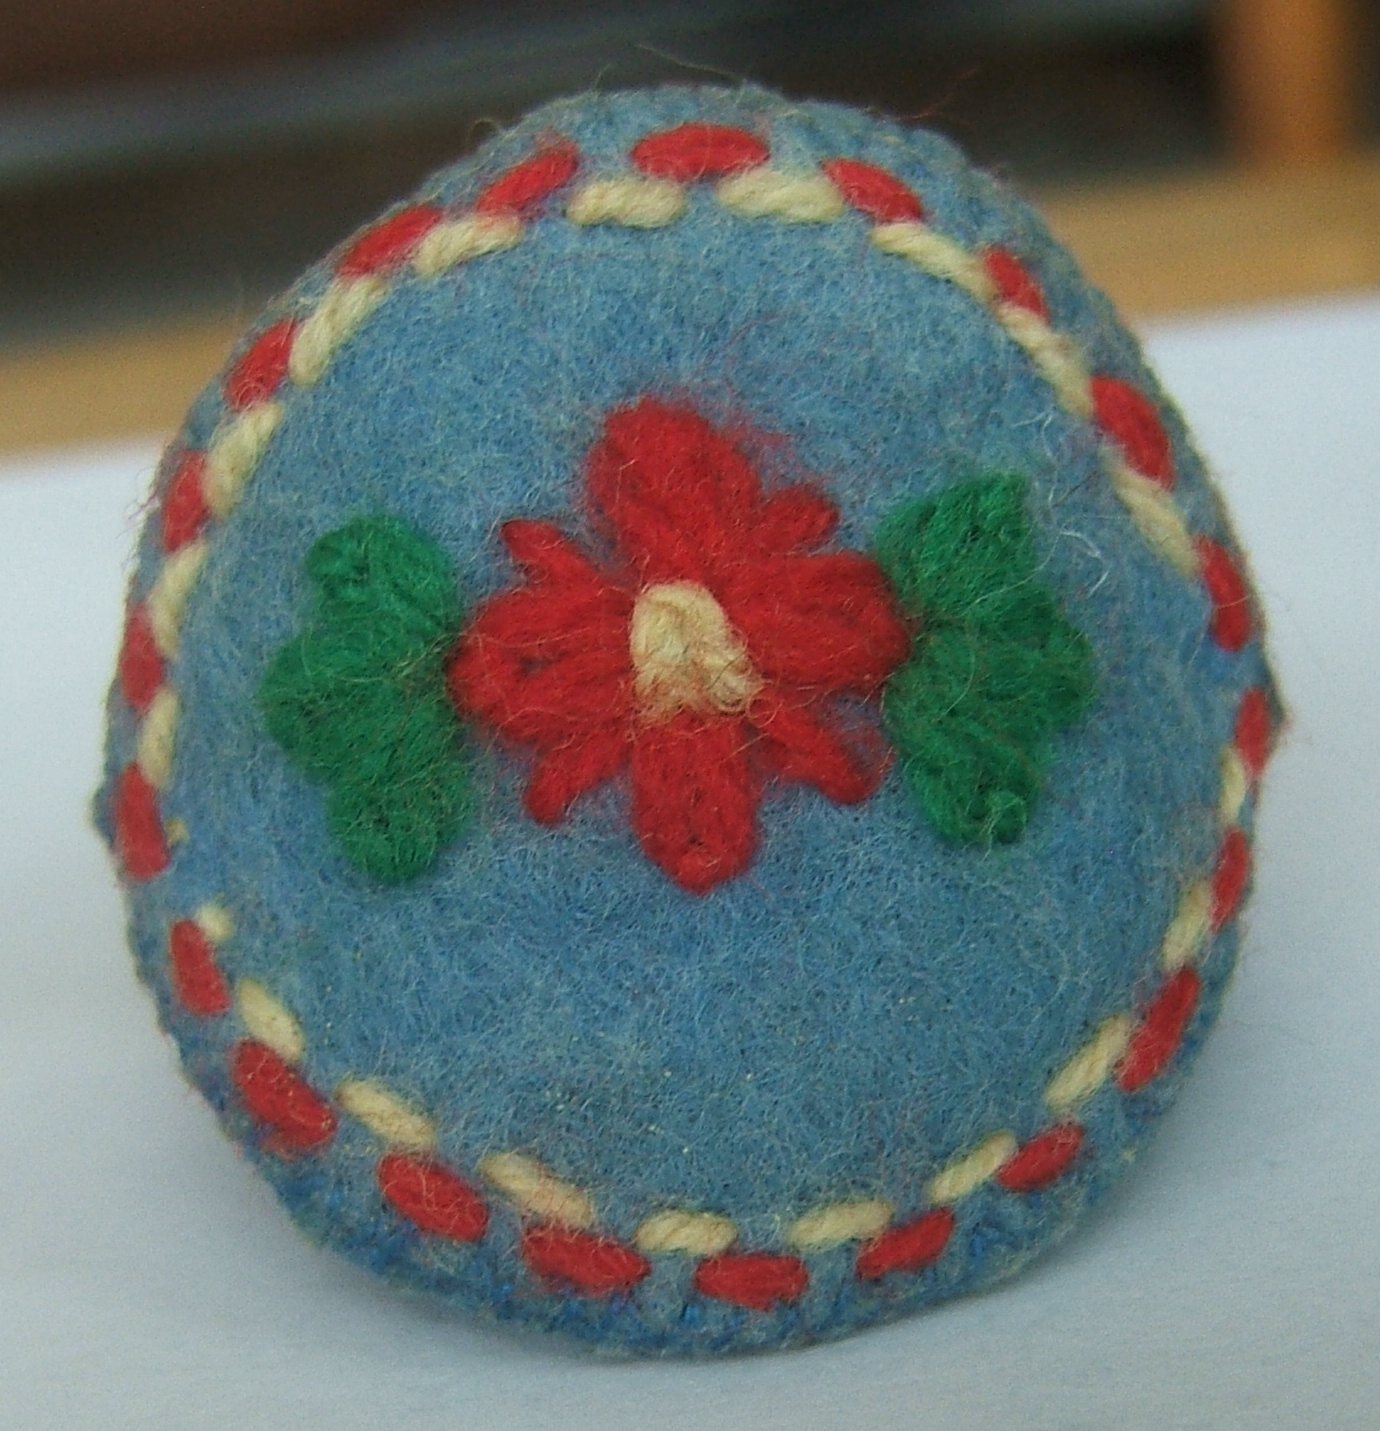
Side view, showing the embroidery. I wonder how one calculates exactly how much longer than its width the oval must be to look round after being bent?
The lining covers the back of the embroidery. There is no embroidery on the side opposite the opening. The two embroidered sides are identical.
I shall take one more picture to show the angle of the pointed ends of the ovals, on a cutting mat marked into one-inch squares to show the scale.
I cut off the end deliberately to show more detail in the other end, that's my story and I'm sticking to it.
The angle appears to be about 120°
According to my tape measure, the plain oval is
two and a quarter inches between points and one
and three quarter inches across. The embroidered
ovals have drawn up a little smaller.
Comments and criticism are solicited.