Dewey Decimal
DD646
DD746
reformatted 18 October 2019
A re-design of this project was begun in December 2019 and is blogged under the title Coin Purse.
This page is going to load really slow, because all these illustrations are huge pictures that I've shrunk down with the size attribute. If you want to see the resolution you waited for, right-click on the image and select "view image" from the menu that appears.
("View image" is worth trying any time you wish a picture showed more detail, because there is an awful lot of "I can't be bothered" on the Web.)
I didn't take any notes until after the new wallet was in my pocket; all I took is pictures, so what text there is is my best guess as to why I took the pictures.
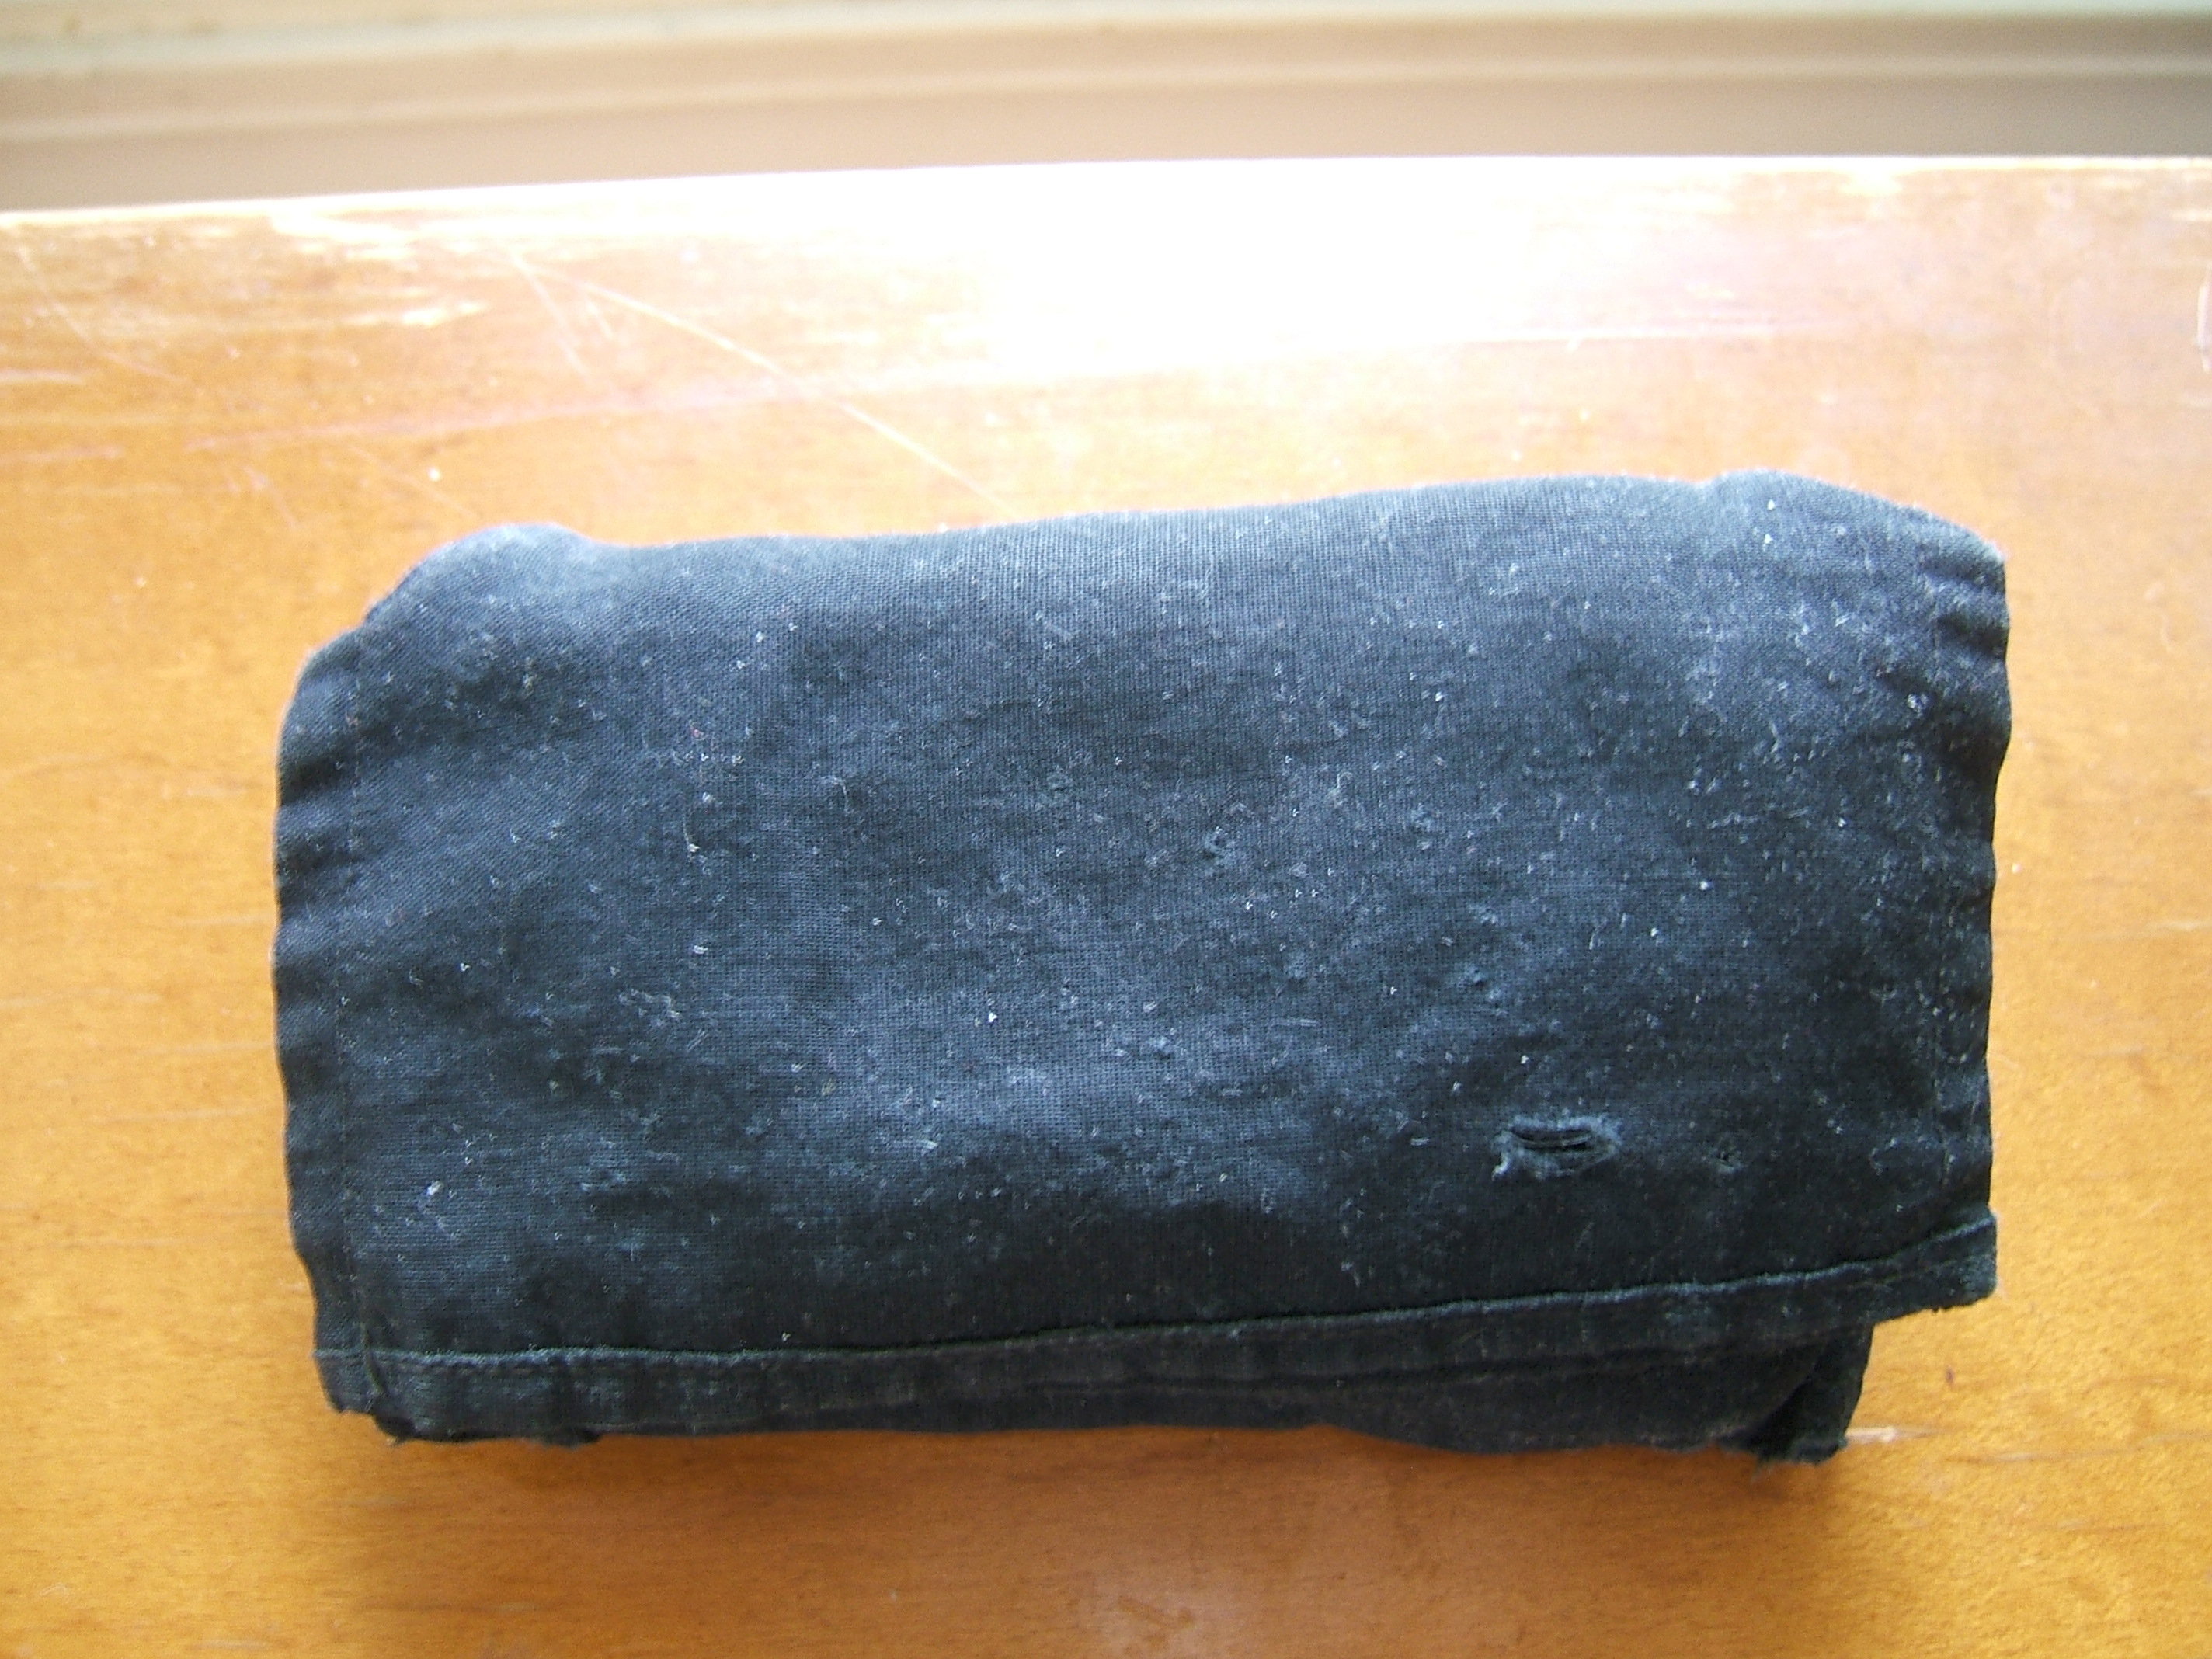
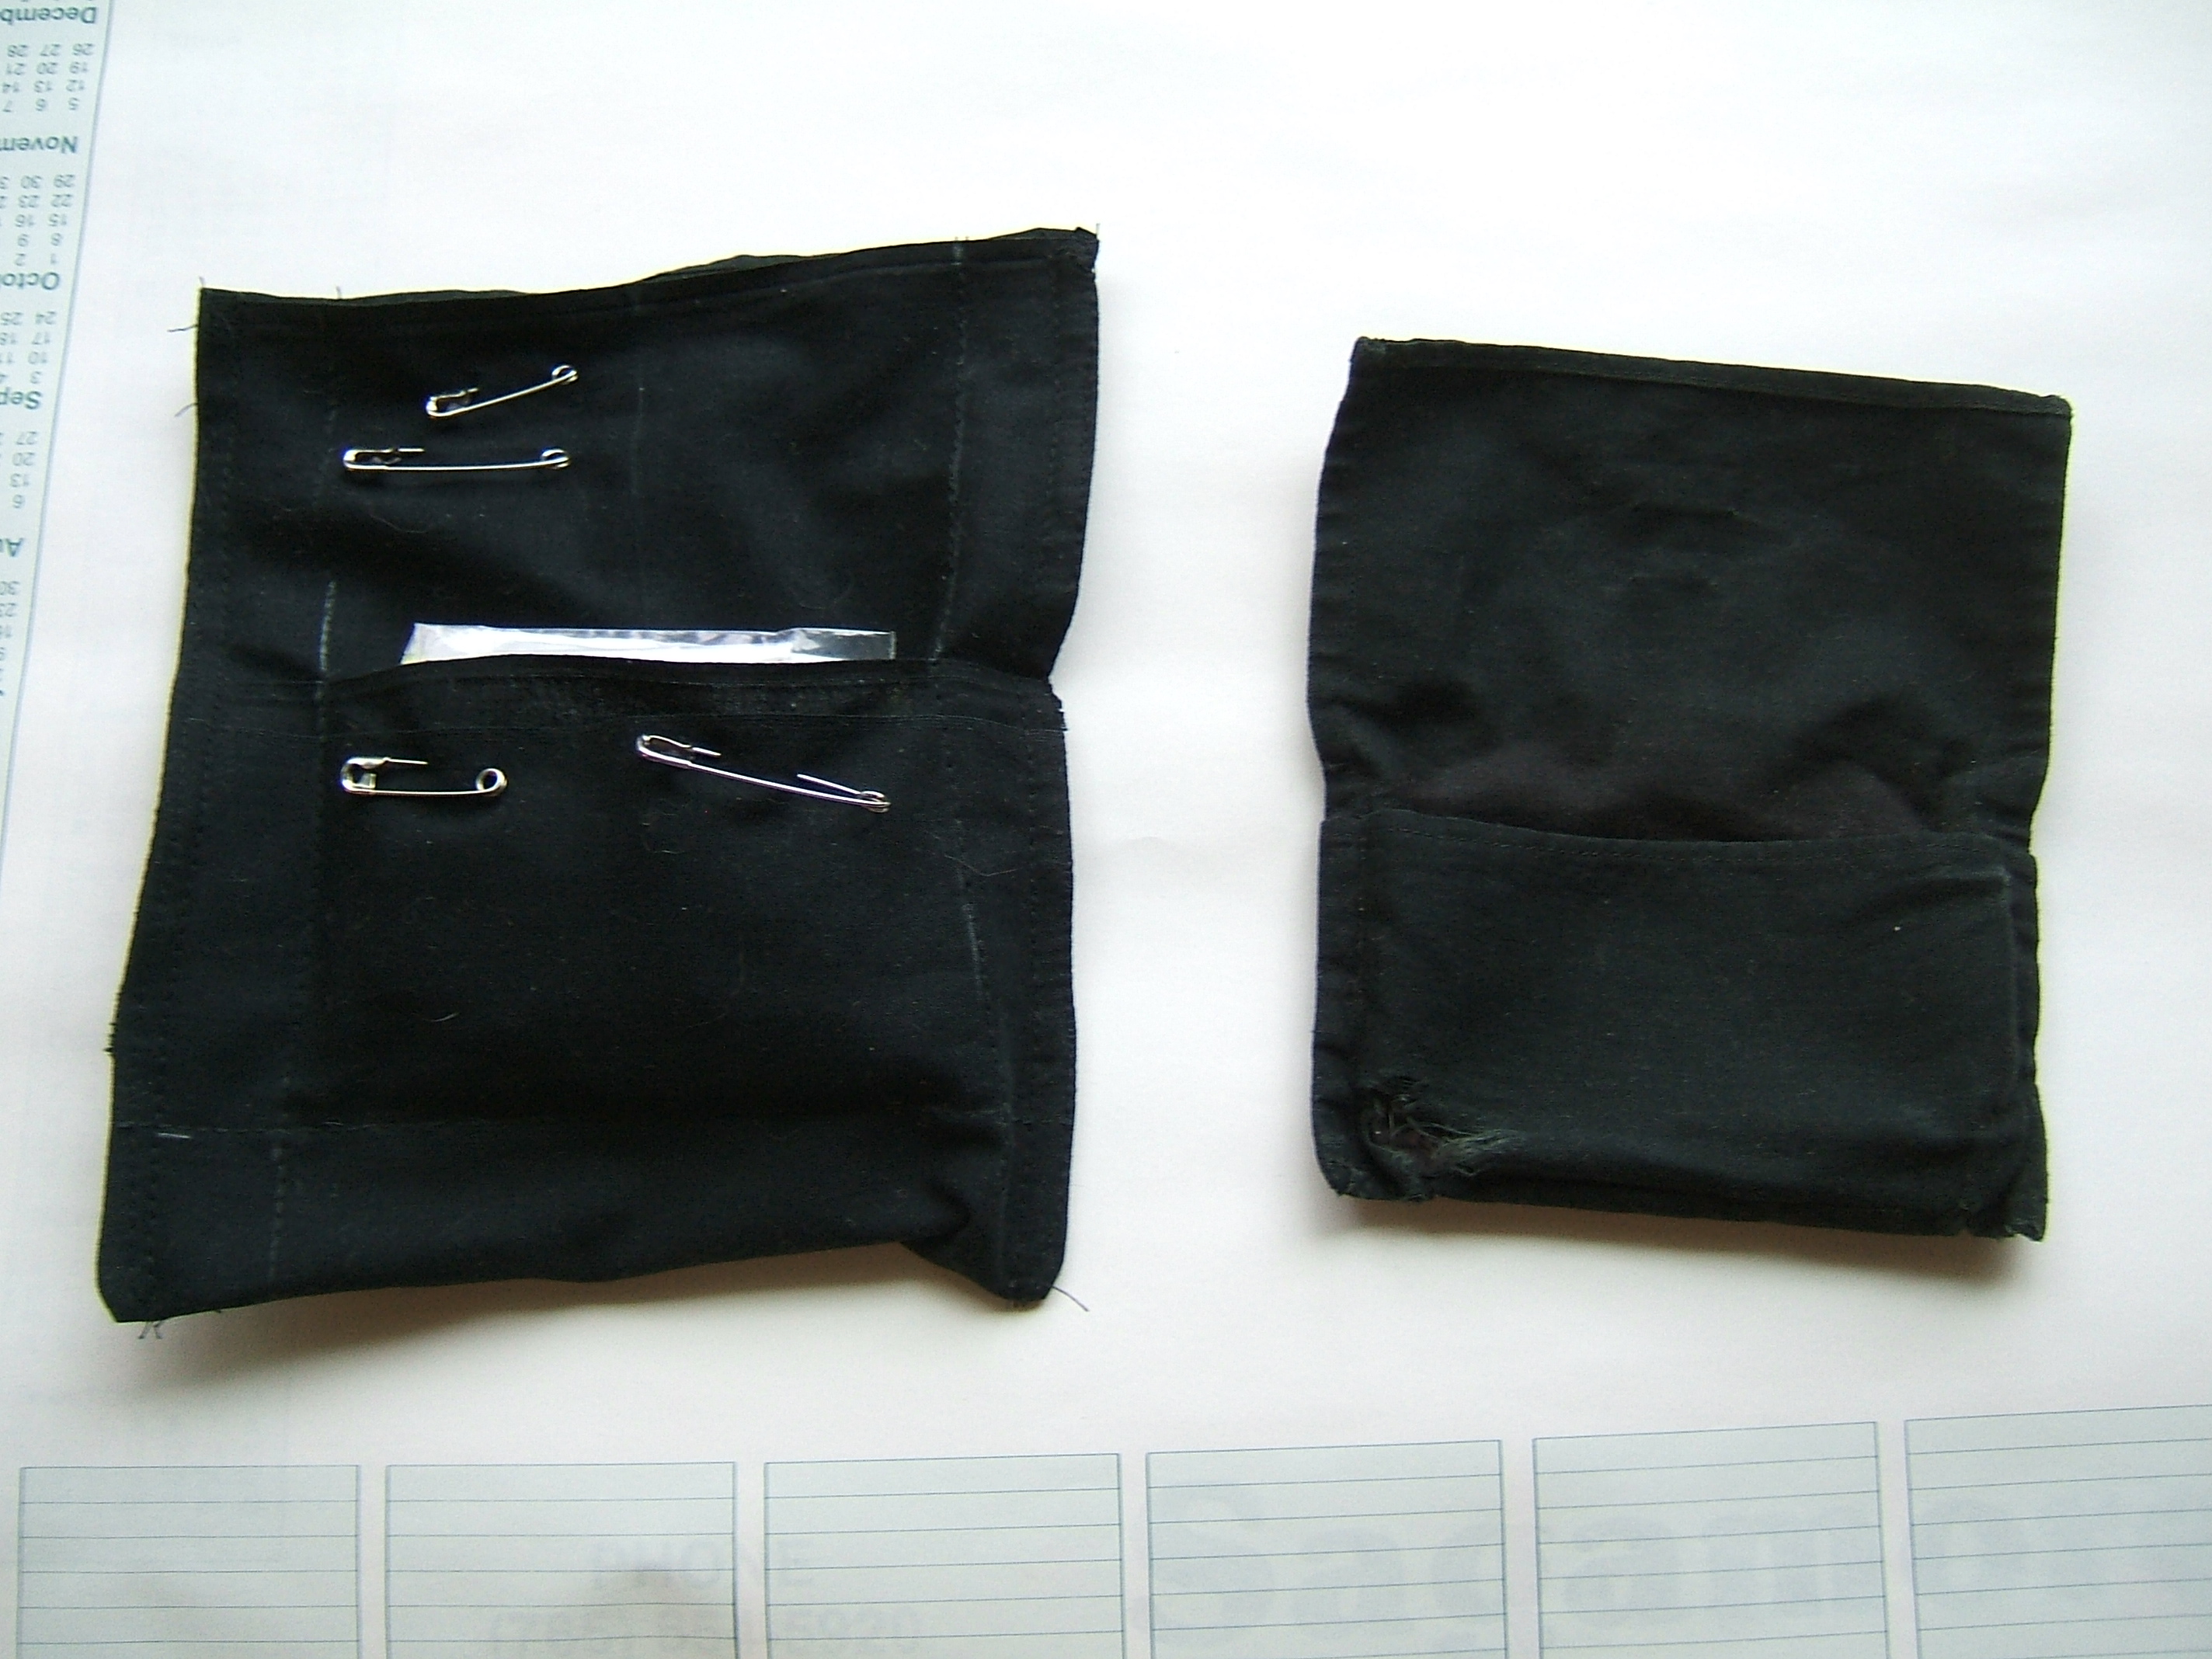
The worn-out pocket wallet being replaced. It's a simple bag, made twice as high as the contents so that it can be closed by folding it in half. Before I sewed it together, I sewed a shorter piece of fabric of the same width to it, to make a seam-to-seam pocket on each side. The lines of stitching at the bottoms of the outside pockets are about half an inch apart, to make a double bottom to the main pocket.

The safety pins on this side are being stored in case of emergency.

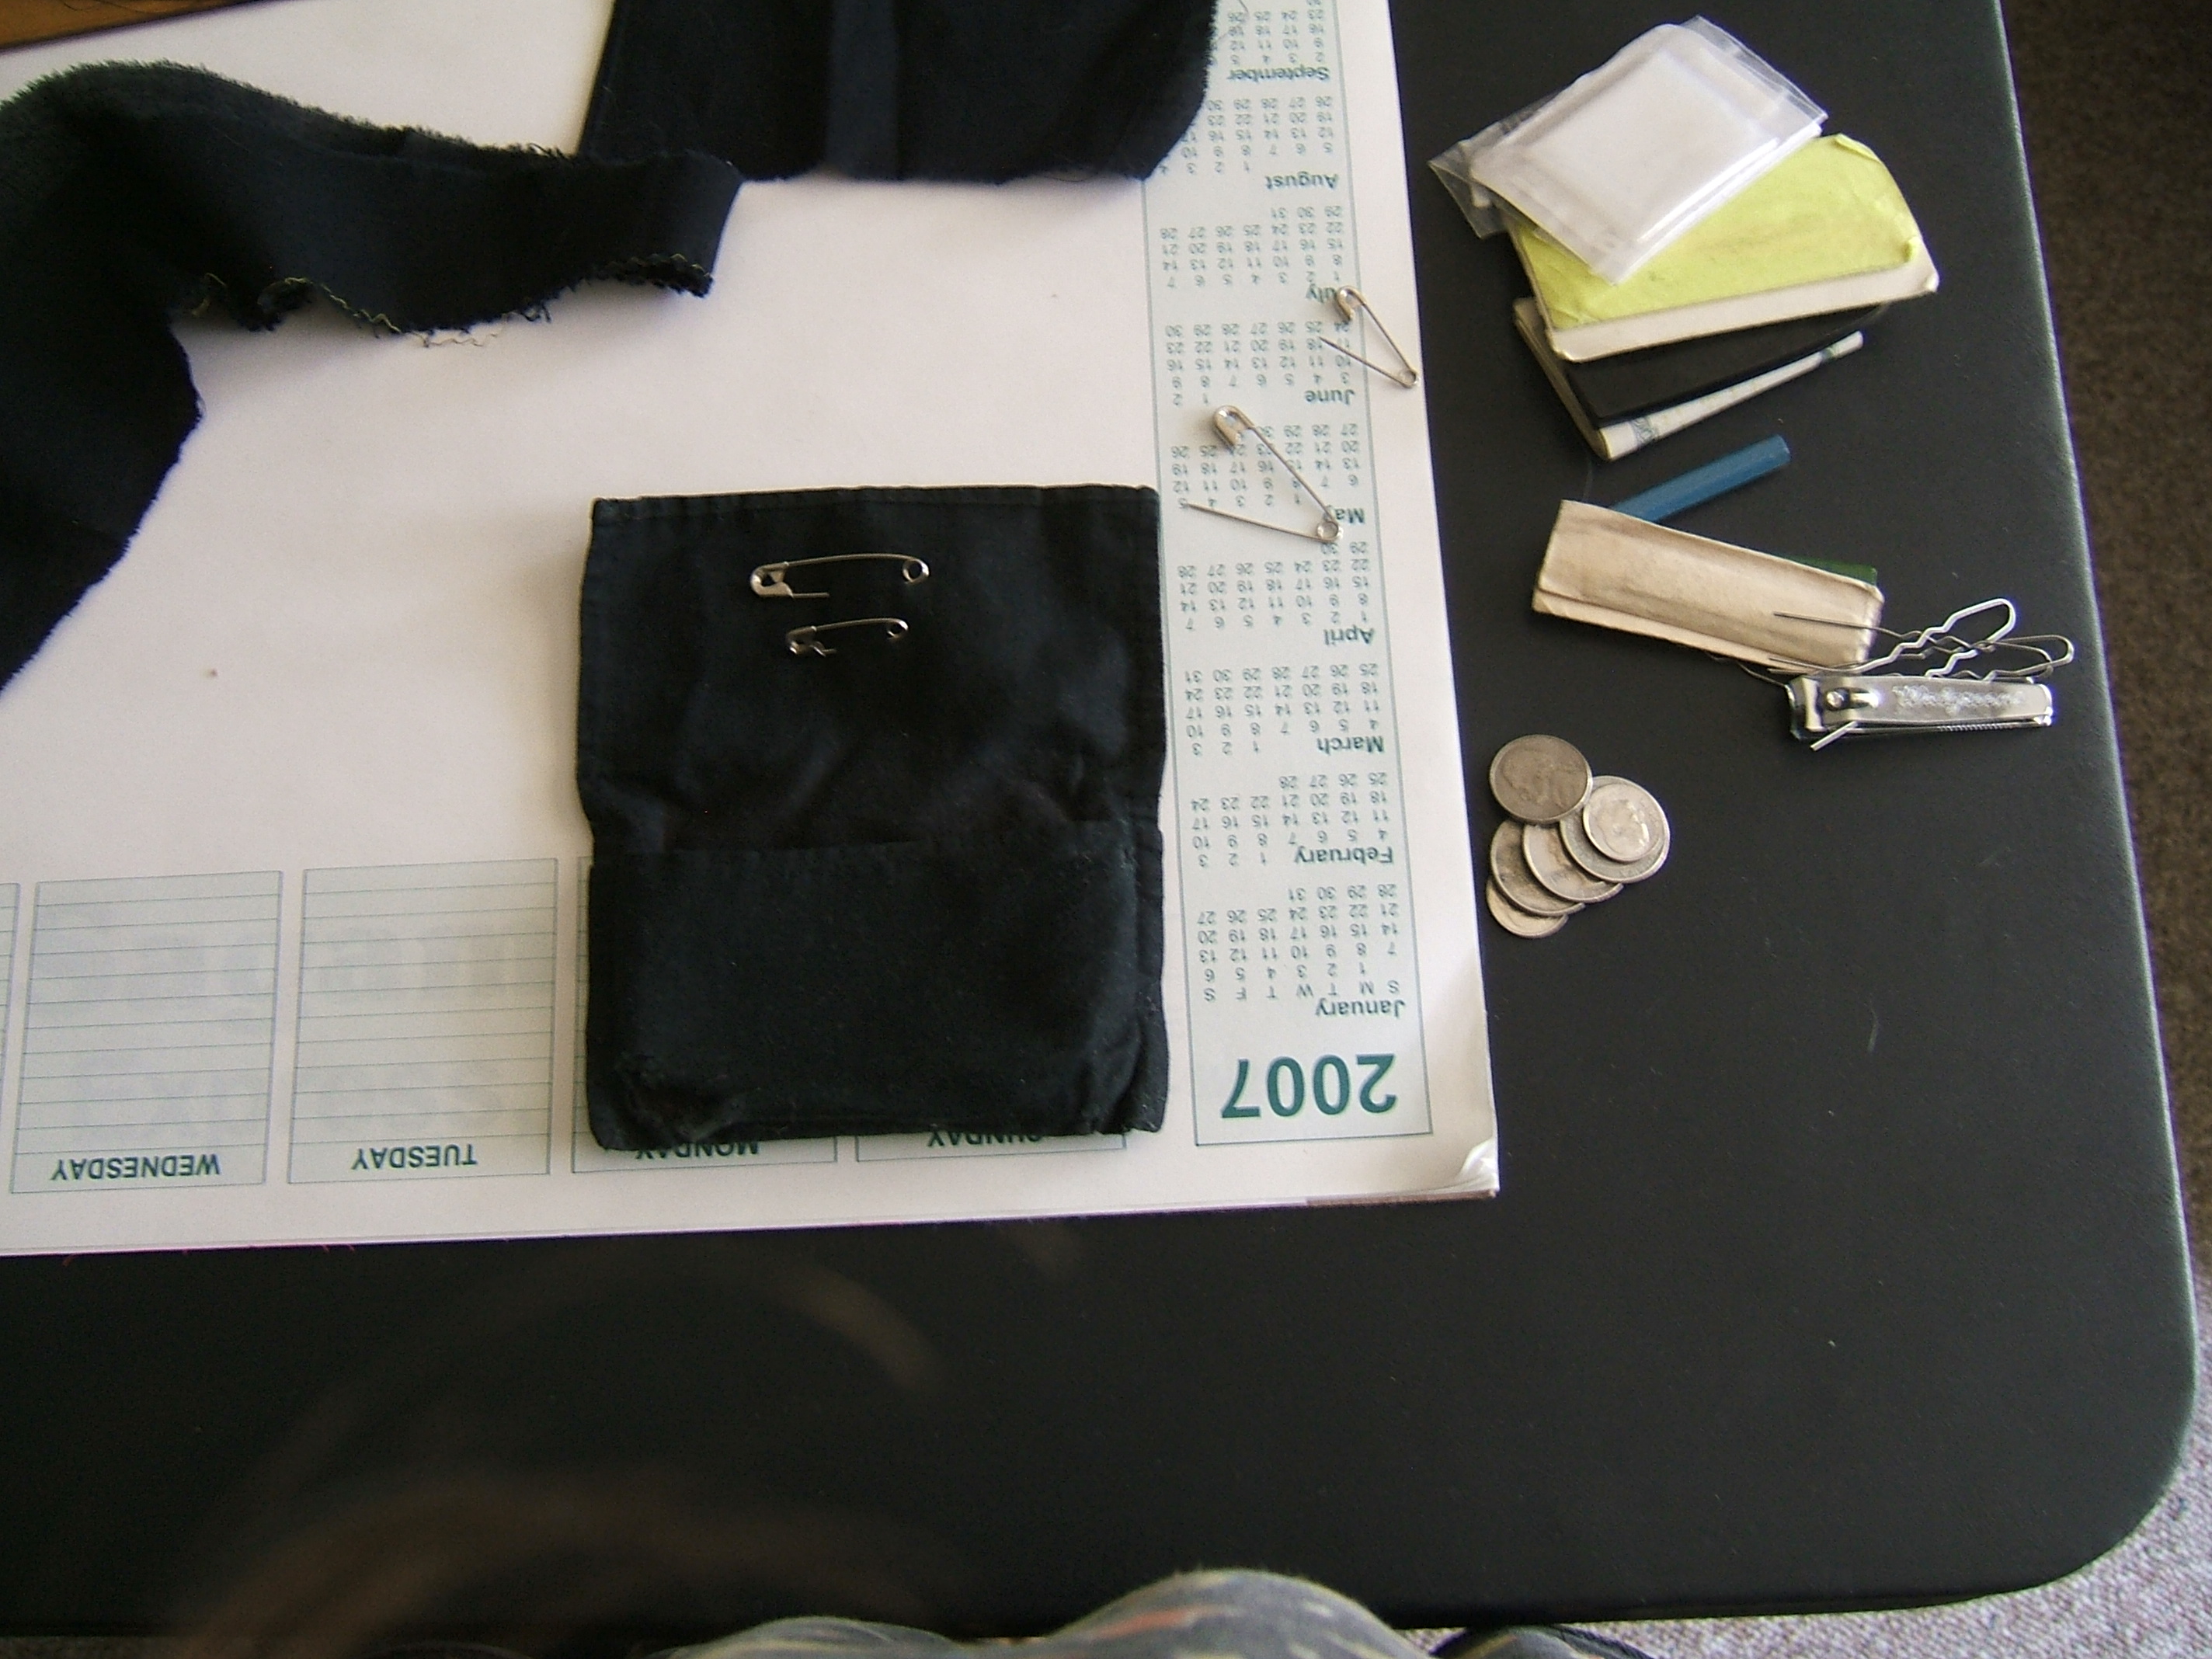
The safety pins on this side are closing the pocket that isn't covered when the wallet is folded. The items stored on this side are smaller and lumpier and, therefore, more likely to fall out. Those that happen to be long and thin, such as the pencil stub, can be maneuvered out without removing the pins.
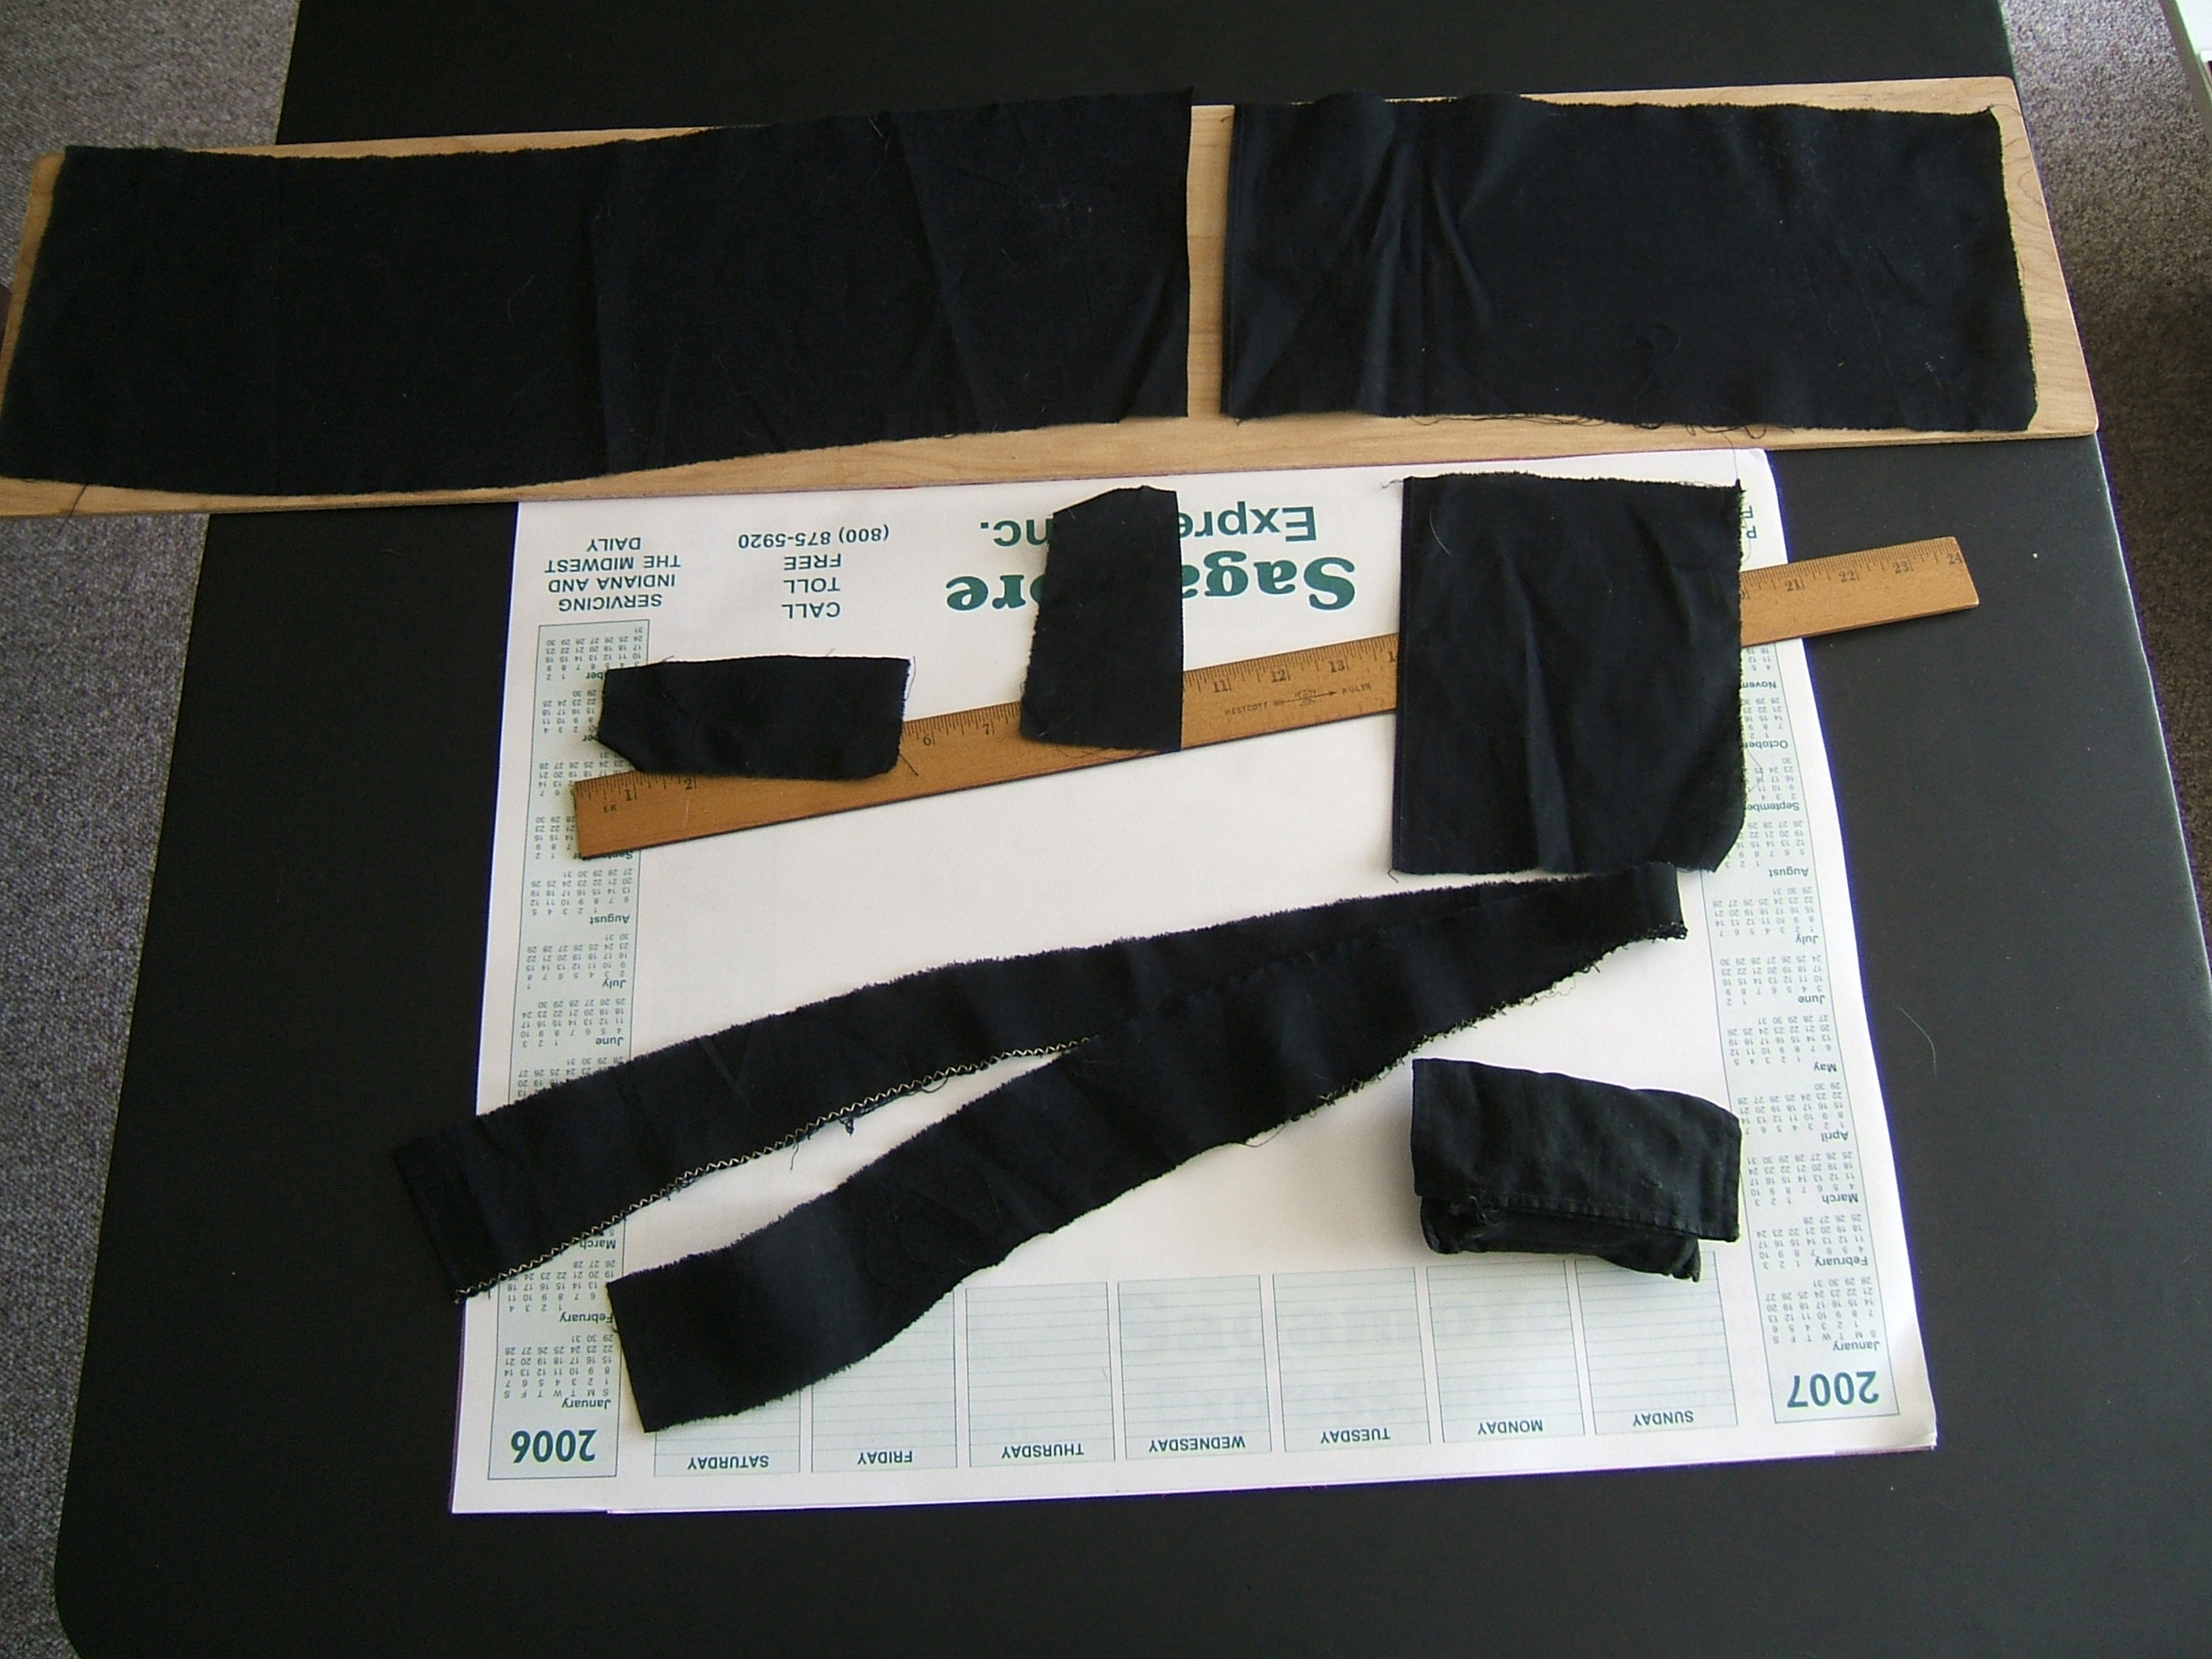
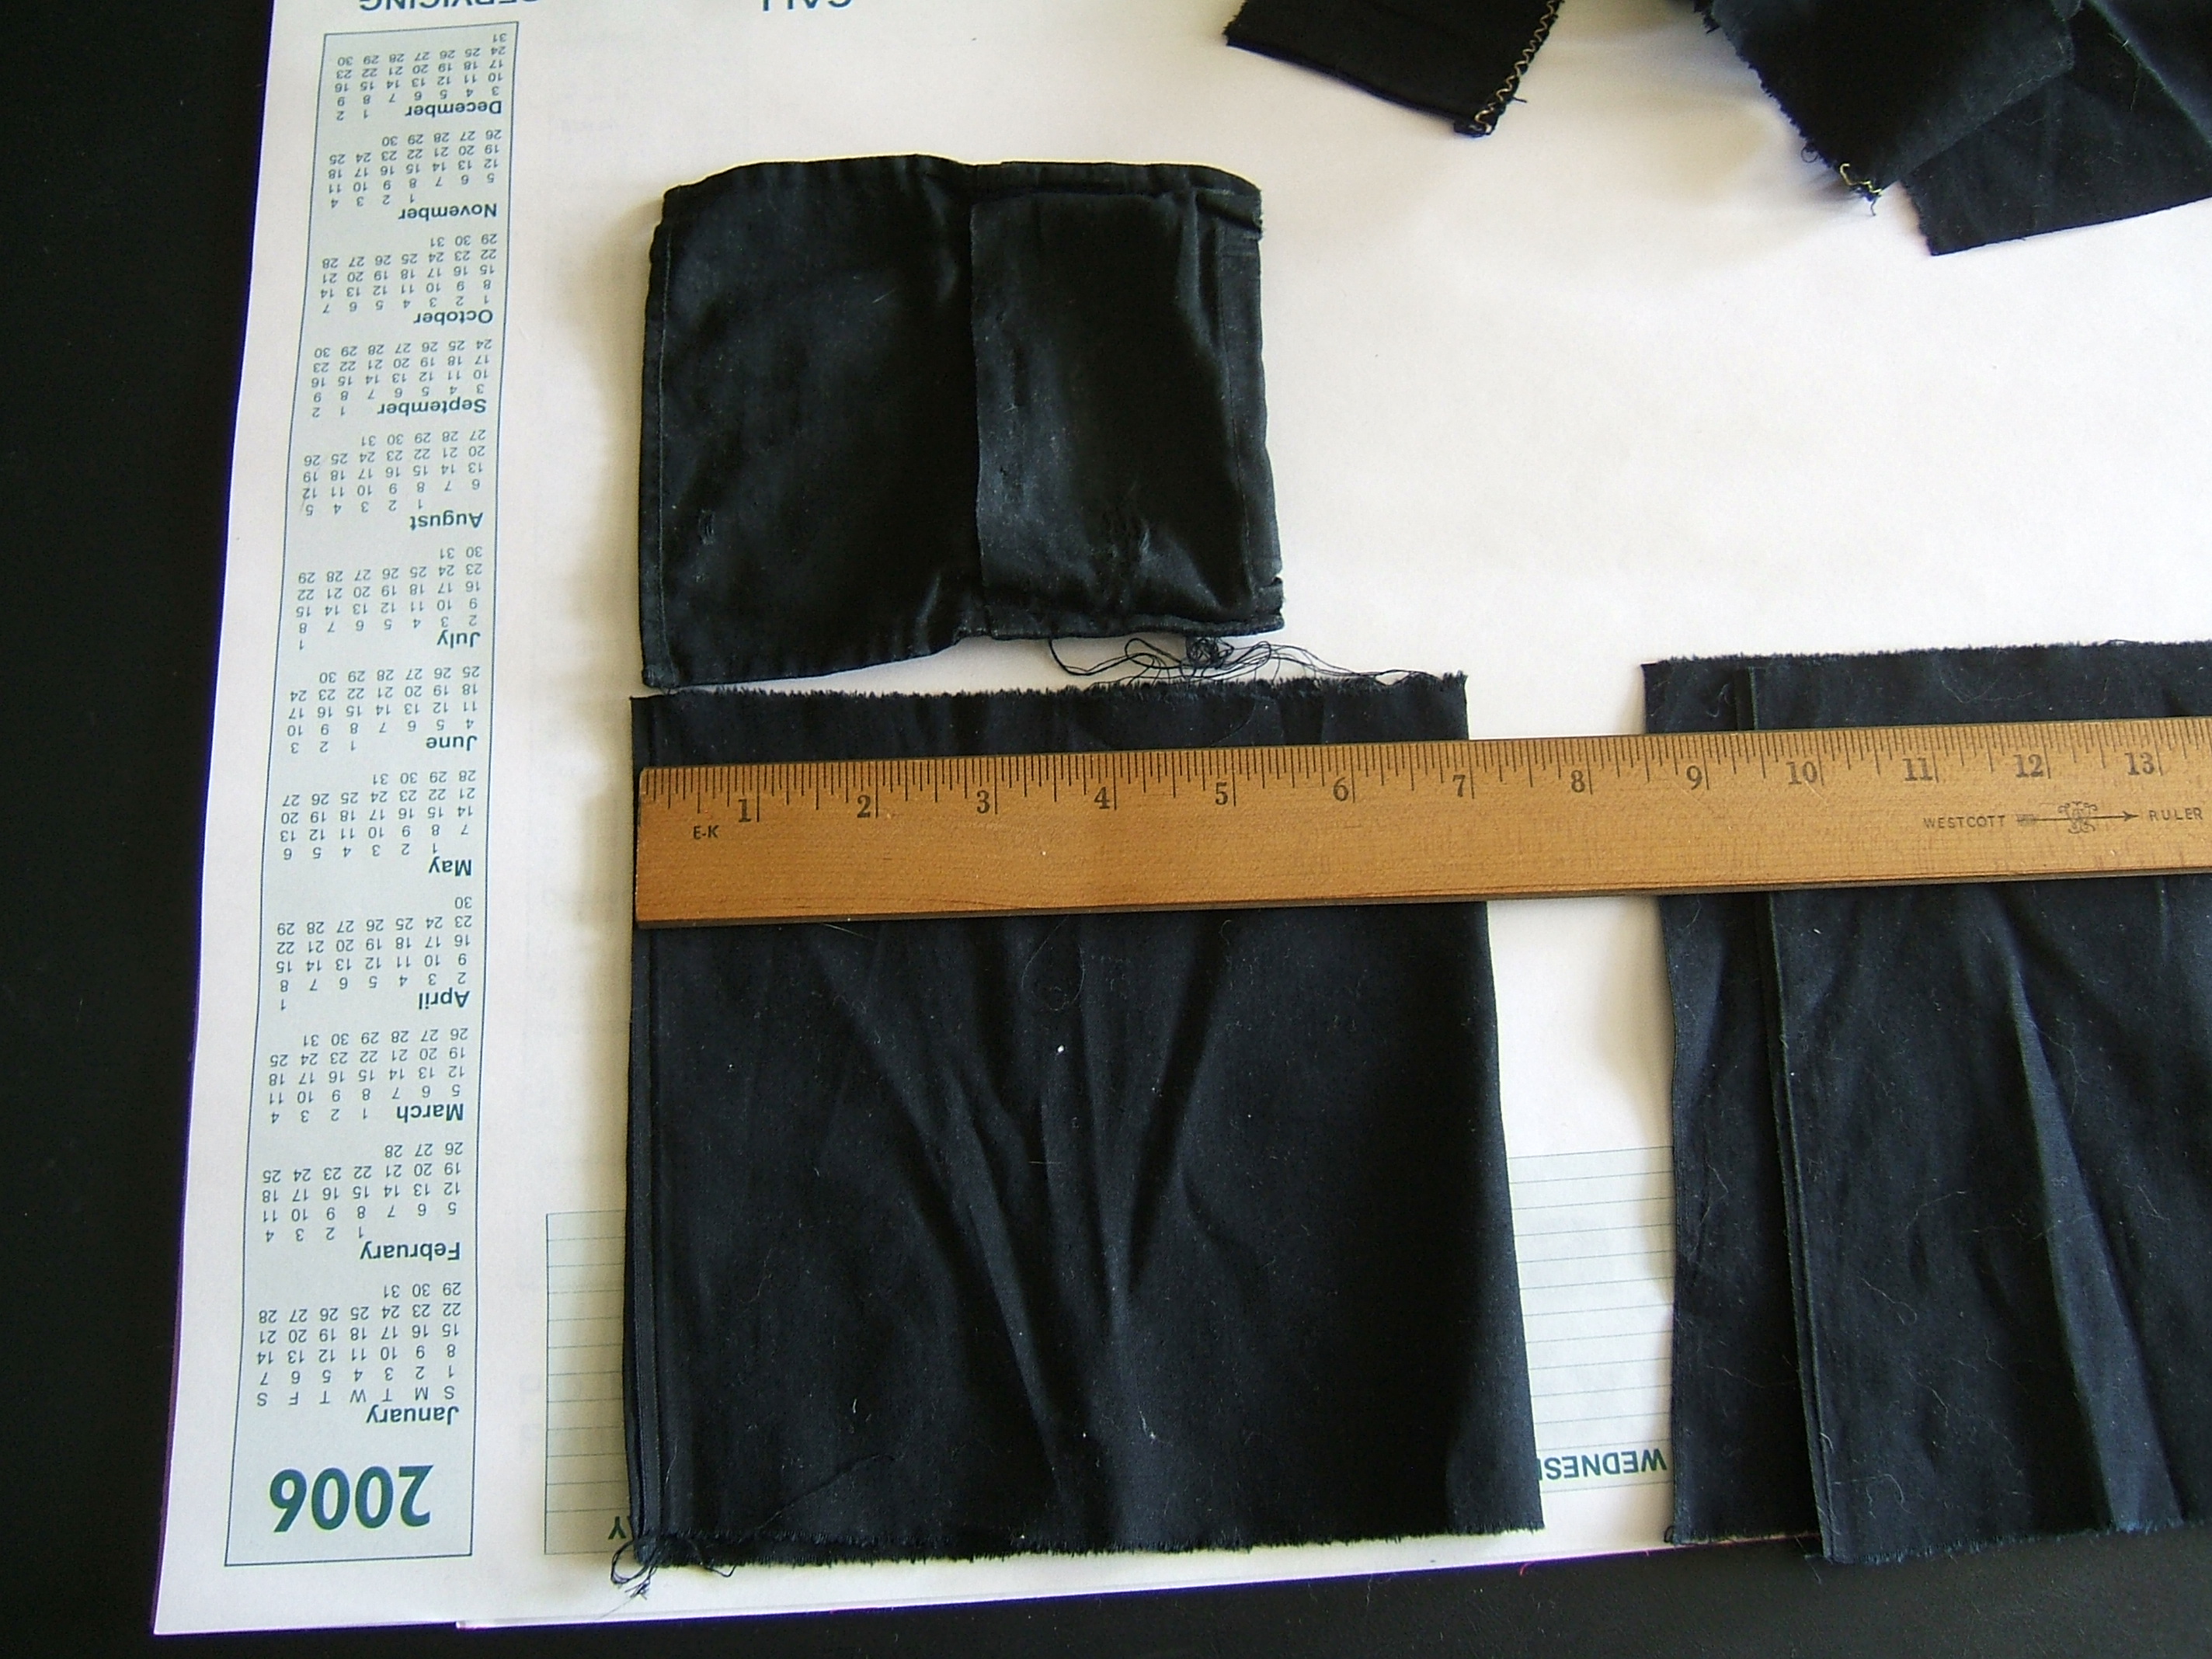
The old wallet and the scraps I have to work with. The desk calendar was thrown in so that the black scraps would be visible on the black table.
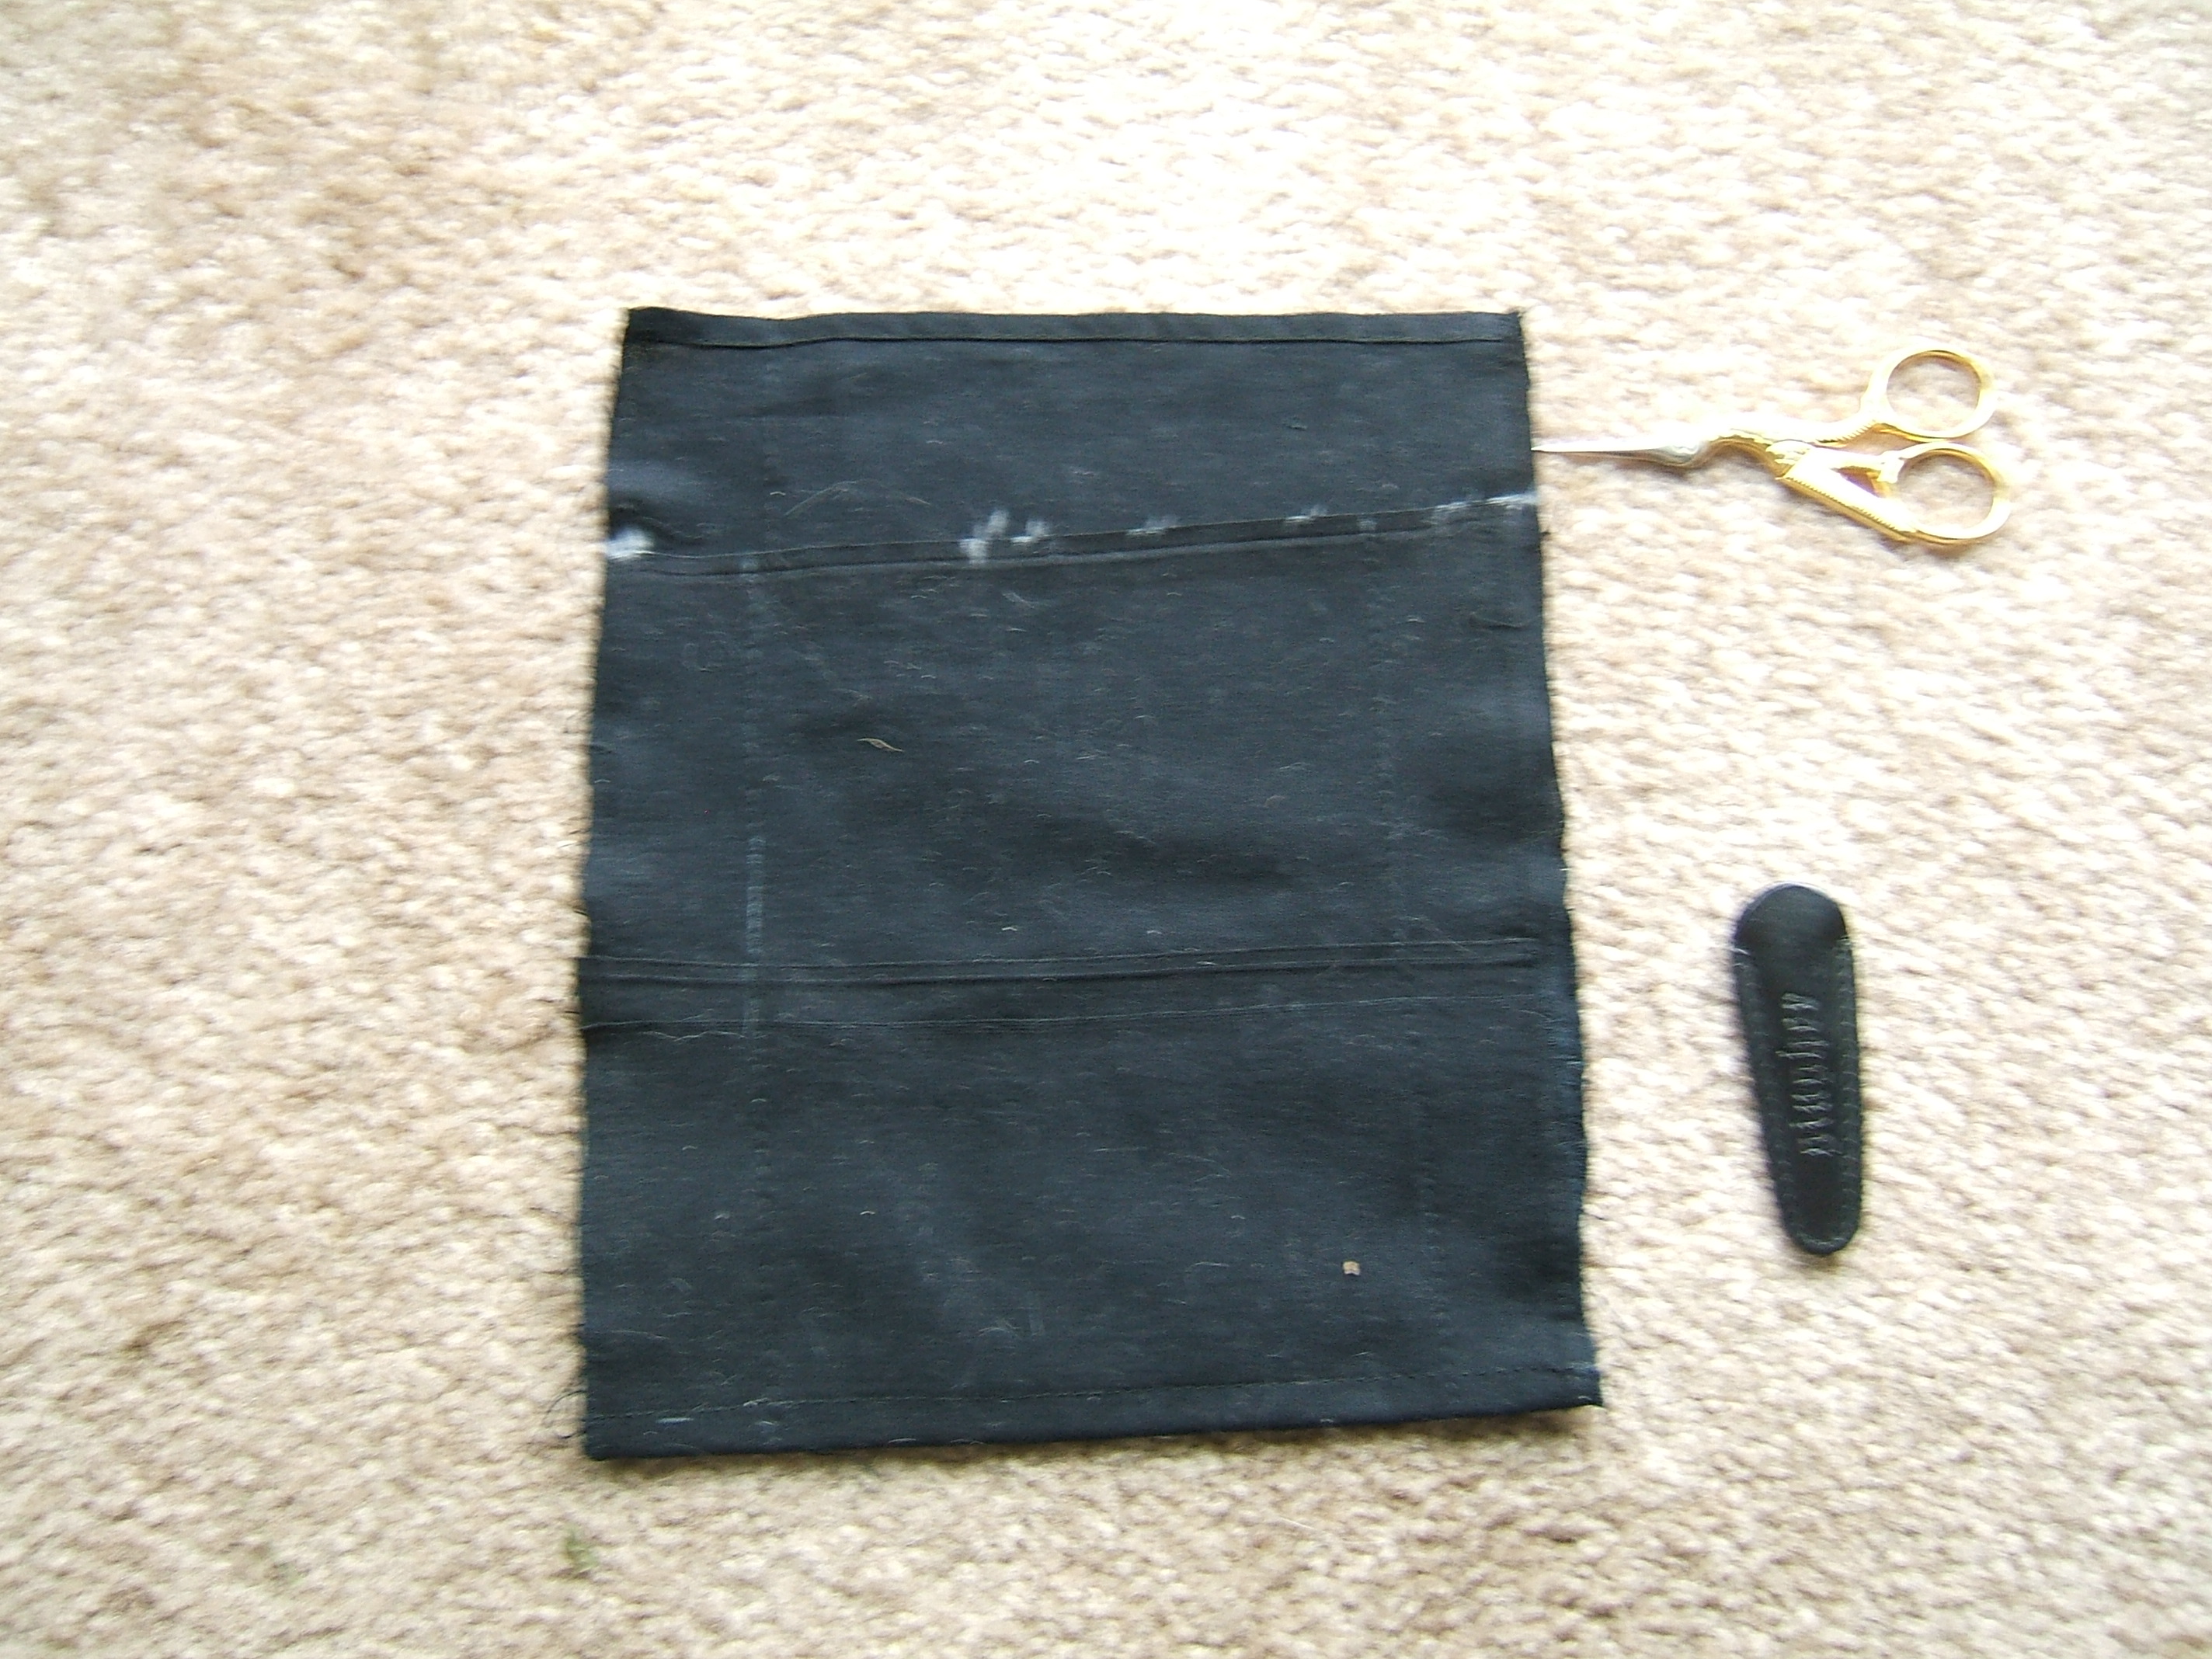
Old wallet emptied for measuring.
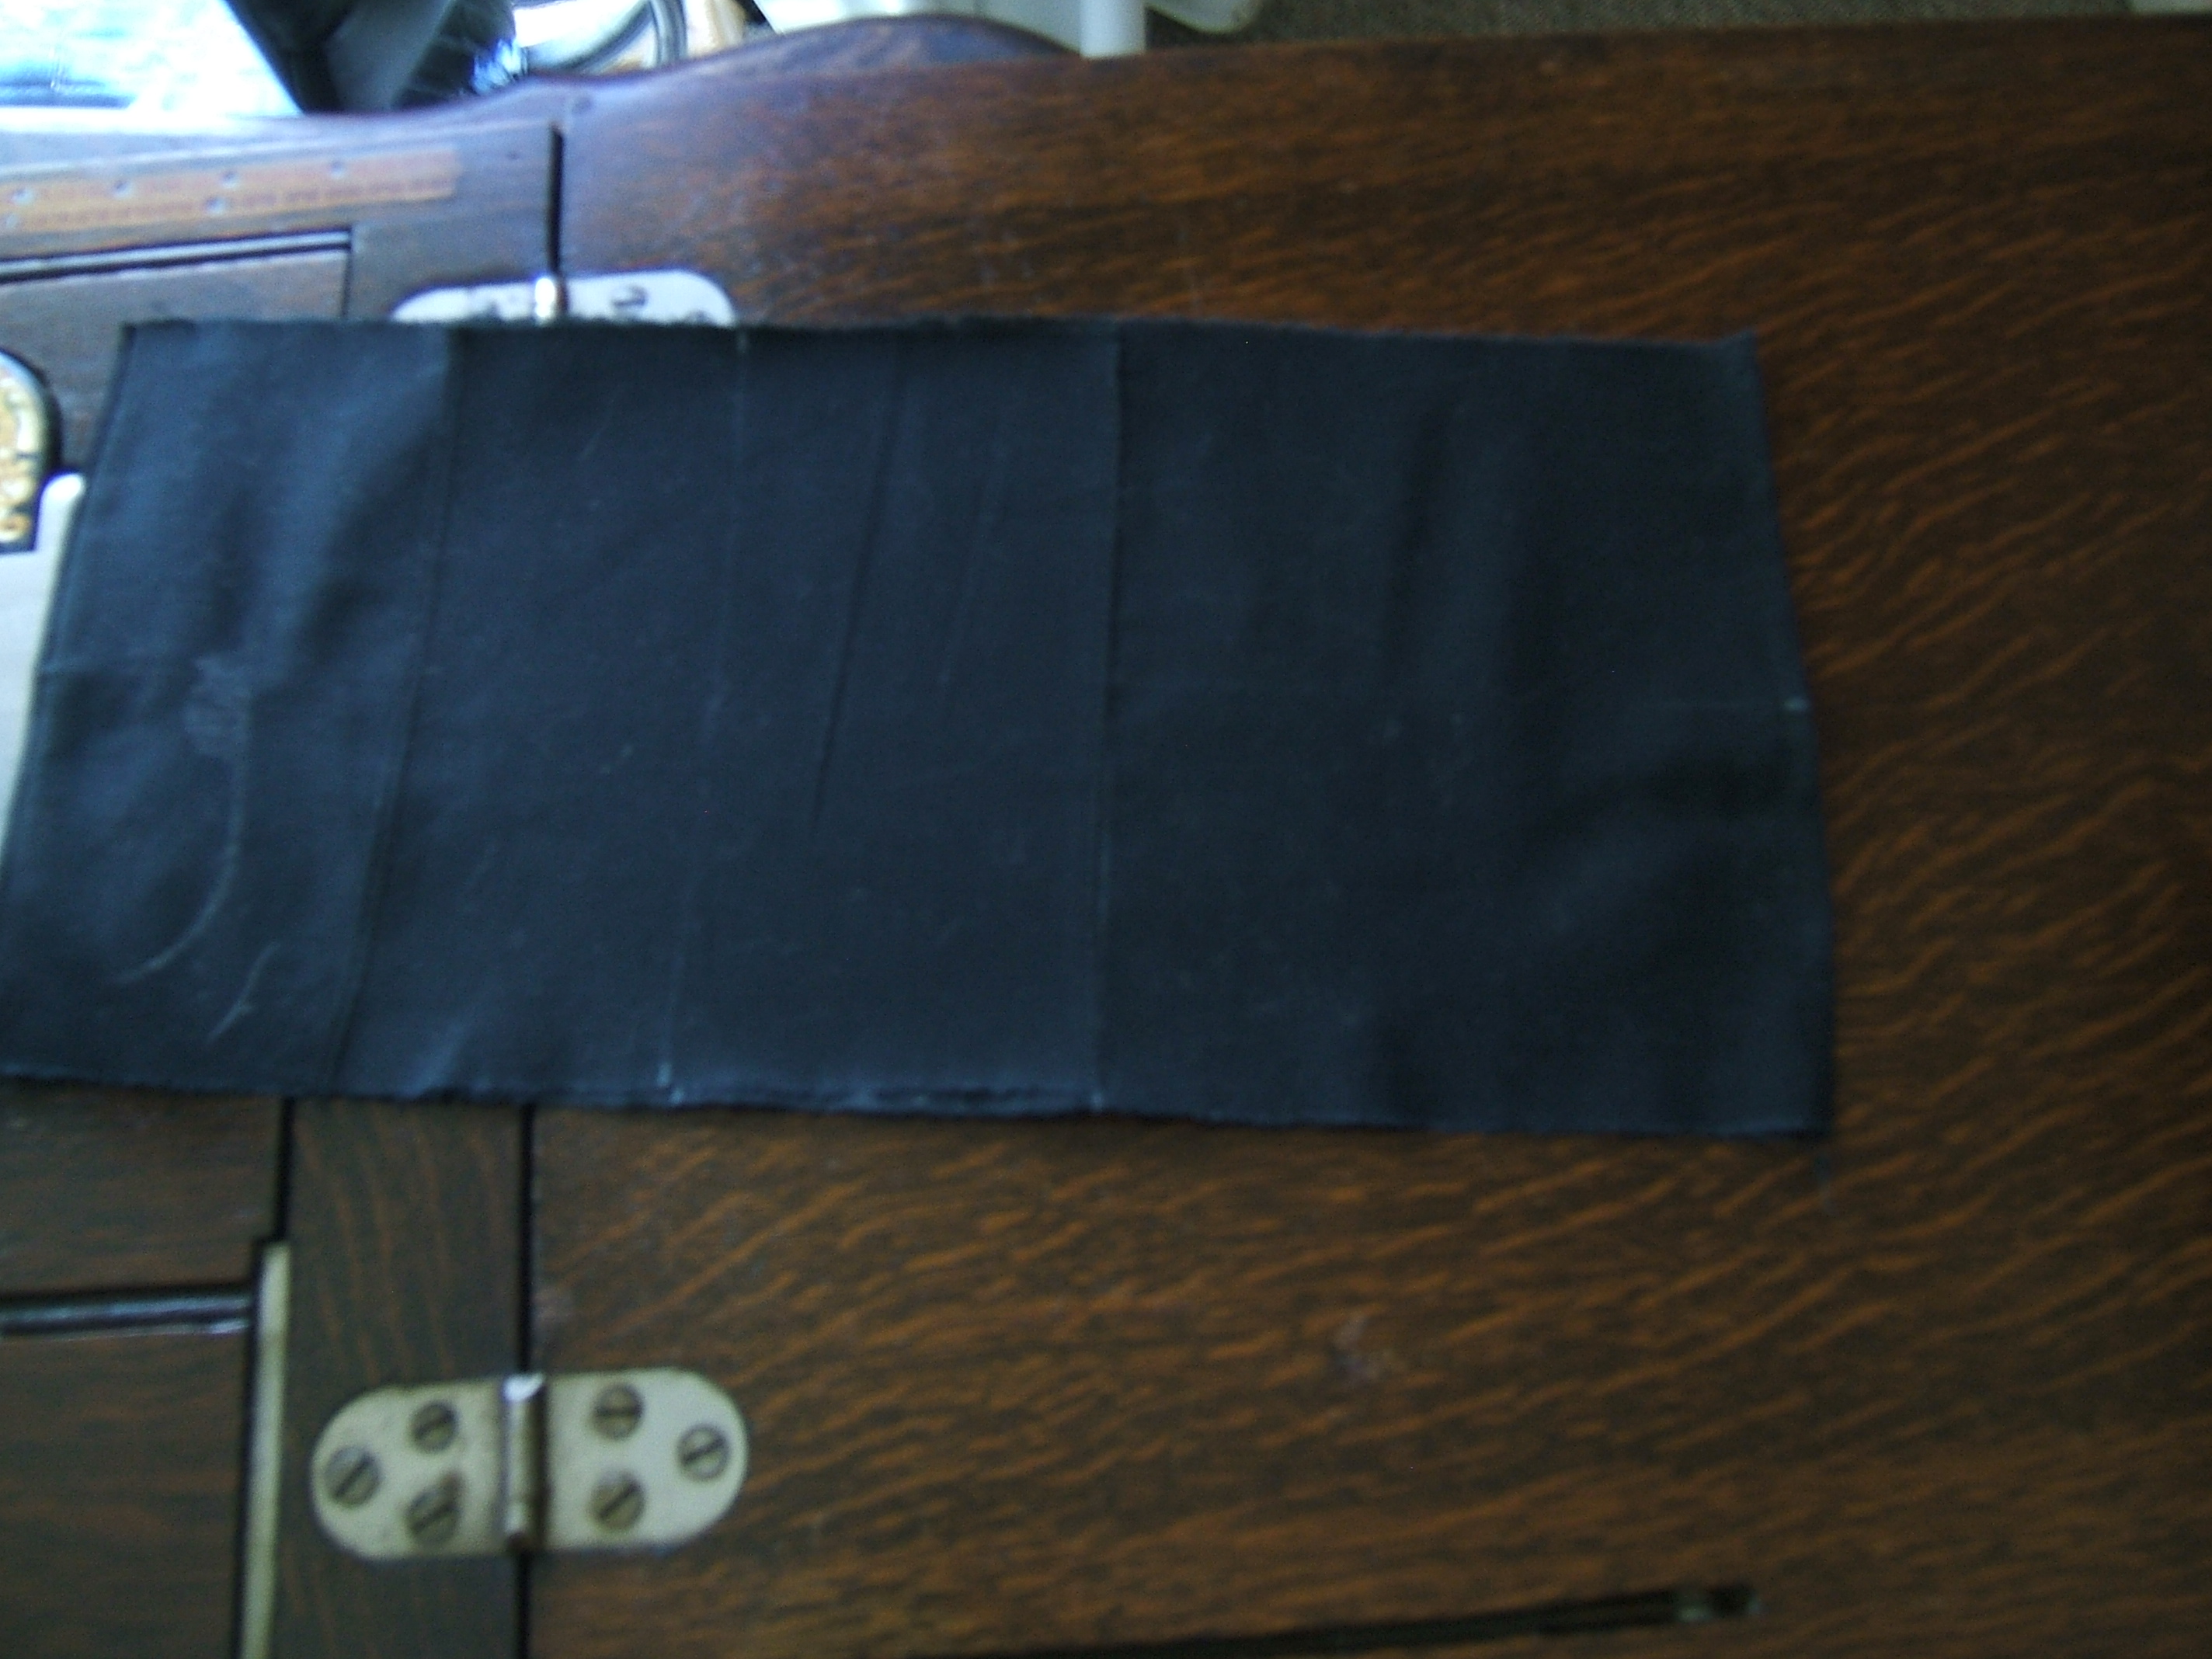
I have selected three scraps. Each has a selvage at one end; these will be preserved to make the wallet less lumpy. The scrap that is folded in half and has the old wallet lying on it will be the body. The rejected scraps cluttered the table for some time.
Measuring to mark a stitching line on the body.
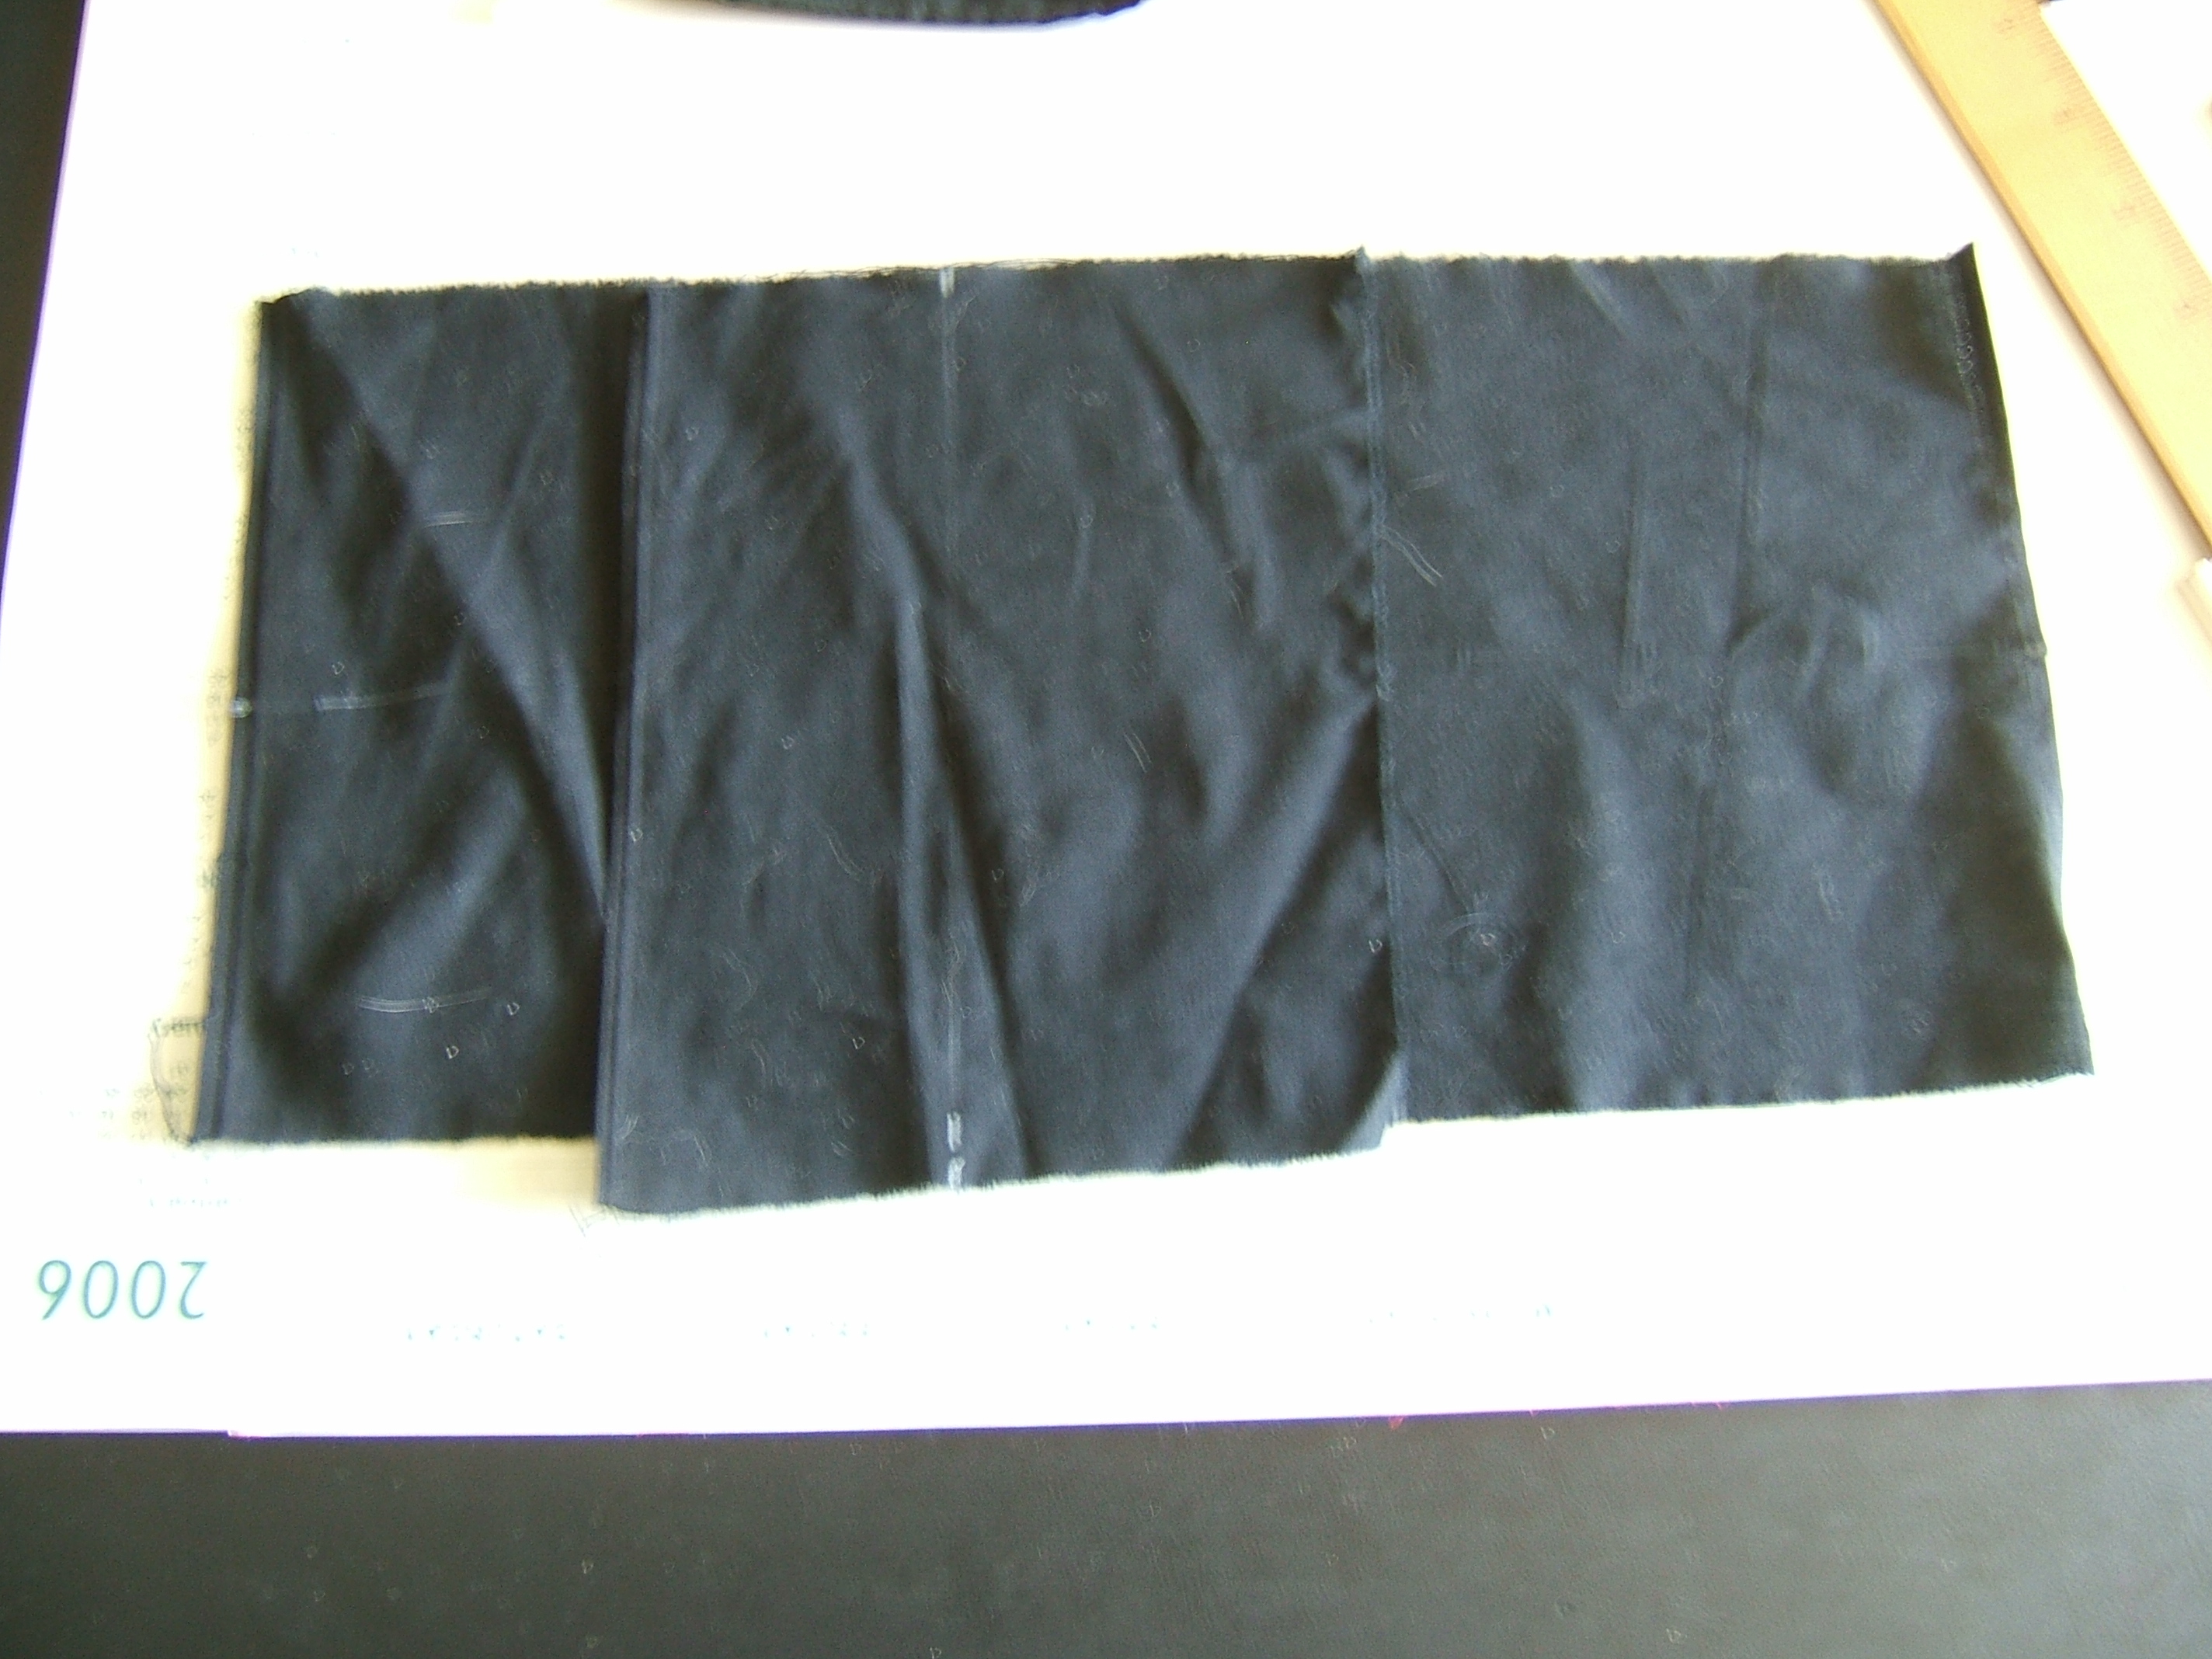
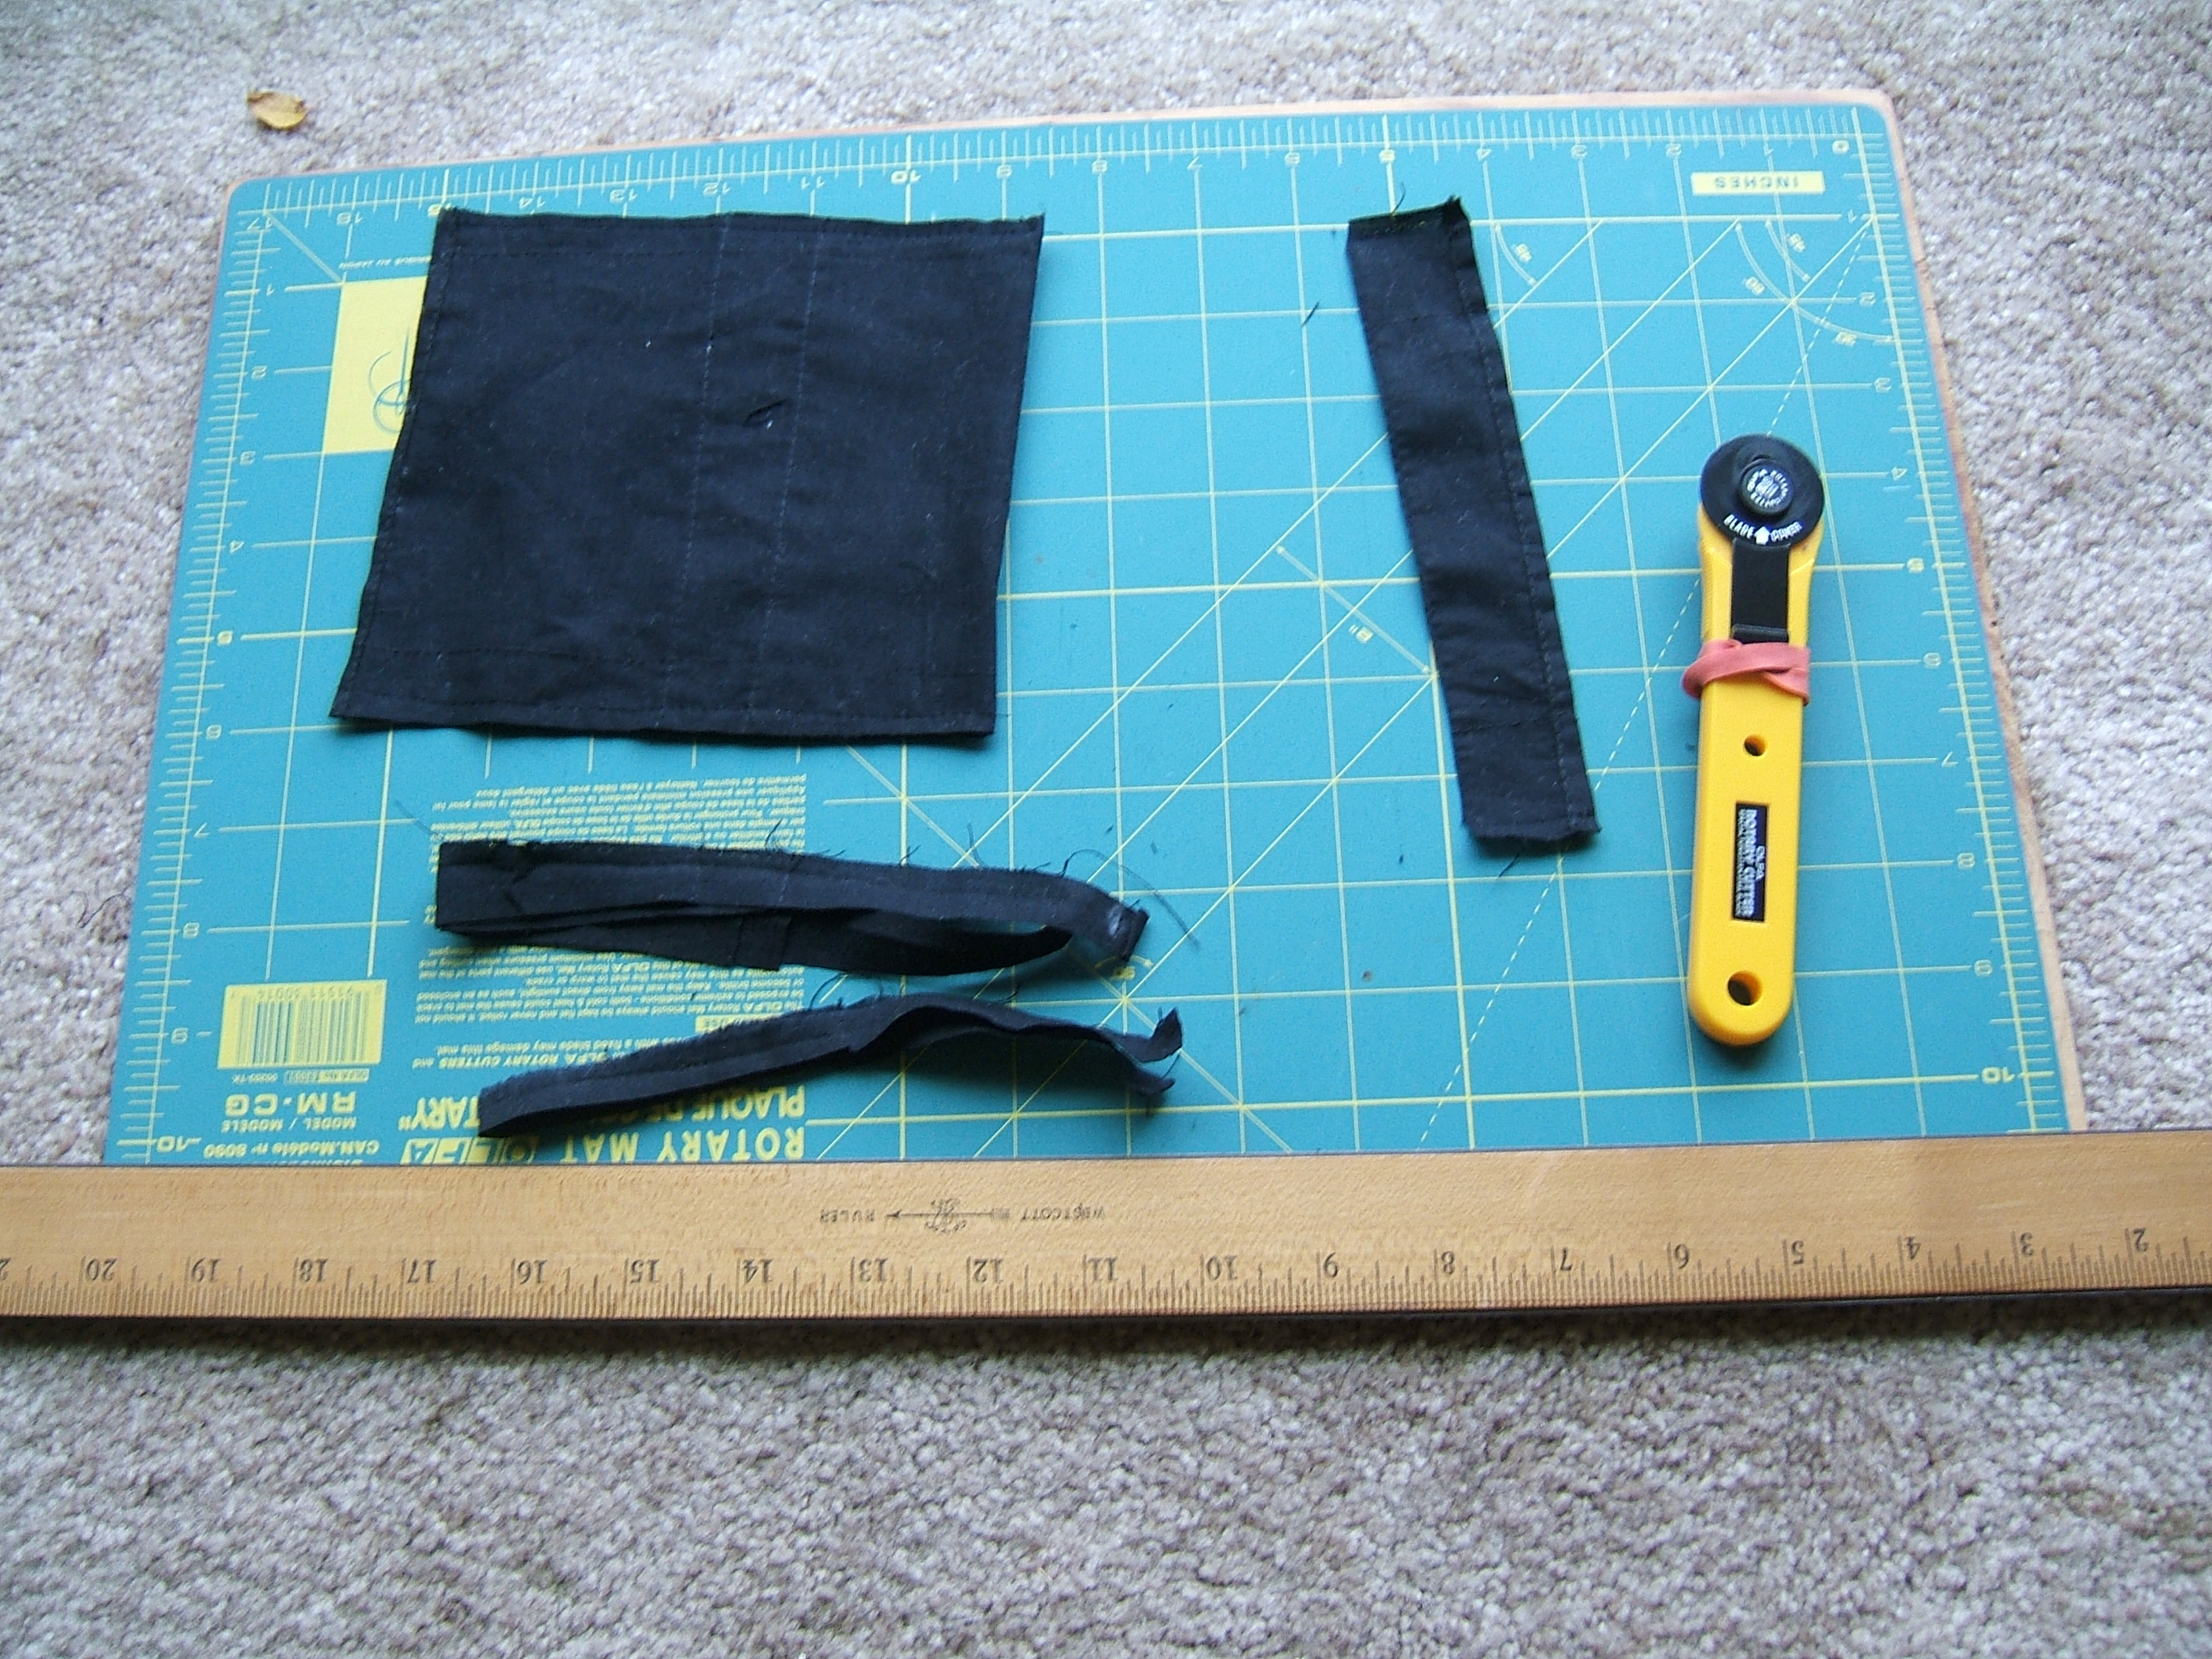
The pocket scrap is wider than the body scrap.
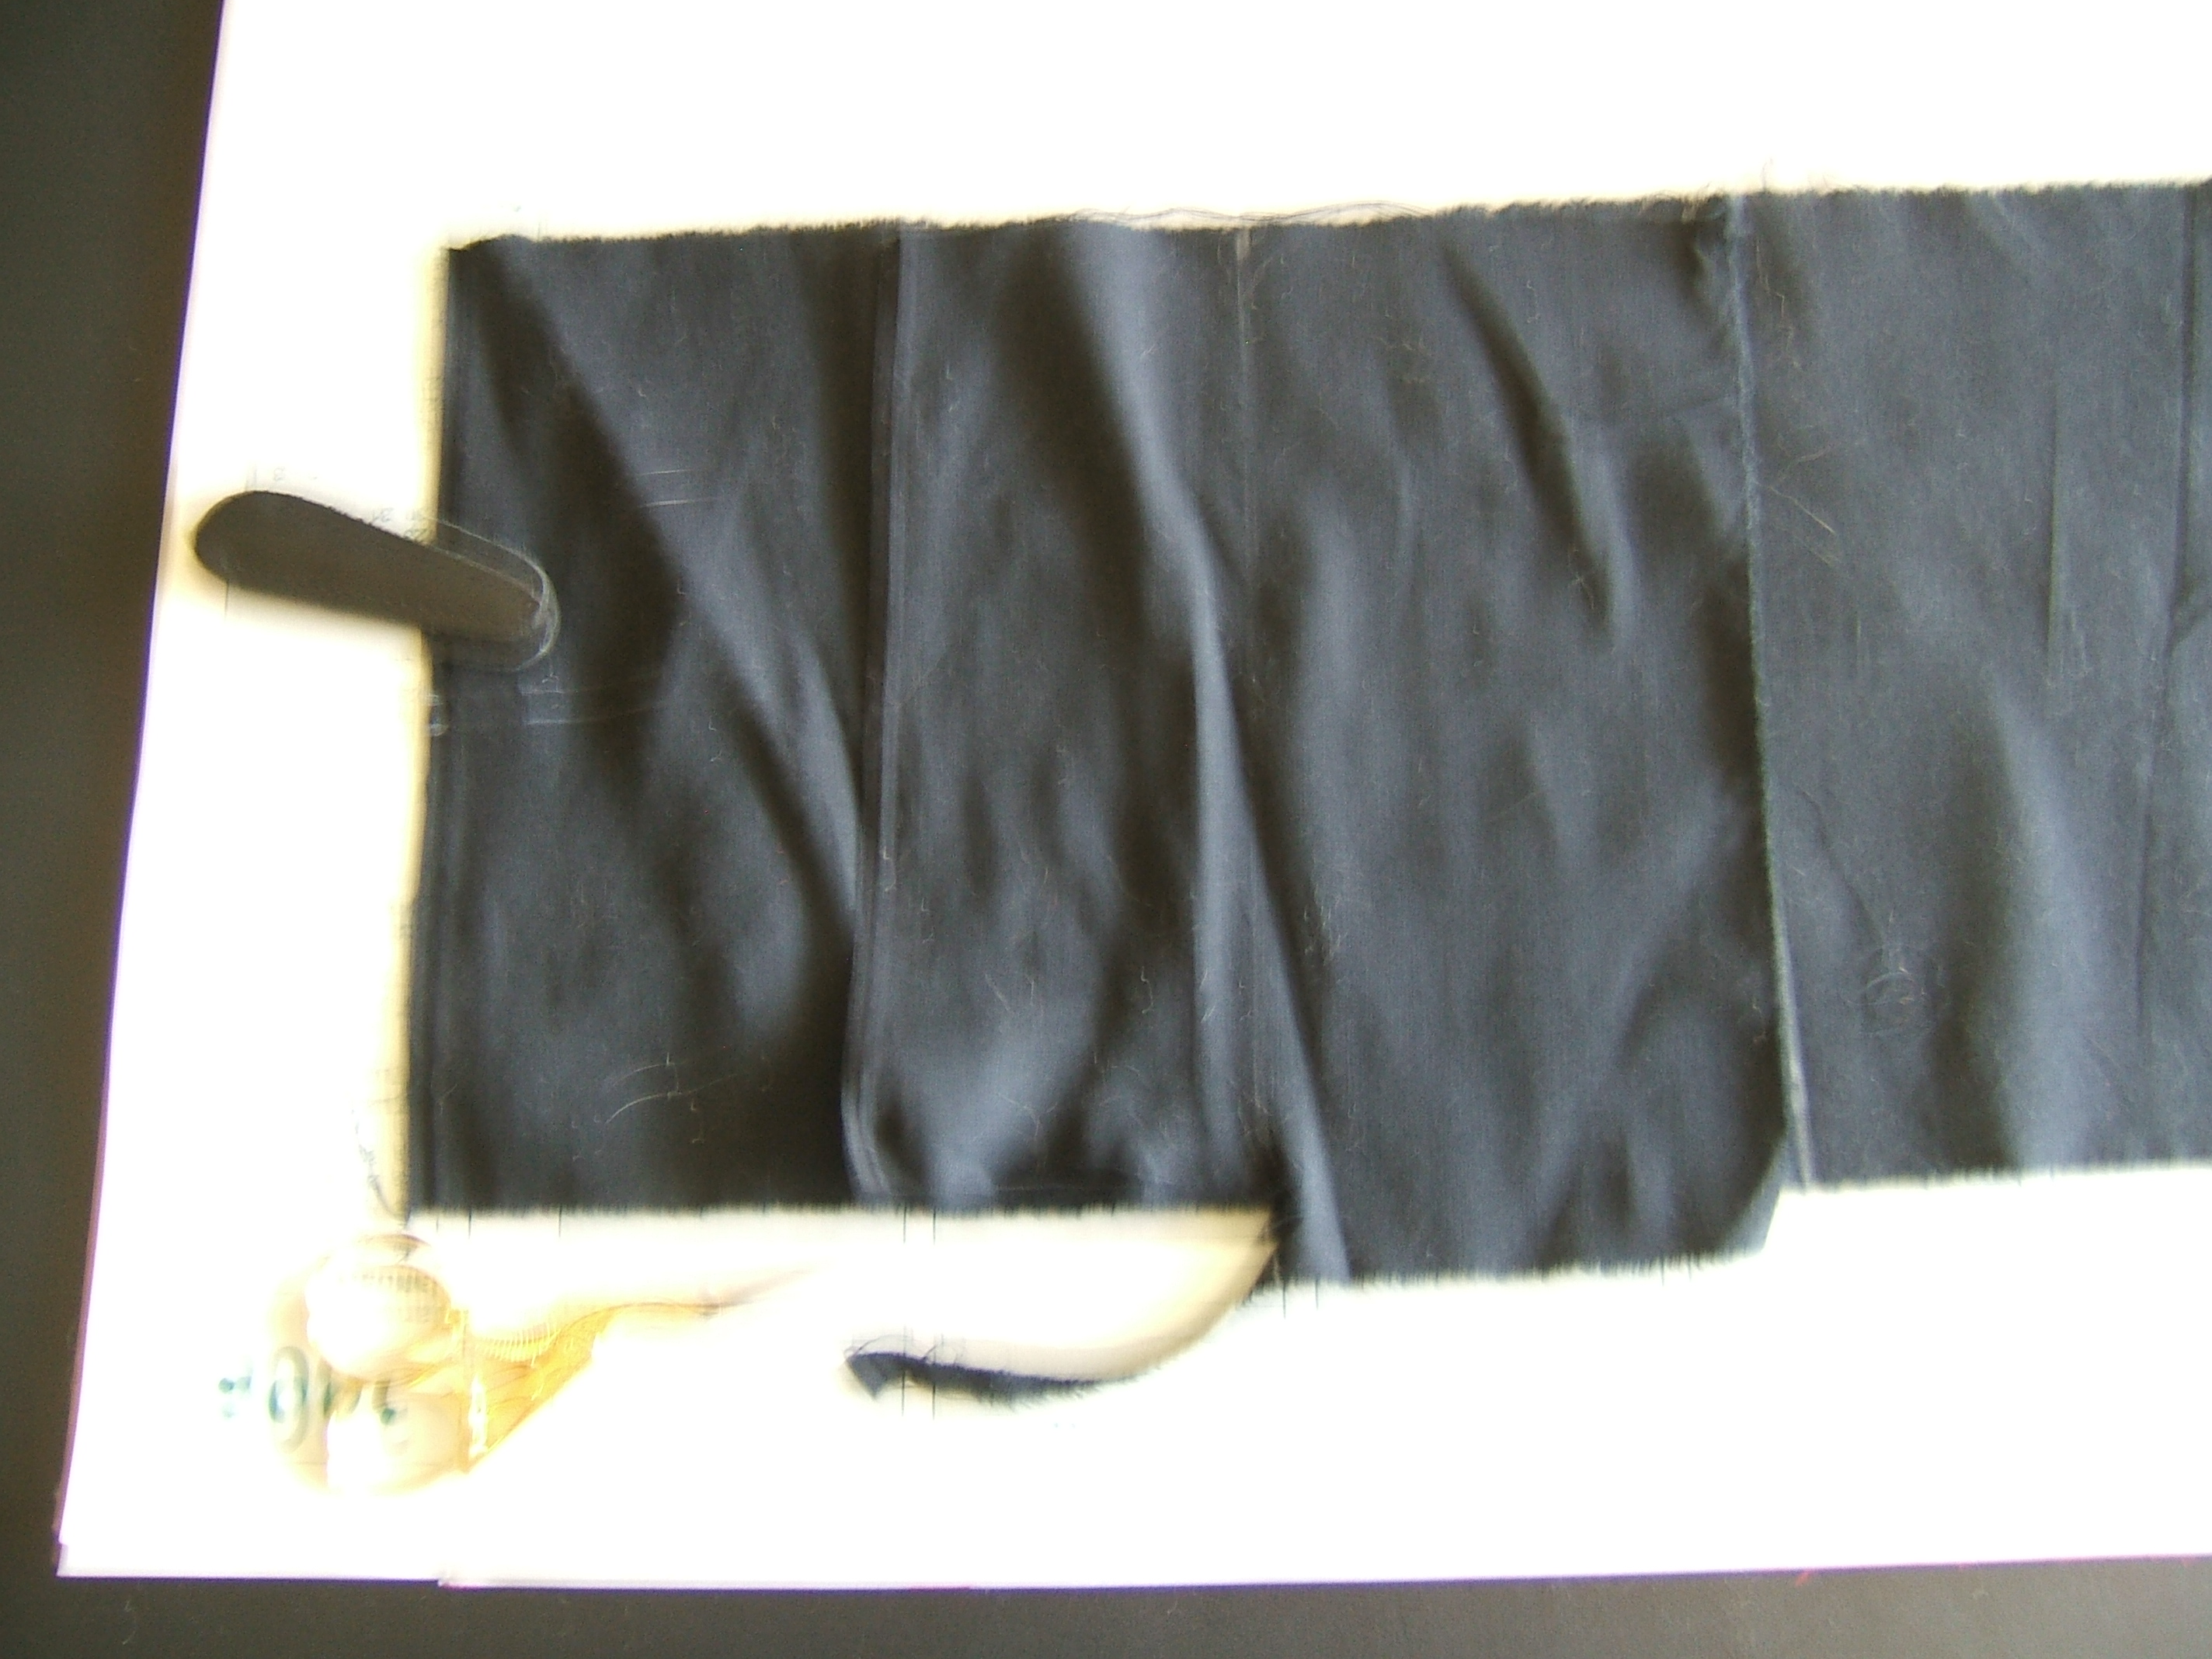
So I tore a strip off it. After noticing that the scissors sheath was lying on the body scrap, I eventually figured out that the yellow blur is the scissors I used to start the tear. Don't bother clicking for more detail on this one!
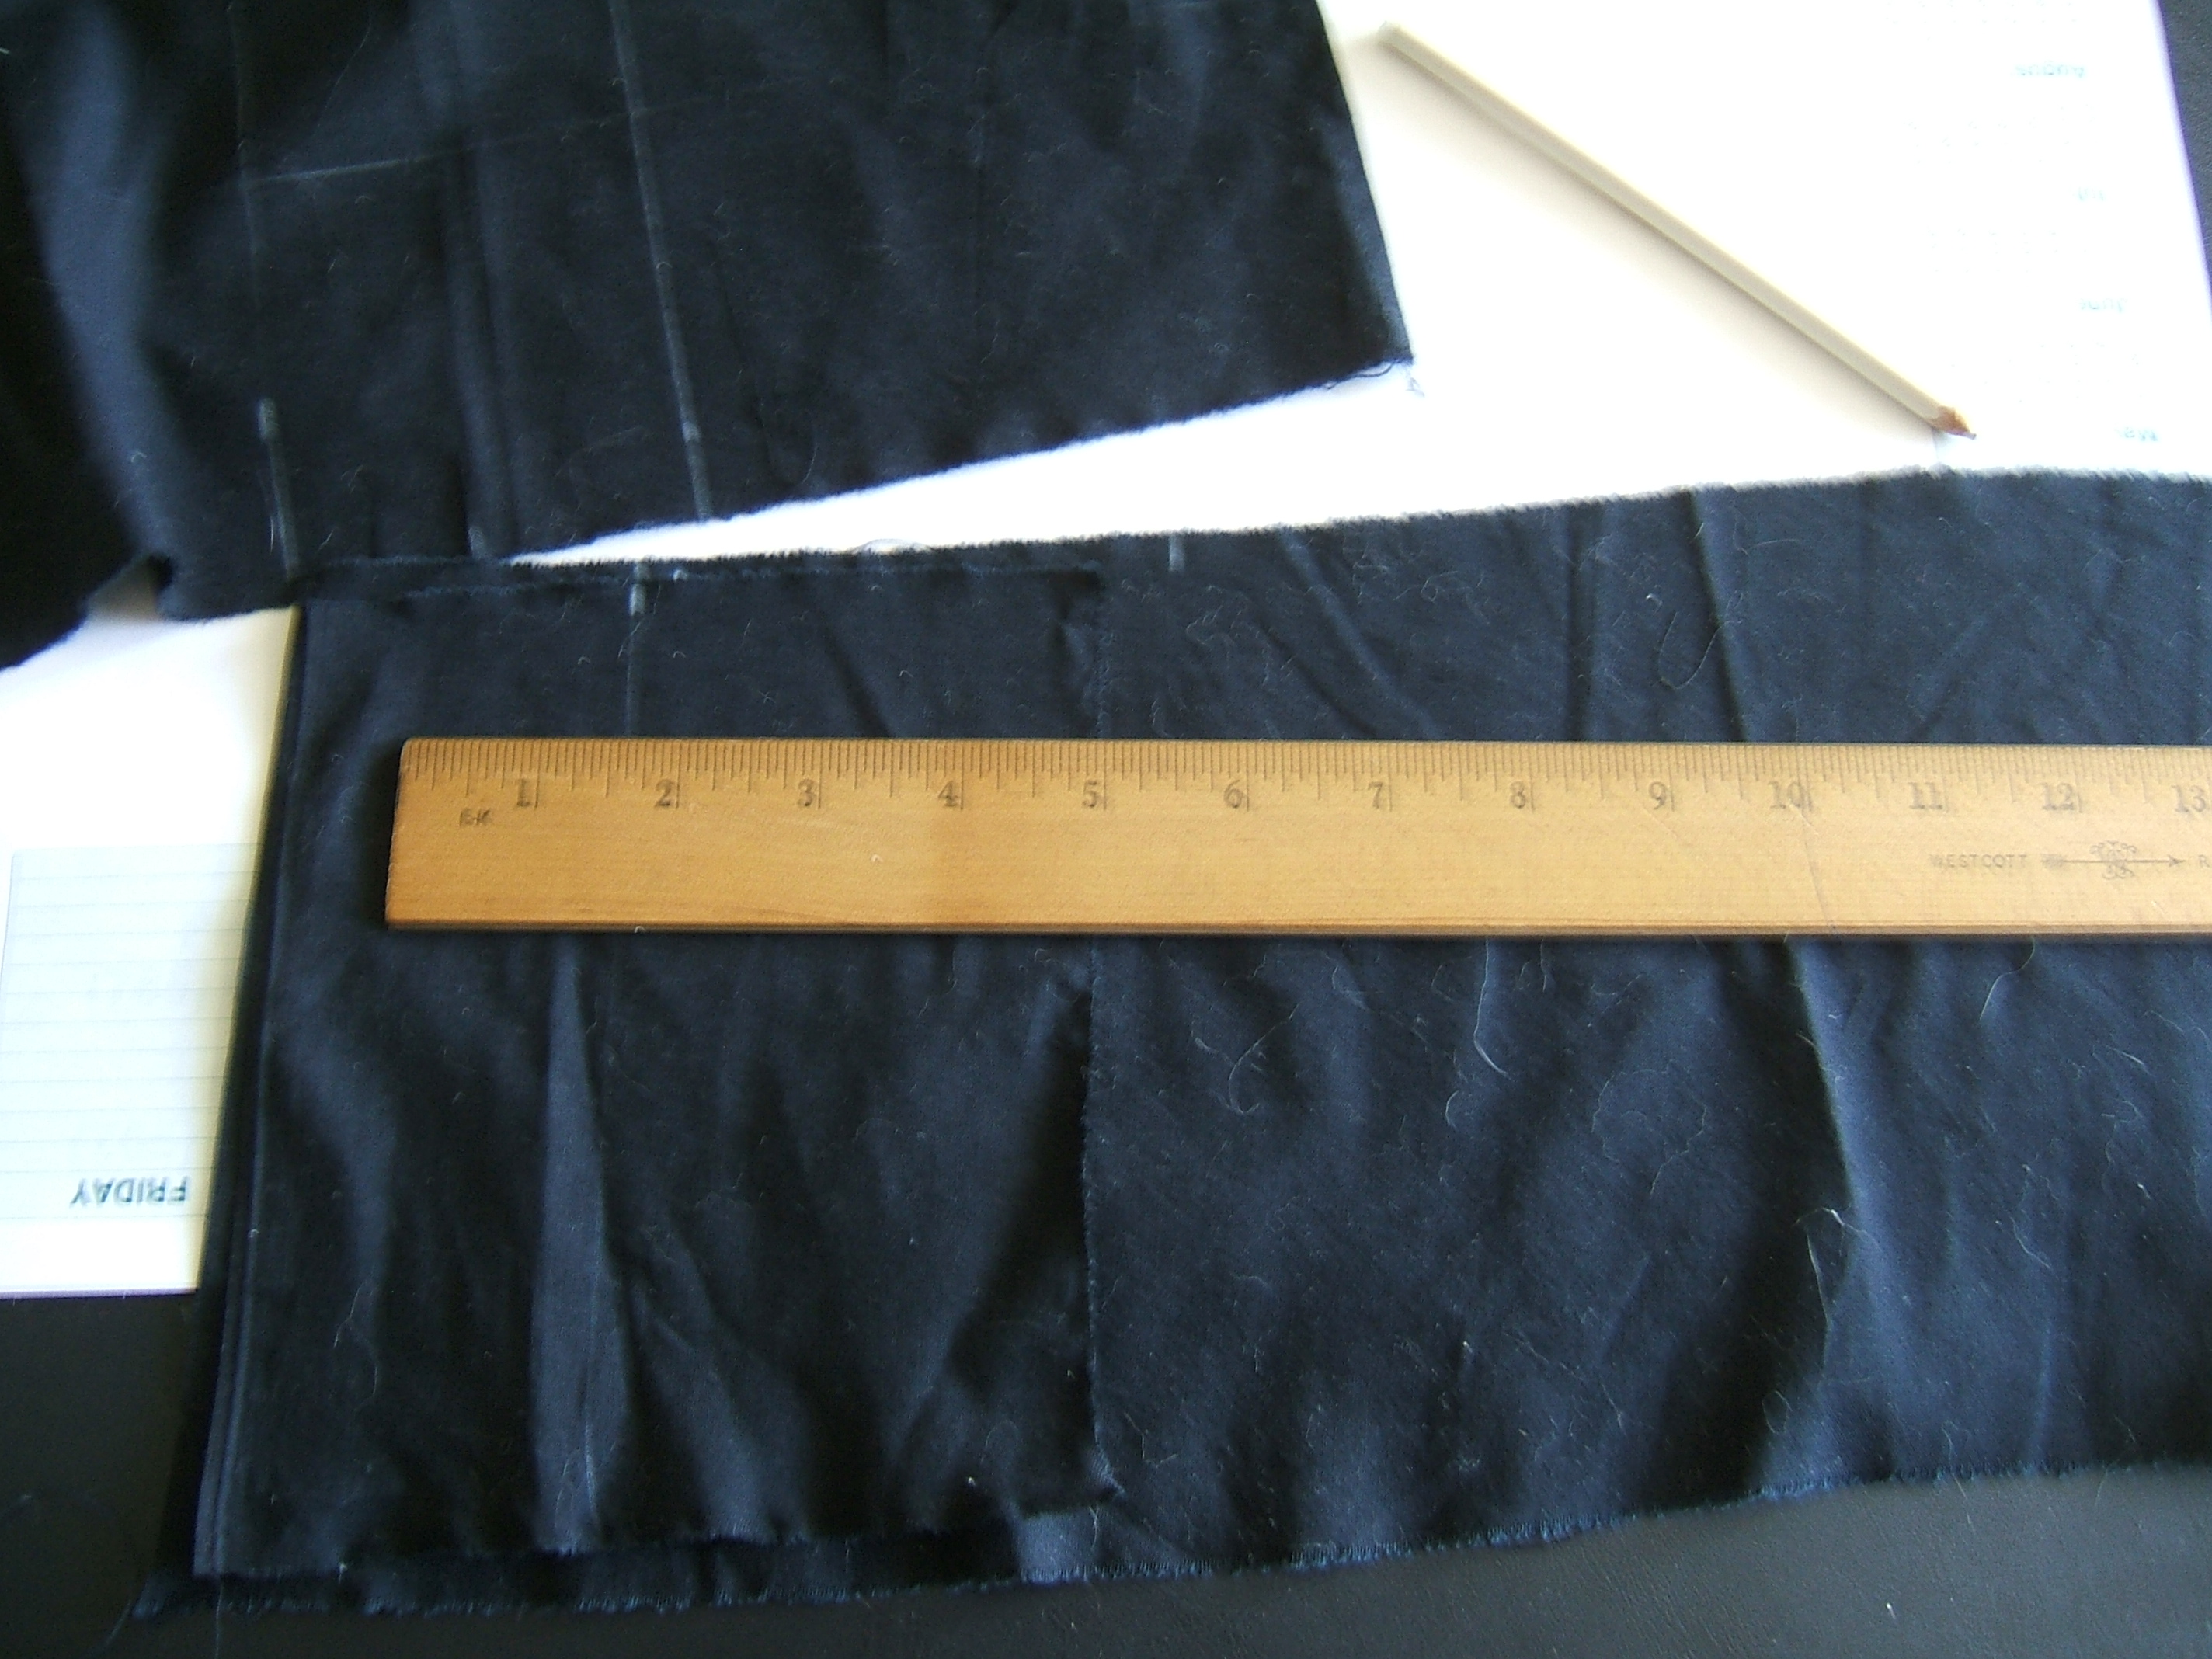
Ummm . . . measuring to mark the other pocket scrap?
Stacked up and ready to stitch.
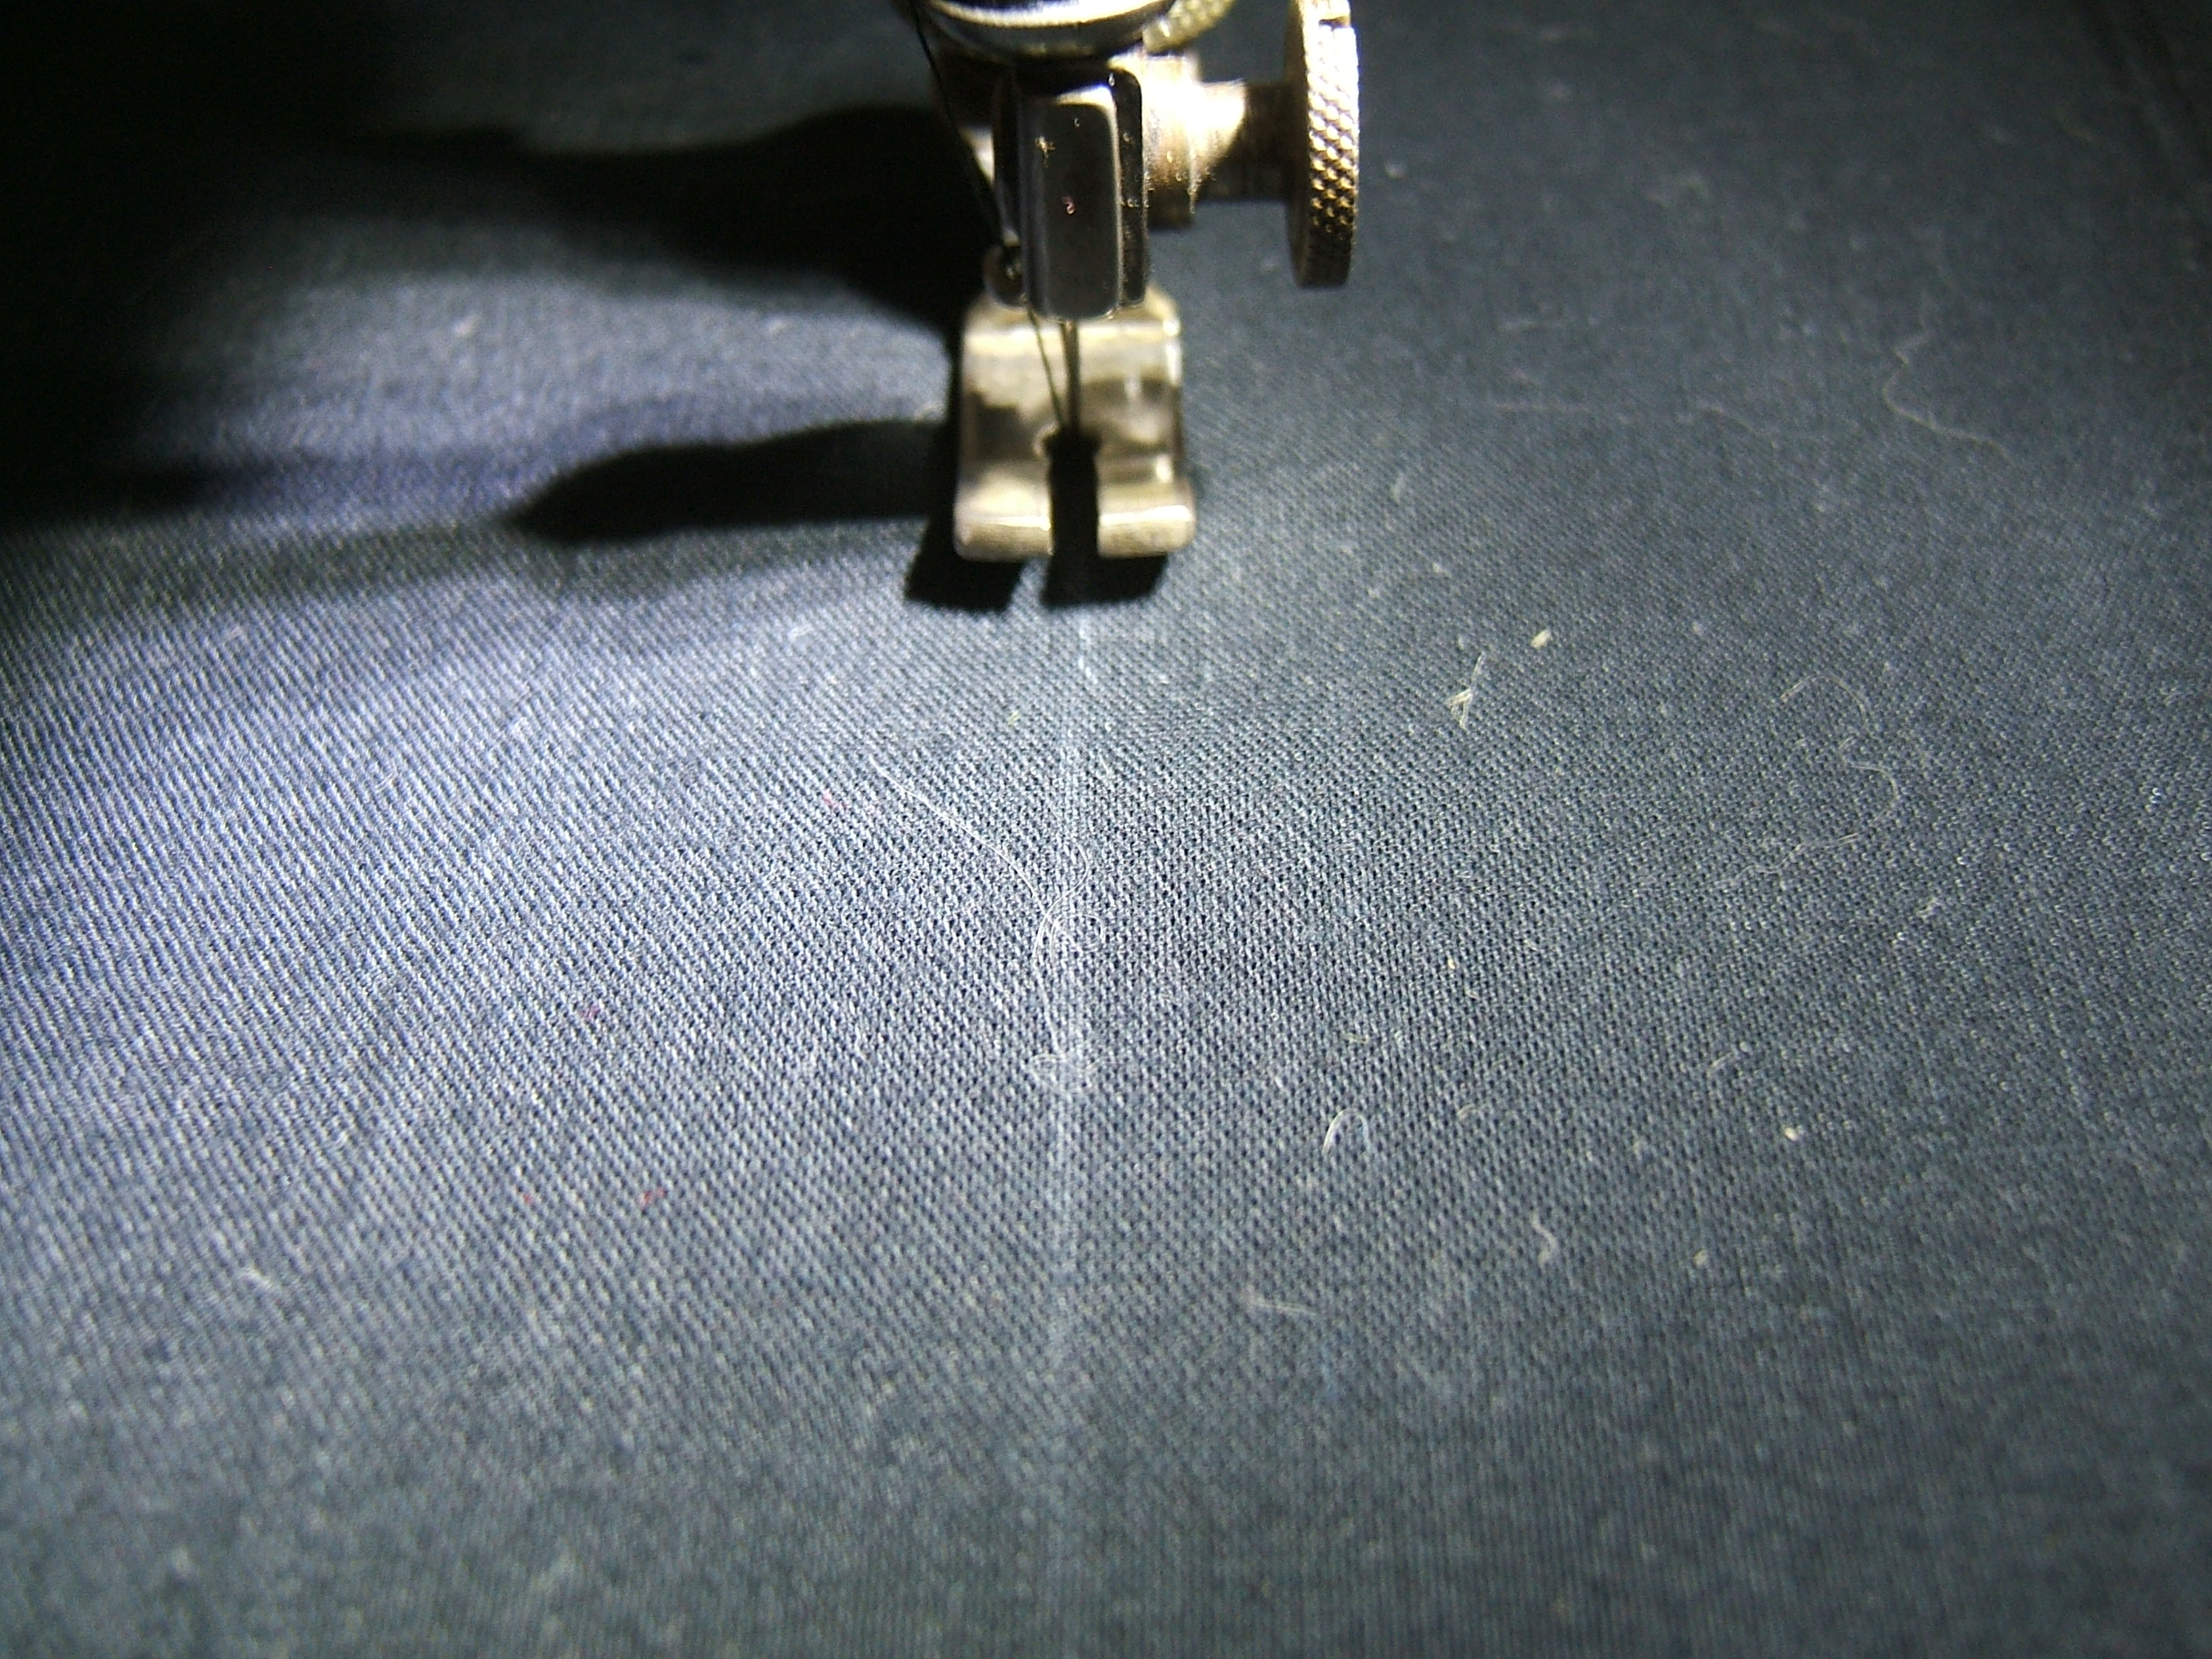
Stitching along the nonce-pencil line.
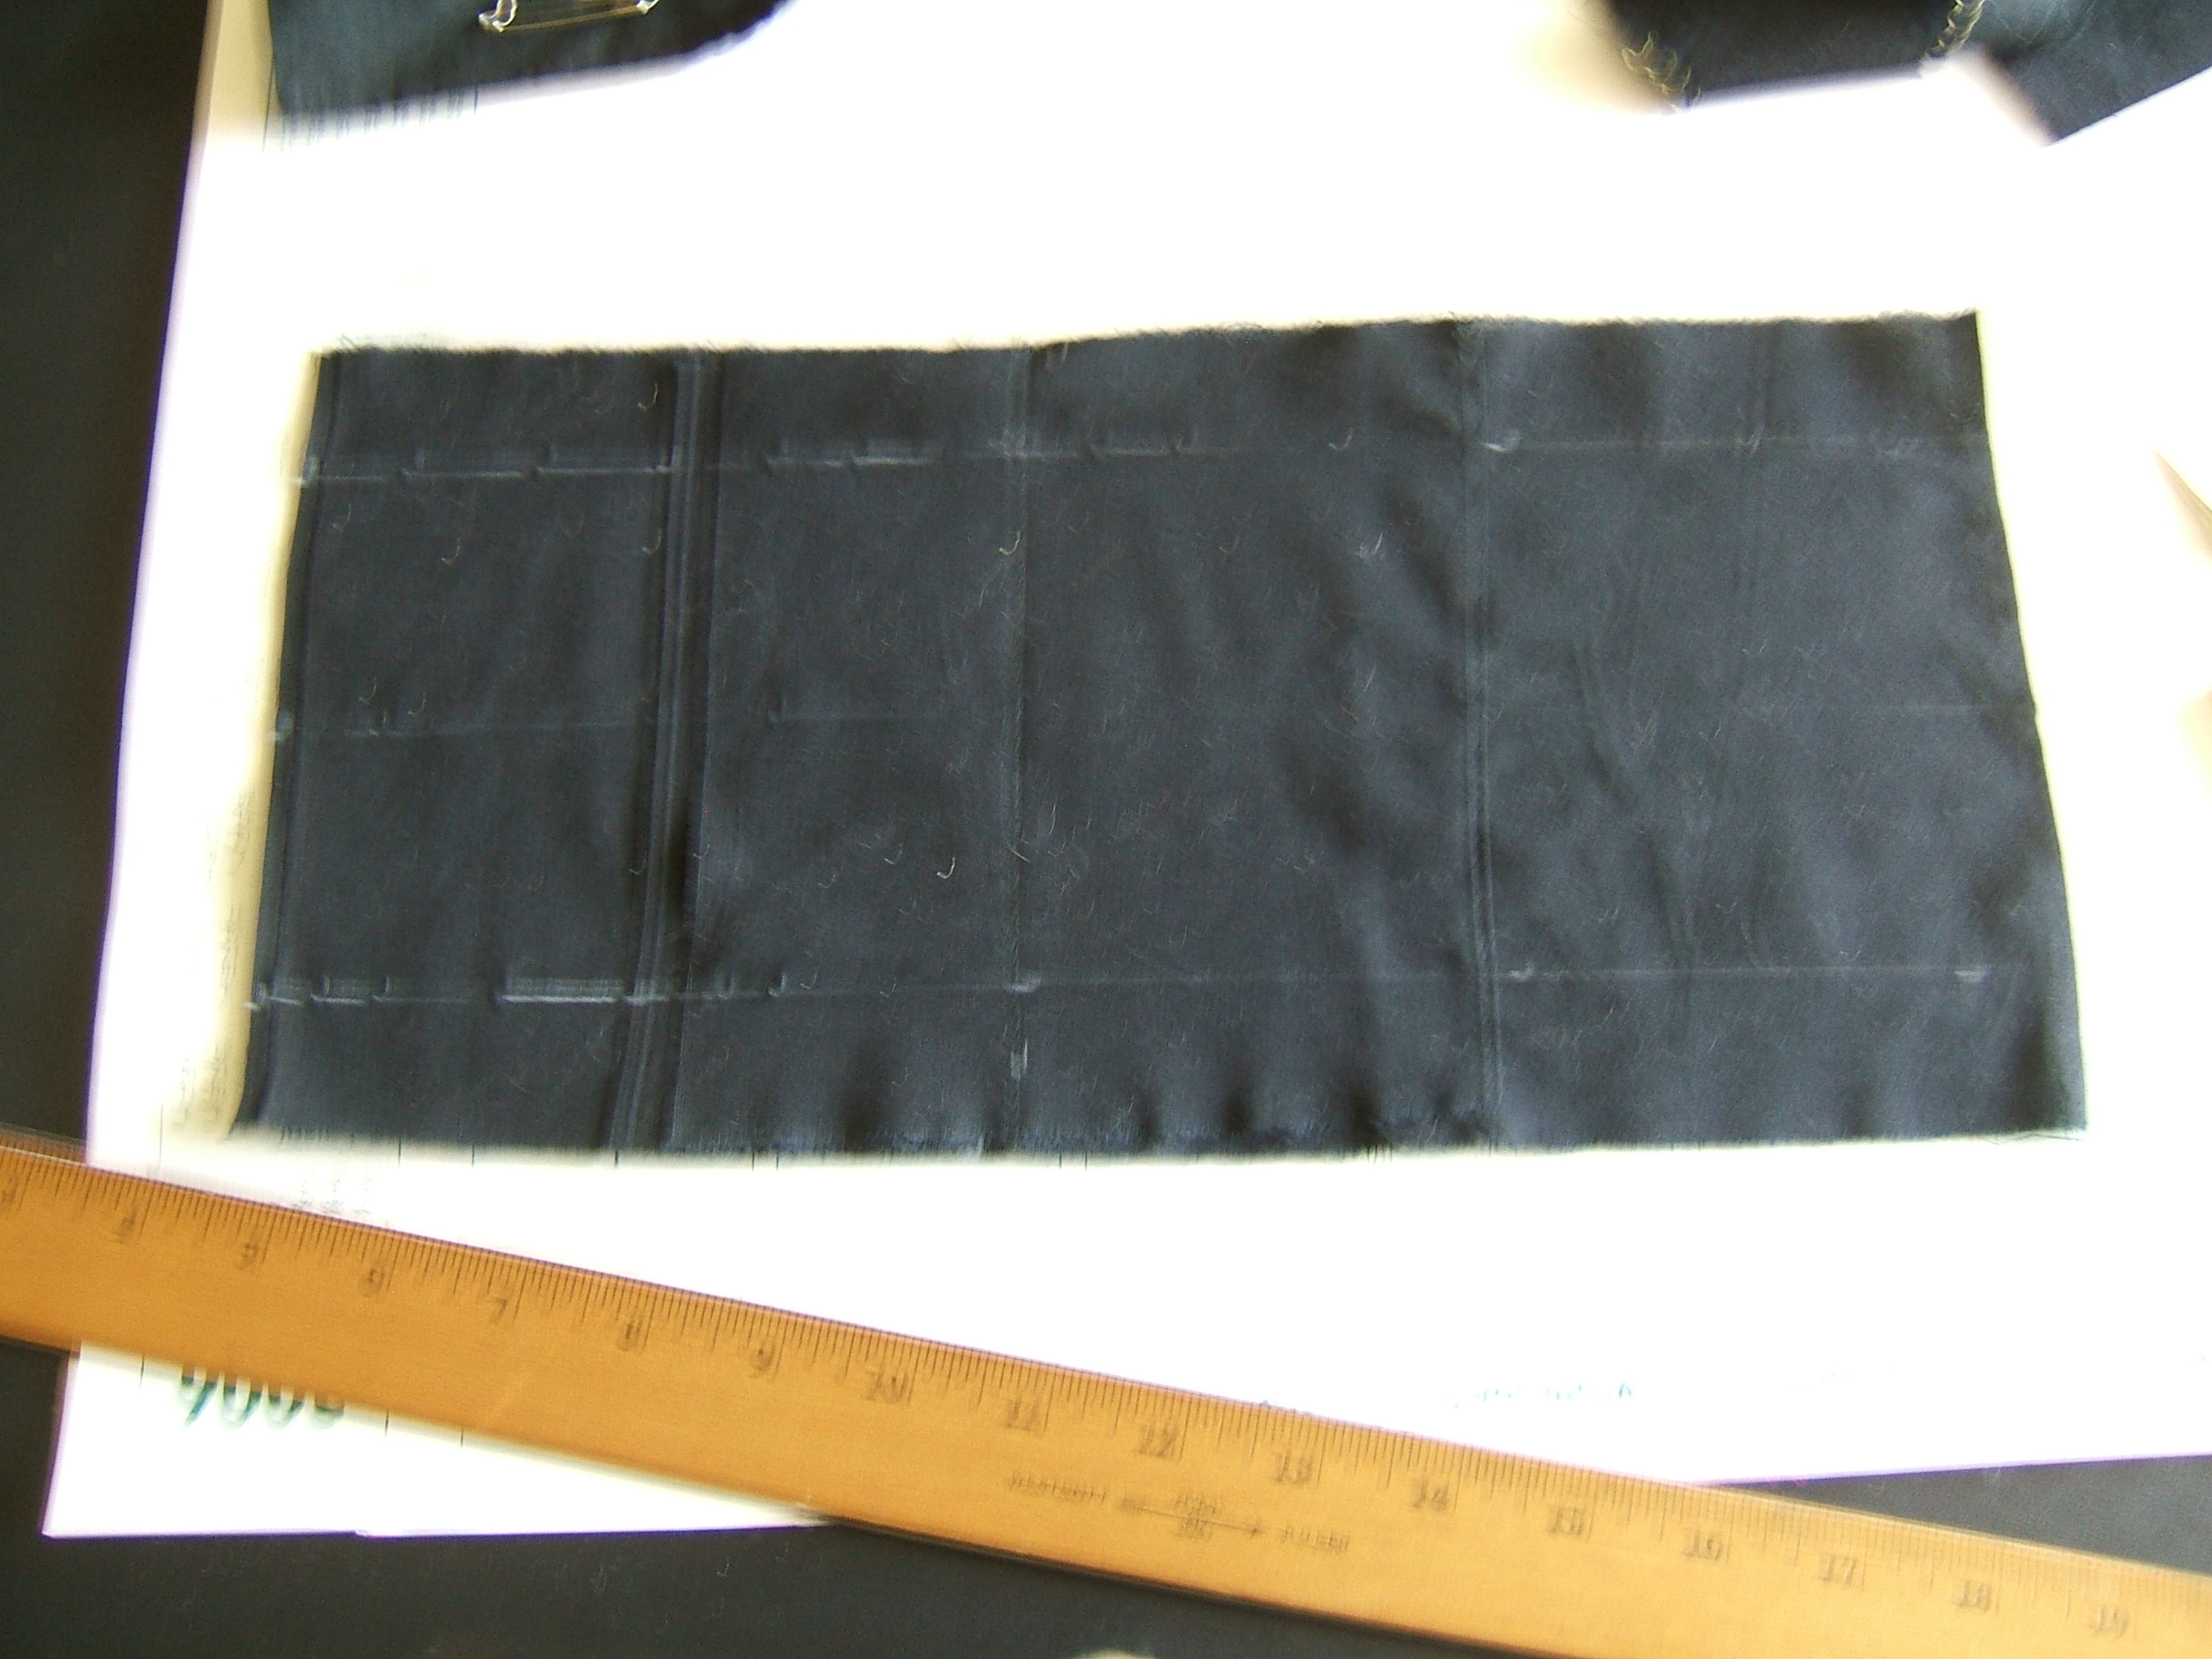
Second pocket sewn on top of the first, offset by a quarter inch. Lines drawn to sew ends of pockets.
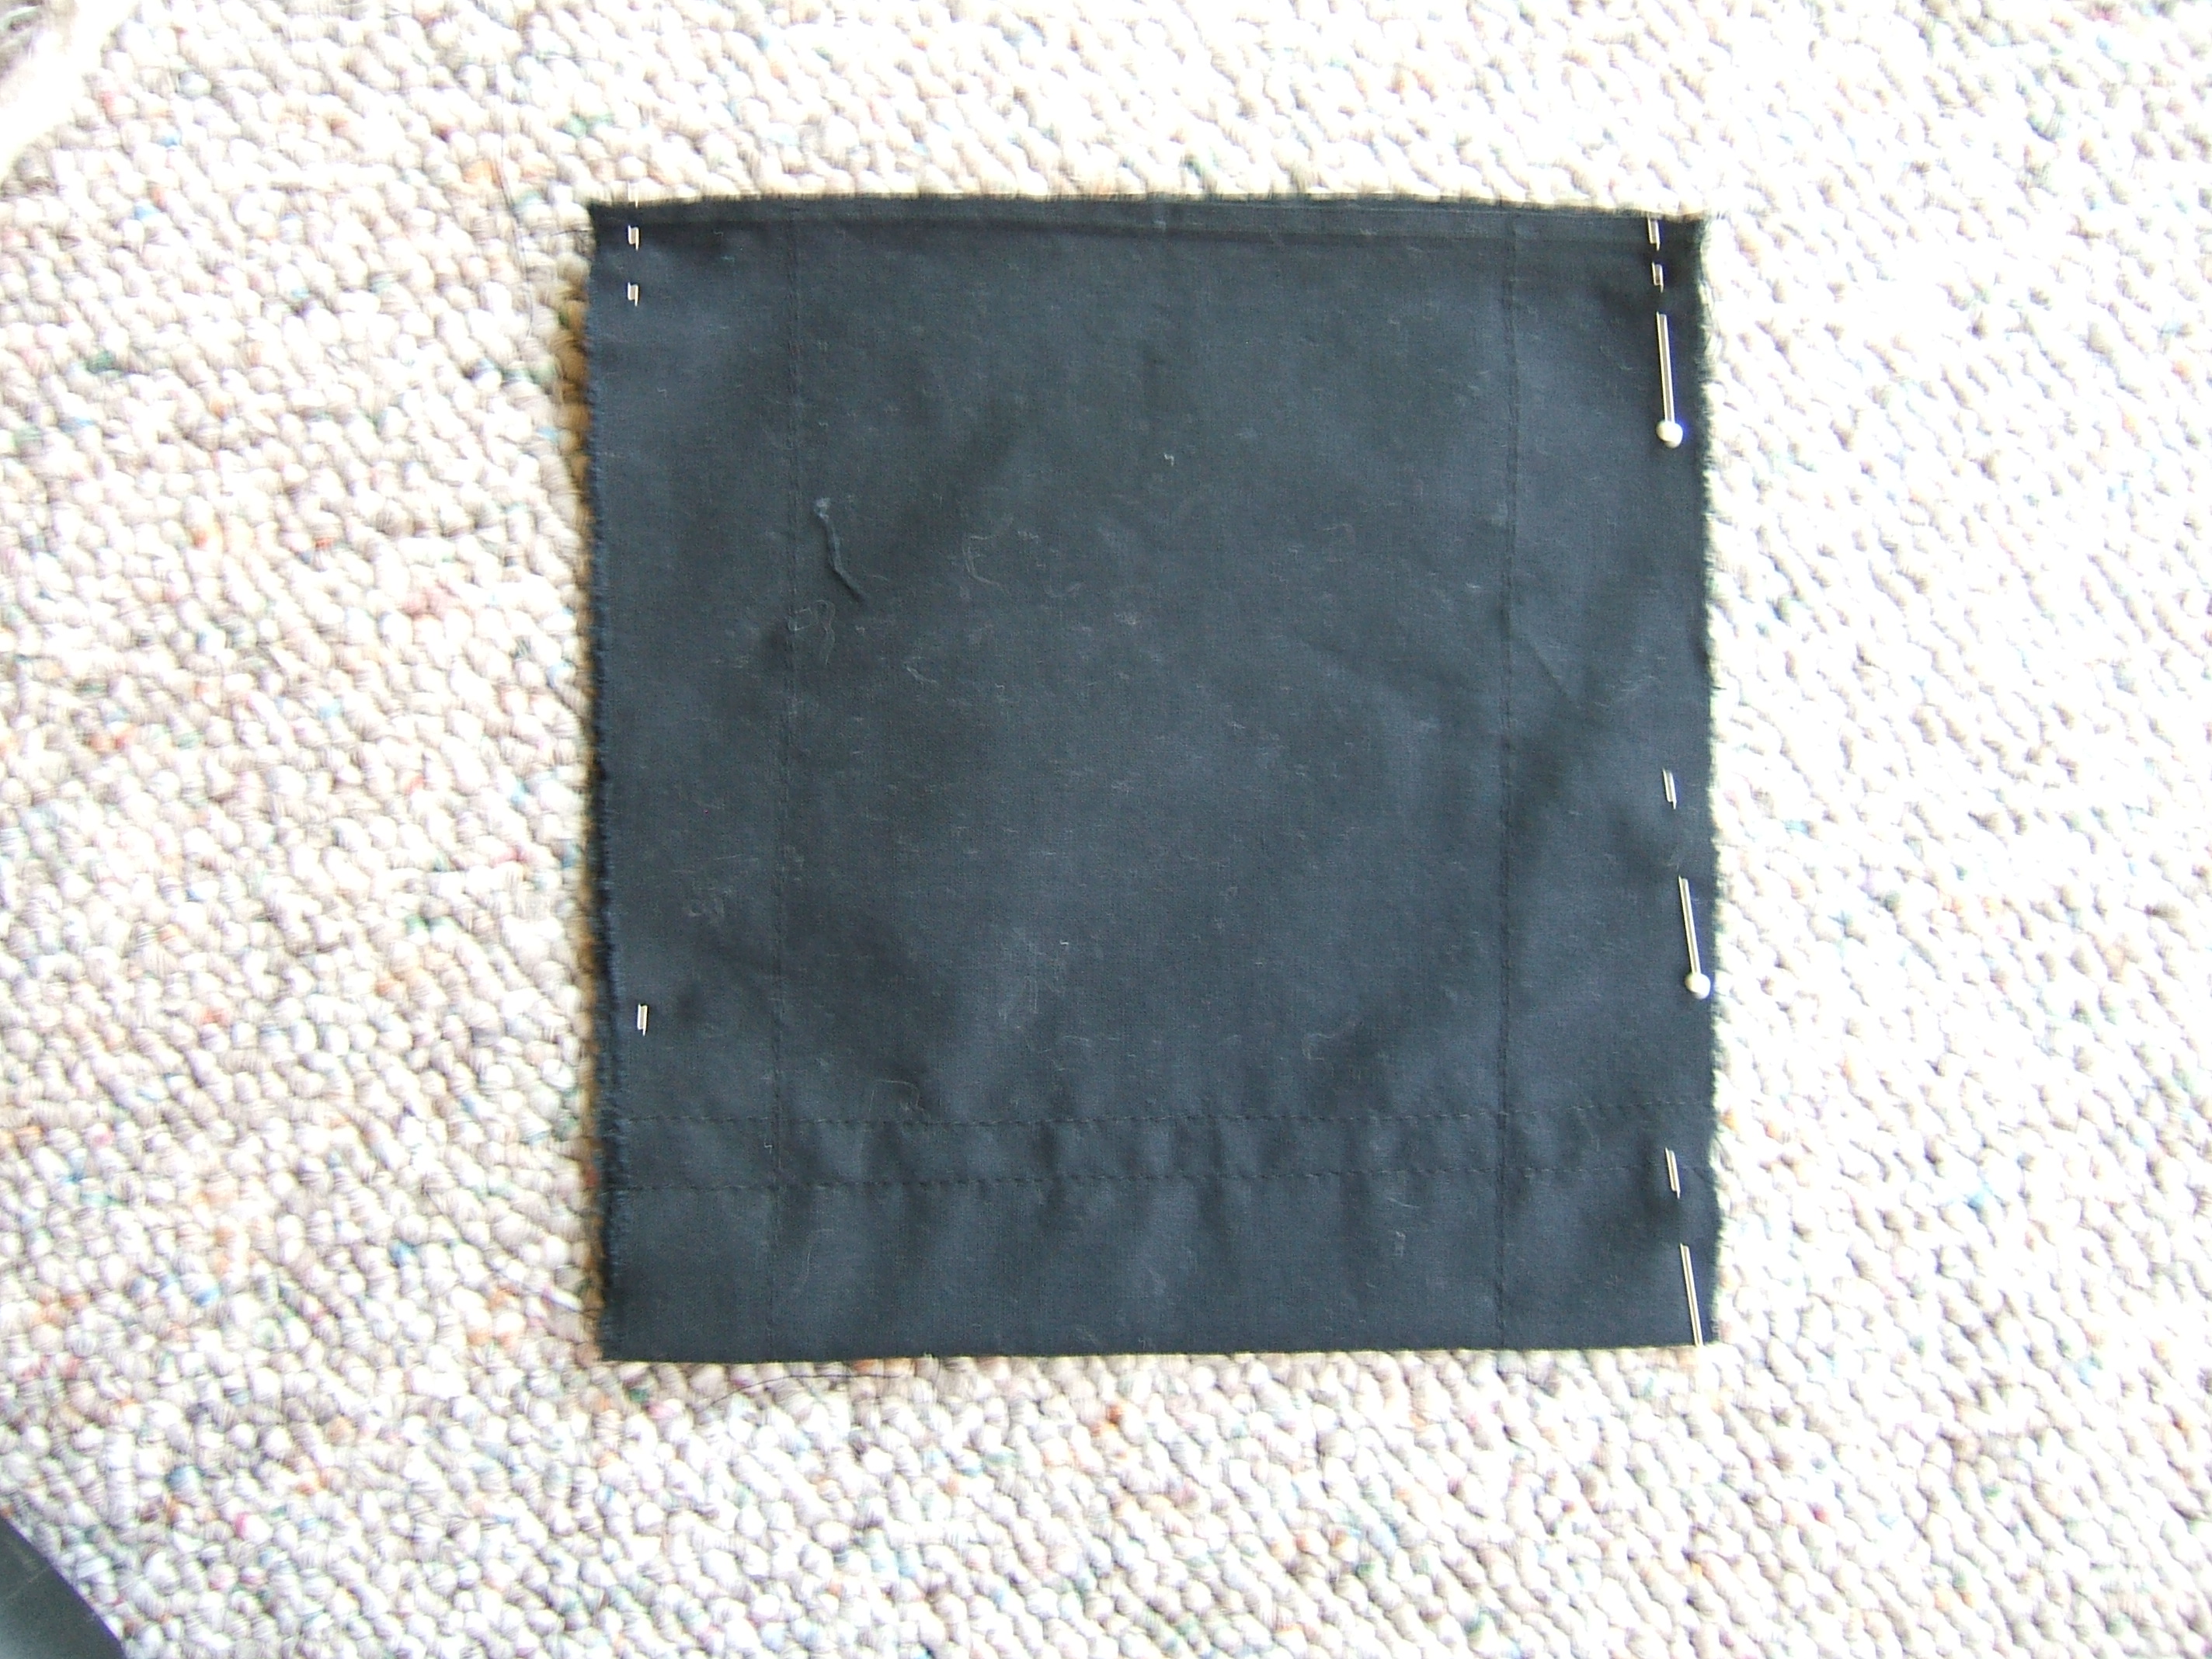
Pinned to stitch first stage of french seams. I had a terrible time catching all layers; I should have used a half-inch of seam allowance and trimmed it off.
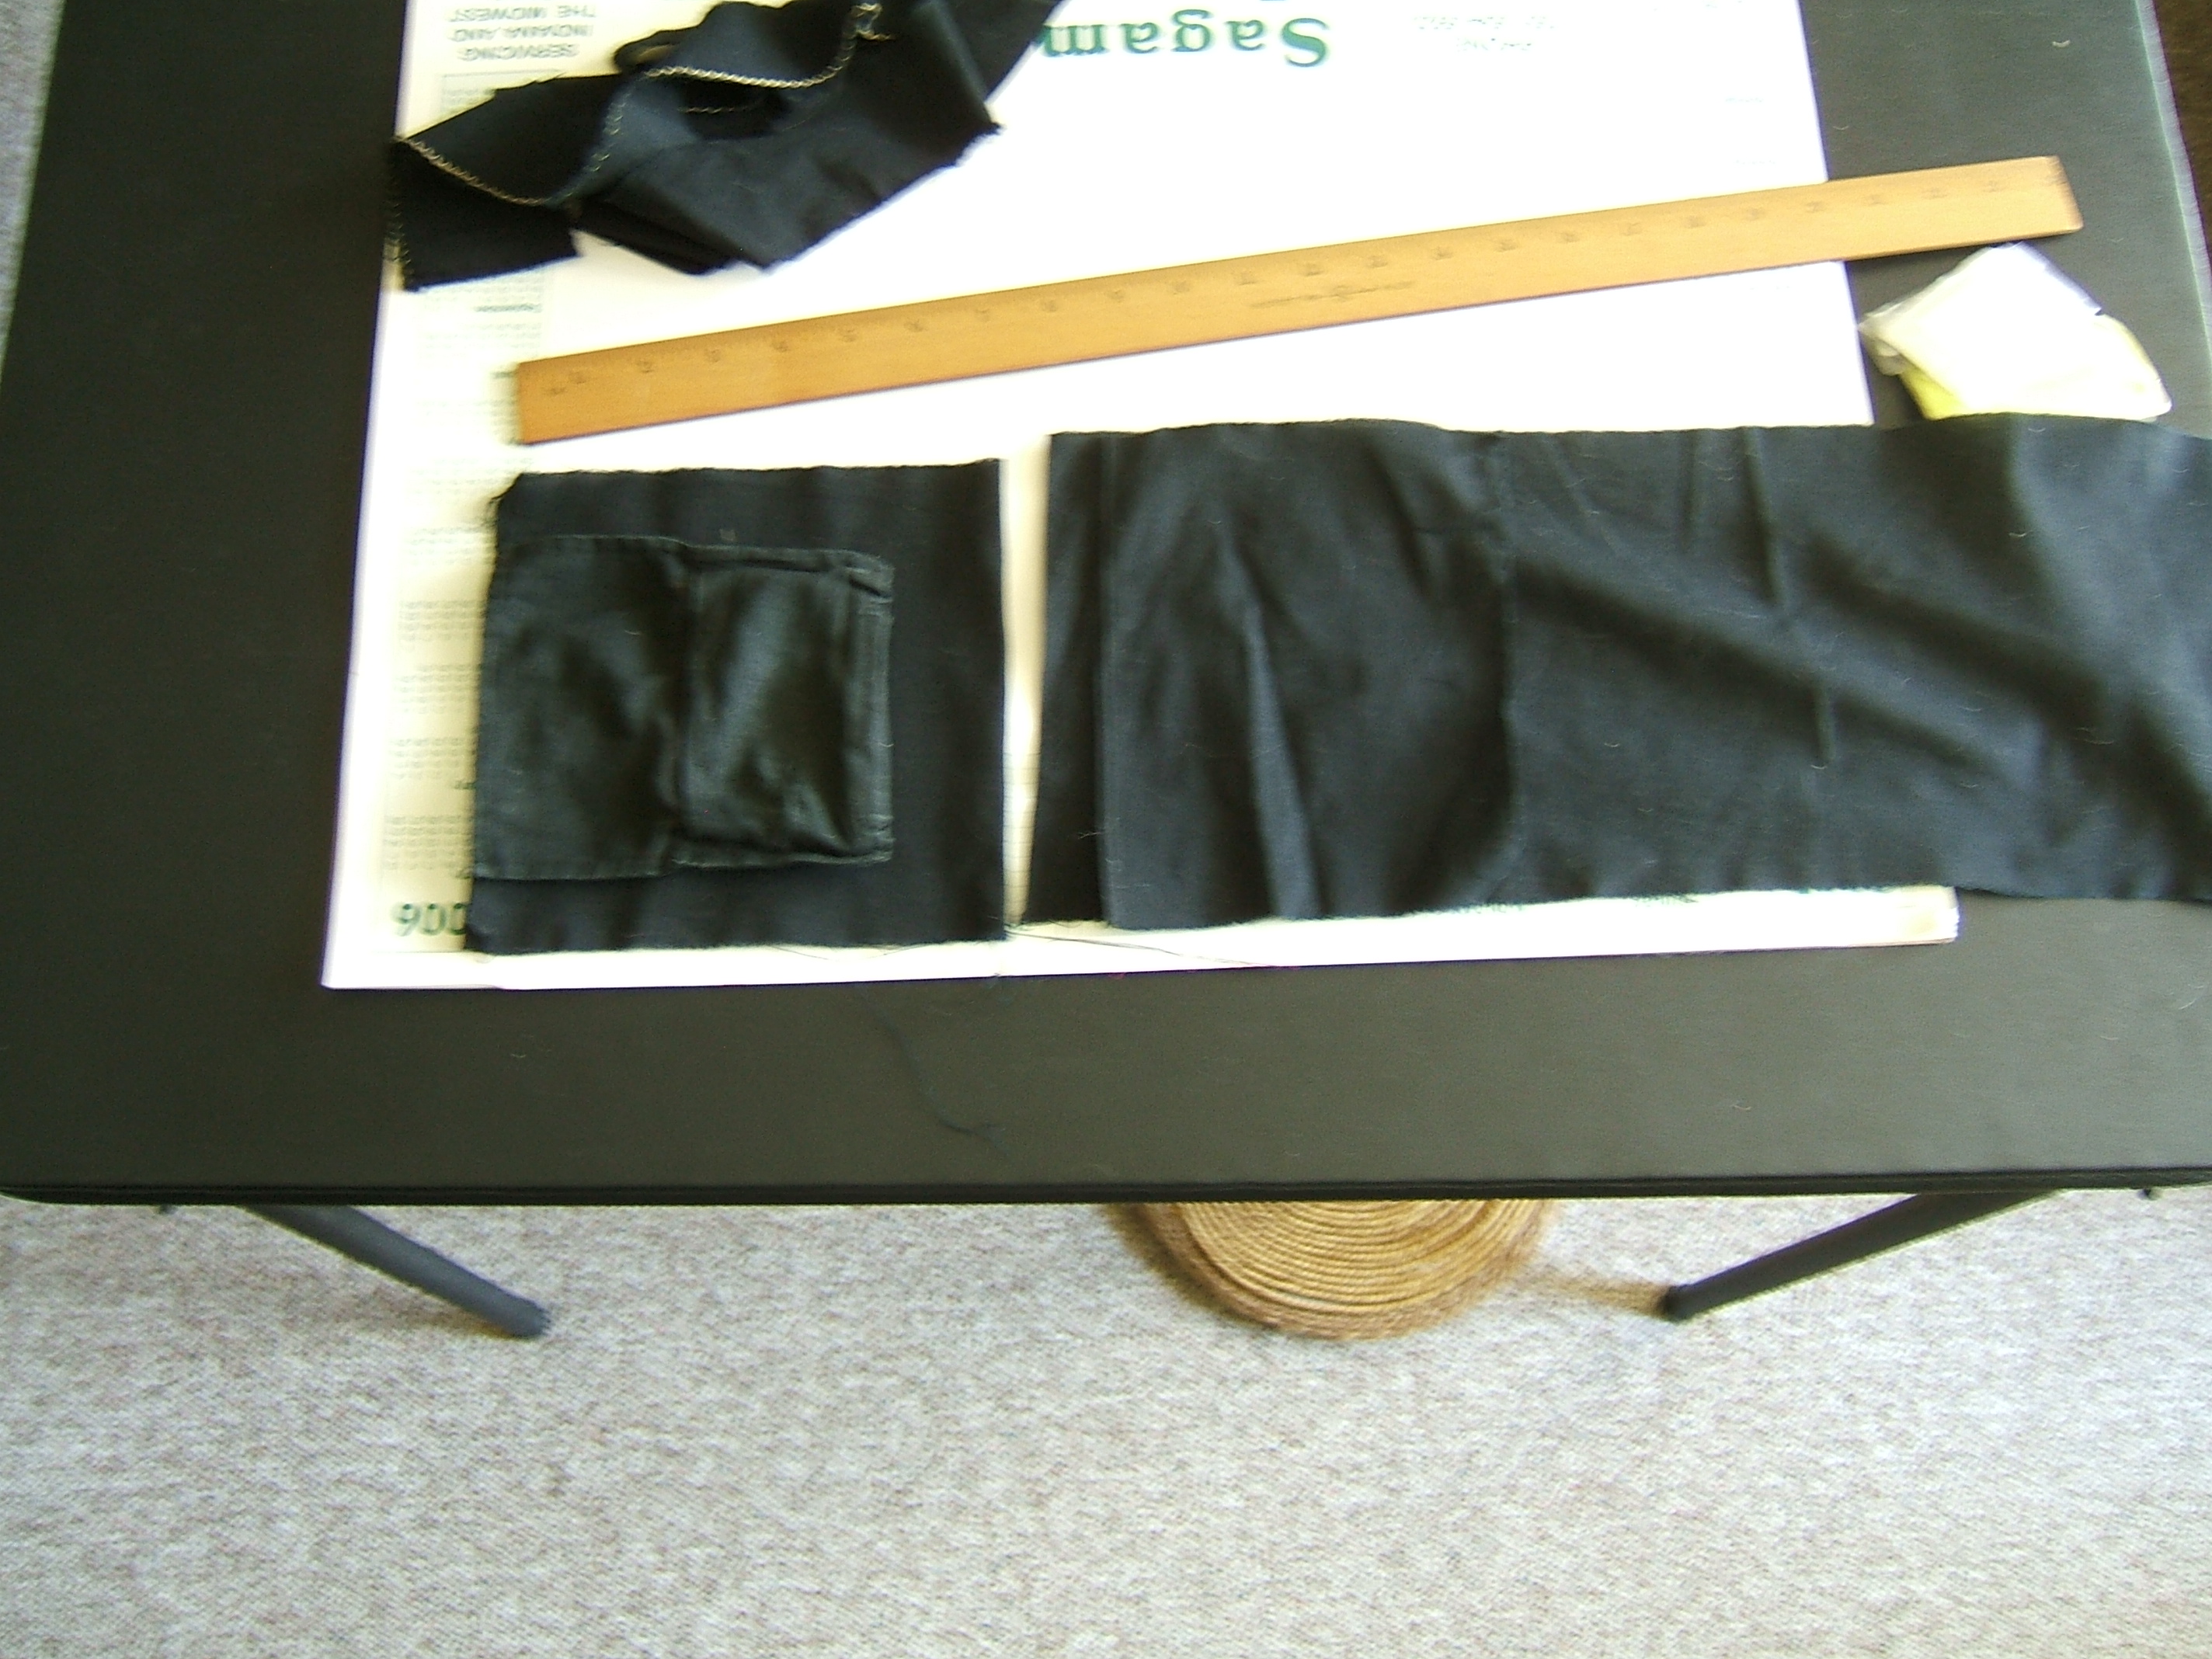
Comparison of new bag and old one.
The finished bag is ridiculous. There is way too much extra room at the bottom, and really, with that much extra room at the sides, you don't need any extra room to get your hand down in it. And with both pockets on the same side, you don't need much extra room at the sides, because the back of the bag can bend. That was the whole idea of putting both pockets on the same side!
I've been studying it, and I think that only the side seams need to be unpicked to re-cut it. If I cut the hemmed end back by just the distance from the bottom of the bottom pocket to the fold, exactly that much will be pulled off the bottom of this side onto the other side. And if I cut off a quarter inch less, the bottom will be half an inch wide, same as the old bag.
Then I can fold the bag right sides together, stitch a quarter inch from the pocket stitching, trim to an eighth of an inch, turn it right side out, and stitch just outside the pocket stitching.
I'm labelling the photographs tonight, and commenting out the redundant ones. That slooow loading makes the file a pain to edit! But it should get a tad faster each time I comment out a photograph.
Not much faster.
When I began picking the seams out, I realized that I could cut those seams off and still have worlds of allowance, but unpicking wasn't much of a pain, so I kept on. It helps that the thread is polyester, which slides easily.
And it's good to have a moment of quiet contemplation. While picking, I realized that I don't need no steenking measurements — I can simply fold the wallet up the way I want it to be, note where the selvage of the other end is, add a hem allowance, and cut.
I think that I will draw a thread and actually cut. That may require me to evict the cat from the card table. (Spent about five minutes brushing car hair off the wallet.)
Too dark to cut in the parlor; I took the small cutting board and its plywood protector to the patch of light in the living room:
The bag is marked by stroking chalk over the selvage onto the fabric underneath. The scissors point to the place where I intend to cut.
Cutting is done. This shot taken after I hemmed the new raw edge, sewed the first stitching of the french seam, and trimmed off the excess allowance. When sewing the french seam, I aimed for three-eighths instead of a quarter inch, and mostly went a little over. This was very lucky: I'd forgotten that six layers of broadcloth have a lot of turn of the cloth!
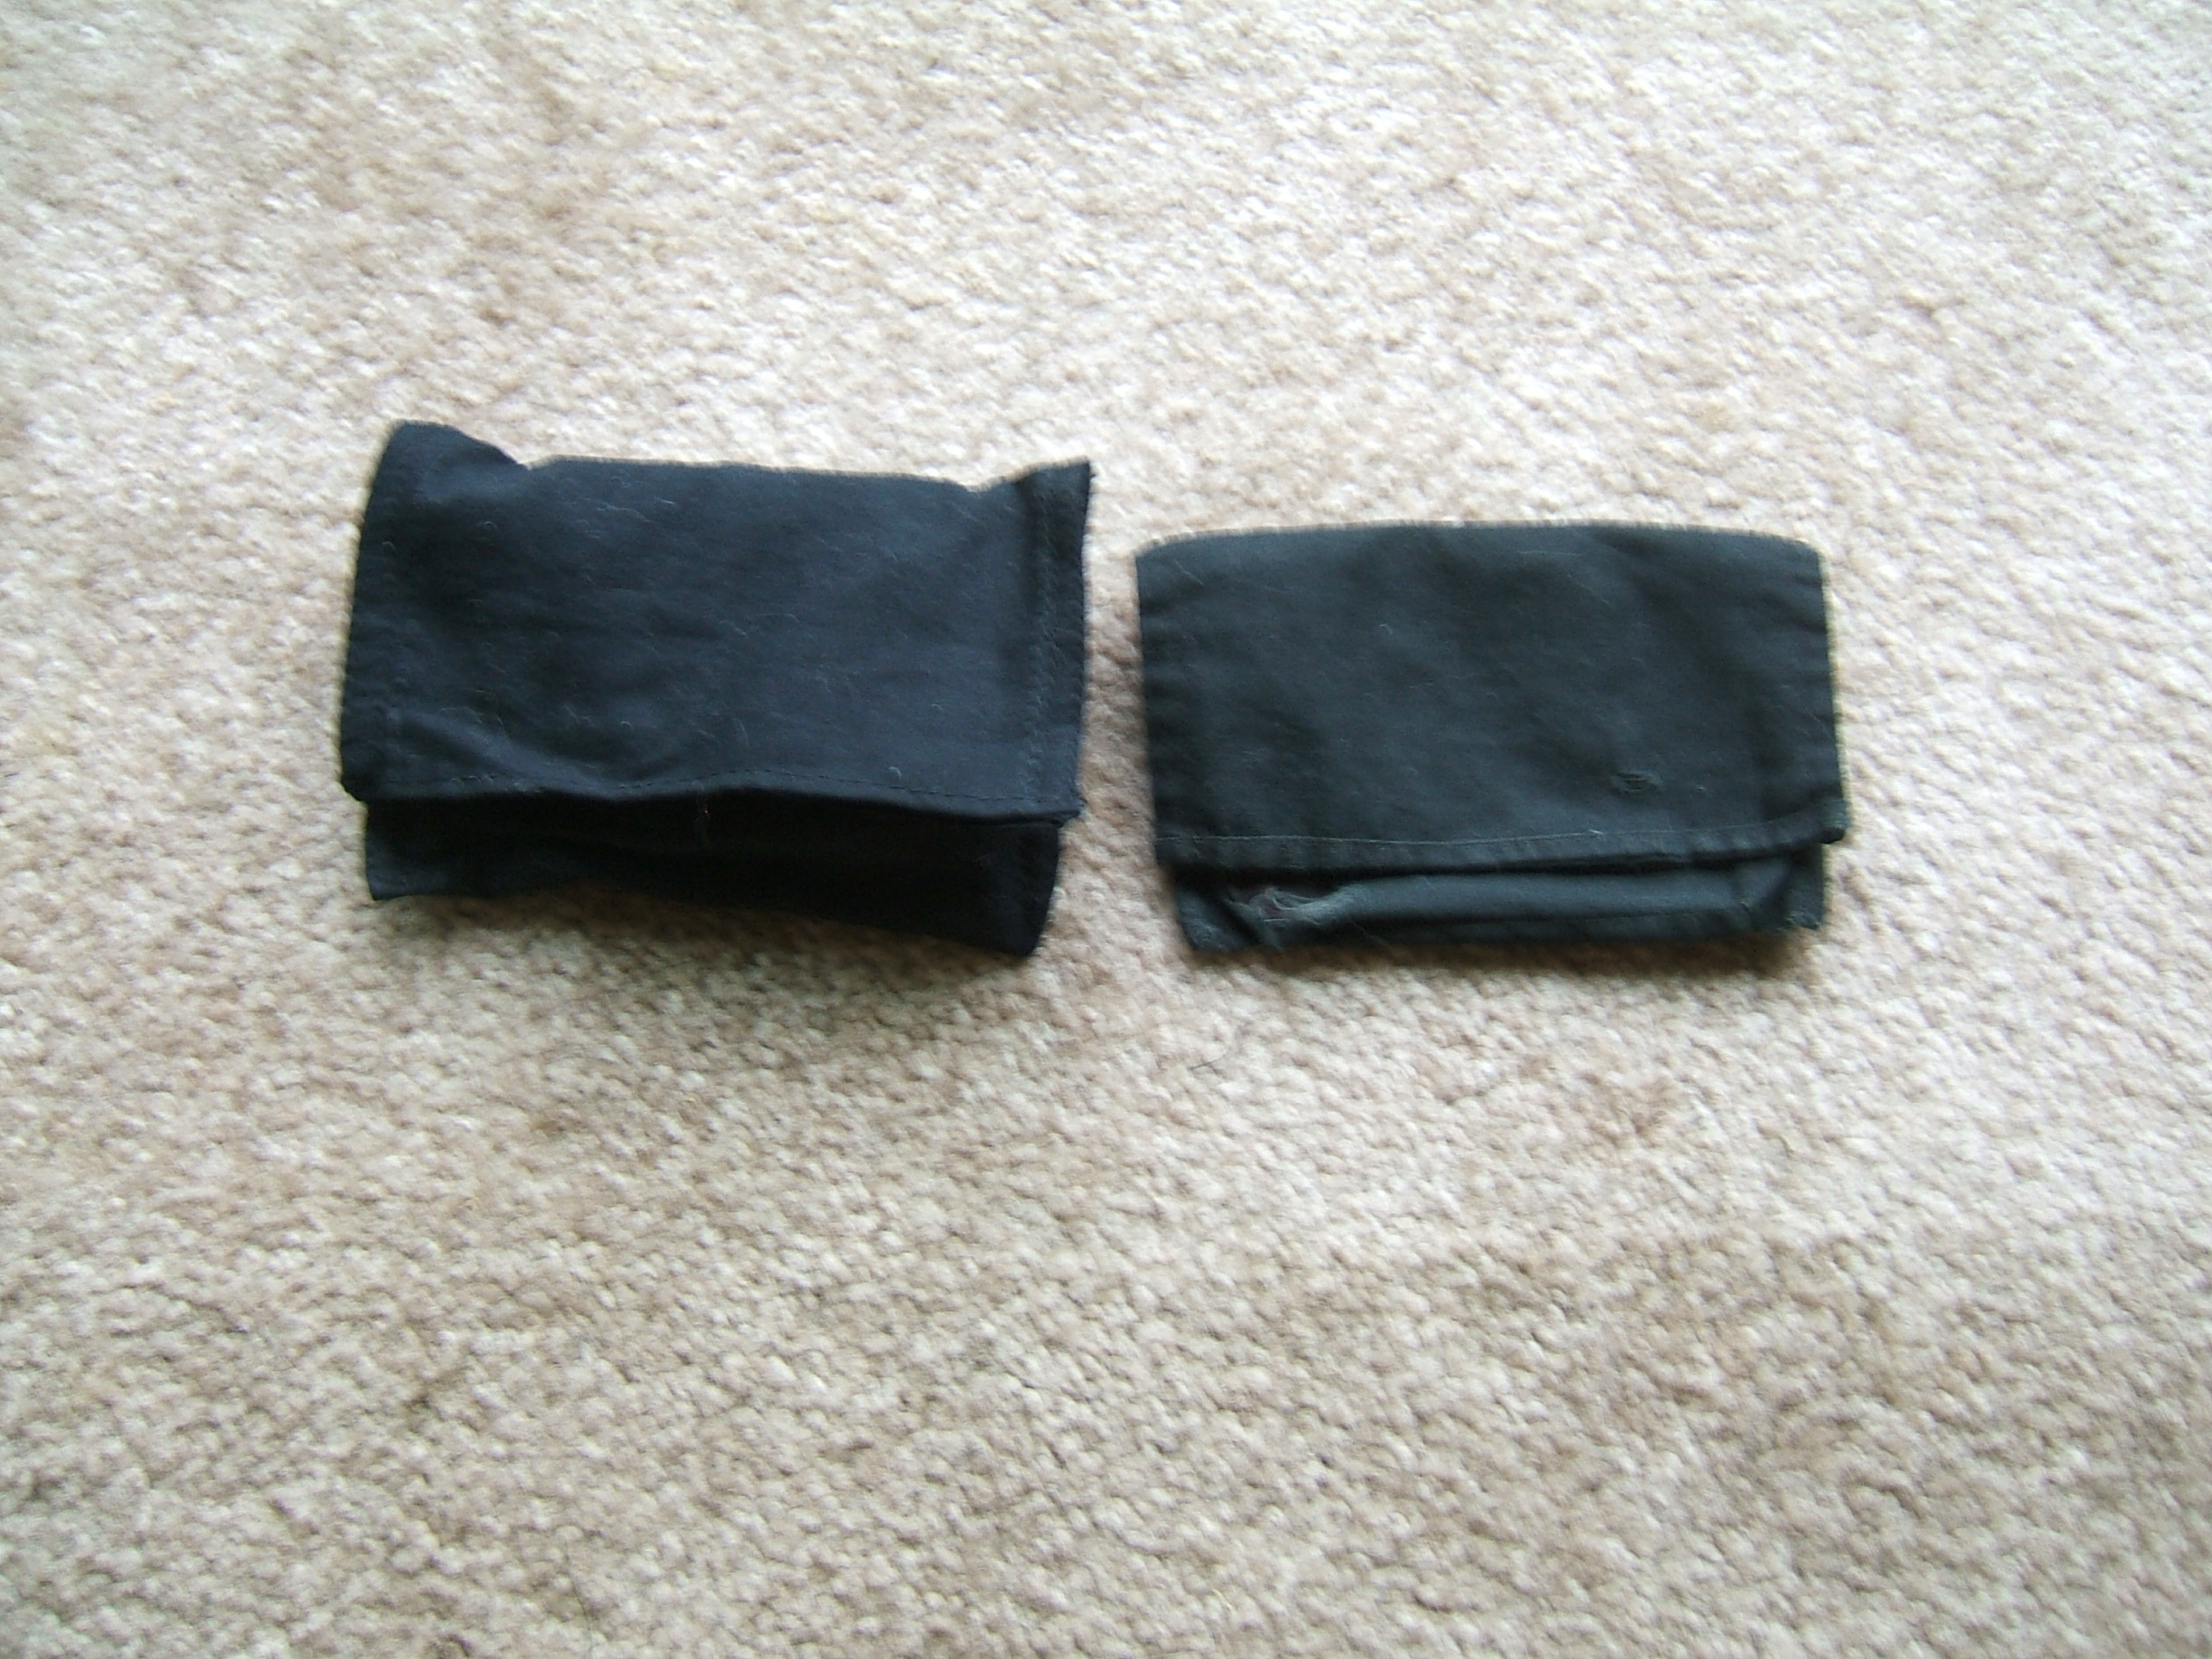
A little too much at the bottom, a little too little at the sides, but it will do. I've dropped the old wallet into the pattern trunk.
Yes, this picture would take about half as many bites if I trimmed off the excess carpet, and it would load a lot faster if I scaled it it instead of attribute-shrinking it. I don't think this will ever bother me enough to do it — because it would be pointless if I didn't process all the photographs in this file.
I'd better make the Table of Contents link to this file; it's as presentable as it's going to get.
Back to
the writing page
Back to
the links page
Back to the Table of Contents