12 July 2017
This blog is officially open. I'll continue to post progress on the sleazy-jersey repair on 2017SEW2.HTM, to keep it all in one place. Surely that must conclude Real Soon Now!
⁂
I needed an embroidery needle to bar-tack the phone pocket, and that led to sorting all the needles I dumped into the boxes back into their packets, and that led to sorting out the floss and putting everything back into the backpack. But I put it on the ironing board because the sewing room is so cluttered that I can't get at the shelf where the backpack belongs while carrying a backpack.
And the backpack still needs to be sorted out with check list in hand.
⁂
And after I made a path to the shelf, I realized that I'd forgotten to tuck the shoulder straps and waist belt into their pocket. I'll take care of that the next time I pull the pack off the shelf for some other reason.
Sort backpack and get it out of the
parlor
13 July 2017
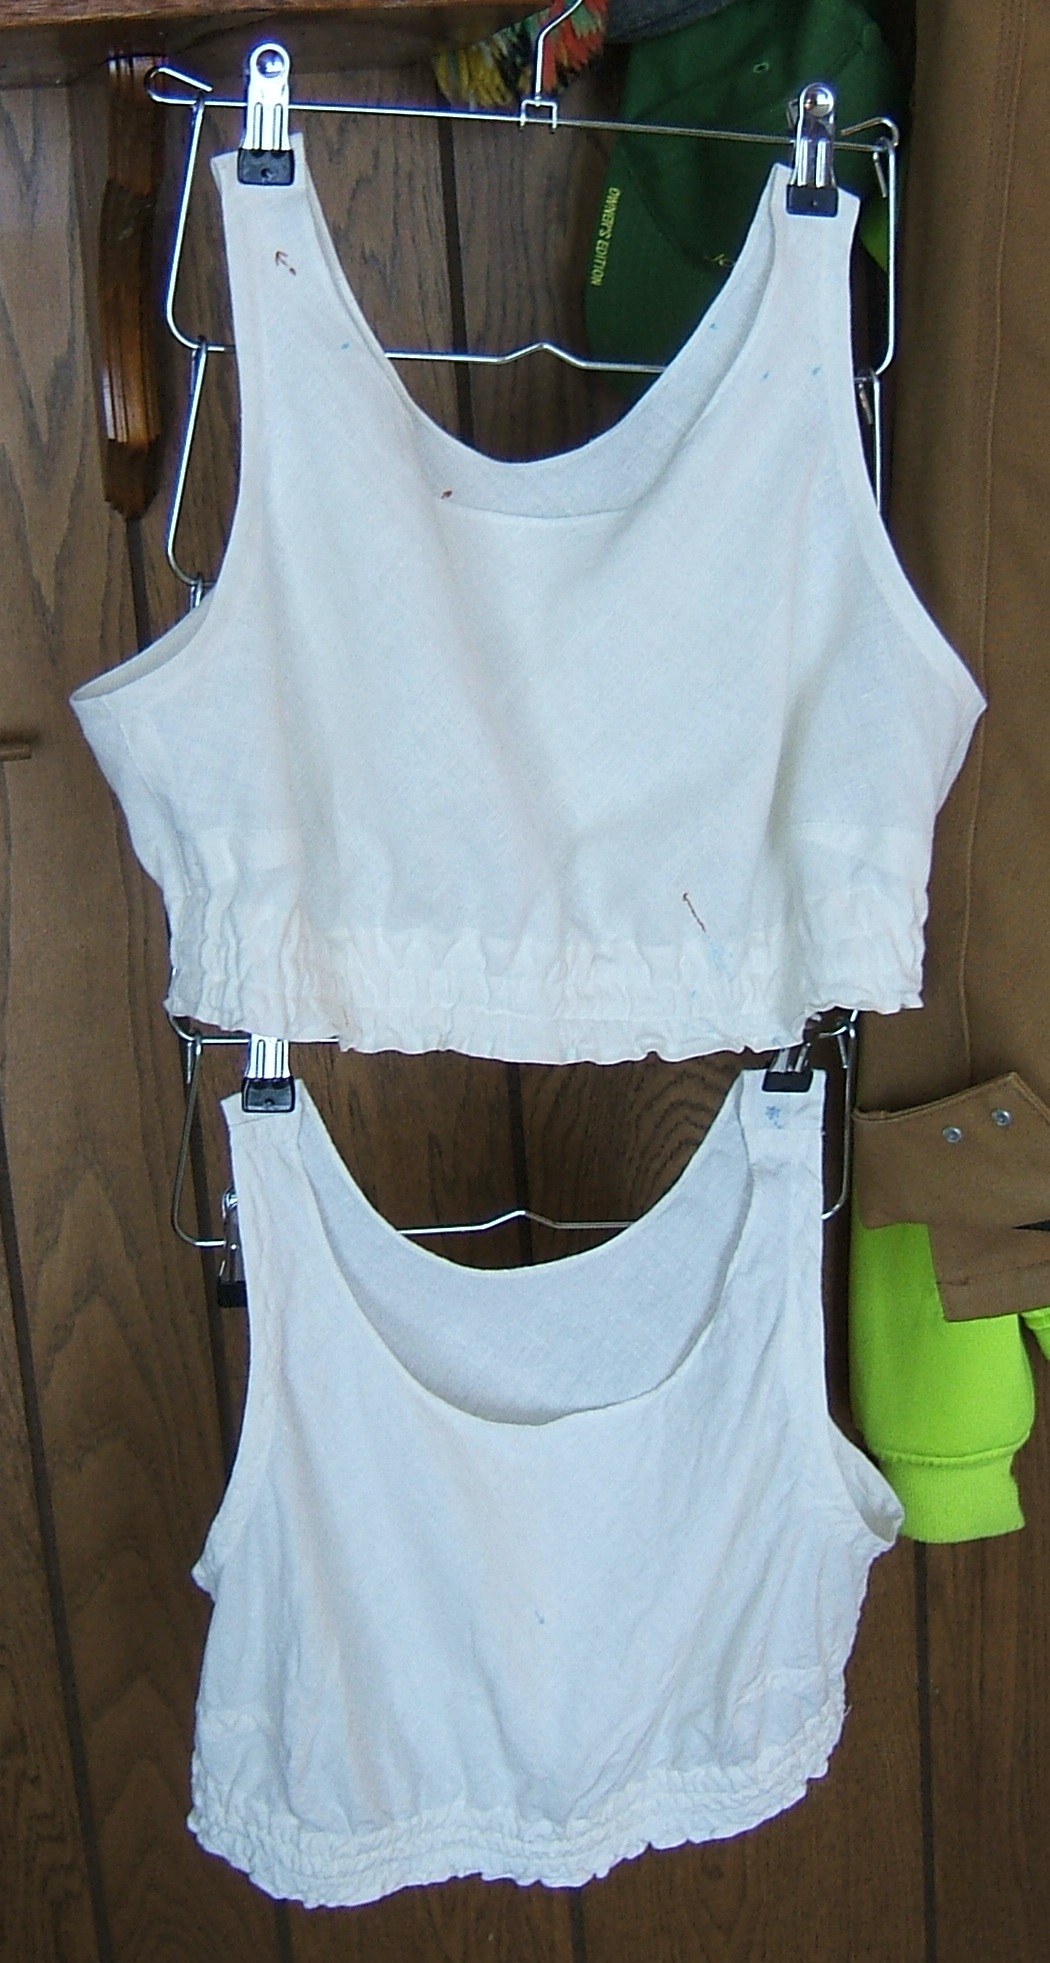
Pick straps off back of cotton-jersey
jersey and sew them back shorter. Also pick
off front pocket and make two pockets.
Free at last, free at last! It still needs to be washed; I appear to have put it away dirty last fall.
14 July 2017
hem Dave's shirt
I did
that quite a while ago and forgot to take it off
the list.
Back to choosing my next project.
Tighten elastic in grey linen
knickers. I tried the knickers on
and all three elastics seemed to be working
fine. Perhaps I should have put a little
more detail in the note.
Hah! Checking the seam-ends of the tan blanket caused me to put away my go-bag, which we had taken out of the closet before running Roomba this morning, and there, poking out of the pencil pocket, was my missing wash-out marker! I'd shoved it there when hastily packing up after the Day of Helping.
I stuck a picture of an eagle onto the new one and put both into the pencil mug.
The seam ends can wait until I wash the blanket or go through my embroidery wool for some other reason.
Ah, two patch pockets should be easy (see jersey jersey saga just concluded) and I need that linen gown. Complication: the small scraps are too small to make into pockets, and the big scraps are big enough that I could make a blouse or, with clever cutting, a dress. And they are all neat rectangles.
I was planning to make round-cornered pockets, but I think that I shall make the corners square, so that I can make a fold bottom.
⁂
Run 2017 through checker
I wish I needed a defined key to put in those <strike>s!
That was the spell checker; I have yet to run it through the validator. I'll report that chore on WEBLOG2.HTM.
21 July 2017
I think I need to put another dart across the back of the sleazy jersey.
I've about decided that I want to put solid-color pockets on the linen dress, but the linen scraps offer orange, curry, and pale green (which fades yellow), which are too much contrast, and whites that are too subtle a mis-match. And cream, which would look dirty.
I've remembered that the calling-card comments I recall writing were in a previous year of this diary, so if I look at the dates on the photographs, I should find the entry easily.
26 July 2017
Shorten bar tack on sleazy jersey
Done yesterday, just before putting the jersey on. It was actually lengthening the tack — it was two bar tacks connected by running stitches, and on my previous ride, I'd snipped the inner bar tack. Repeated putting in and taking out of the phone had ravelled the stitches back to the other bar tack. This was holding, but I didn't think it quite enough to guarantee the phone would stay in the pocket, so I worked a second bar tack.
I almost didn't find the floss I'd used. I remembered it as a sloppy skein that had lost both paper bands; it looked quite new except for having a needleful of thread wrapped around one of the bands. Indeed, I picked it up saying "this is close enough" and was stitching before I realized that it was the same thread.
It's J.P. Coats. I wonder how many people can remember when Coats & Clark was a very reliable brand.
I still haven't checked whether King Tut is a passable substitute for O.N.T.
I'm somewhat surprised that current skeins of floss still fit into my floss box. Long, long ago, I found a cardboard box that the boxes floss came in fitted perfectly, so I covered the floor of the box with open boxes (and, I presume, lids), then glued boxes side-by-side to make a lift-out tray.
⁂
Noticed that the Necchi was still threaded with white 100/6, and put the second dart in before riding to my appointment with Dr. Ashton. Another patient was much impressed with all those pockets.
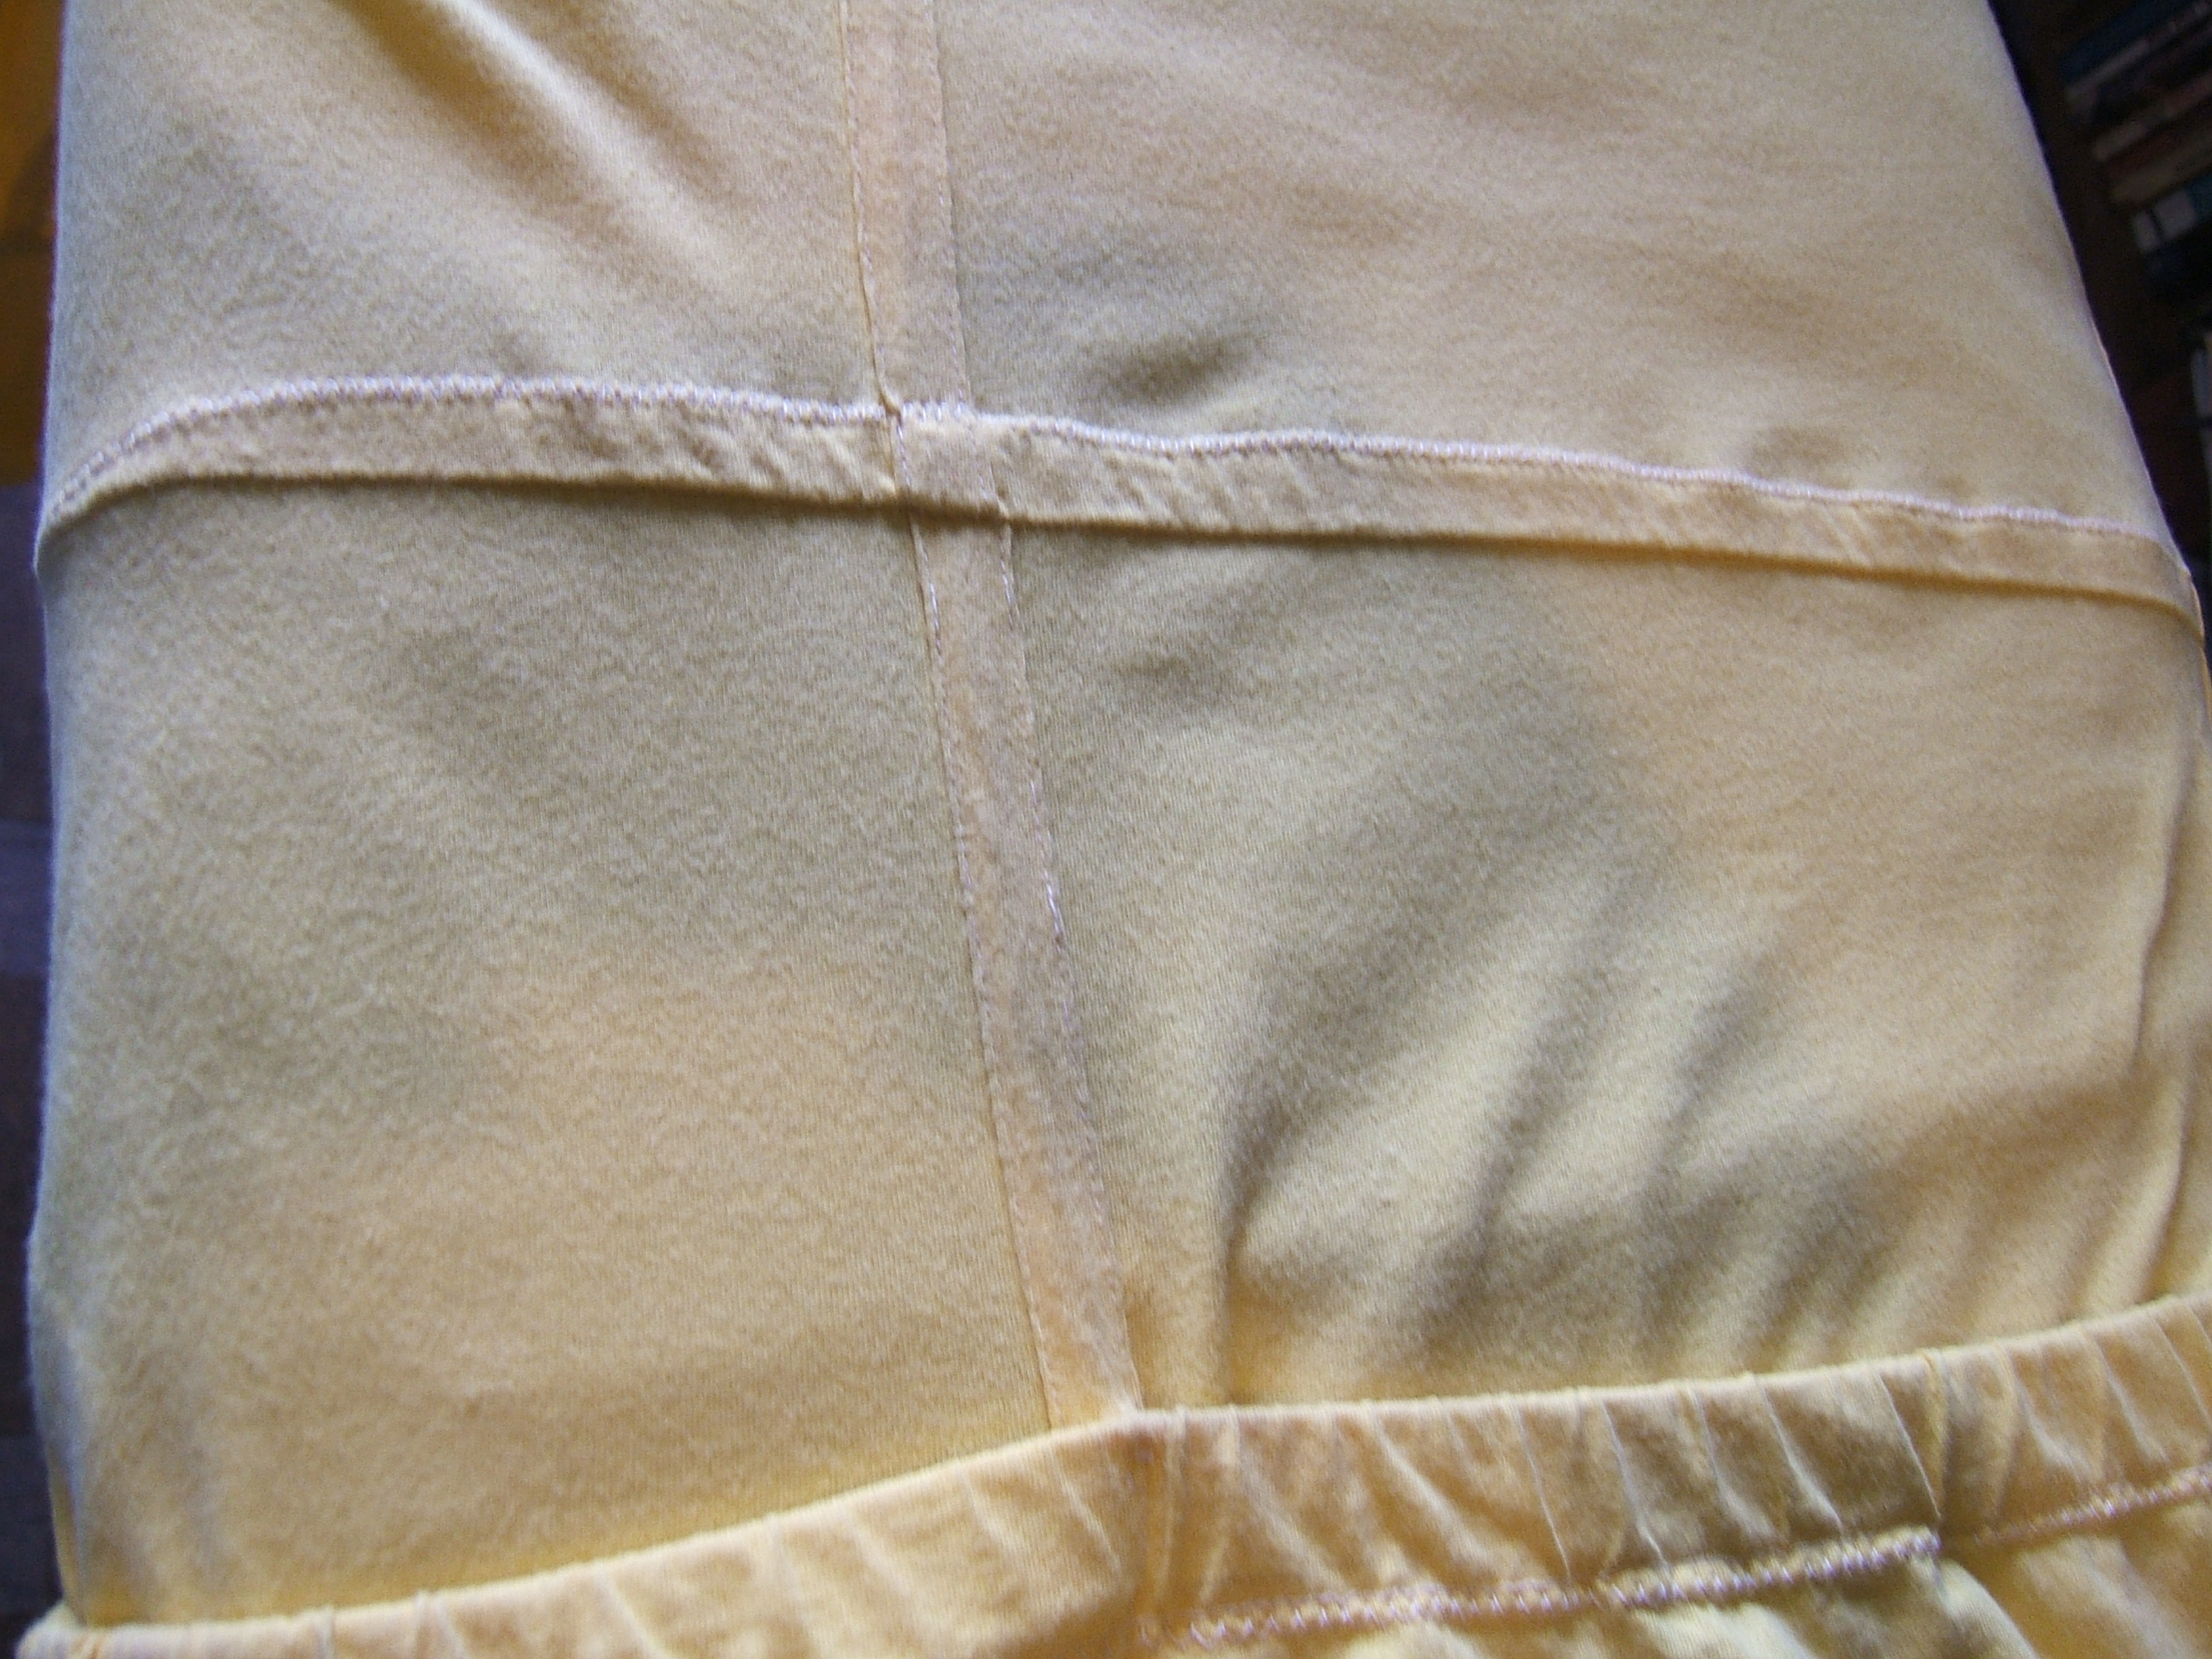
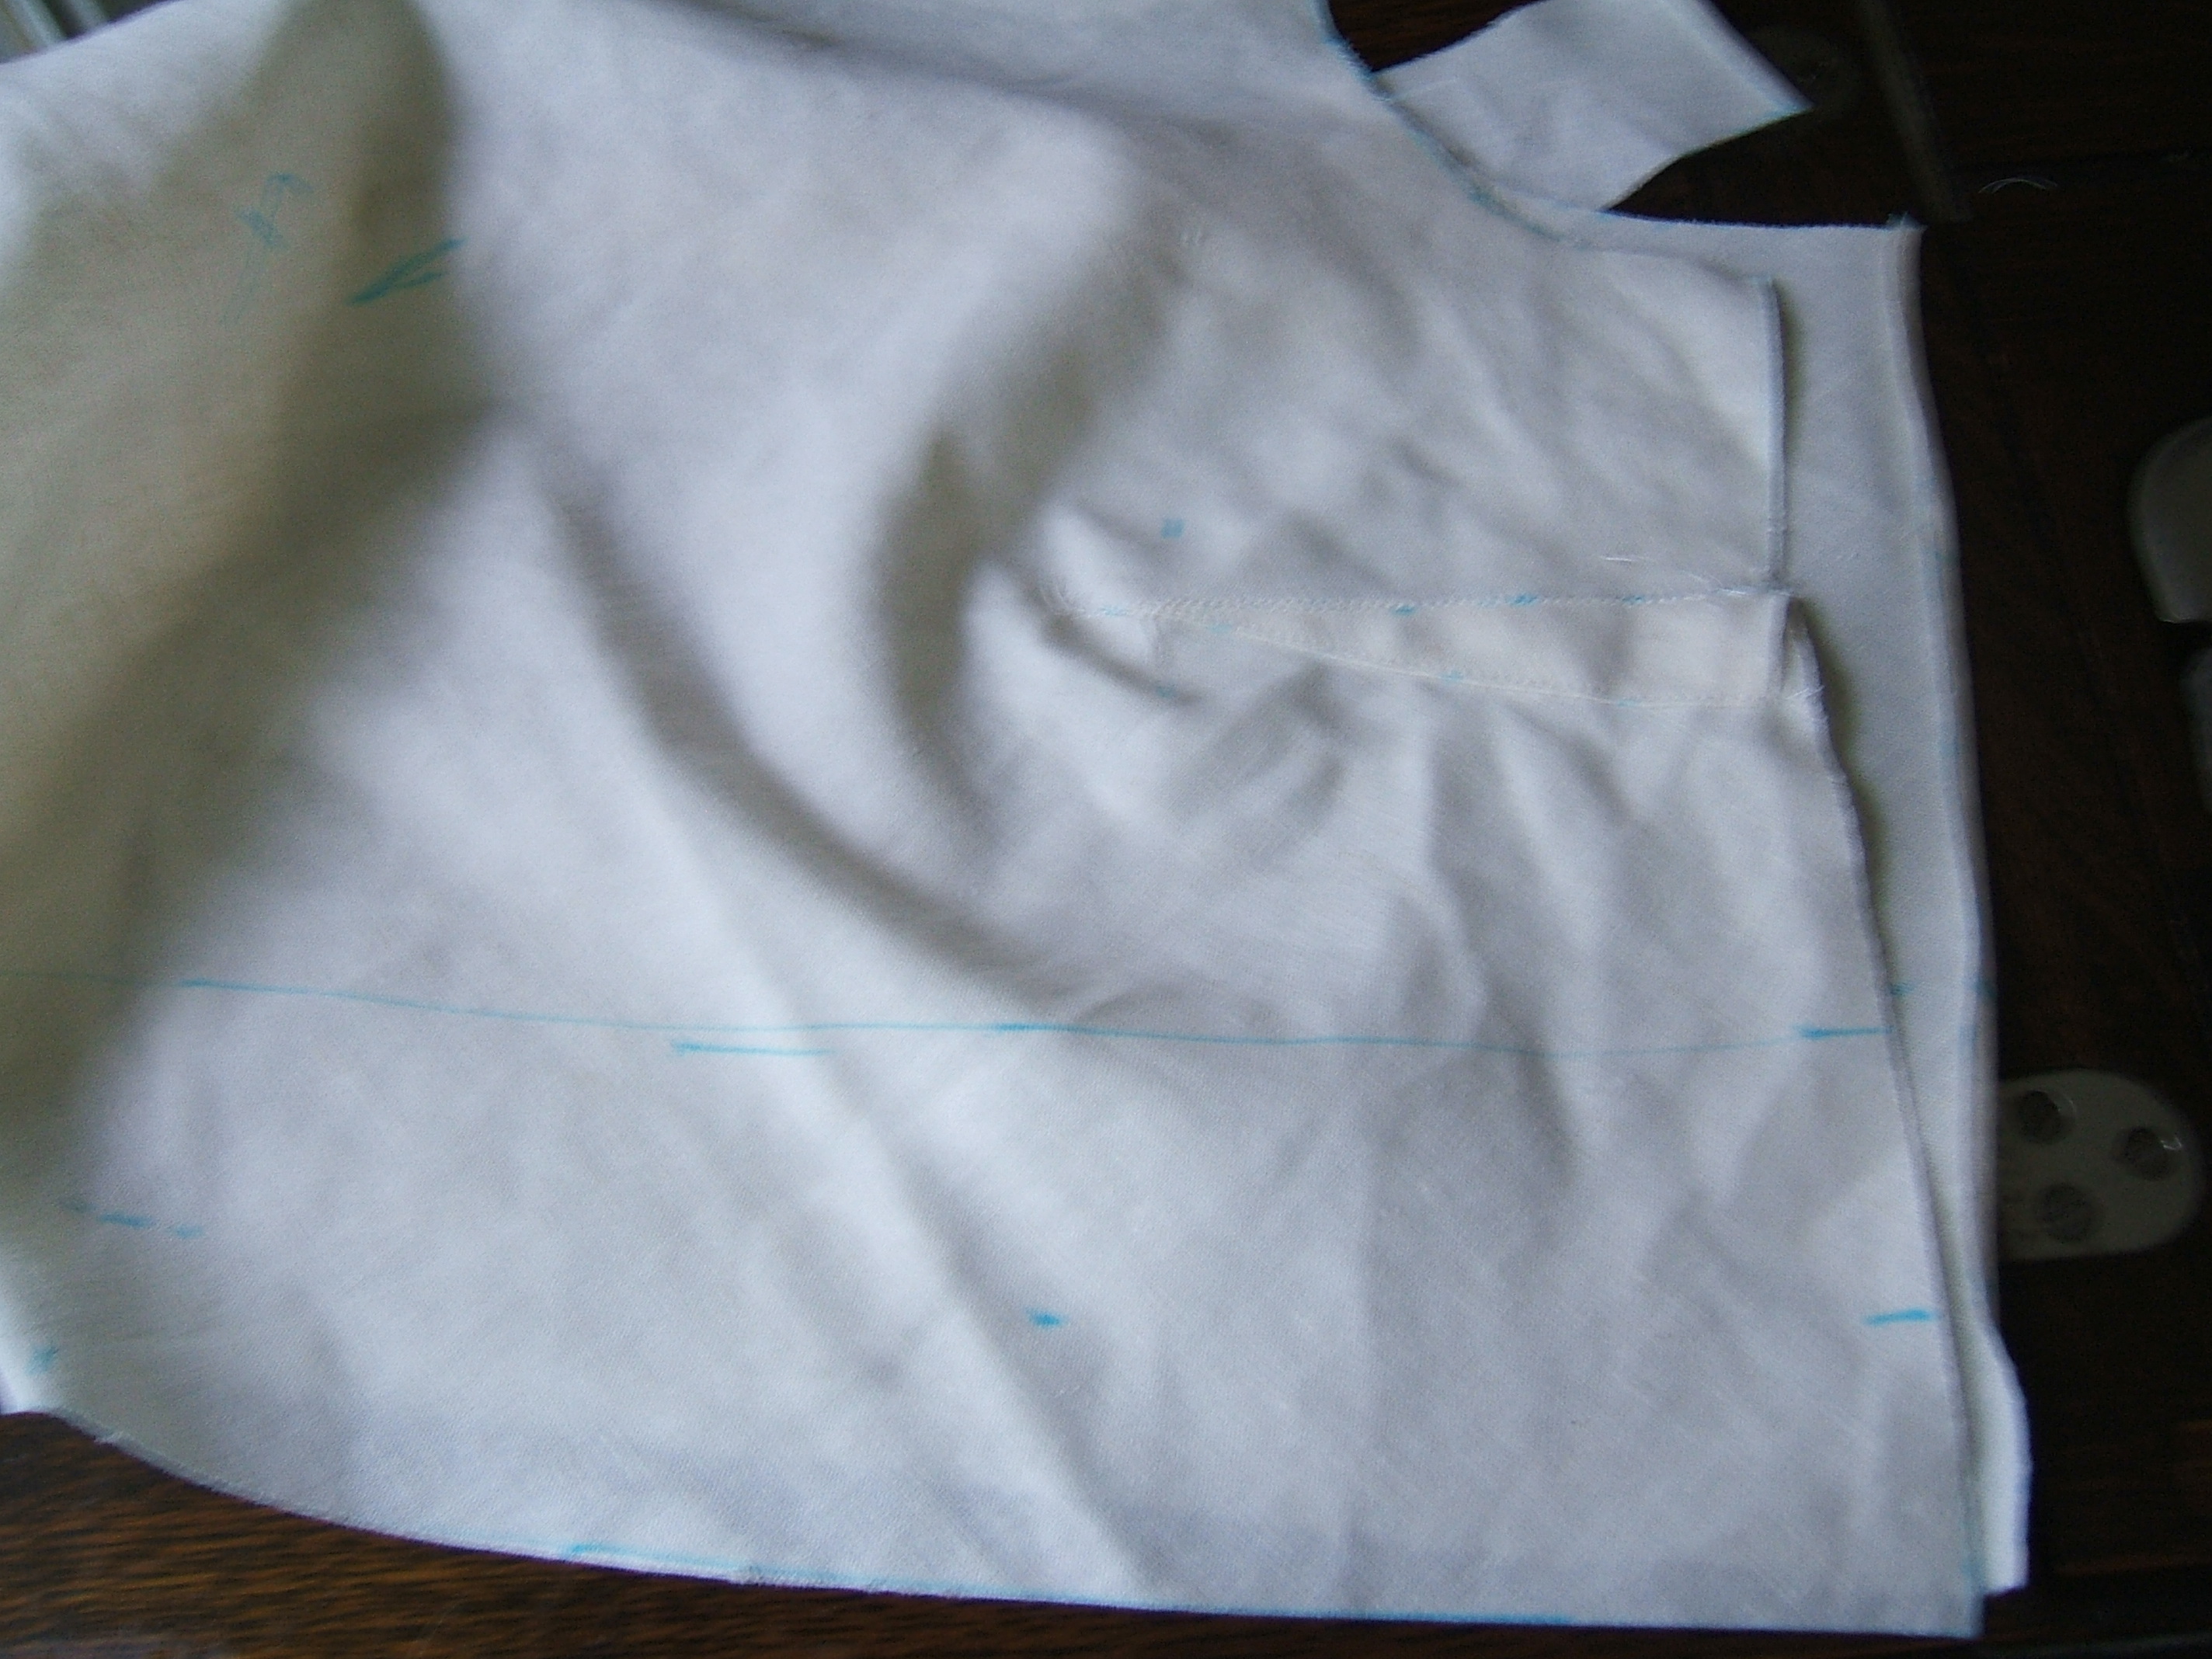
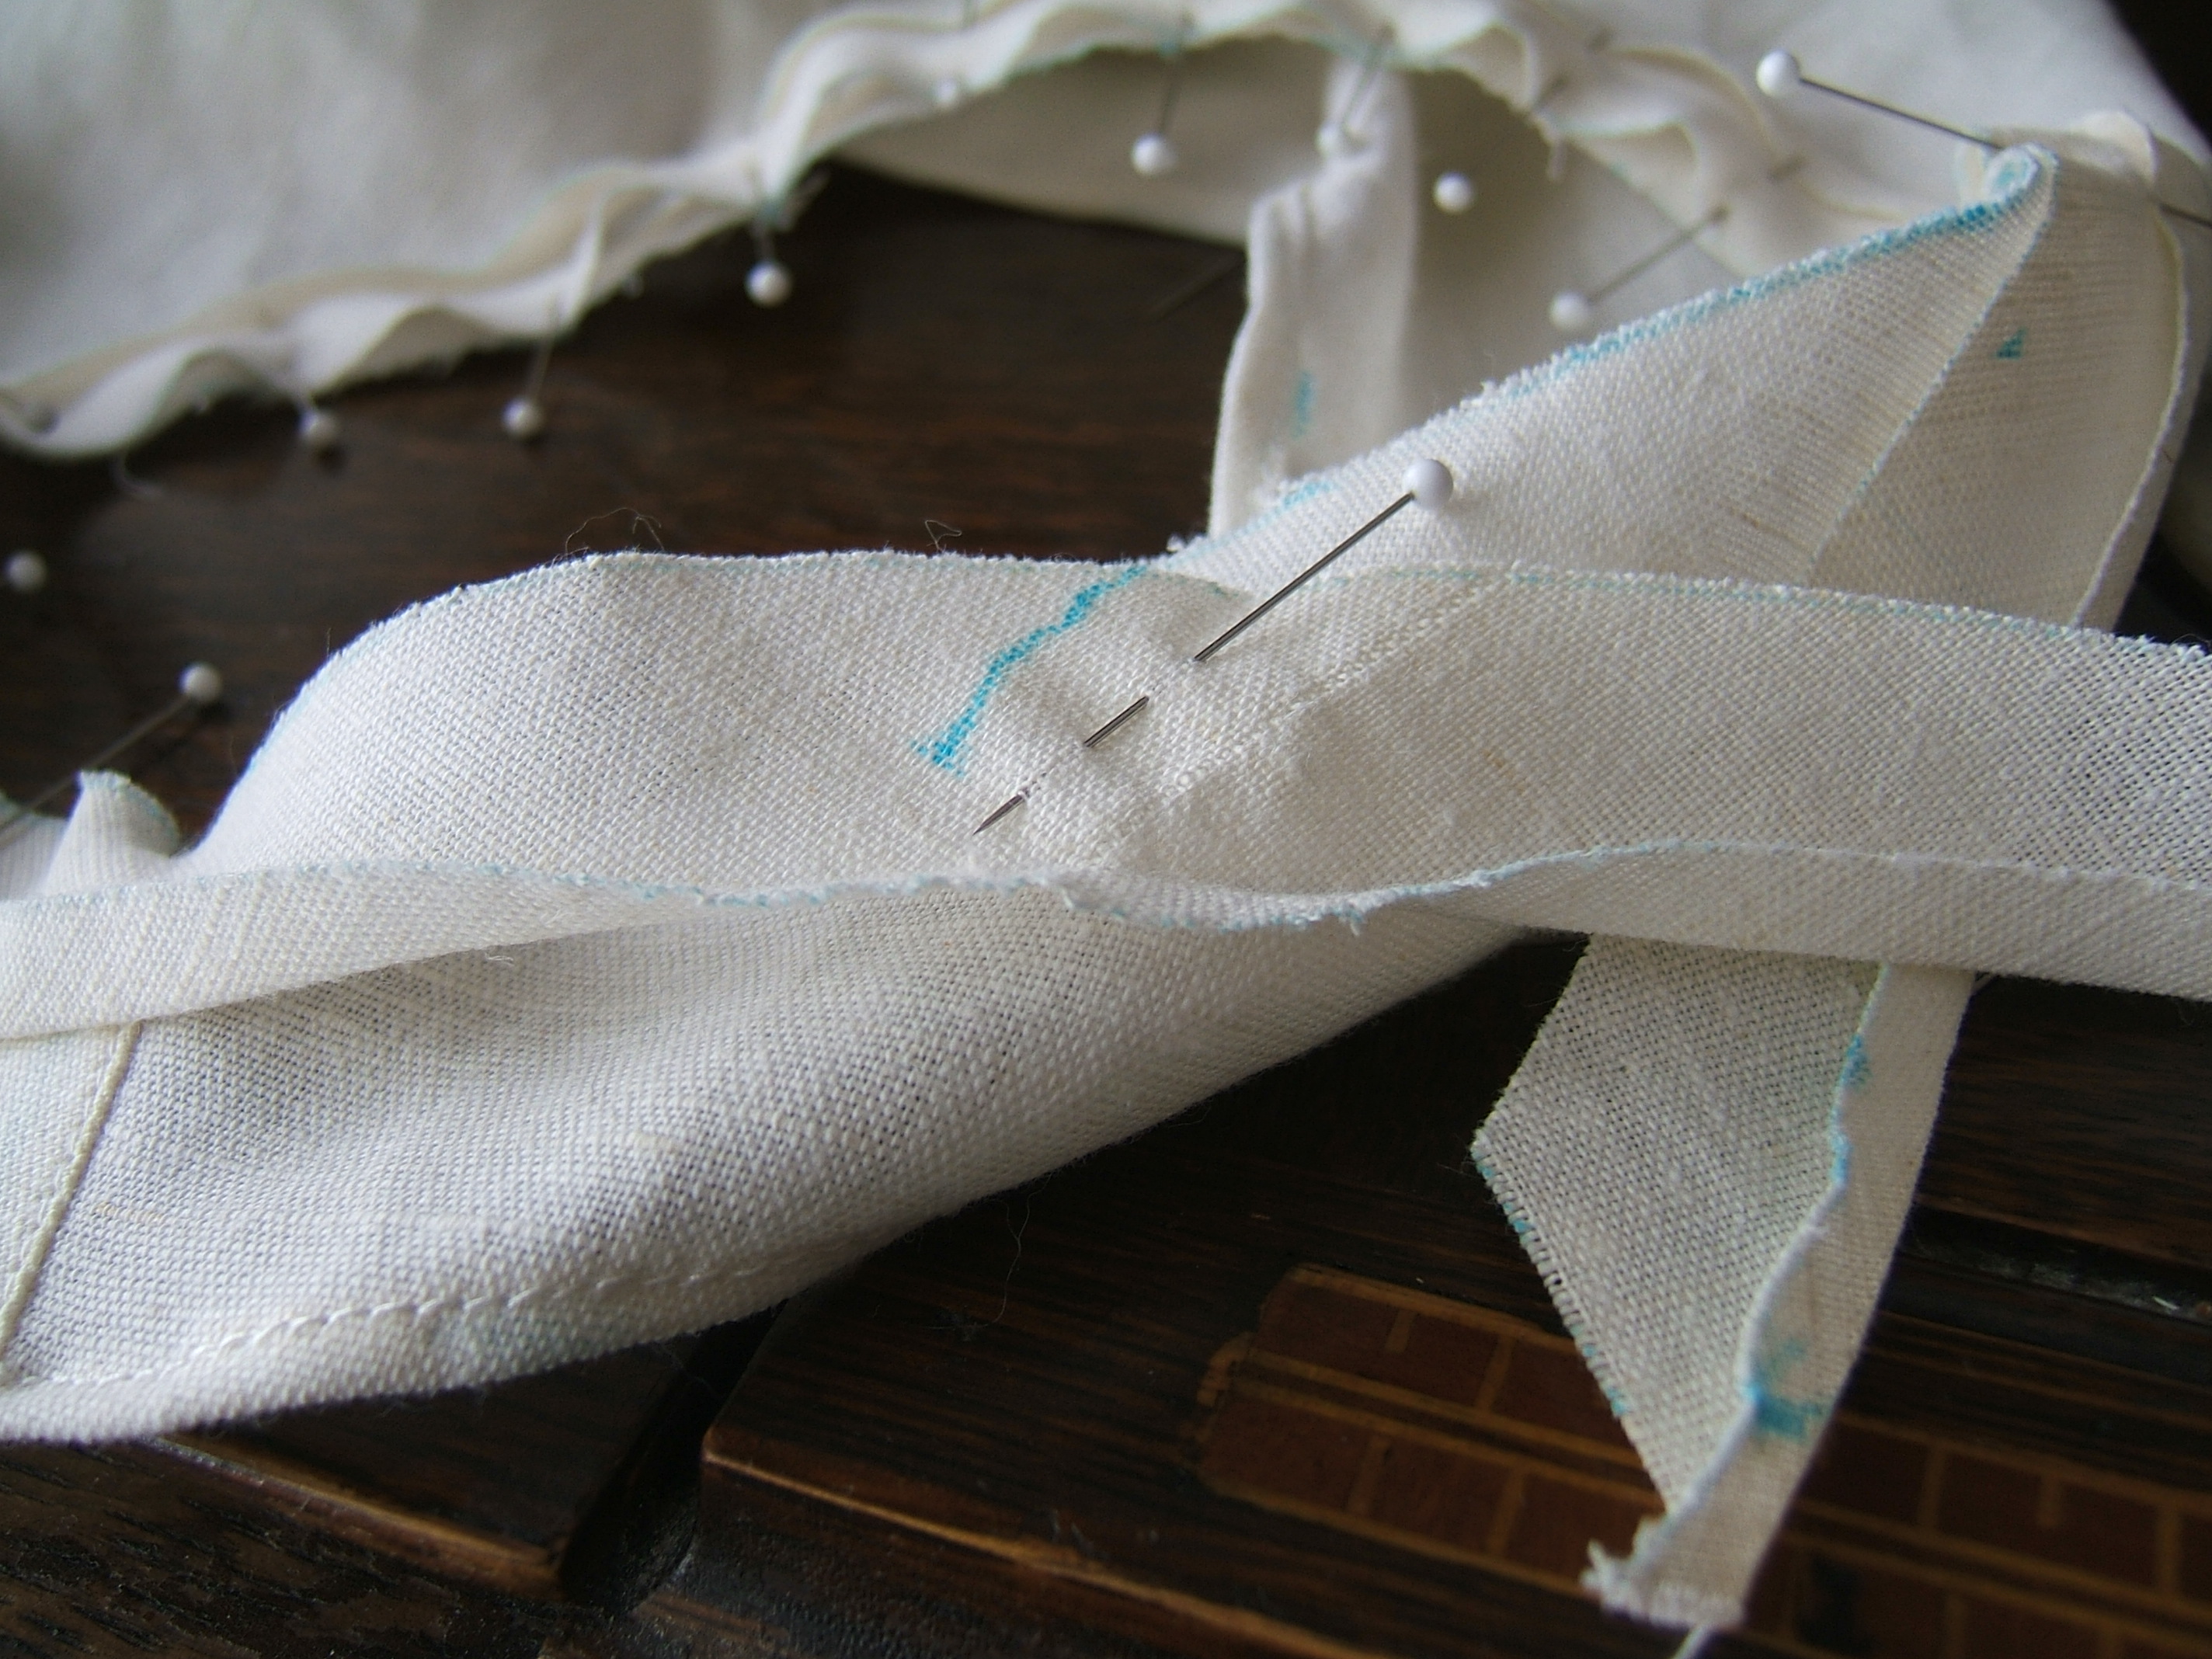
It should be easy to measure from that fold
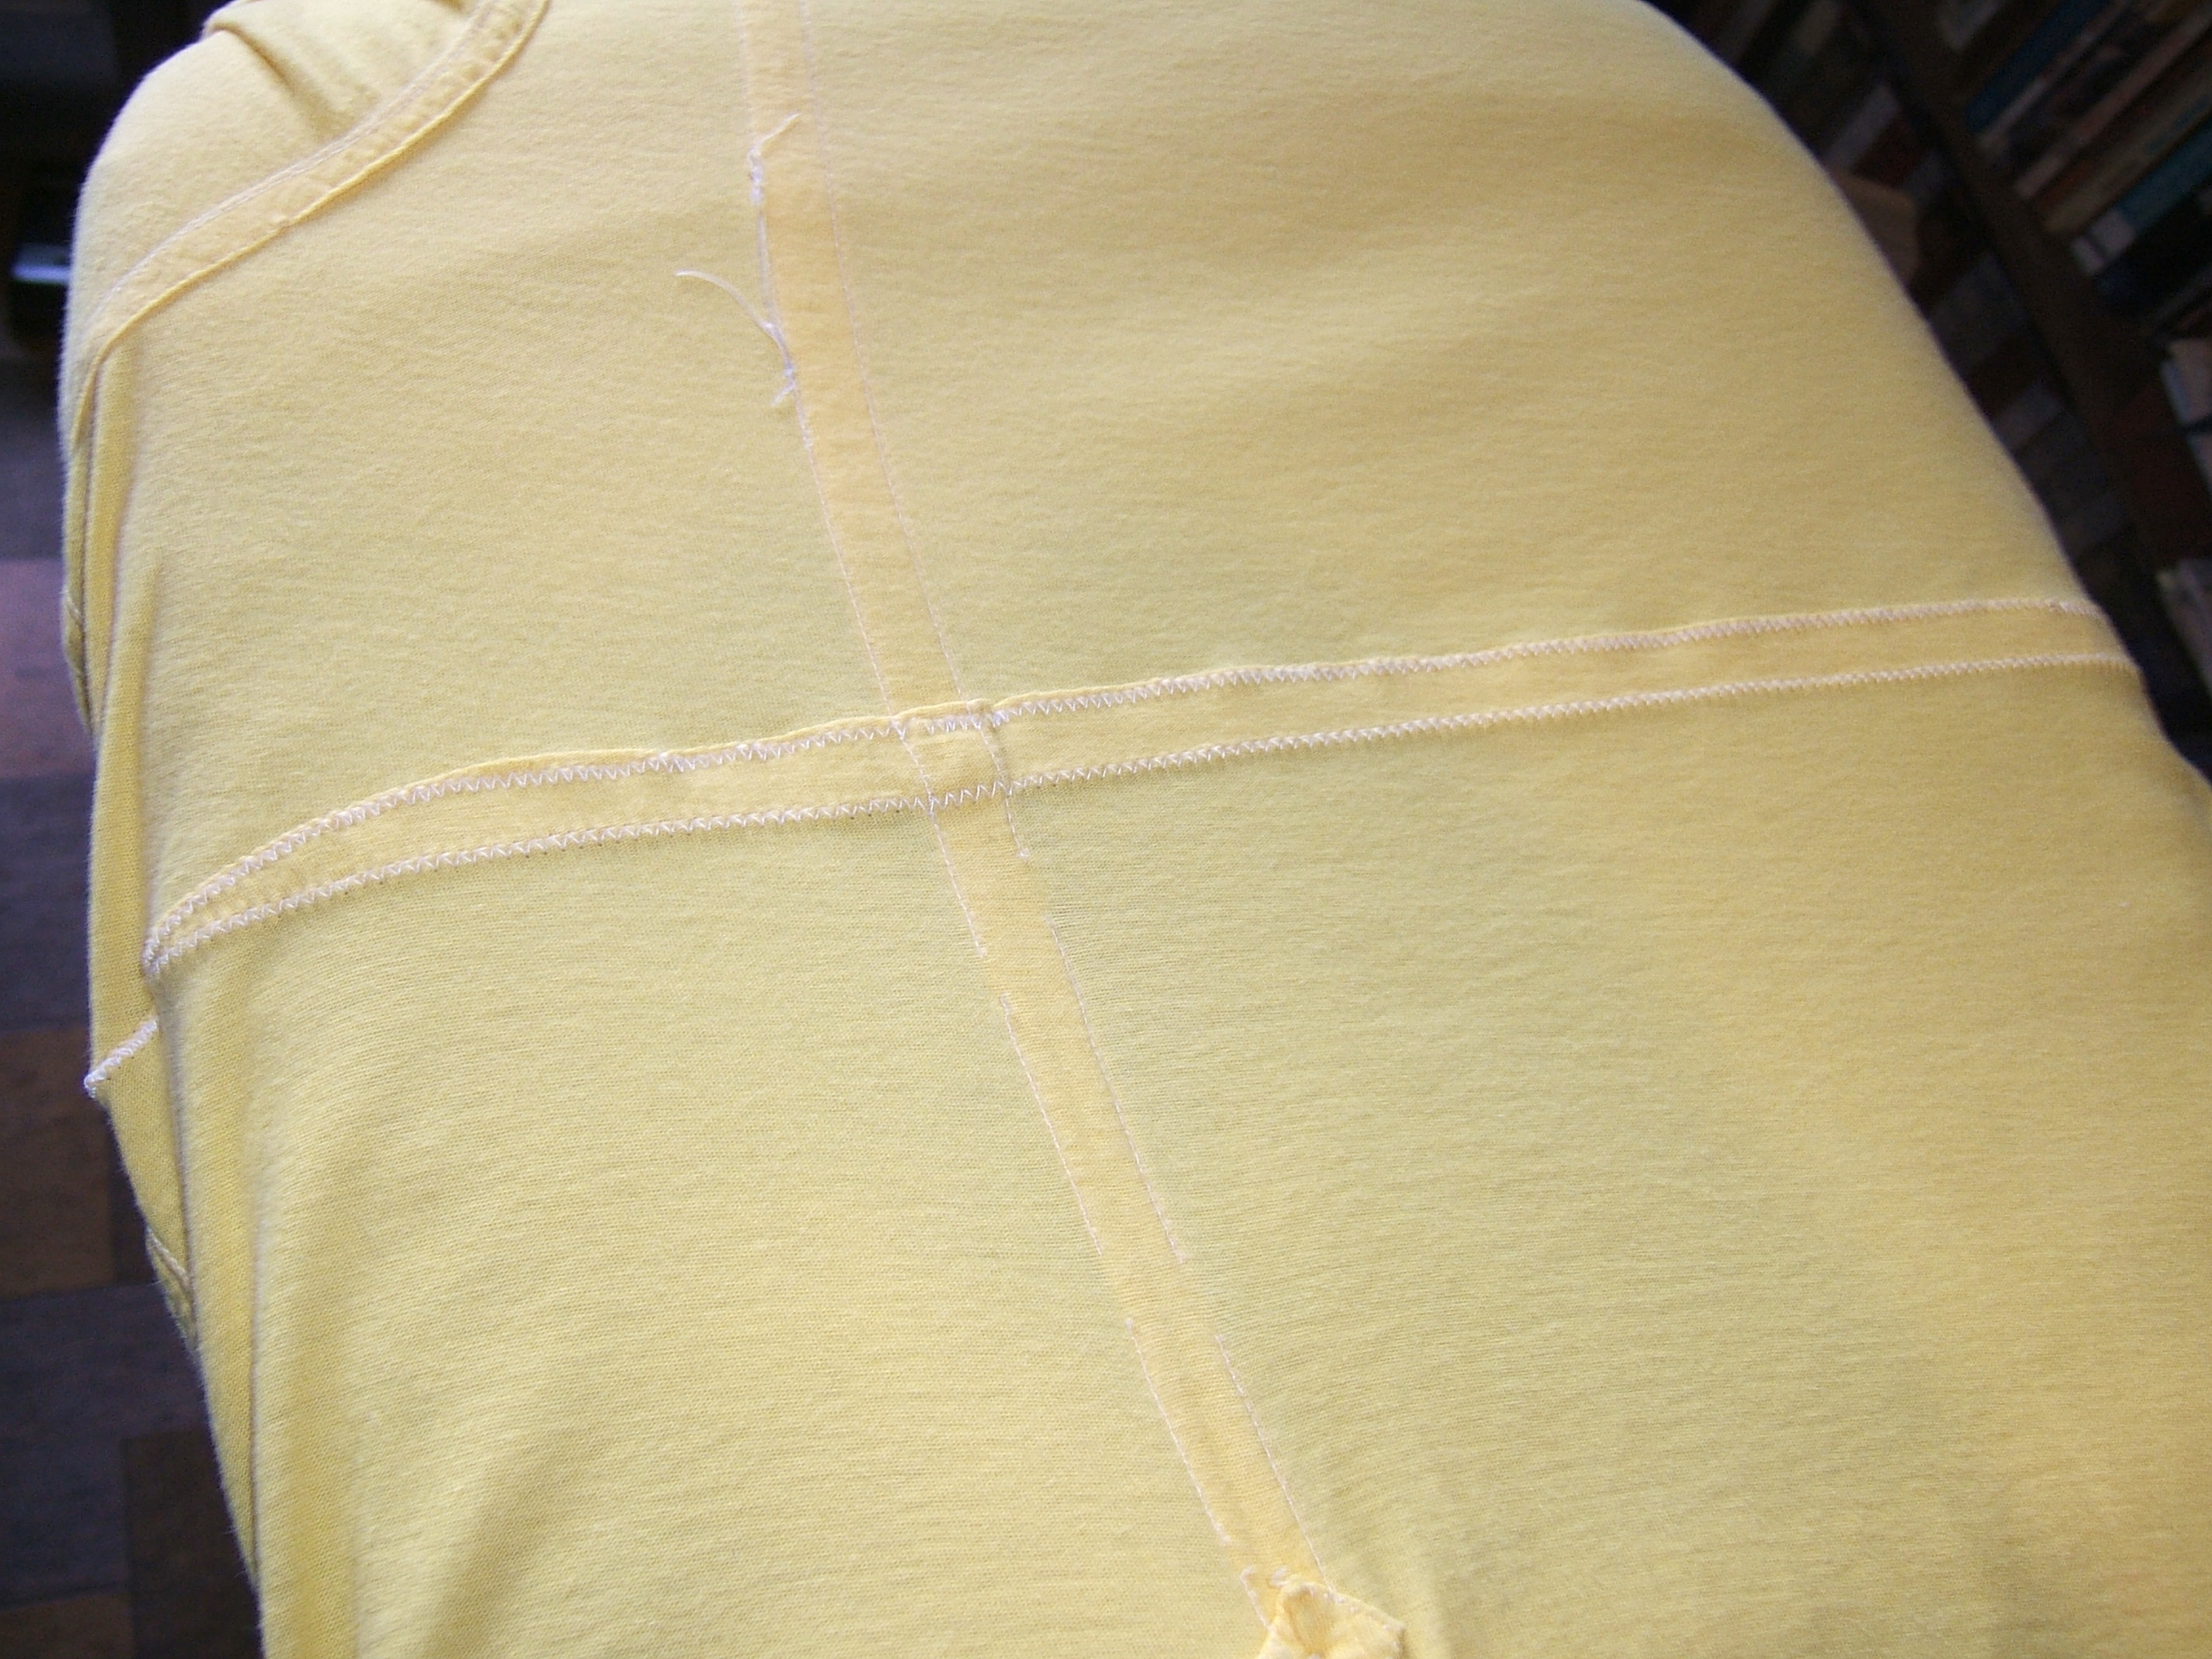
But it's this side that needs to be marked.
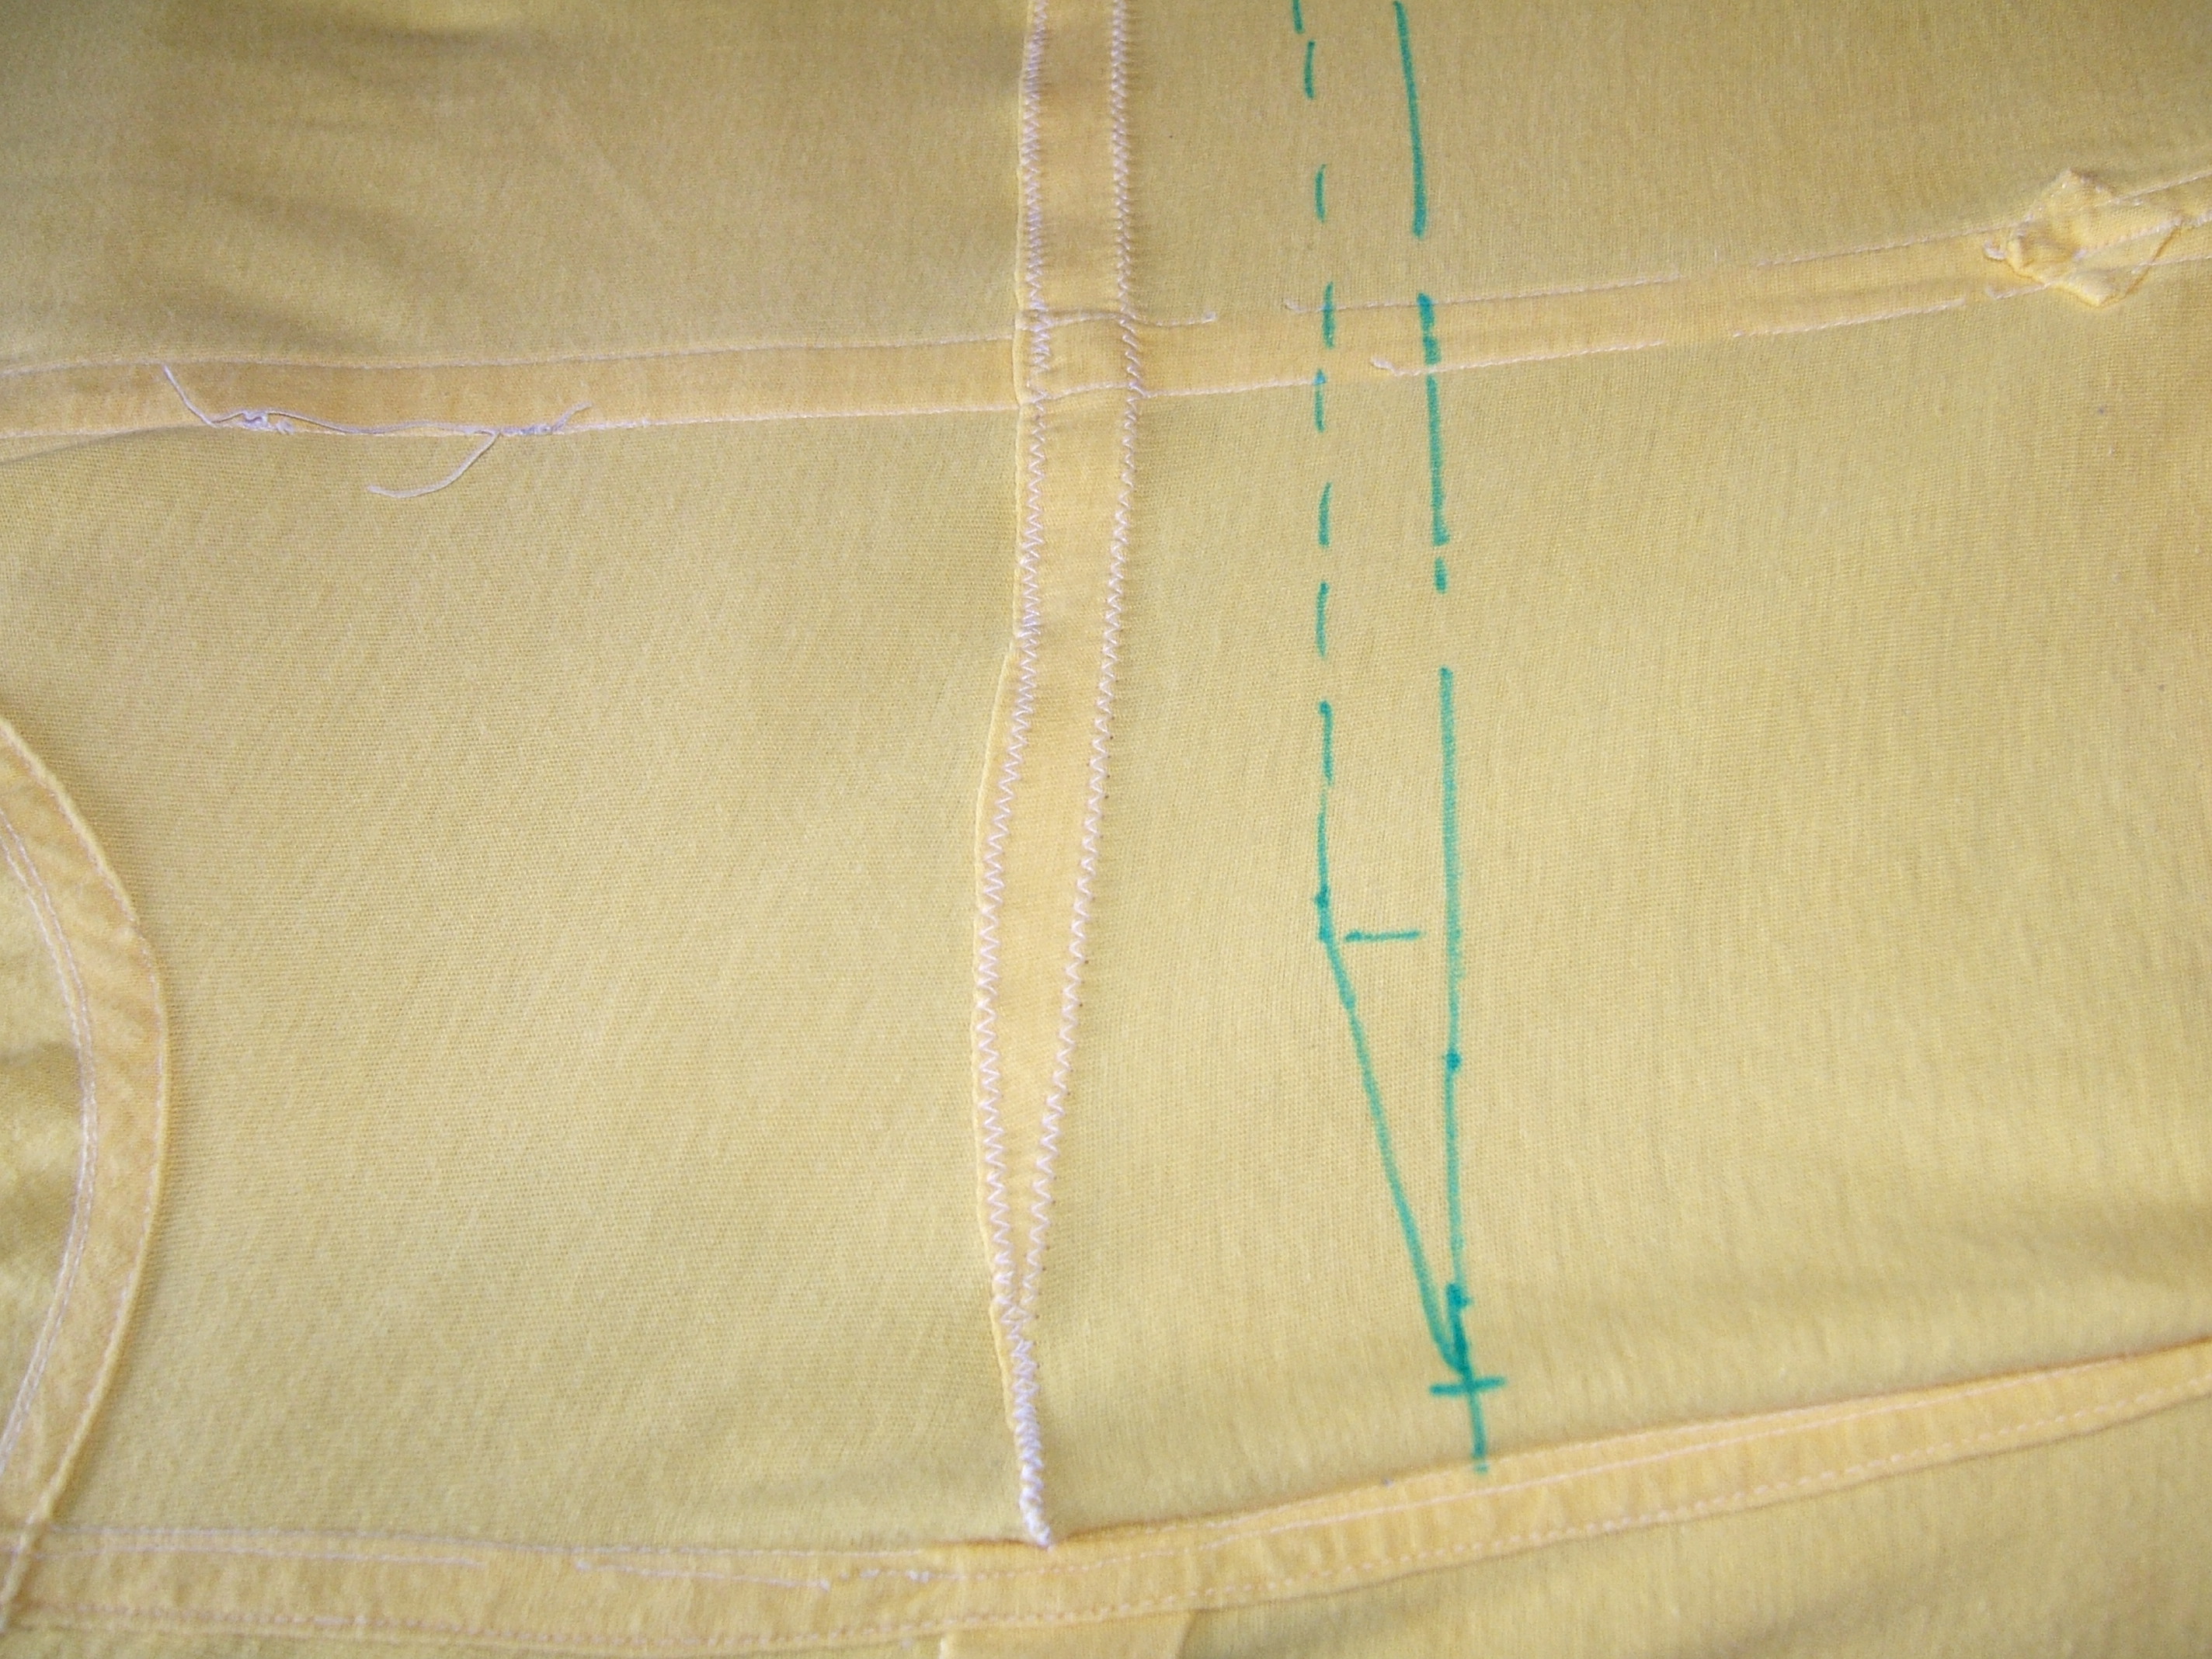
marks made.
2 August 2017
"tighten elastic in right knee of knickers"
3 August 2017
On the other hand, the leg with the droopy elastic rubbed on my knee less than the other leg. I'll leave well enough alone.
Now I'll freshen my back-ups and try to paste in the notes I took in Frankfort.
30 July 2017
That turned into a bit of a saga. When undressing tonight, I remembered that I'd packed a package of brand-new socks that hadn't been marked to show which side is the back, and I wanted the pair I'd worn to be marked before I washed them. I took out the sewing kit I carry in my pocket wallet, because it is worn and I thought it a pity to replace it with all its thread unused. Opened it: no needle. Hastily checked the sewing kit in my large wallet: two needles. I put the functioning kit away, and opened my little bag of stuff intending to get a needle out of the little box of stuff inside it.
Before finding the little box of stuff, I found a sewing kit compact I'd bought for the sake of the mirror, intending to carry it in my pocket on Sundays so I could check the back of my head before going upstairs. This contained an assortment of colors, all fine synthetic, one of them bright red. All components were present: a card of threads with two needles passed under the windings, two buttons, one safety pin, and a needle threader. I unwound the red thread with much difficulty, because all the ends were in the same notch at the end of the card, and they passed over the windings. I selected the smaller needle; the eye appeared too small for the thread. I resorted to the threader, and it still didn't want to go, but yielded with a pop when I pulled slightly harder.
Then when the bar tack was complete, I went for the folding scissors on my key chain and found an empty lobster-claw clasp. Thought for a moment I'd have to resort to one of the razor blades in the calling-card kits, but remembered that there's a larger pair of folding scissors in my large wallet.
All three pairs are now marked, and so to bed.
30 July 2017
While dressing, I cleaned out a pocket I'd kept my keychain in, and found the scissors.
I don't have as much faith in the lobster claws as I used to.
14 August 2017
While hanging the wash, I found a hole in one of the stockings that I marked in Frankfort. Stockings of that brand usually last for years. It looks as though I snagged it on something sharp.
Holding steady:
Before I could dress this morning, I had to make a sweat rag. Later on, I tore the remainder of the pillowcase into another — after picking off a name-and-address tag. That was our address in New York, so that case was at least eighteen years old. I'm still wondering why I needed a name-and-address tag on a pillow case.
Then while hanging the wash, I tore two sweat rags that I didn't like into skillet wipes.
I finally ironed my lined-with-gauze linen dress and wore it to church on Sunday. Came home so wrinkled that I thought I might as well wash it before ironing it again. I'm pleased that I didn't bother to add pockets to it — and I'm less inclined to make something of the large rectangular scraps. But I was at risk of tripping over the hem; I need to cut at least four inches off it.
put patch pockets over side seams of
cotton-lined linen gown
Replaced with "cut four inches off cotton-lined linen gown"
Find and finish calling-card
sewing-kit tutorial
15 August 2017
I cut three inches off the dress, and plan to use at least an inch making the new hem.
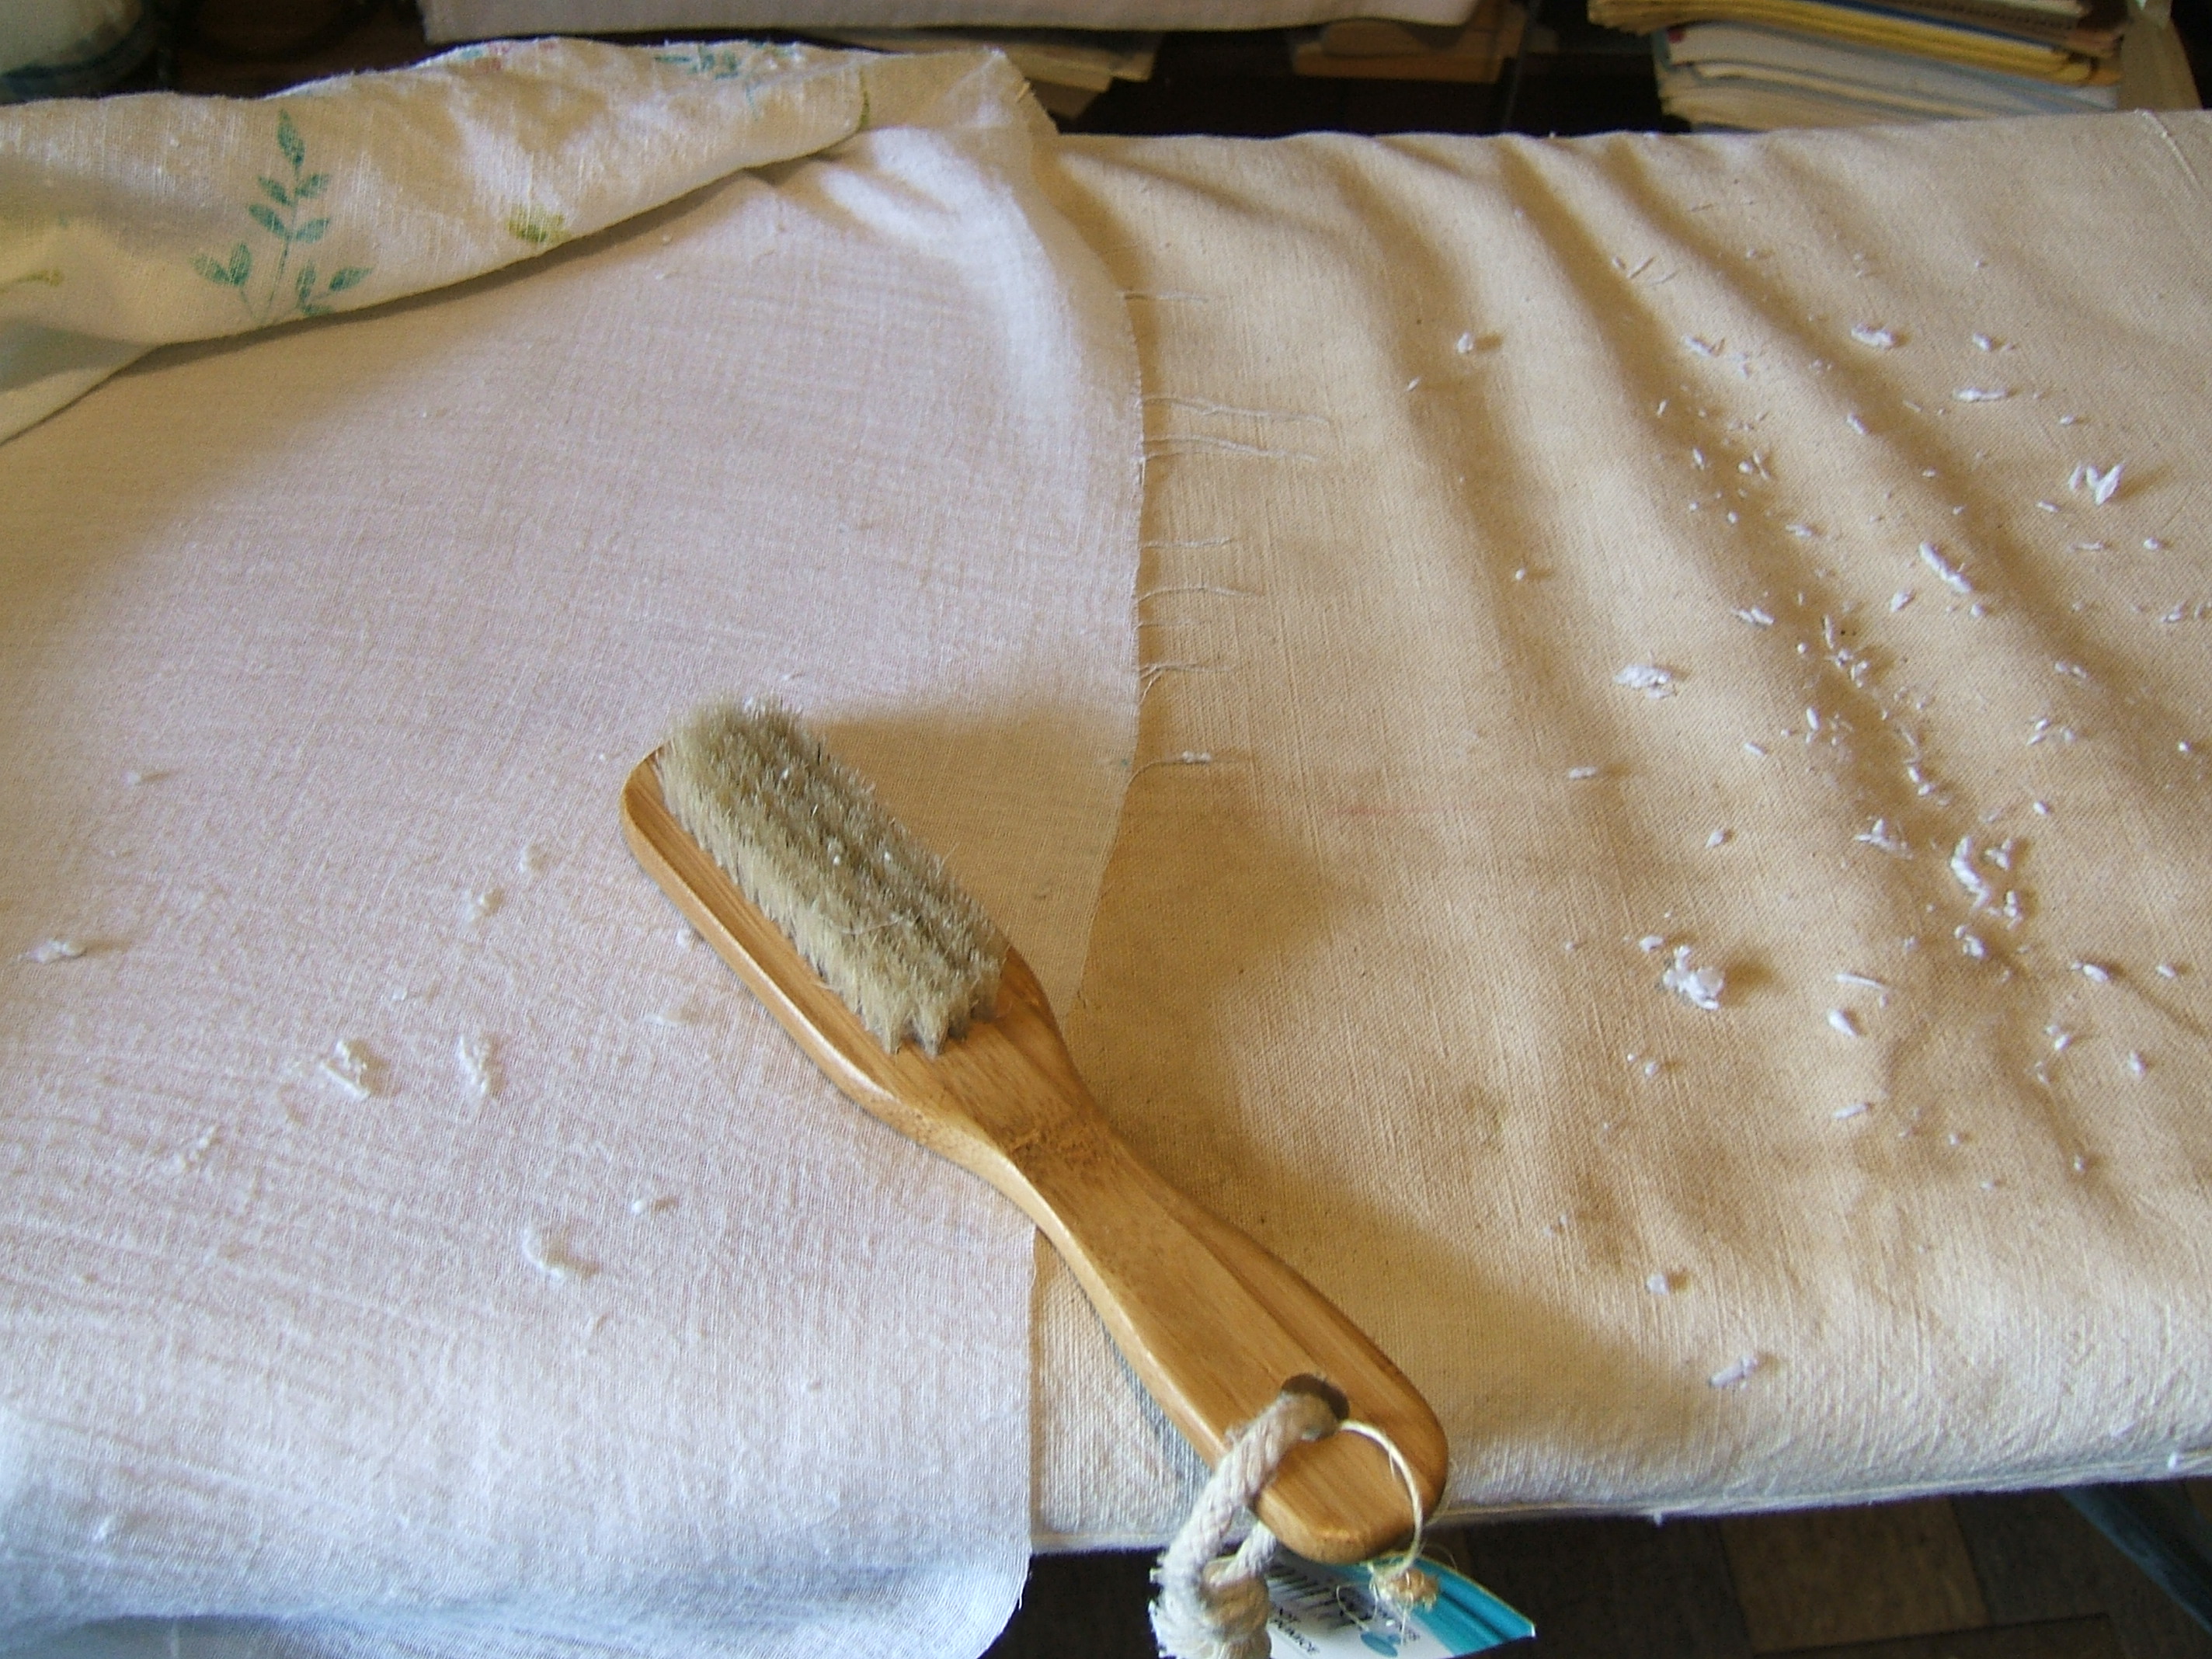
There was lots of lint inside the lining. At first, I tried to sweep it out with my horsehair polish dauber (must get around to photographing it for TOOLS), but the lint clung firmly to the gauze, so I switched to the stiffer boar's-bristle foot brush. I may use the whisk broom at the next session.
Before hanging it up and knocking off for the day, I also took it outside and shook it.
I tore out half of the underlining of the hem and, since it had just been washed, cut it into skillet wipes. I'll have to use up a few wipes before I cut the other half.
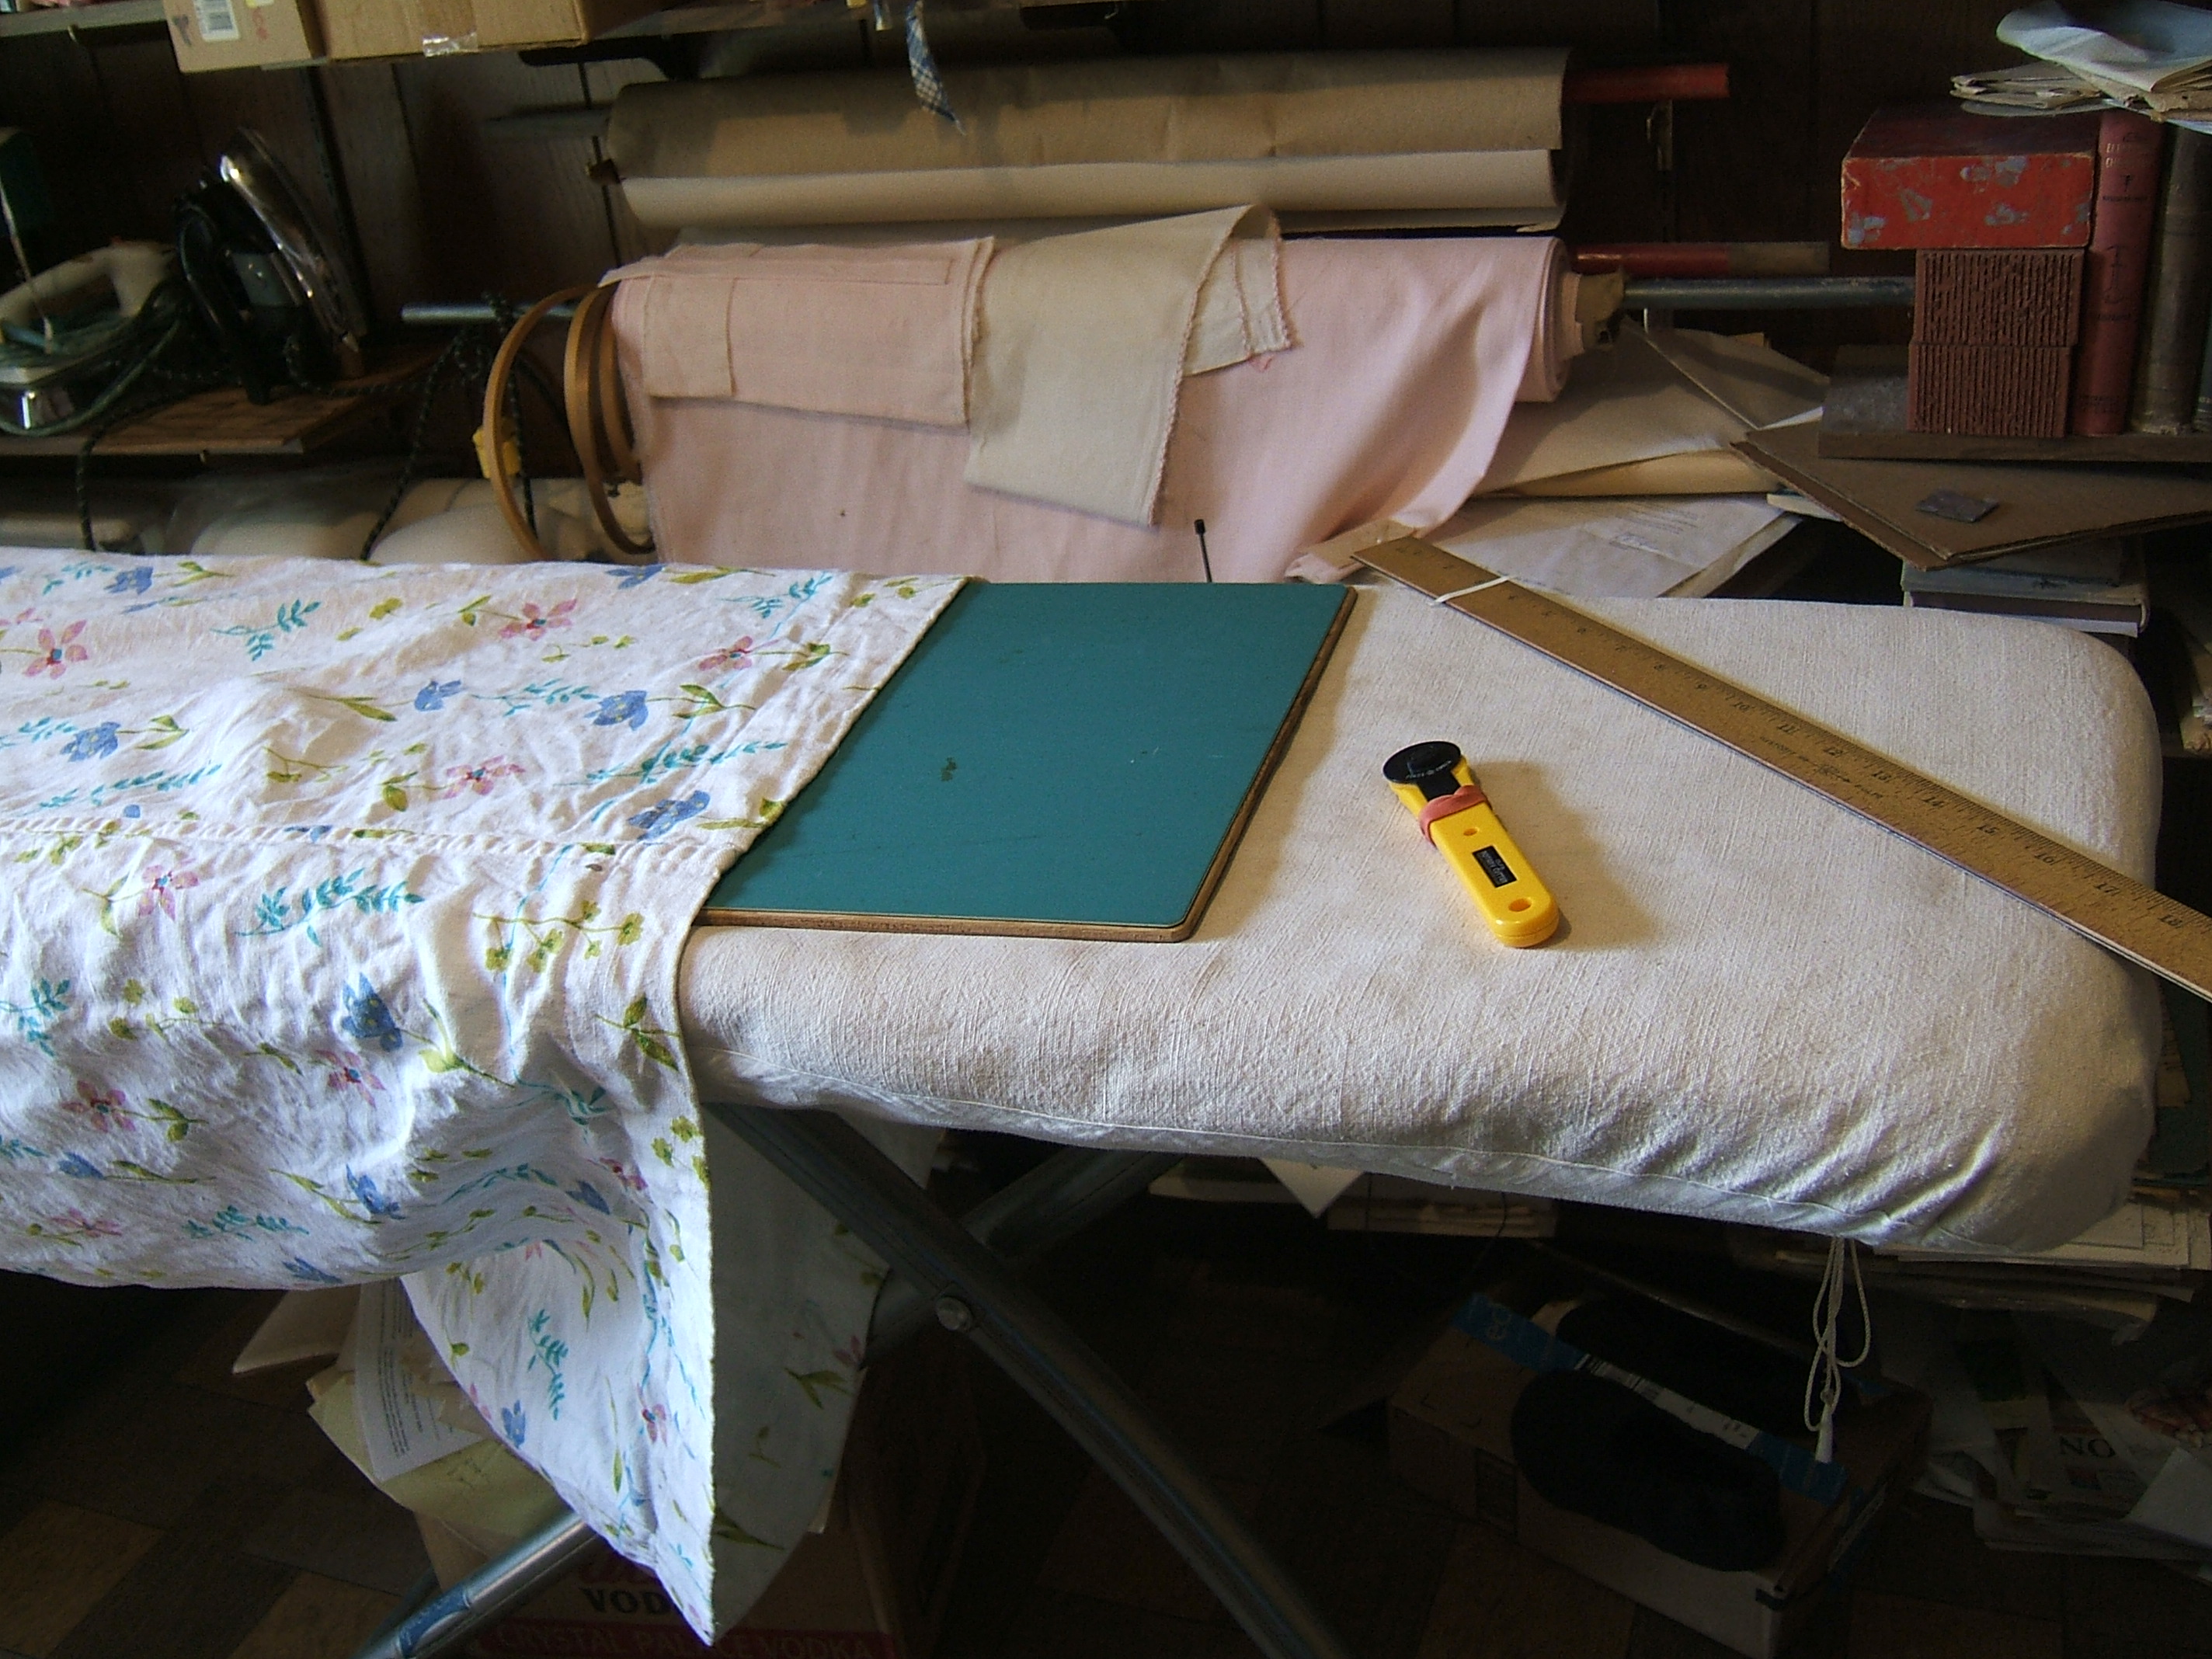
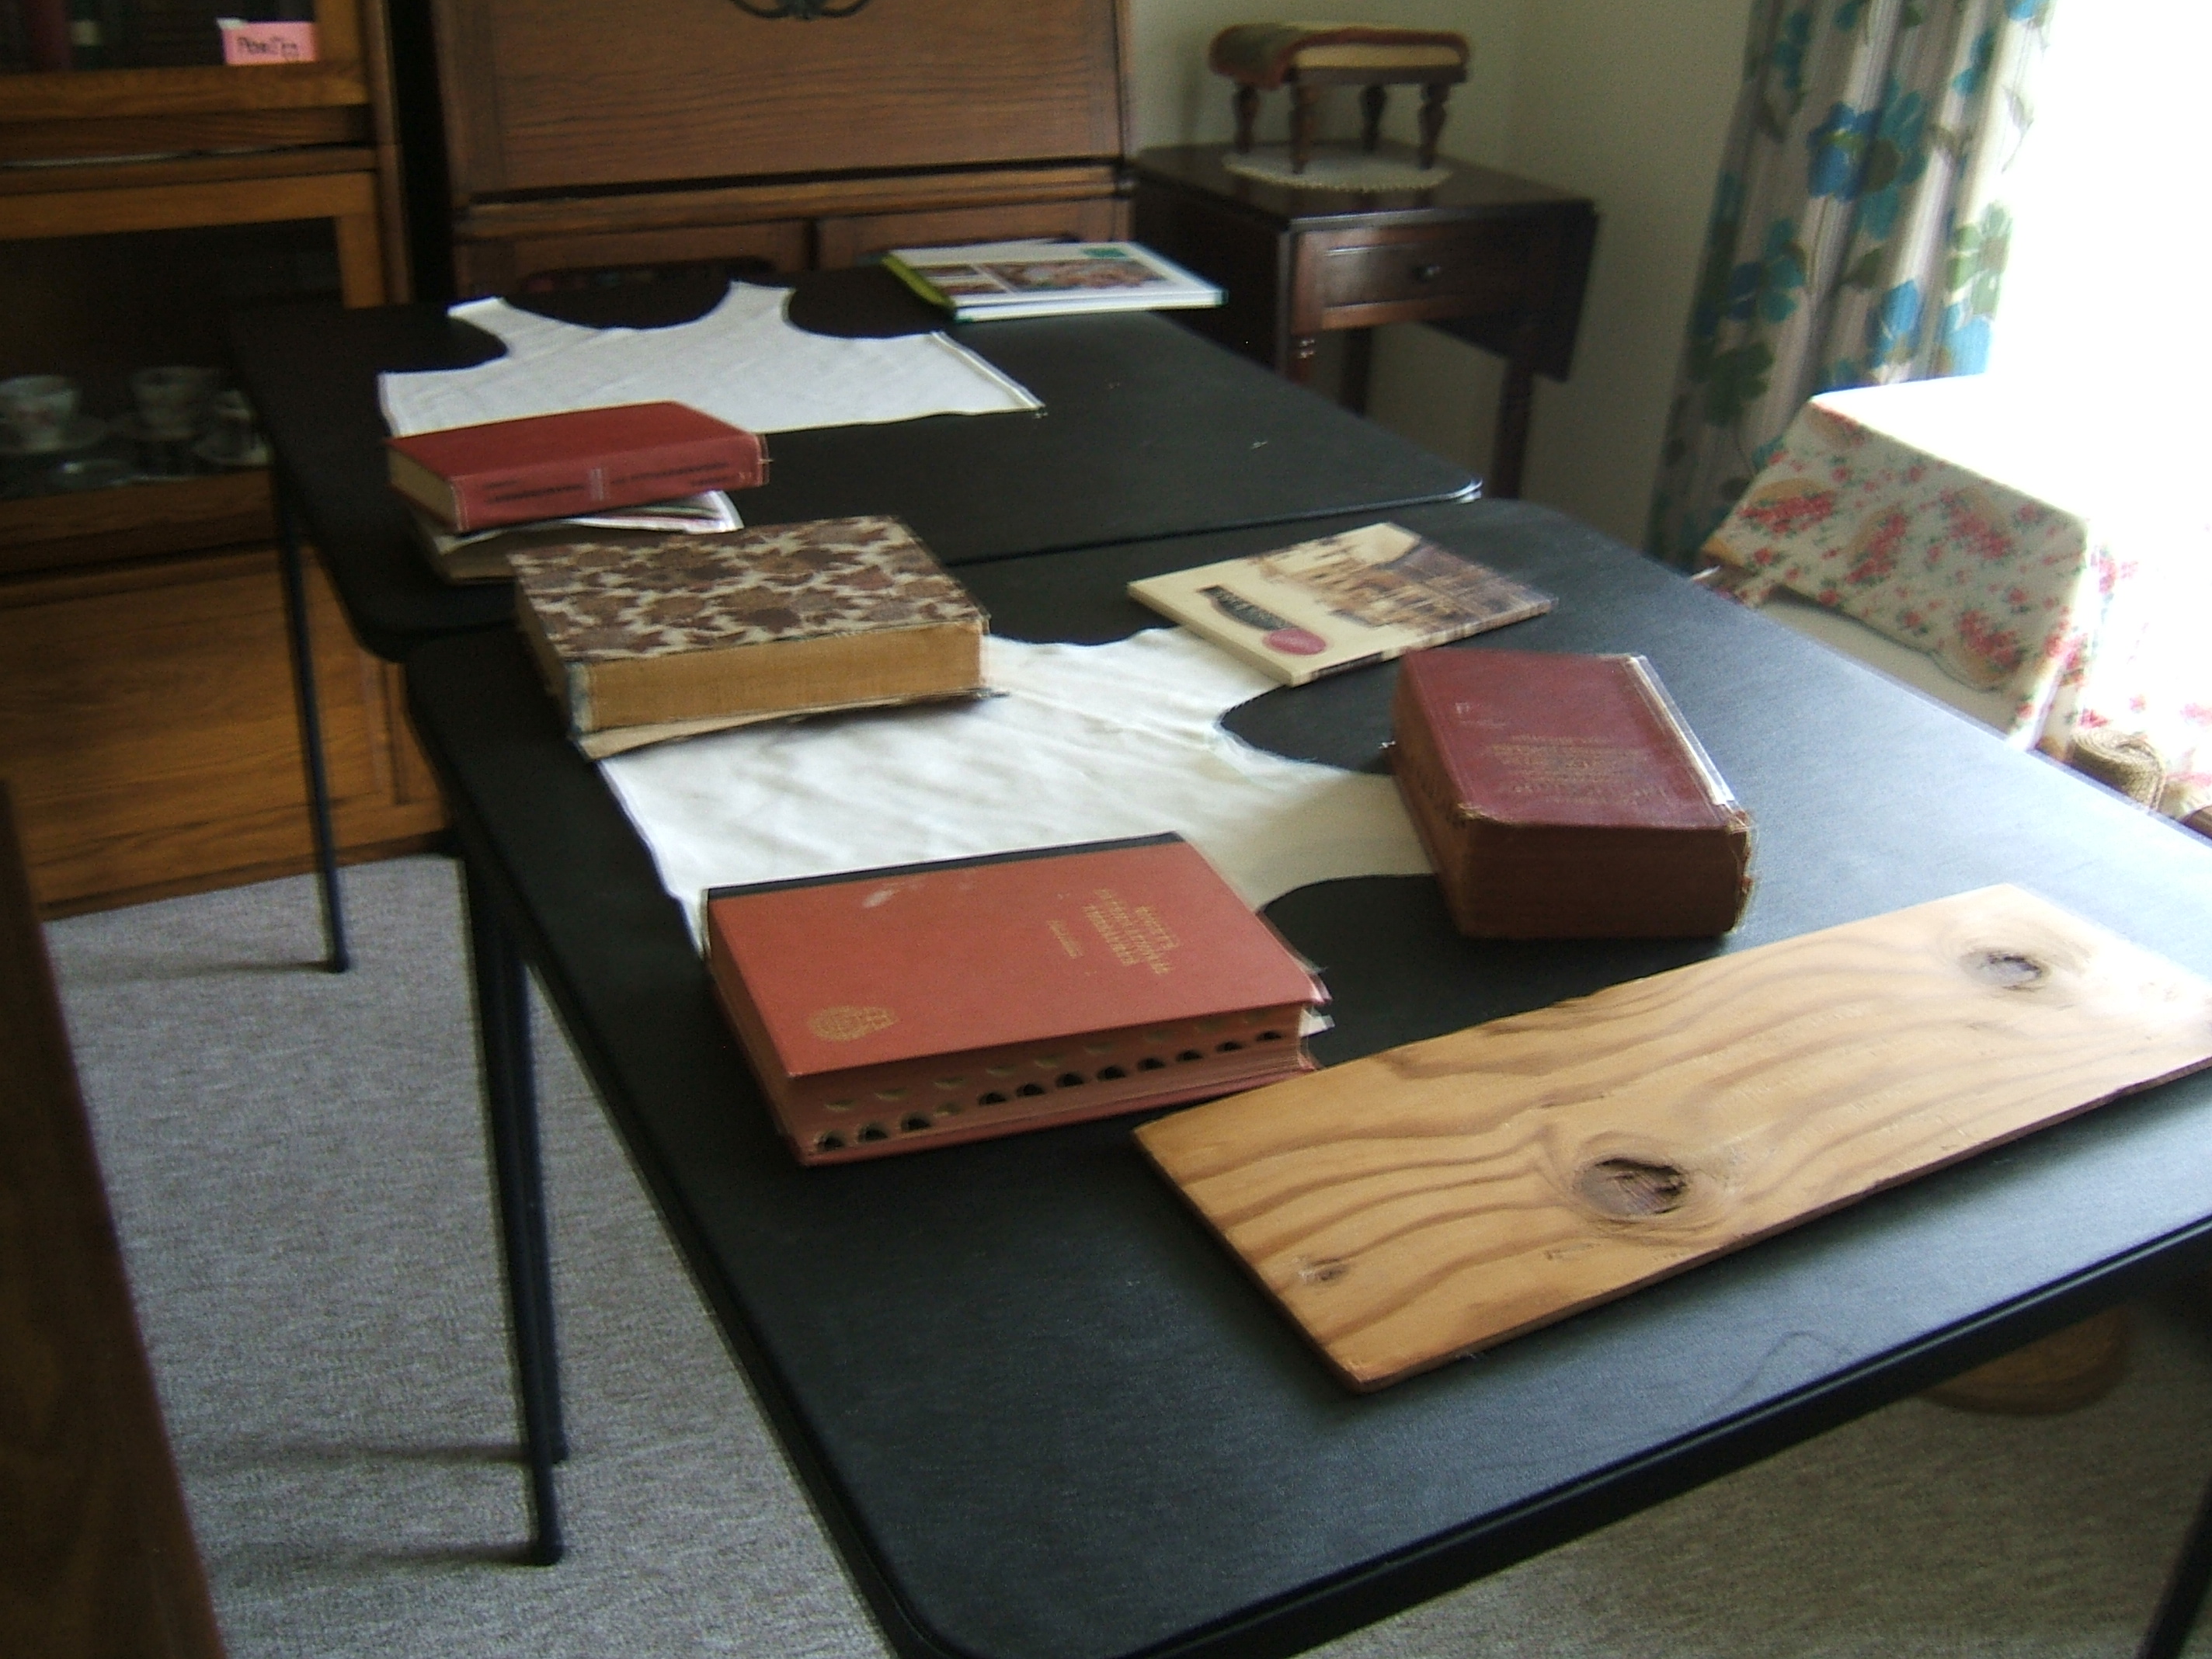
add link to cutting-board photo
25 August 2017
I changed all the pillowcases at once today, and had three clean cases left over. I guess I needn't hurry to find suitable muslin to make more.
1 September 2017
I finished brushing the lint out of the cotton-lined linen dress this morning. Much quicker and easier than I expected — perhaps because I was using a whisk broom.
I'm going to have to iron the entire dress before proceeding, so that the hem can hang right with respect to the lining. So it's on the ironing board.
Before doing that, I finished repairing a pair of briefs that have been on the ironing board for weeks. One washday, I cut the casing on the fold, put the elastic into the drawer under the Necchi, picked out the stitches, starched the edge with undiluted starch on a sponge, and hung it up to dry. While starching, I reflected that there was no need to keep it at the very edge, as I'd done when starching before cutting, because there were no stitches for it to get into. Mostly the starch extended to the holes where the stitches had been. I didn't reflect that the fabric would want to fold where the edge of the stiffness was; I should have starched a whole inch so the entire hem would be stiff. But it worked the way it was; I had little difficulty in forcing the fabric to fold half an inch from the cut edge, and the fabric under the edge didn't particularly need to be stiff while I was zig-zagging the edge down.
Usually I have to worry about pulling the end inside when threading elastic through a casing; this time I had a great deal of difficulty in getting enough tension on the elastic to pull the knot inside, because the elastic is just barely shorter than the casing. Perhaps I shouldn't have been so careful to leave short ends when tying the knot.
Oops! I almost forgot to put the blunt needle that I used to thread the cord elastic into the briefs back on its safety pin.
Wish I knew where I could find more coil-less safety pins for attaching things to the curtain. Perhaps I should split-ring lobster-claw clasps to the coils of the regular kind. It would be more convenient, but I don't take tape threaders etc. off the curtain as often as I take my tape measure, knife, etc. off my key ring, so unfastening a pin and putting it back into the curtain isn't exactly a chore.
It does annoy me that coilless pins are at a premium when they are the cheapest kind to make. That is an illustration of how distribution accounts for all of the expense of most products.
I was thinking of "the salt is free; you are paying for the box" and thinking that it started at the turn of the twentieth century, but it's *always* been the case that some things were expensive primarily because they were far-fetched.
4 September 2017
There's a hole in my houndstooth-print bra — the design that looks like an Escher print of bats. That leaves only three; I must move "make bras" to the top of my to-do list. I took a desultory look at the linens; with cold weather coming on, I could use the orange cotton-linen blend, but that would mean making another batch before spring.
I'm wearing the black bra today, so that all three of the red ones could be washed, and plan to continue wearing it until it's filthy — the next time it's washed will be its last.
There's probably more of the houndstooth linen.
There's a print that I'd love to make into a matching sarong and bra, but I didn't buy quite enough.
7 September 2017
I had a ripping time this morning. Yesterday was Roomba day. In sweeping out the niche where I keep boards, I noticed that I'd somehow acquired a piece of varnished plywood, fit only to be a shelf, and could put it on the printer stand to replace the pressing board that has been out of service ever since we recycled the daisy wheel.
Swapping the boards called my attention to a hat-in-progress that I'd dropped onto the printer stand and forgotten about. I just couldn't come up with the energy to finish it after discovering that despite using the same pattern as my blue hat, which fits very well, the hole in the brim is too large. It would have to be eased onto the sweat band, and another floppy-brimmed hat I don't need. I appear to have decided to make it loose, because two patches were pinned to the sweat band.
So I sewed the two patches onto the band. (If I recall correctly, the "russia drill" scraps have been reduced to snippets, none of which are large enough to cut another sweat band.) I got one of the seams wrong and had to rip it out, then sewed down the middle of one seam to press it open, then decided that I'd prefer to zig-zag both raw edges, zig-zagged the other seam, then zig-zagged the side that could be zig-zagged without overlapping the stitch-open zigzag — it was a bit off center — and ripped out the center zigzag before sewing down the other edge.
Then I got the joining seam wrong and had to rip it out. In the process, I noticed that I'd done a terrible job of zig-zagging the free edge of the sweat band, so I ripped that out. Which wasn't easy; the machine had been skipping stitches and I couldn't figure out why, so I'd gone over parts two or three times to get enough zigs over the edge. But I'd stiffly starched the edge before zigzagging it, and that helped.
And then I sewed the sweatband inside the hat, tried it on, and realized that I need to sew it to the outside, to be folded to the inside. And oh, arrr, I'd forgotten to lengthen the stitch after doing all that zigzag.
I started removing the wrong row of stitches, and removed more than an inch of the stitches holding the crown to the brim before I noticed. (It was after lunch time by then.) Which is just fine, because while I was taking the sweatband off, I noticed that the edge of the crown and the edge of the brim aren't lined up all that well, so later on I'm going to take those stitches out, then baste the brim and crown together, to be removed after attaching the sweatband.
And I believe that I shall make the seam allowance on the band significantly wider than the seam allowance on the crown/brim, so that it can pad the inside of the band.
Before doing all that, I looked over the linens, took out the bleached "sunset" linen-cotton blend, and rejected it in favor of a piece of white linen marked "pure linen March 2004". When unfolded, it proved to be the linen from which I cut my white linen drawers. I don't think it's the piece from which I got the scraps I patched them with. "2004" is also embroidered on a corner, next to an embroidered "this end up" arrow.
Which arrow points in the opposite direction to the way I cut the drawers. Something else was also cut from this piece, but there isn't enough outline to tell what.
There is also a very nice piece of black linen. Hope I get the energy to cut that when the white bras are finished. And there's some more of the escher-bat print.
The old black bra didn't make it to "filthy". The hole got bigger every time I put it on, and this morning I decided that it was too big for comfort. Ripped some stitches out of that, too.
⁂
On closer inspection, the offset is uniform all around — I did it on purpose.
Pity I didn't think of marking a line around the band *before* sewing the joining seam.
12 September 2017
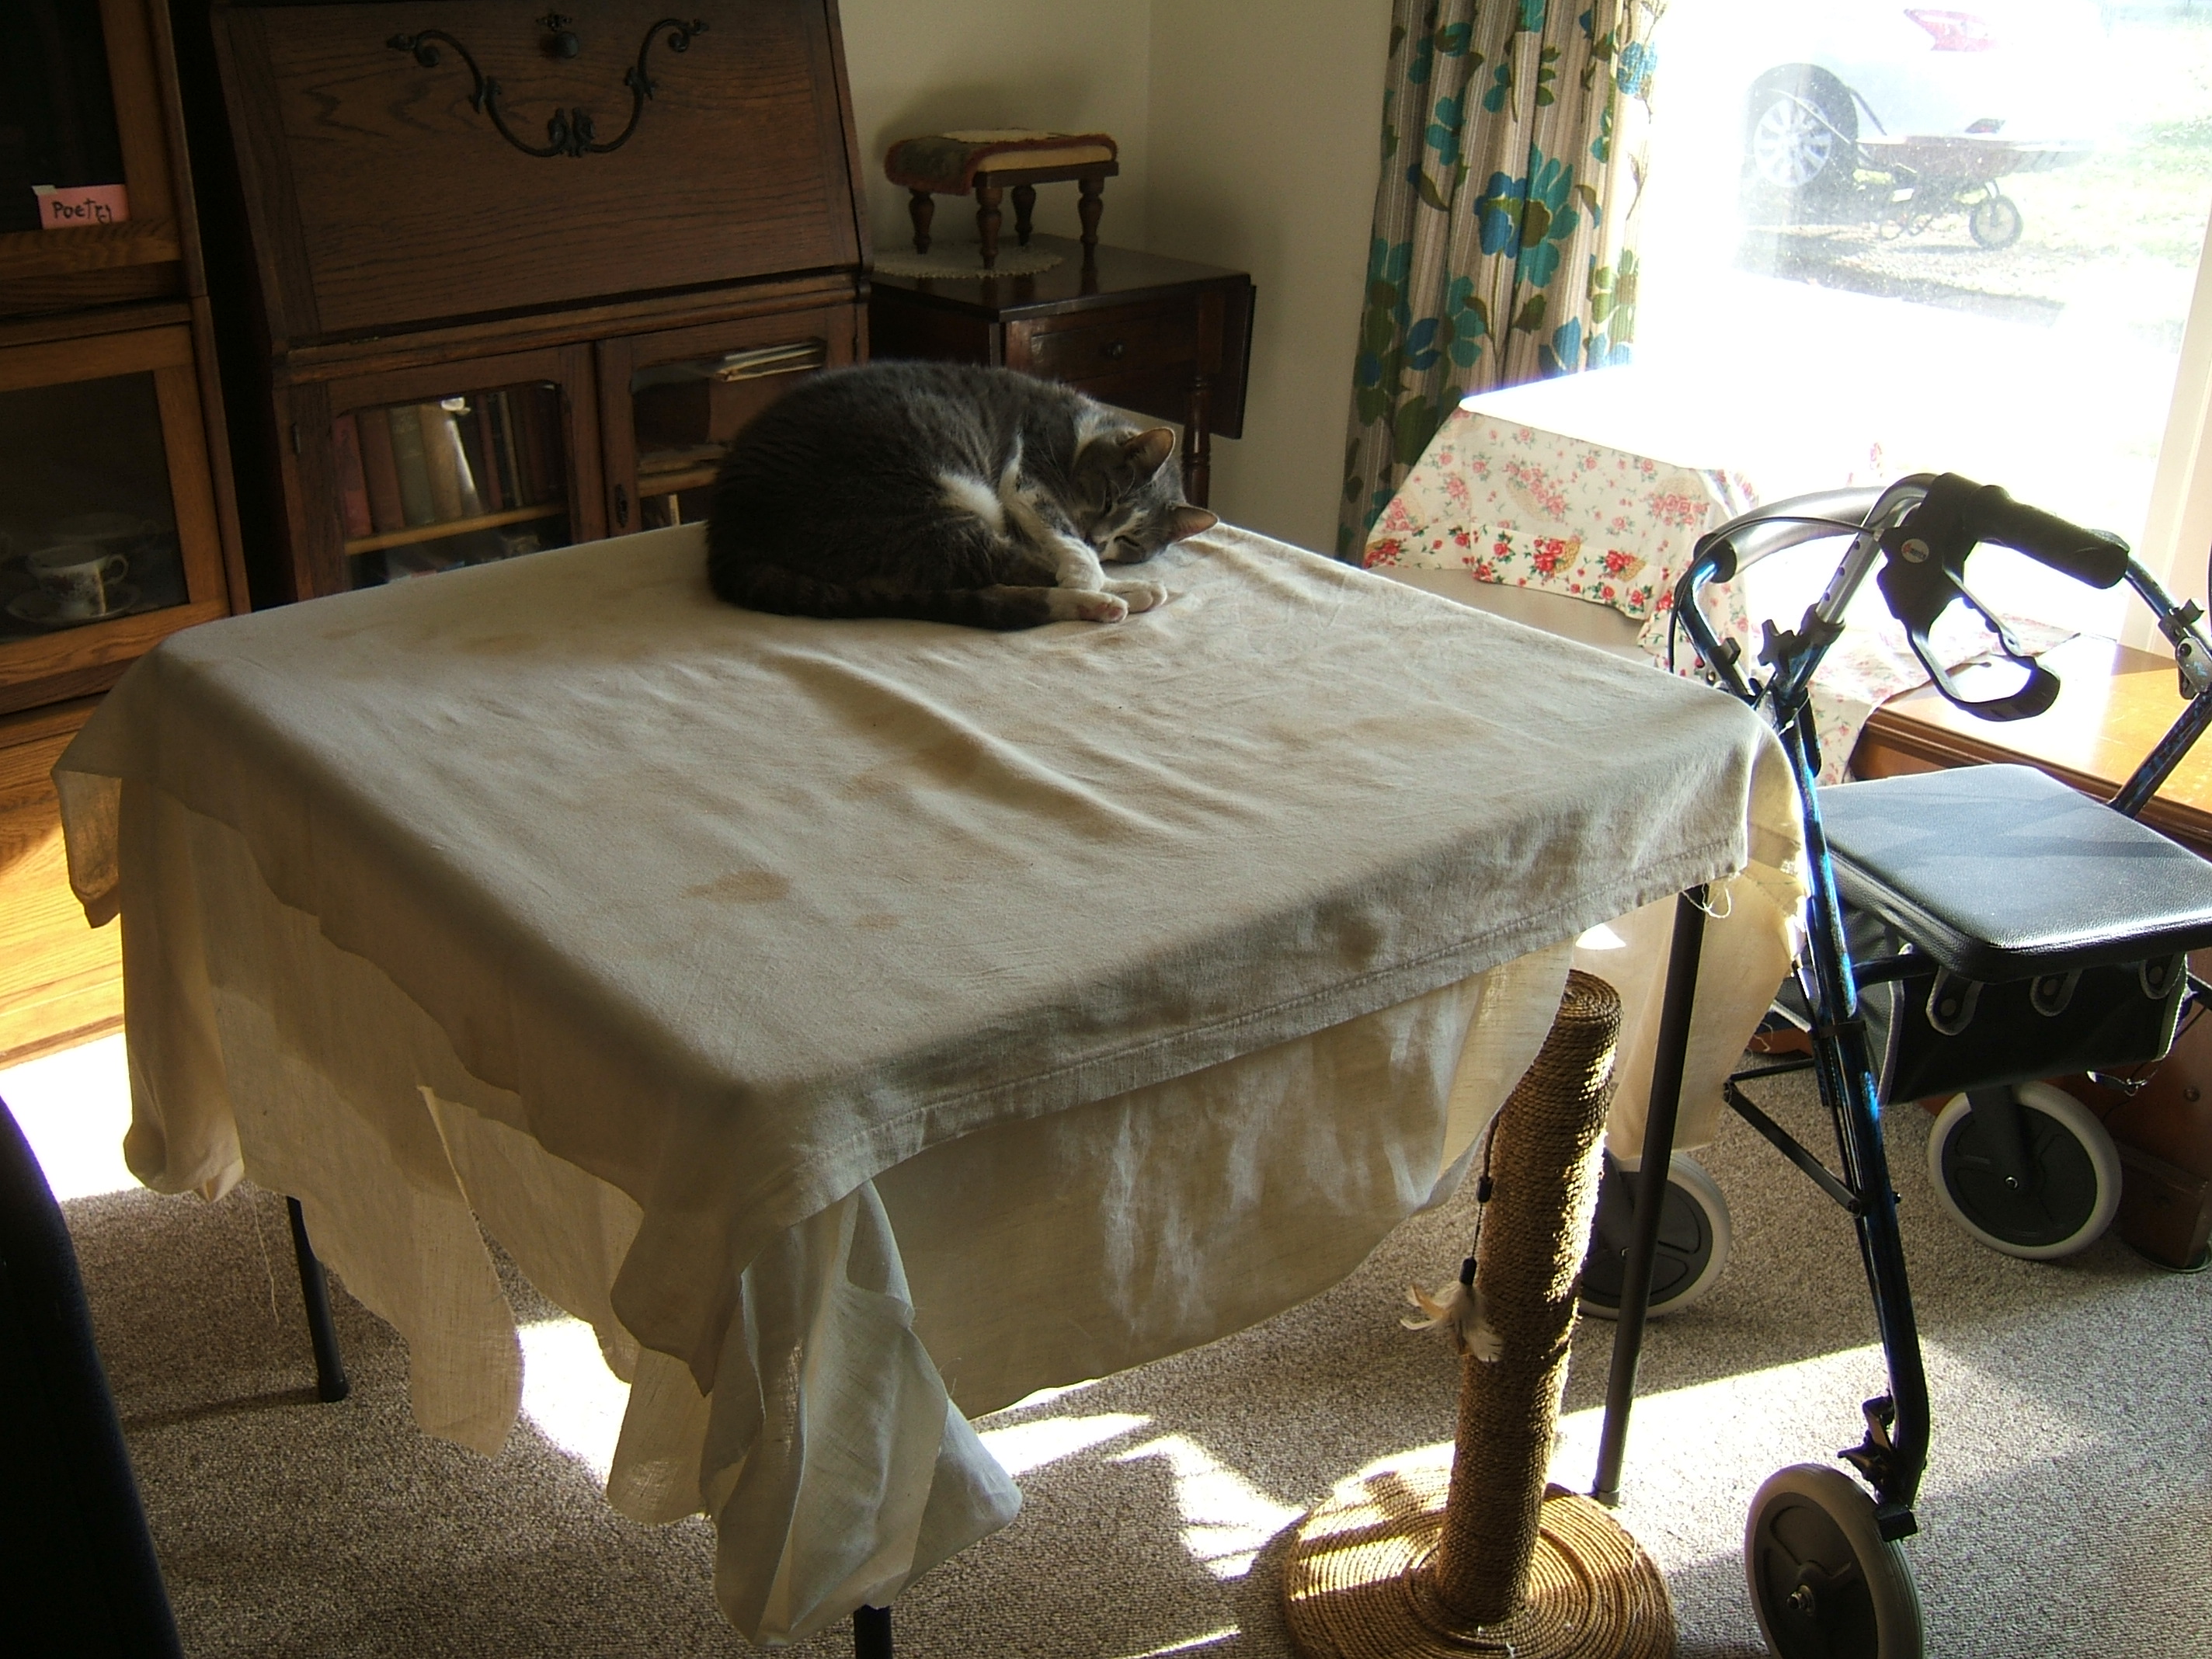
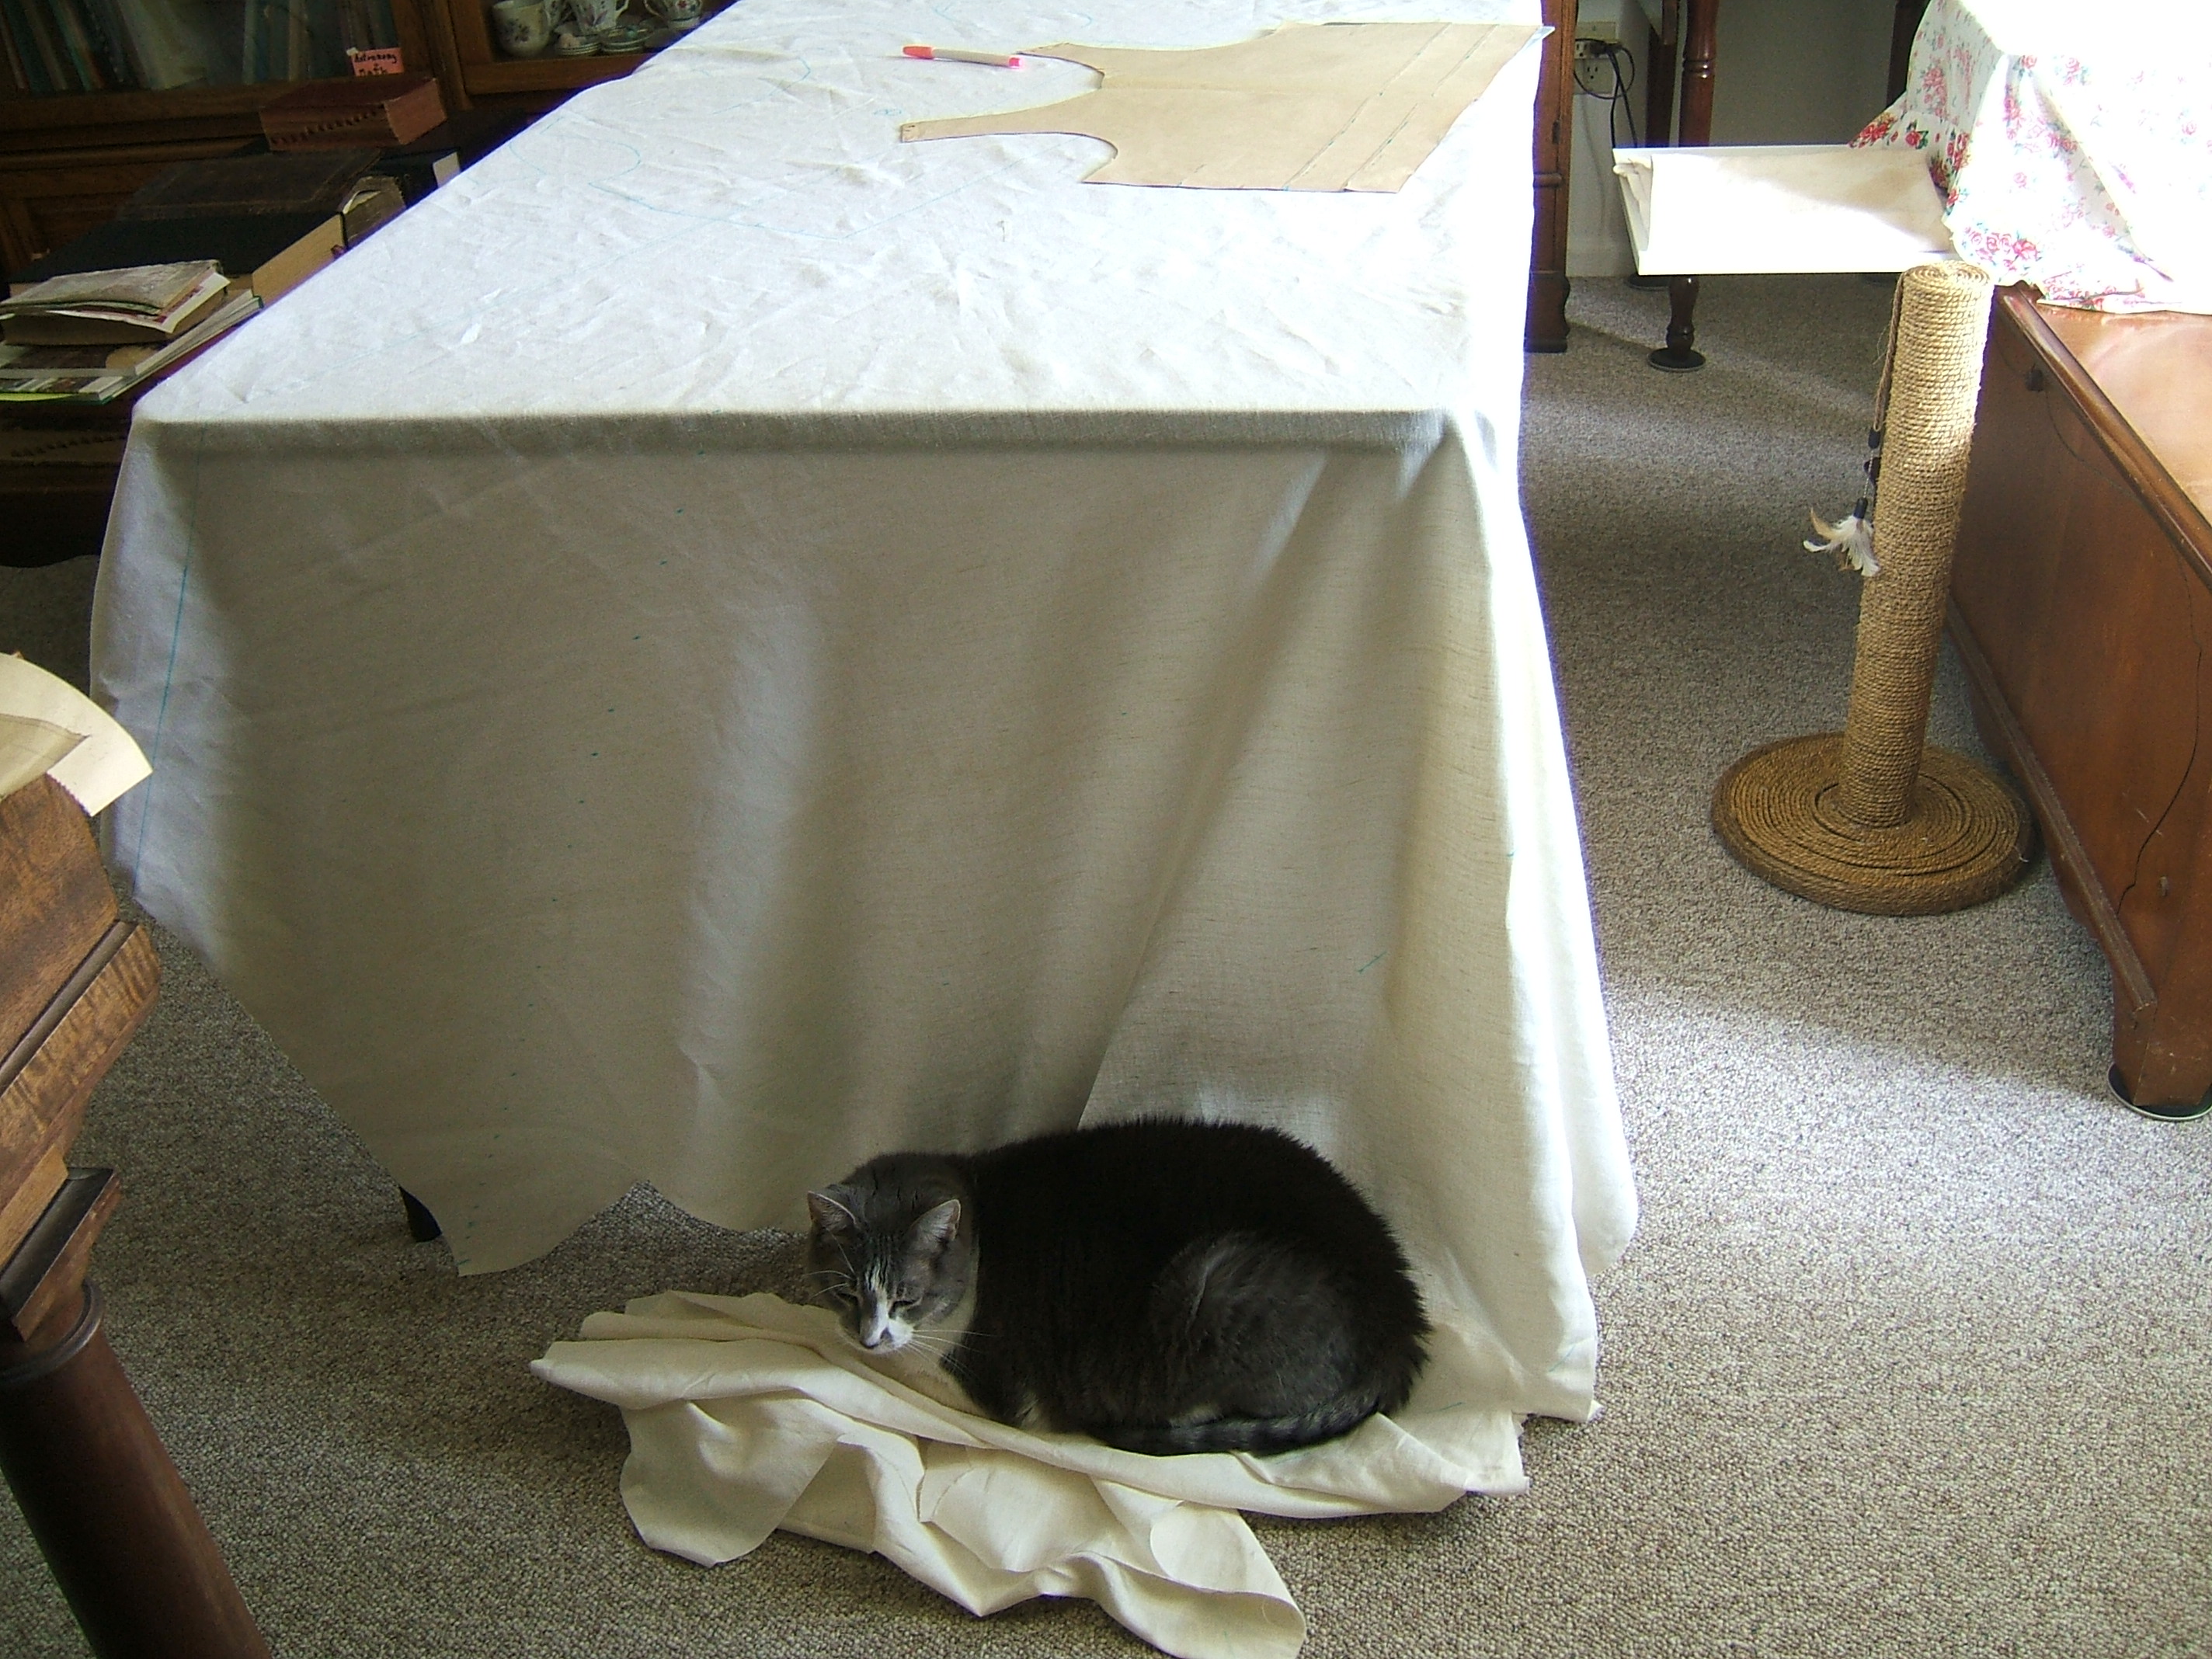
Yesterday I folded the linen to fit onto one card table and threw an old osnaburg tablecloth over it. The cat had been leaving claw marks in it.
This morning was all cleanup in the kitchen and garden.
13 September 2017
It isn't the elegant hat I planned; it's looser than I would like, and the brim is a bit floppy, but it's *finished*.
When I went hunting for "make all-linen hat" on the to-do list, I found it on the back burner and decided to leave it there. I do intend to make another as soon as I'm caught up with more-important chores.
As I'd hoped, making the thick russia-drill sweatband double did make it a bit tighter. I planned to fold both the sweatband and the crown into place and stitch near the fold, but I couldn't stick a needle through in that place, so I sewed the sweatband to the seam allowance of the crown with widely-spaced back stitches. At the seams, I had to make each stitch in two stages. At a later date, I may stitch the sweatband to the crown to enclose all raw edges.
The crown-brim assembly was hard to ease onto the sweatband in spots, but is isn't blatantly ruffled.
The cat is lying on the linen I plan to make into bras, so I think it's nap time. I covered the fabric with an old, stained osnaburg tablecloth — I was slightly surprised that they hadn't all been made into dish towels — because Al had been getting so comfortable that he was sticking his claws into it.
I removed the zig-zagging and drew a thread a few days ago. Next step is to measure the end onto the sides to mark for drawing bias lines on it.
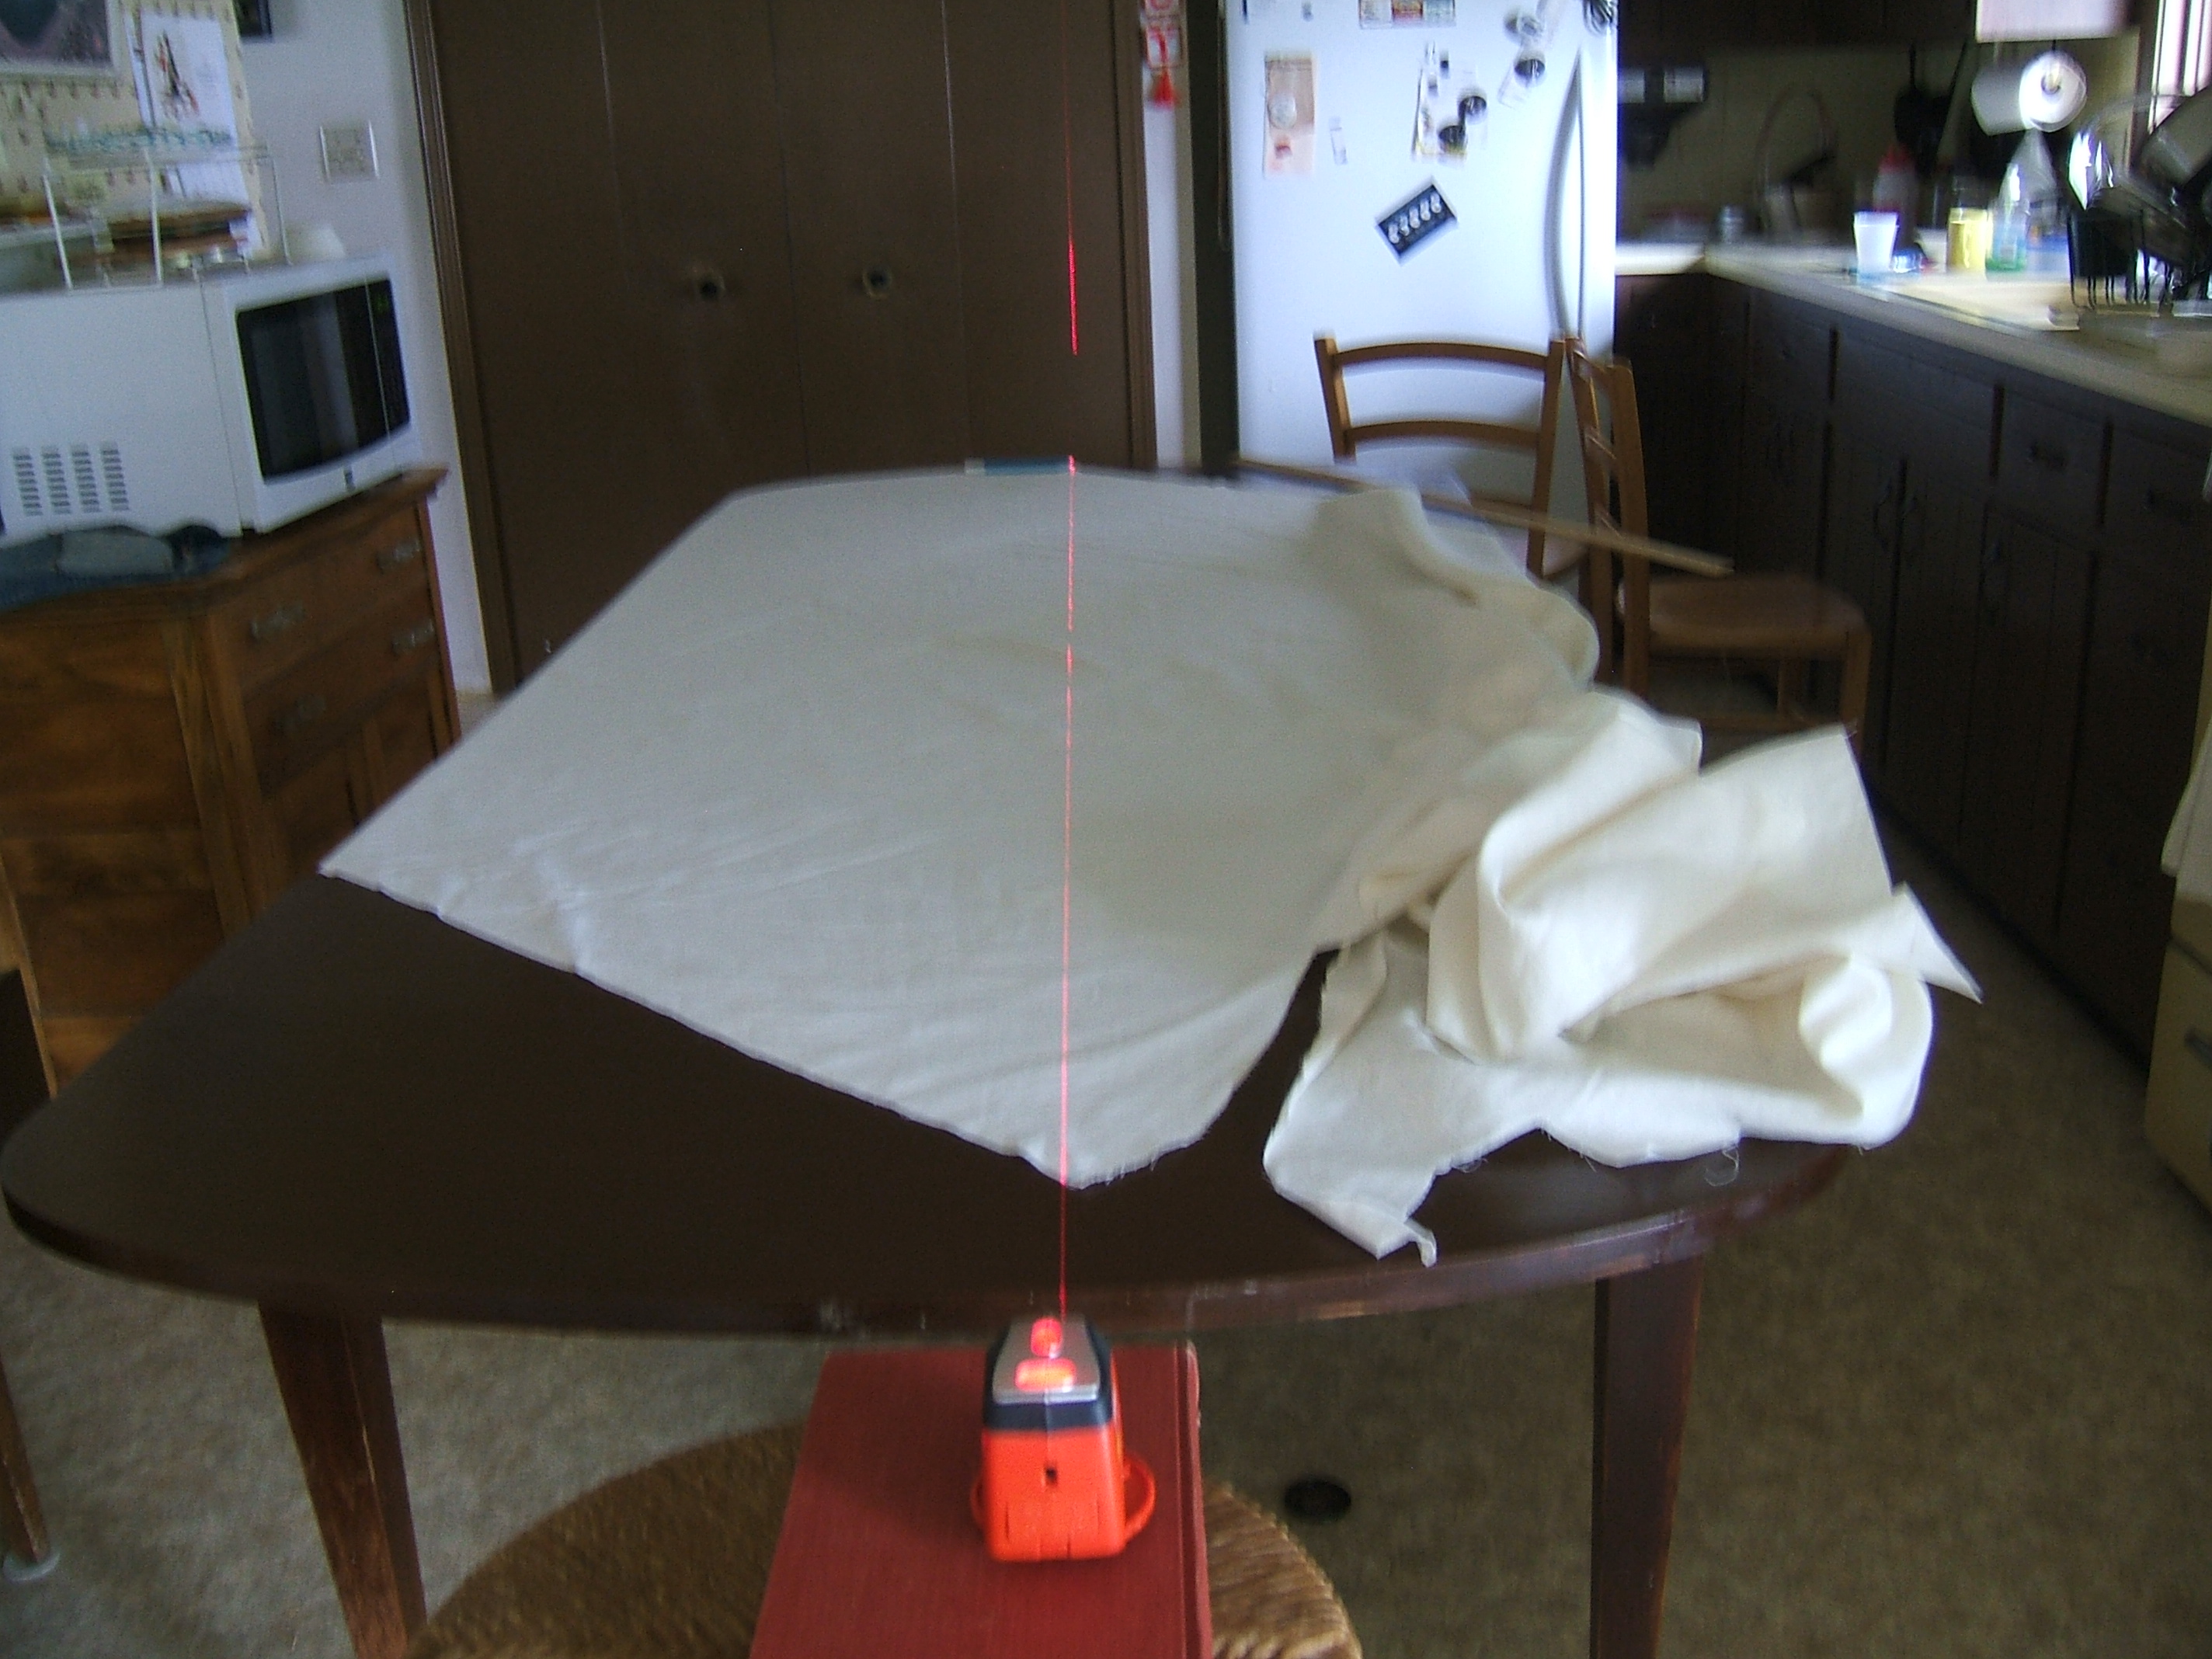
Just checked: my laser level/electric chalk line still works. I think it has the original batteries in it.
Since it's battery powered, perhaps I should call it a cordless chalk line.
Al panicked, jumped off the fabric, and left the room when I took the chalk line into the parlor to put it on the coffee table. Must have known I mean to use it on the fabric. I'm not sure he's seen me working with it; I marked the previous batch of bras on the banquet tables at the church.
He could have jumped because I might have been on the way to the kitchen.
15 September 2017
I've started work after a fashion
I'm working on it in my way
I found the marking pen, established that the one without the eagle is the older (I remember now that I marked the new one *before* finding the old one, so that I could be sure that the one I found was the old one.) Took the tablecloth off and threw it on the printer, re-folded the linen so that I could measure the end along the side.
I'd drawn a thread to straighten the end, but I see no call to cut along the drawn thread. So I felt the need to pin in the fold at the corner so I could be sure it was the corner. While pinning that, I realized that it would be easier to match the edge to the drawn thread than to match the drawn thread to the edge, and pinned all the way to the other corner, matching a few inches at a time and no need to keep the whole project flat.
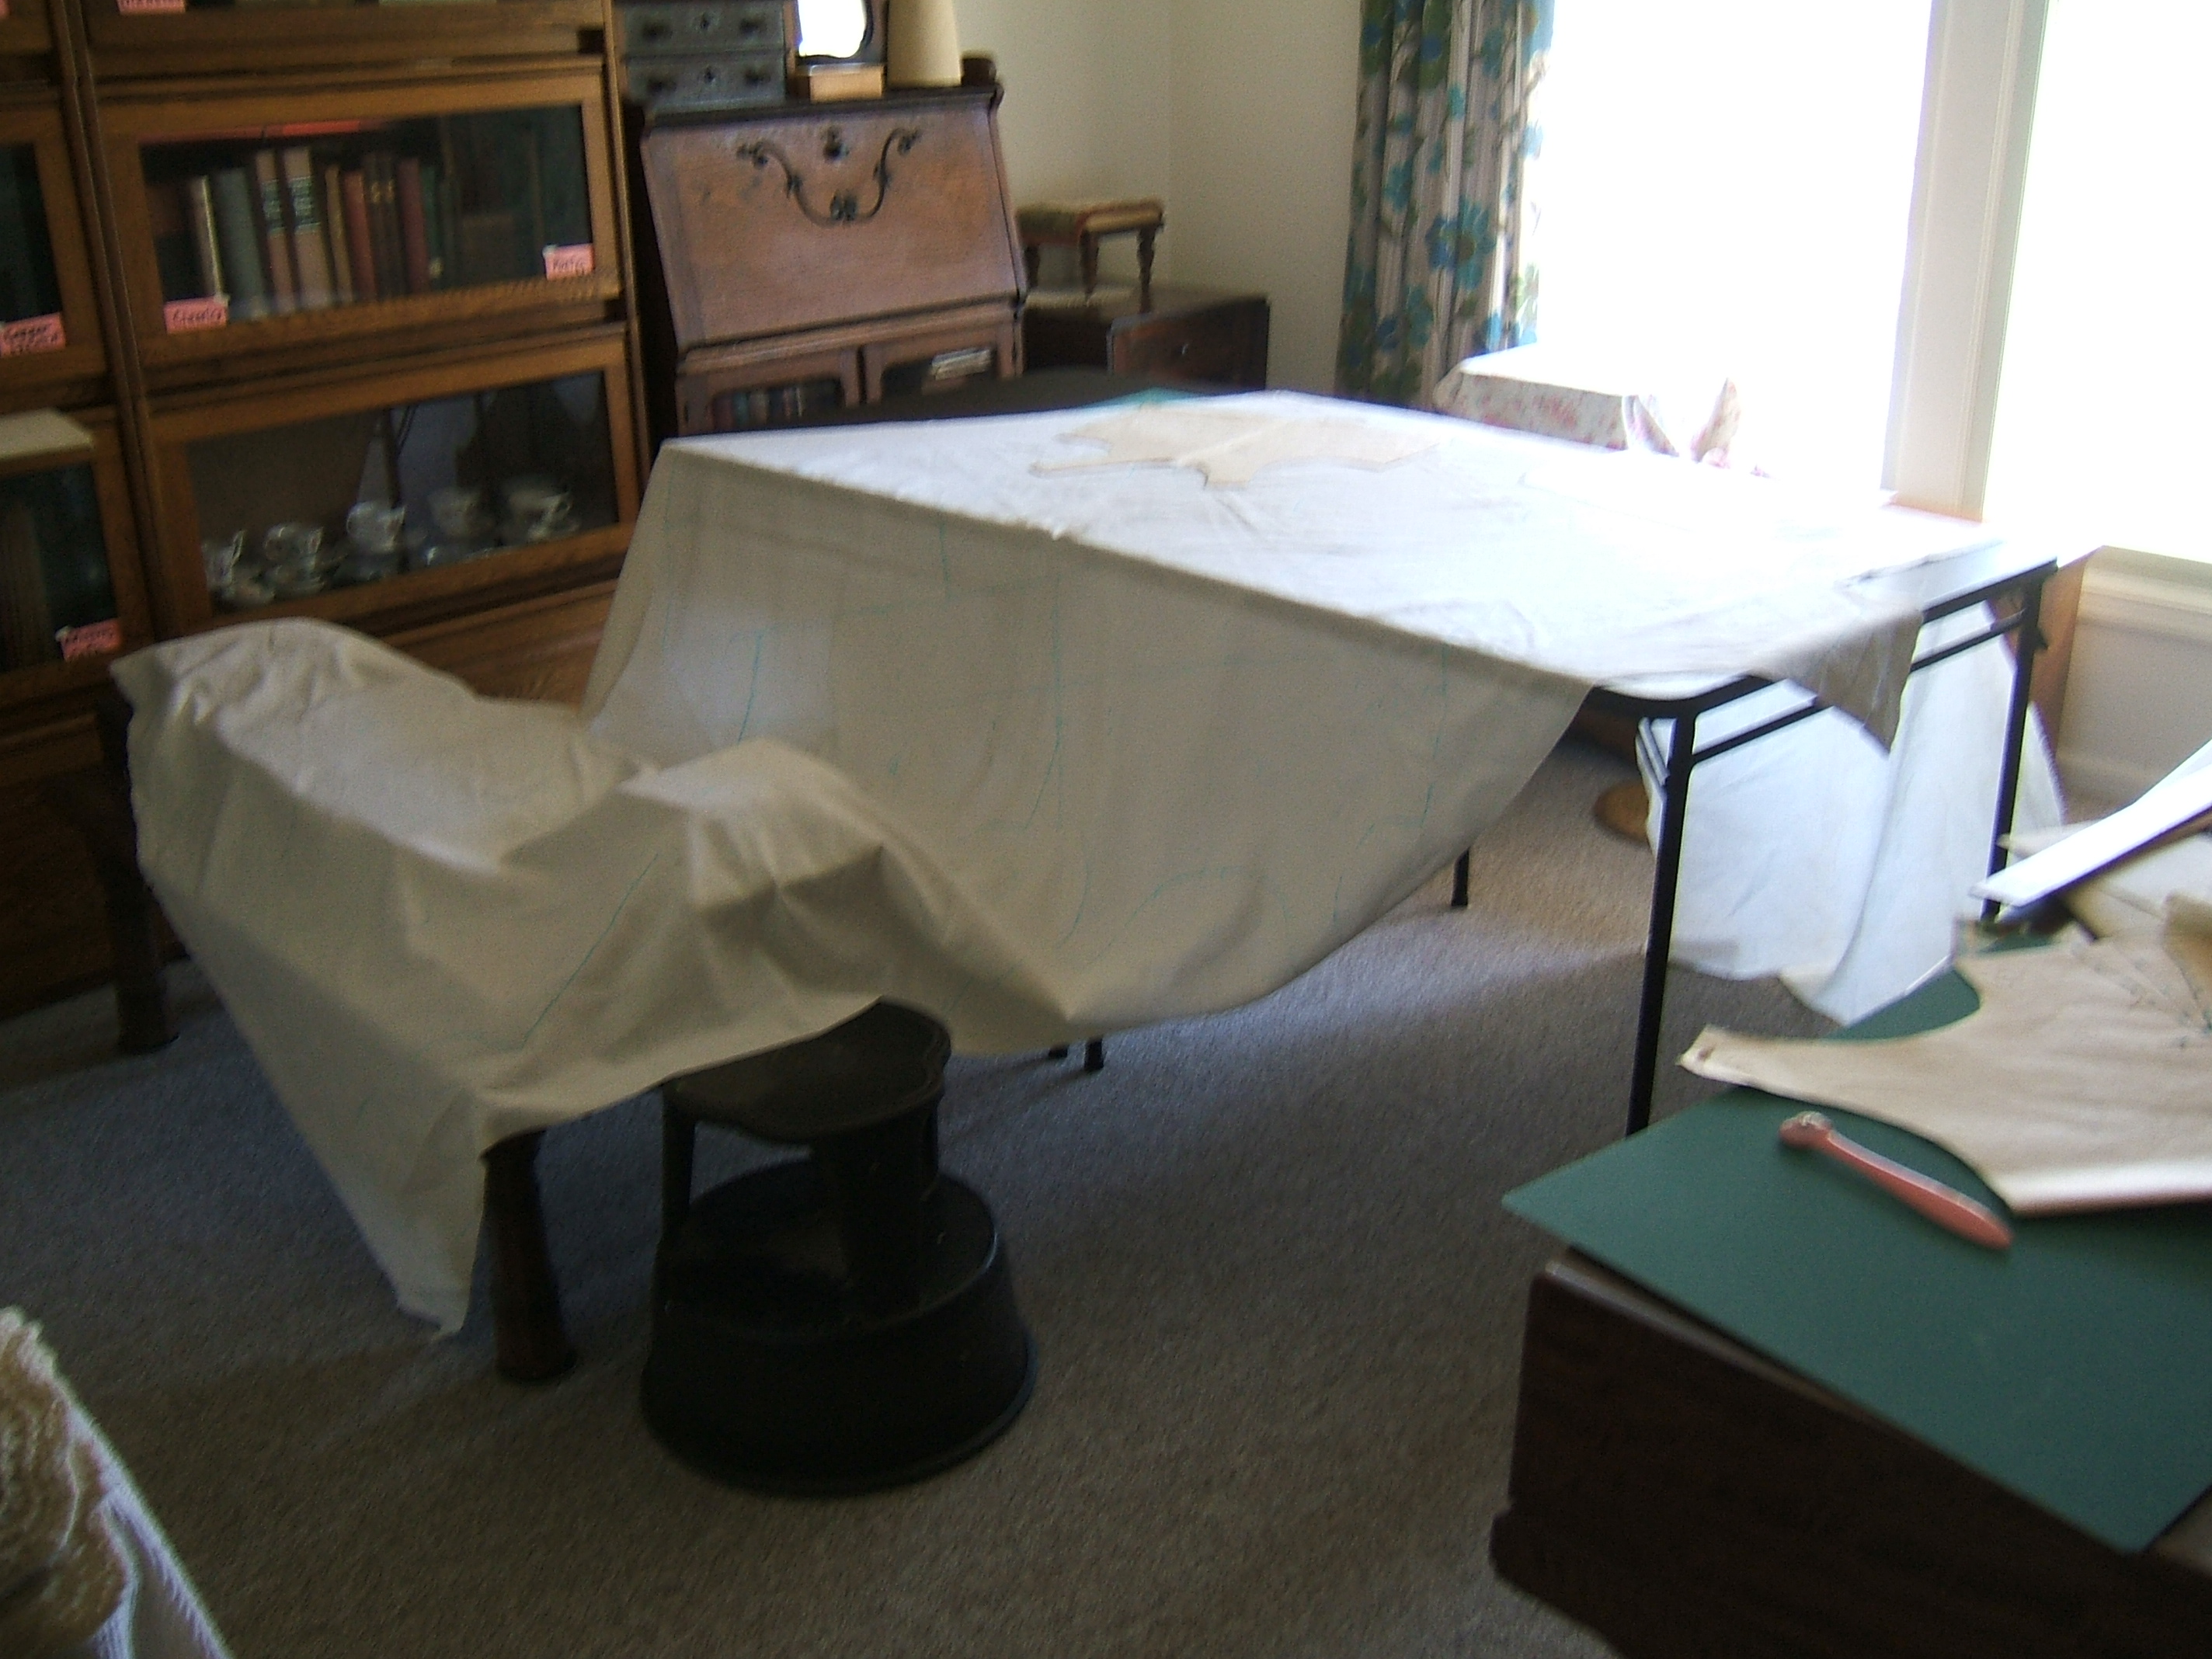
Now it's time to lay the proposed line flat and bring out the laser level. I need a third card table and a longer room to do this. I do have a longer room, but the dining table isn't the same height as the card tables, and it doesn't open out much longer than two card tables.
At this point I stopped writing and measured it. Four ten-inch leaves, and the table is a yard and six inches long — it just might work. Particularly since I can put the laser level on a different table if I have to.
Marking on the plush carpet in the living room is right out. Even the short, hard loops in the parlor would be too soft to mark on.
So I picked up an old towel to dry the picnic table with, and brought along a yard stick to make sure it was worth my while to dry it. Laid the stick out twice and there was a good bit more; since the card tables are less than a yard square and the fabric hung over only a foot or two, that should be plenty — and it turned out that it was.
Picked the rocks and leaves off the table, and spotted a bird splop. That meant untangling a hose I hadn't used in months or years, which is all right because doing so revealed a short hose just after Dave said that he wanted a short hose for the front of the house like the one out back, which I use for washing cat boxes and hosing vegetables and garden tools. Not so all right was having to further untangle it and wind it up to put back on the hose hooks.
After that, it took two towels to get the table fit to put fabric on.
So I managed to get the proposed line straight and flat on the table, laid my marker where the white cap would light up when the laser was pointed at the corner mark, set the laser on a book, and was about to start work when the fabric started blowing around. Ah, that is why there were four rocks on the table. Having put the towels in the hamper, I dusted them on my pants and weighted the windward side of the fabric.
So now I turn the laser on — and discover that daylight is so bright that I can't see the line without holding the laser within two inches of the fabric. At first, I thought the batteries must have finally started to go, but on my way to the battery cupboard I turned the gadget on and it lit up the whole room.
So I folded the fabric up, with all folds dangling off the card table so they wouldn't get pressed in, put the osnaburg tablecloth back on, and thought that I might try again at dusk.
I can probably do it on the dining table, but right now I'm going to eat lunch and take a nap.
18 September 2017
While putting the wash on drying racks, I tore a sweat rag into six skillet wipes.
On Saturday, I needed something to keep my fingers out of the food, and got out the old gloves I'd brought along for the purpose. Turned out that I'd been in enough waiting rooms that it took only a few minutes to finish the darn. So it's time to start over on the other glove. Which had a very small hole and was also done in a few minutes. I've been thinking of using the same thread to put a prophylactic darn in my current gloves, but I wasn't riding the bike, so I'd left the gloves at home.
Time to get out my dire-emergency tatting shuttle. Made one ring and ran out of shuttle thread. So I'll just unwind from the outside of this pull-from-the-center ball, refill the shuttle, and make a chain with a double core thread (the end of the old thread and the beginning of the new.
But it's not a pull-from-the-center ball. Why would I re-wind a ball if I didn't want to make it pull from the center? I can't even remember how long I've been carrying this lace, let alone what I was thinking when I started it. Just checked my tatting-thread box; I don't have another ball of ecru #10 DMC Cordonnet, so I guess I'll have to re-wind into a center-pull ball to get at the other end of the thread.
That can be my next waiting-room project. Better start it calmly at home, though. I think I'll slit a short length of drinking straw and put it over the thread to hold the exit open.
Thought I might open out the eating table today, but washing clothes used up the whole day, except for a few minutes pushing the cultivator in the garden. And a lot of time catching up the Banner.
20 September 2017
I opened the table first thing this morning. Stubbornly, I didn't ask Dave for help until it became apparent that I'd *never* get that last leaf in. With two people, you simply grab each end and pull, and the table is open in seconds. With one, you pull on one end and it opens about eight inches, then you pull on the other and it opens four more, then you walk back to the first end and it moves two inches before the other legs start to skid, then . . .
Returns diminish real fast. For a while I could continue opening by pushing on the middle, adding leaves one at a time so that I could reach, but pushing on the next-to-the-last leaf got me nowhere at all.
Now is a fine time to think that I could have shoved all the leaves against the near end and tried again from the other side. I did pull from the far end at intervals.
Once the table was open, it went fairly fast; the table wasn't much longer than the line to be marked, so I put the laser on a stool at the living-room end of the table.
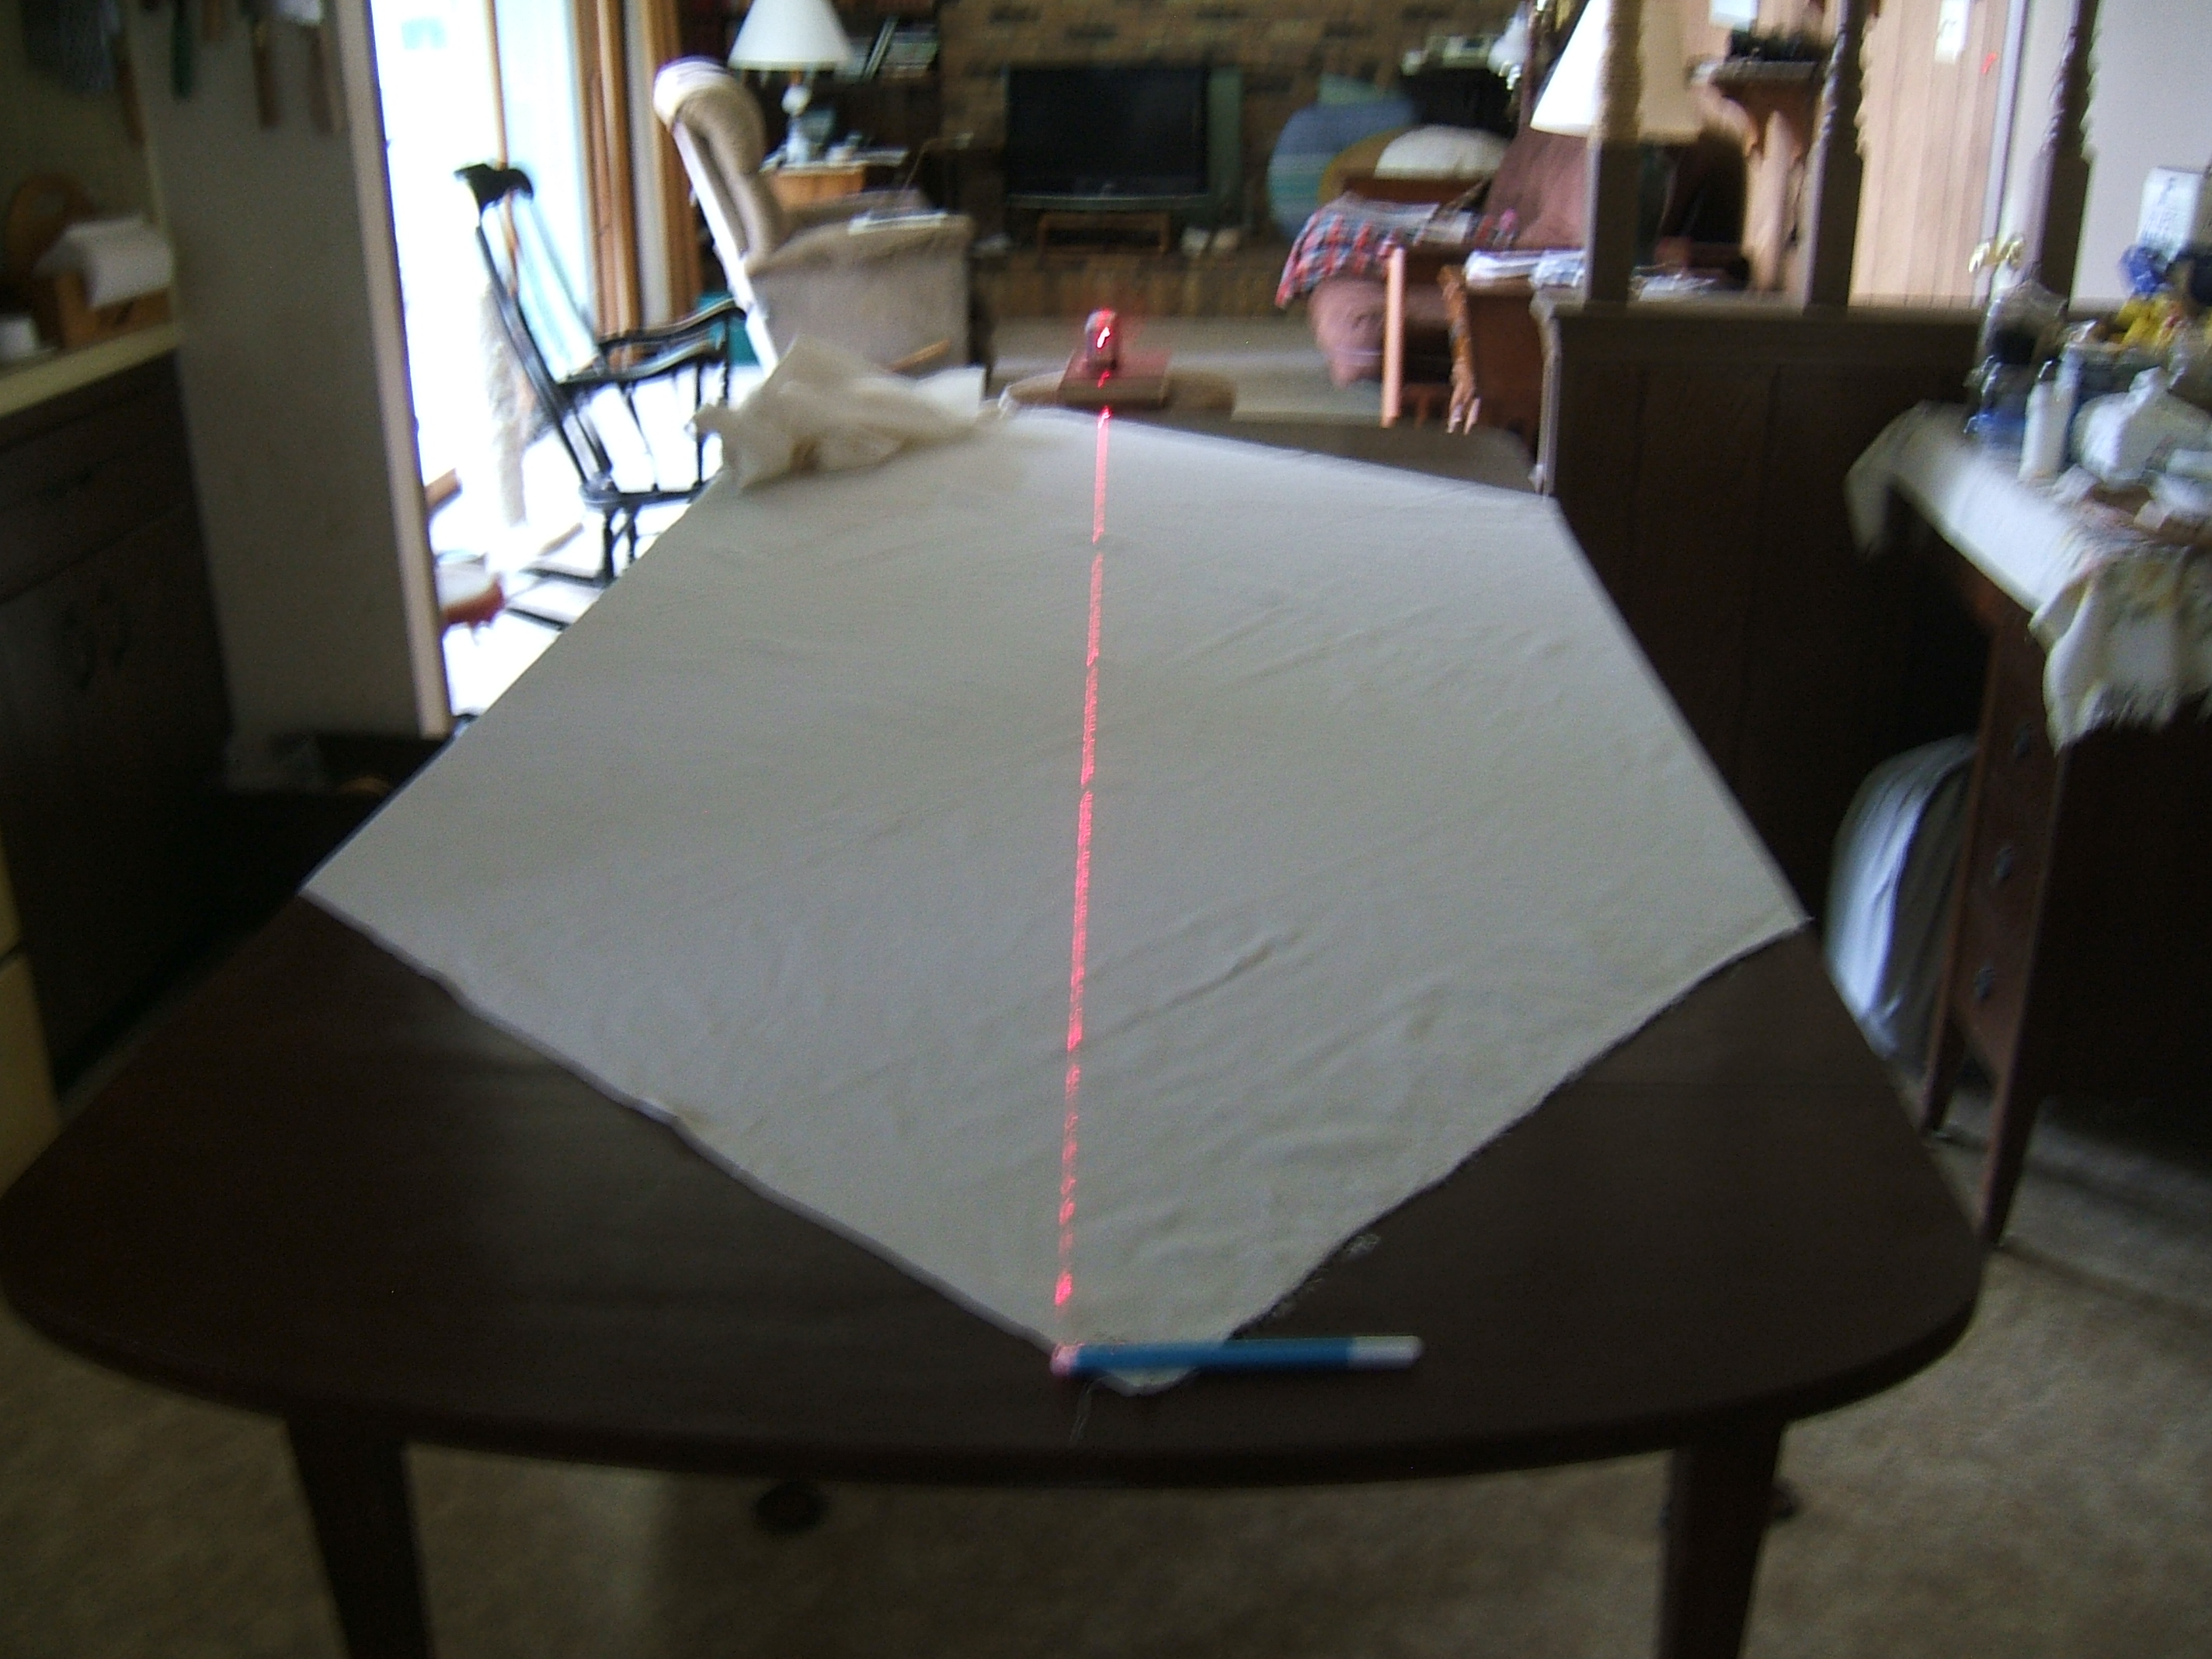
I remembered to watch the light on the pen, not the light on the fabric, and was able to hit the line even when I couldn't see it. I think I should have put another book under the laser level.
There was a tad more than thirty-five inches of edge beyond the mark on the edge, so I measured thirty-five inches from each of the two marks that defined the first long, long line
and drew another. If you look closely, you can see the laser sparkle on the cap of the marker that I had laid down for a target. If I recall correctly, I had to shift the marker a bit and go back to the other end to tweak the laser; the first line zeroed in at the first attempt.
Now to divide up the large triangle under the first long, long line. With the aid of a drafting triangle, marking a bias line in the extreme corner was easy.

Then I measured along the edge and the drawn thread to mark another line with the laser.
Then I wondered how to divide up the large triangle above the second long, long line. Measuring along the edge would be easy, but the cut end was very irregular, and I didn't want to draw a thread across it. The big red triangle was still in plain sight: I could put one leg —the leg with the broken corner— against the laser-drawn line, and make dots at the unbroken corner.
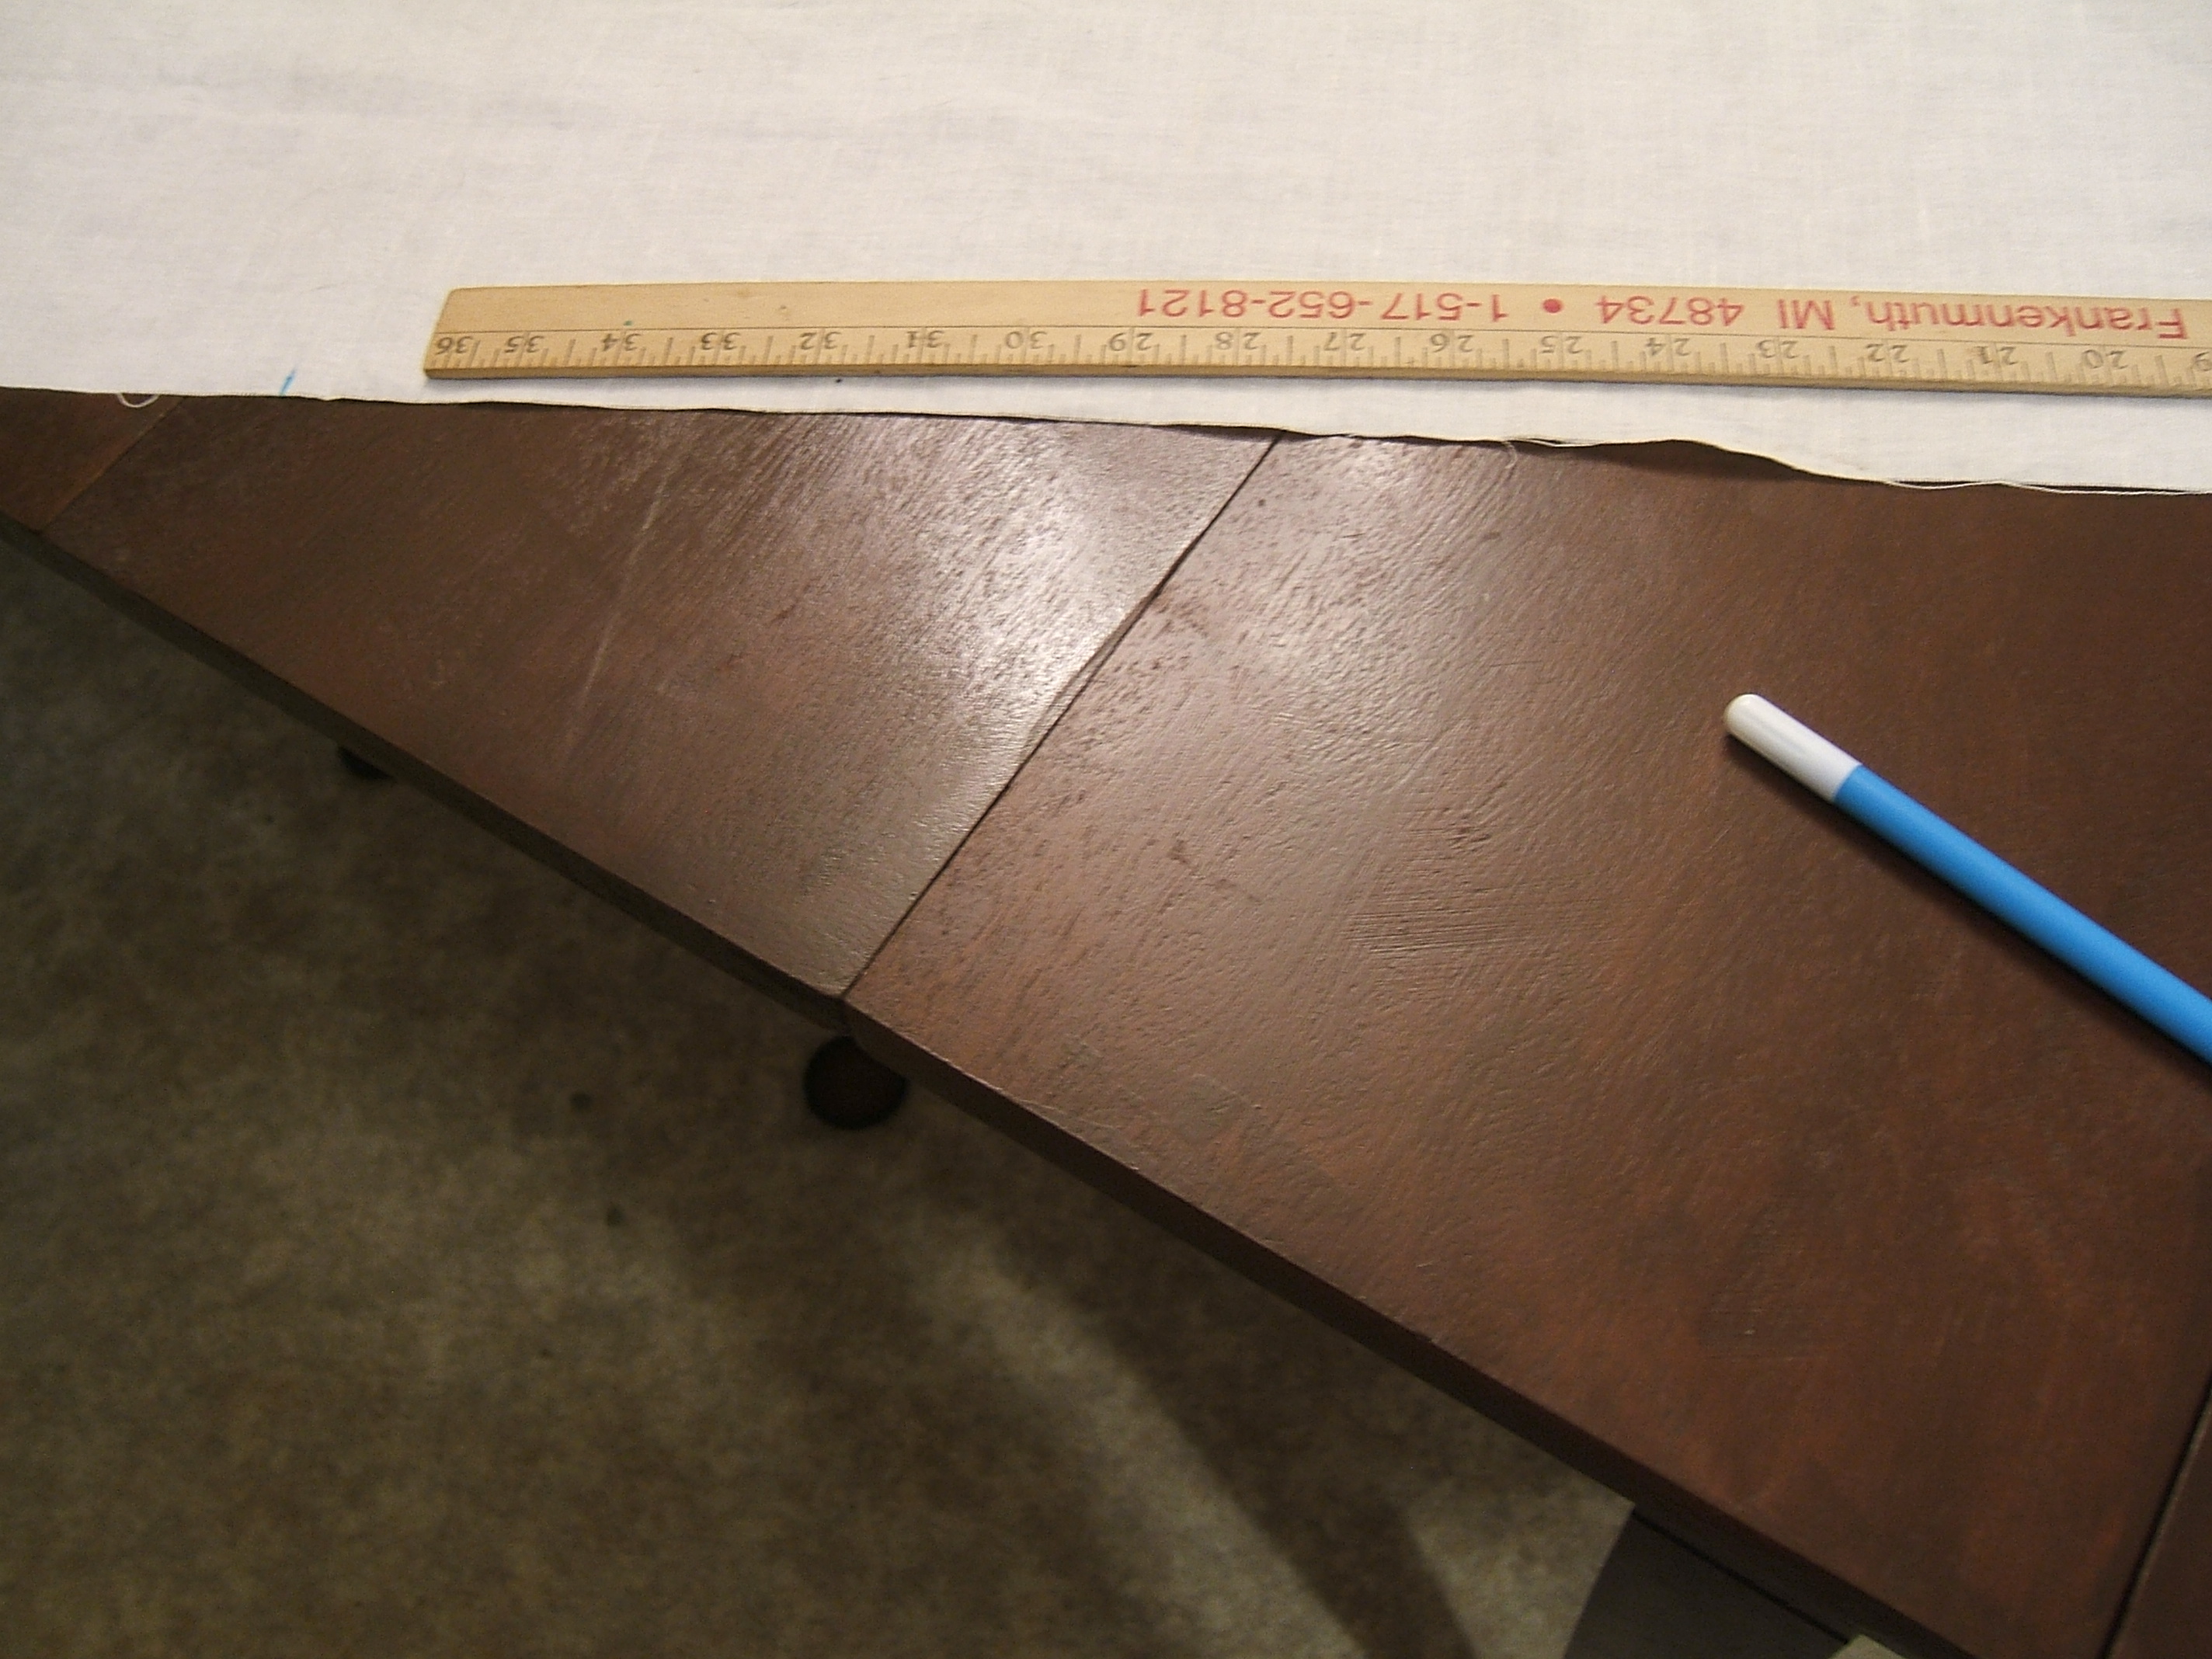
Quickly done because I didn't put the dots very close together; only two of them show in the picture below. Doing it again from the newly-drawn line is right out; you know what happens to copies of copies. What do I have that's longer and can be arranged at right angles to the dotted line? My T-square won't do.
But the red triangle abetted by a yardstick would work nicely, and stroking the marker across the square end is much easier than dotting.
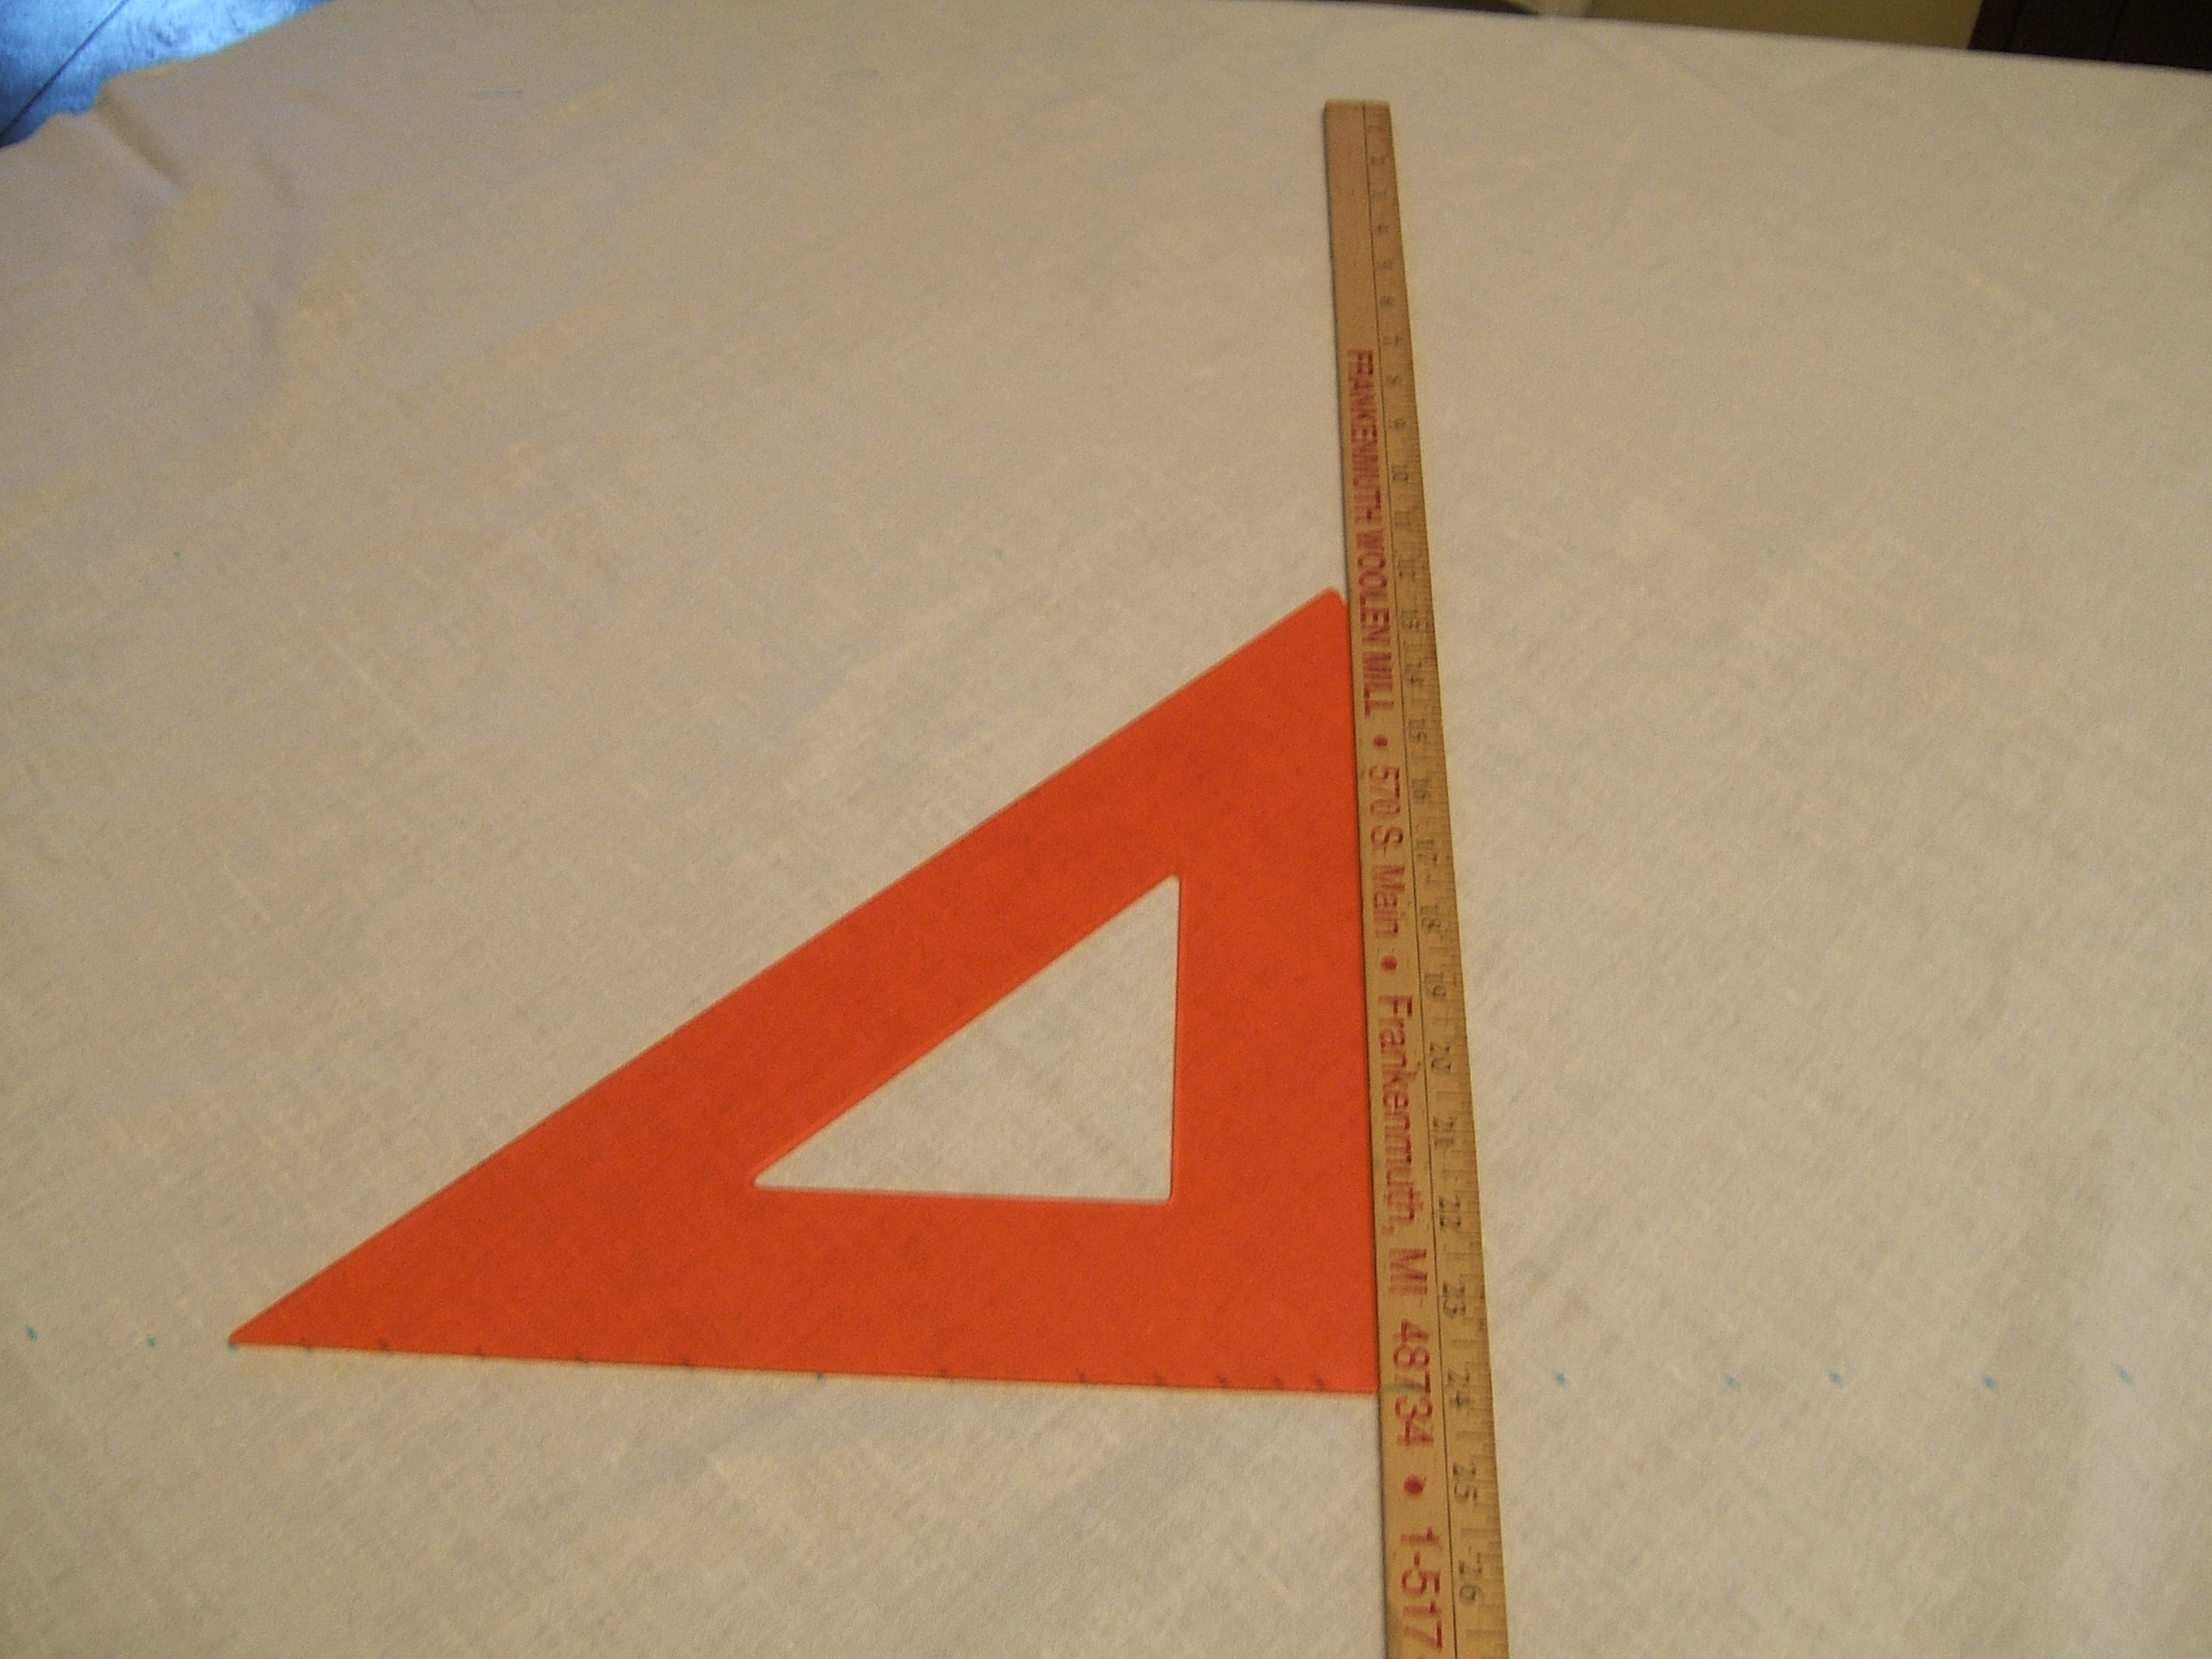
A wash-out mark on the ruler was a great help in hitting twenty-four inches exactly every time.
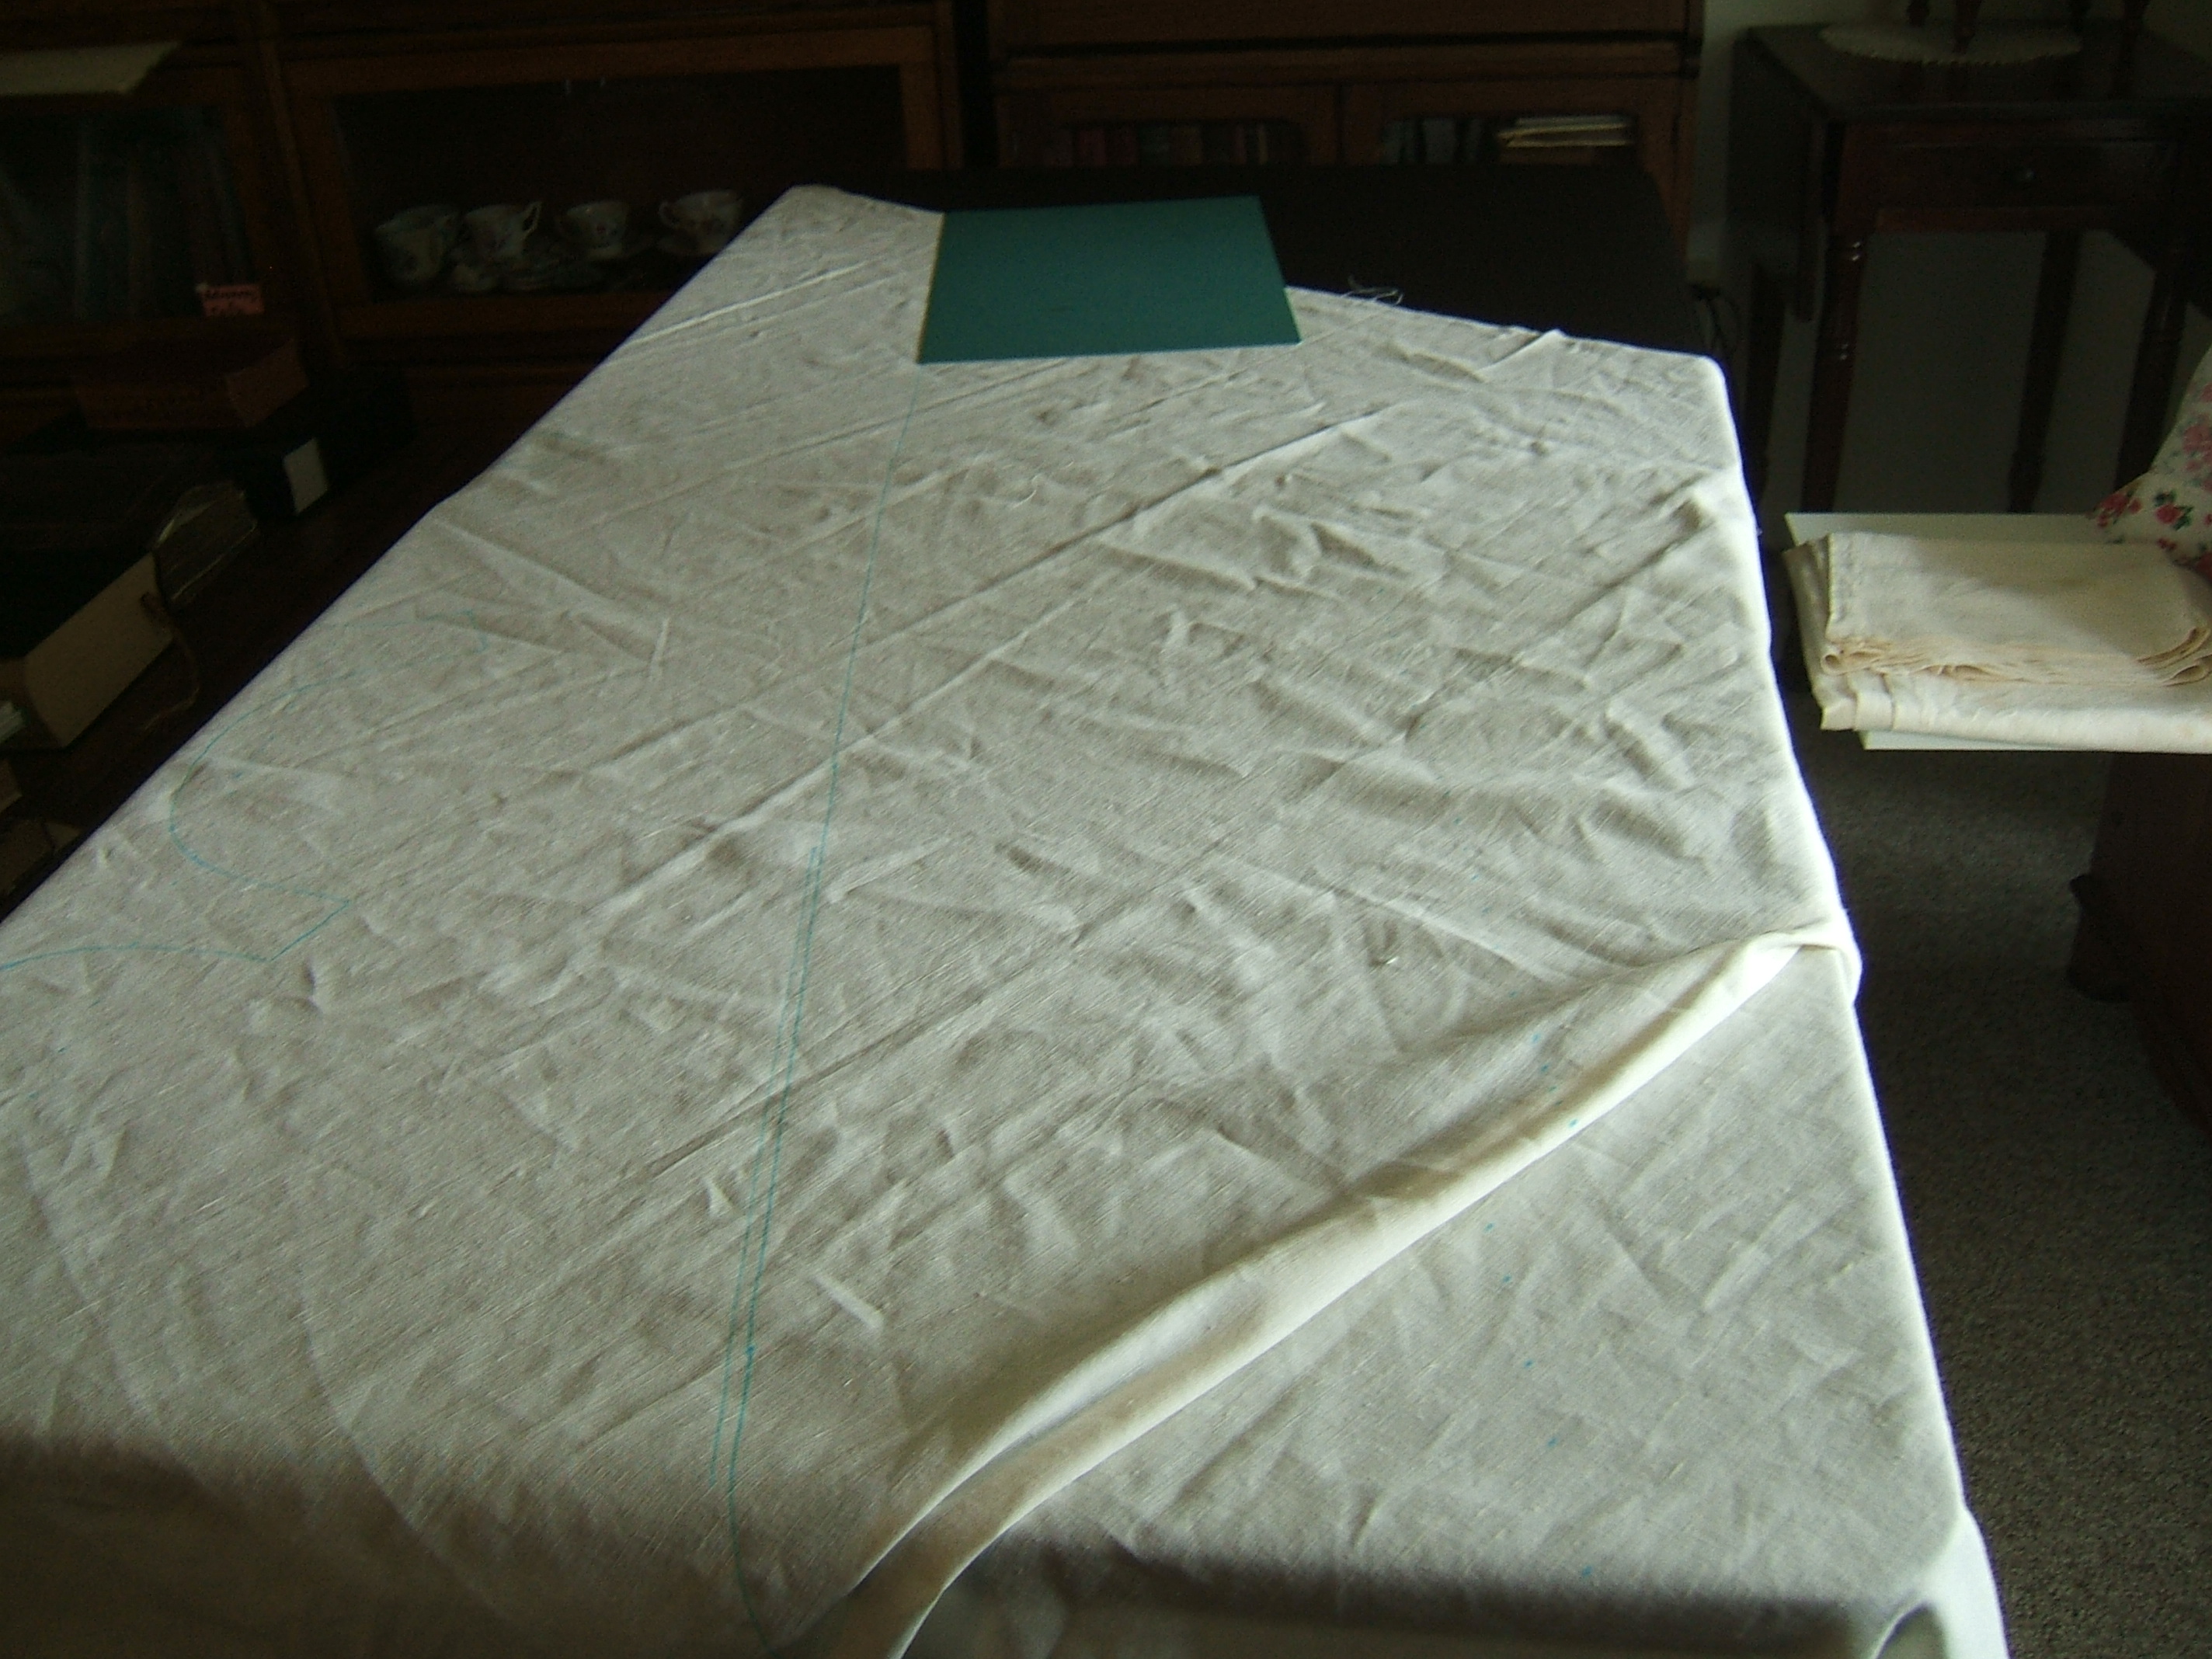
Then I draped the fabric over the card table with all the folds hanging over so they wouldn't crease, and covered it with the old, stained tablecloth.
[picture taken on the following day]
I intended to leave the table open to cut on tomorrow, but the two middle legs are missing and I didn't want to have to be careful while eating off it, so I put the leaves away. Closing the table was much easier than opening it. But I didn't notice until I was eating supper that I'd forgotten to close the sash locks that keep it from opening spontaneously.
I think that I cut the red bras entirely on the card tables anyway.
22 September 2017
re-attach pockets of twinkle-twinkle
house shirt
Also had to re-stitch both corners of the front hem. While trimming the thread ends, I noticed a break in the pocket stitching I'd overlooked — and could easily have repaired just by beginning the repair stitching an inch sooner. But this shirt will wear out before it works loose enough to make the pocket leak.
Before mending the house shirt, I ironed five of my leaving-the-house shirts. It's a social week when I dirty even one of those, so this was quite a backlog.
That clears my to-do hook enough that I can see what's on it.
I put the cotton-lined linen gown back into the closet to clear the ironing board for the shirts, and it's likely to remain on the back burner. Perhaps I should put a note into my diary for next May: "check whether cotton-lined linen gown is fit to wear".
I put it in April instead.
26 September 2017
I marked the front and back of one bra on the fabric, then started to draw a bias line to help marking the next row, settled on using my smaller cutting mat as a ruler to mark a line between the two dotted lines, while drawing the second segment I realized that I'd goofed up the first segment and erased it, which left the fabric wet where the line had been, so I took a gardening break and never got back to sewing.
The bra marked is the second row, really. I left a corner big enough for a front or back.
It's a bit awkward shifting the fabric around on two card tables, but I don't think that opening out the eating table would help much. I do intend to buy a third table the next time I visit Walmart in a car.
I'm not making any provision for bias tape; I figure suitable scraps will appear by accident. If not, there is worlds of white bias in the box of linen scraps.
27 September 2017
Lo and behold, the blue marks are visible in the picture. But you have to know where to look to see the straps of the bra climbing over the edge of the table.
Marking the new bias line was as far as I got before nap time.
28 September 2017
Two bras are marked, now to shift the fabric so that I can mark the third.
I let him sleep until I'd scaled the picture and uploaded it. He was quite annoyed at being disturbed and left the room in a huff.
There was room for one more front beside the second bra. The corresponding back came out of the corner I'd left for that purpose when marking the first bra. I'll get another three halves out of the next bias strip; I won't know how many I can get from the irregular bits until after those are marked.
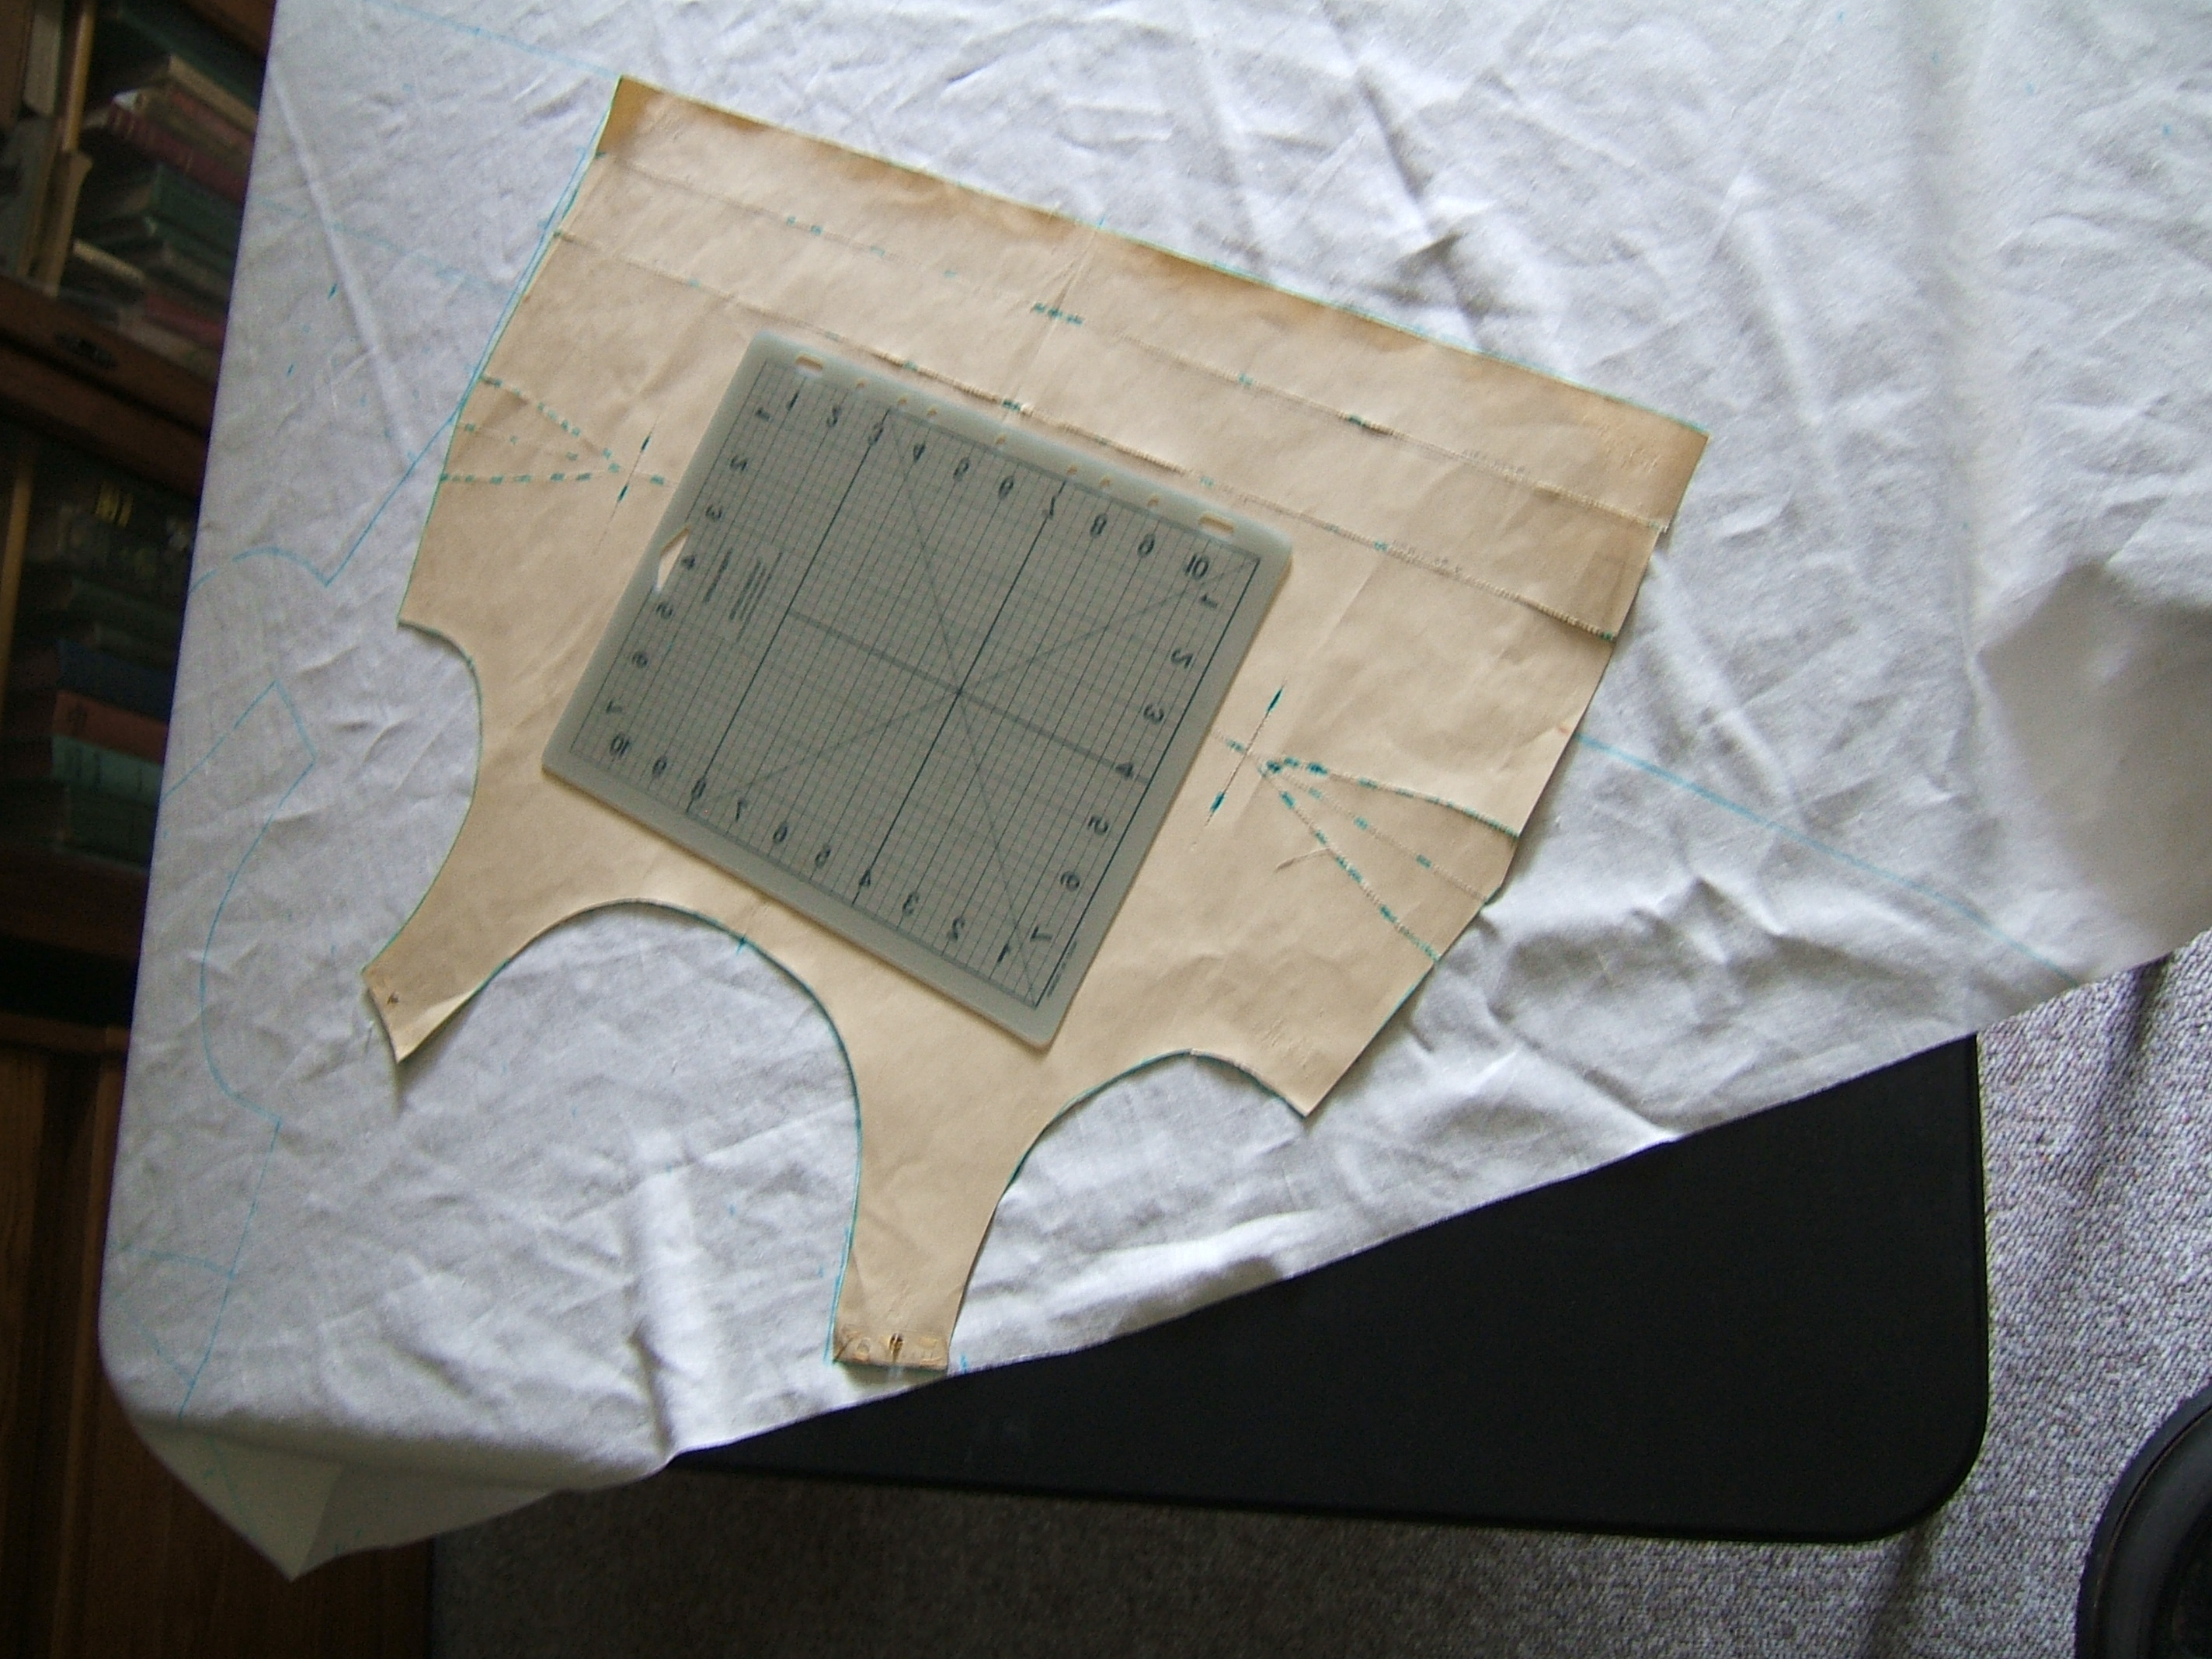
I've used the tracing wheel on these lines so many times that I no longer need to bother with the carbon paper; I can stencil marks through the punctured paper.
I really ought to copy this pattern in light card. Pity I didn't do it before this marking session!
Well, I've got at least one more bra to mark on this fabric, and a piece of black linen I mean to cut within the year. It would be cost-effective to make the easy-trace pattern *now*.
I don't have a tiny-circle die to punch stencil holes. I think a coarse needle and a razor blade will work.
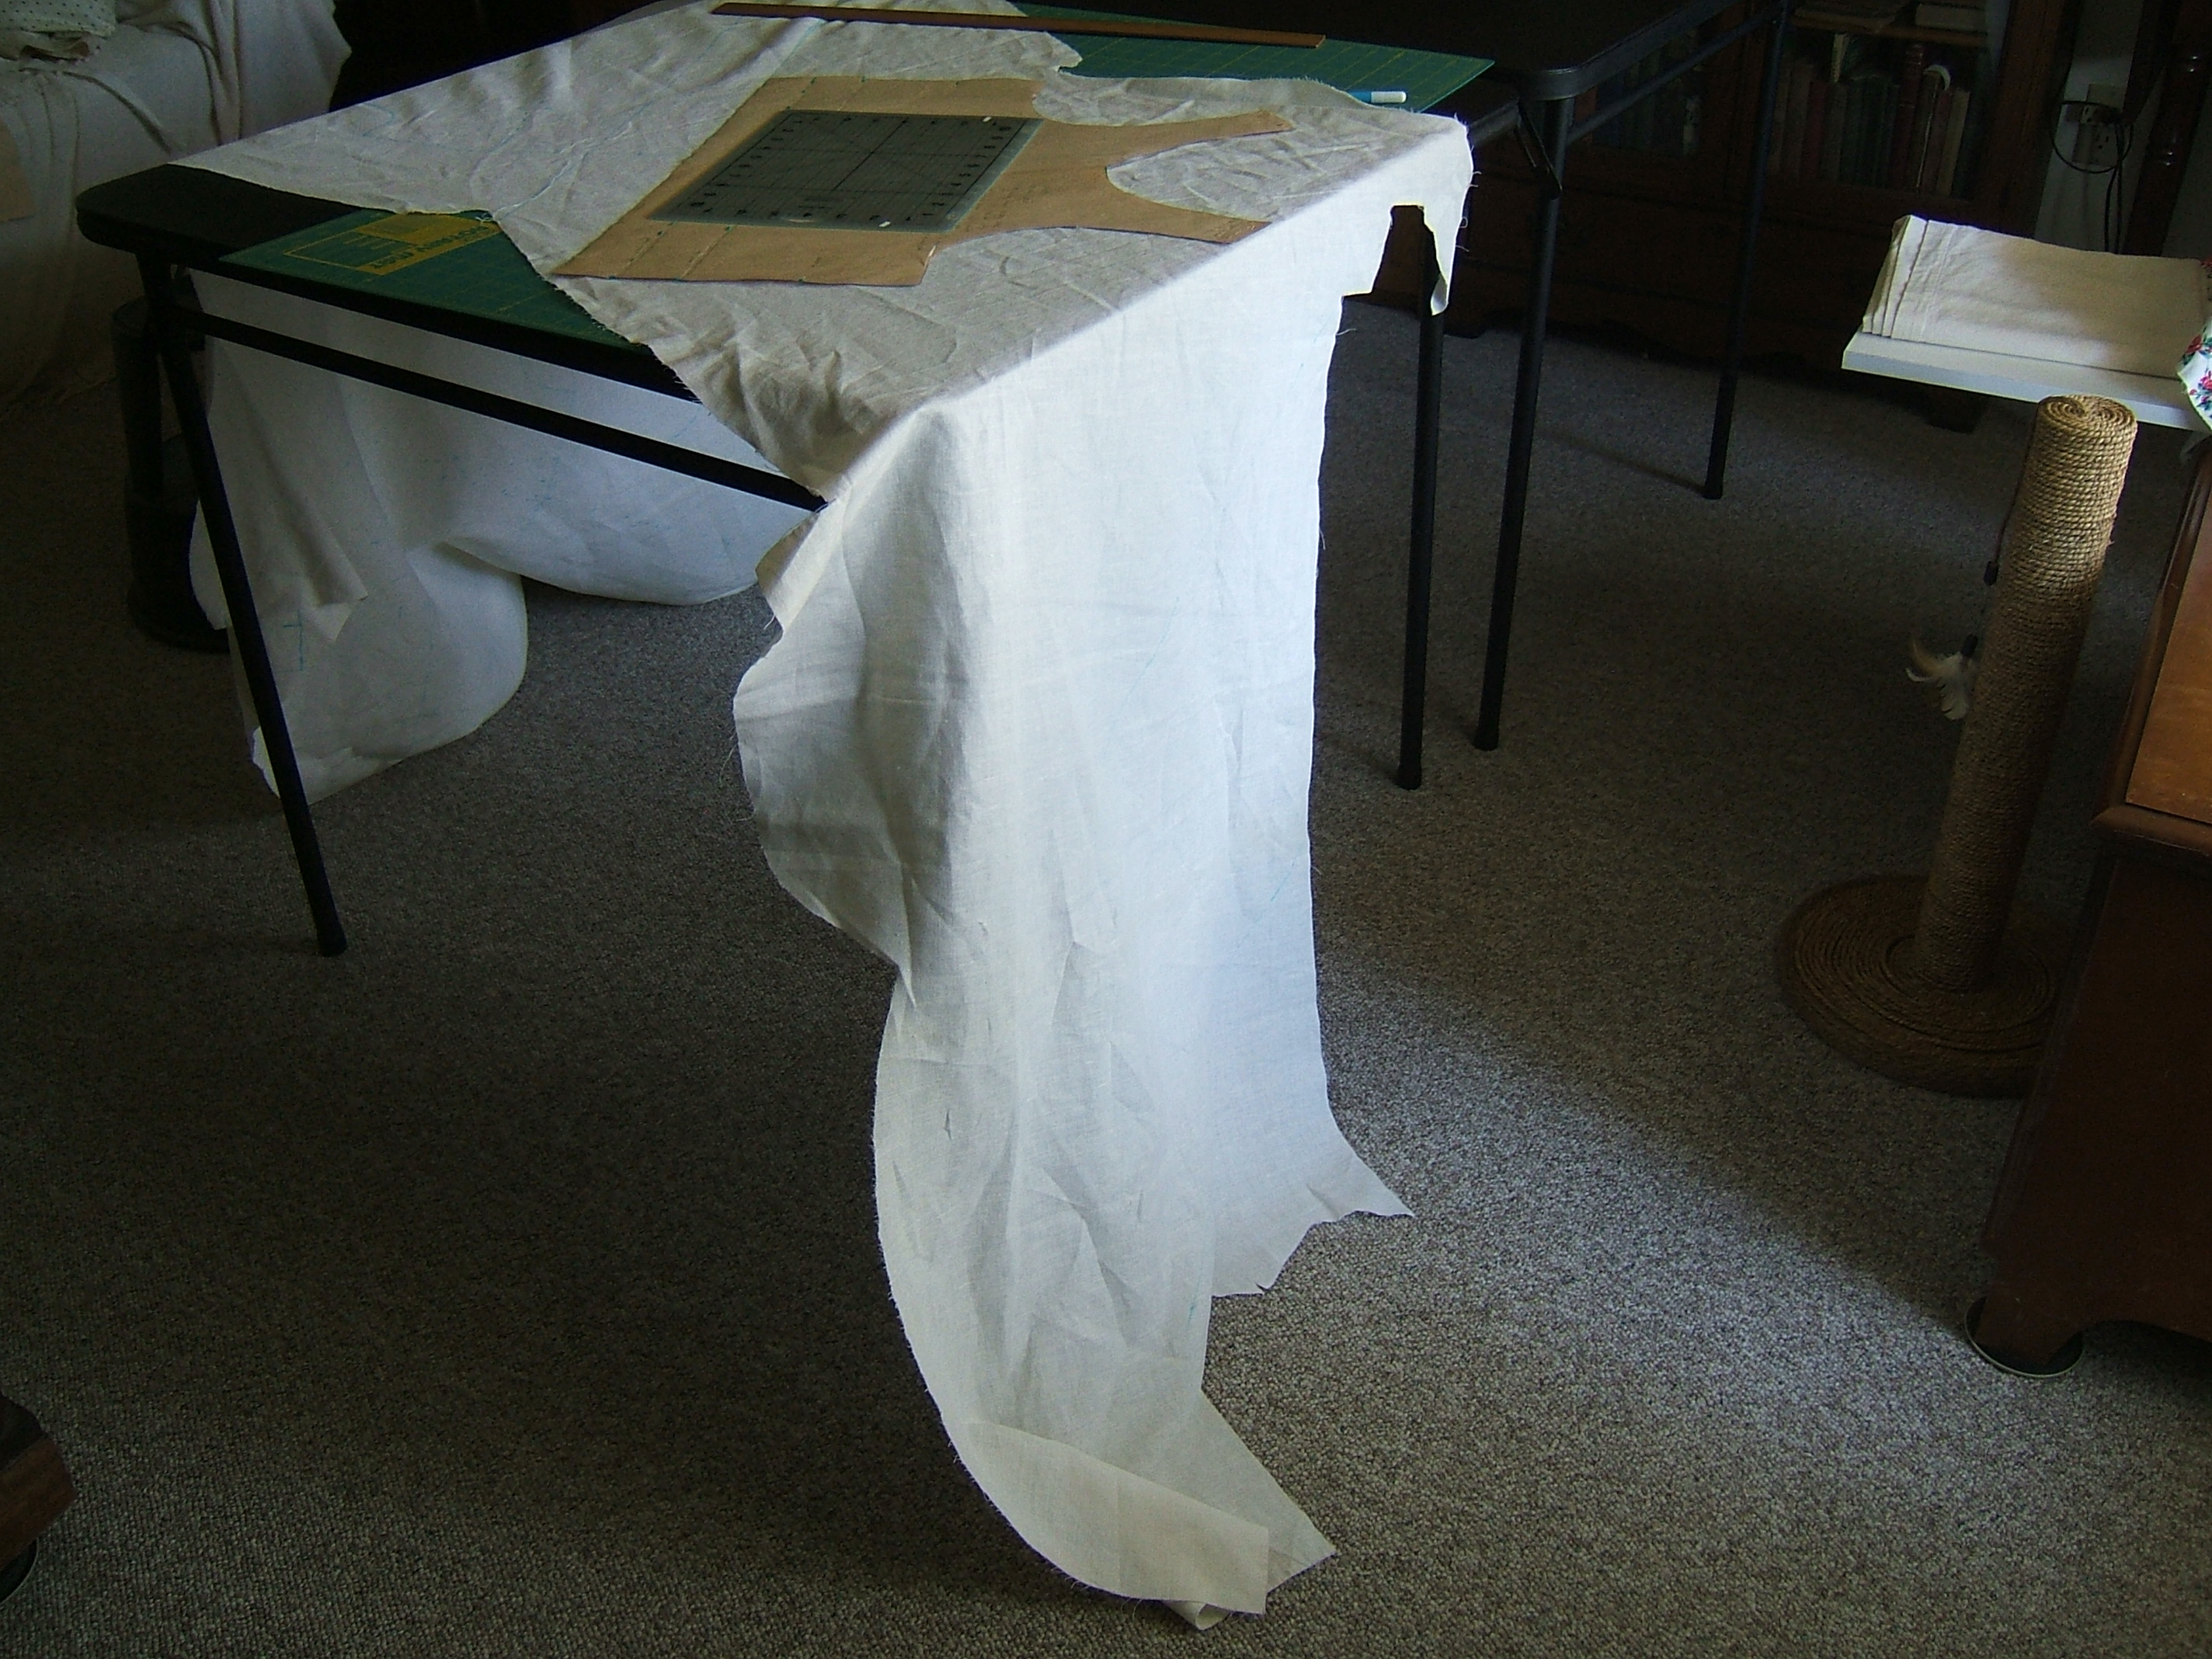
Folding the fabric to fit the card table when I want to knock off for the day seems to get more tedious with practice.
I'm glad the black linen doesn't have any irregular edges.
29 September 2017
At 11:04, the next row of three halves is done. When marking the first one, I wondered why I hadn't been taking advantage of the marking pen's tendency to tear its own stencil holes through the weakened paper.
Then to mark the next one, I moved from the padded card table to the hard-topped one I'd used for all the other marking.
Now I'm encroaching on the irregular part. so the fifth row will require me to mark over the gap between tables. I've shoved my larger cutting mat under the work.
Fifth? The first row, the corner I left, is half a bra, the second row is marked for one bra, the third for a bra and a half with the straps interlocking with the second row, the fourth with the straight bottom edge meeting the straight bottom edge of the third row holds a bra and a half — the half marked "E", and I'm about to mark the fifth row with the straps interlocking with the fourth row. I think this will yield one bra, which I shall mark F, and leave the sixth row to provide the other half of E.
And the back of E is ready to mark
It might be possible to get one more bra out of that strip that's dangling down, but I'm not going to try.
I've finally gotten the hang of folding the fabric up onto the card table — and the next time I unfold it, I'm going to cut it into bits, so I'll never have to fold it up again.
I think that I'll copy the grain arrow onto the bras — in washout, not embroidery! — and incorporate arrows into the counting labels, so that I can see whether cutting upside-down makes a difference.
I've half a mind to embroider my name, but I've had half a mind to embroider a hexagon on my blue hat for several months, and haven't gotten around to it. Besides which, I still have woven labels. Which really aren't compatible with next-to-the-skin wear, particularly tight-fitting garments cut on the bias.
Must be nap time. I've had my lunch and I'm blithering.
1 October 2017
Not sewing: a few days ago I spotted a safety-pin head inside my slopping-around pants when I was putting them on, investigated and discovered that the pin that anchors my knife in the shallow pocket had torn a hole, briefly considered sewing in a D ring and putting a lobster claw on the "valet parking" key ring instead of the safety pin — and moved the pin to a sound part of the fabric.
This afternoon, I put on one of my twinkle-twinkle slopping shirts, briefly considered cutting the sleeves to three-quarter length, and rolled them up. This way I can roll them down again for working outside.
I put it on because I'd spilled food on both my timer-pocketed T-shirts. Perhaps I should timer pocket a third shirt — but it's cool enough now to wear long-sleeved shirts. Surely four shirts will get me through a week.
Particularly when two of them are black.
⁂
On a whim, I marked "this end up" arrows on all the pieces and all the scraps, intending to include arrows in my marking so I can separate bras cut thisaway from those cut thataway. On the bias, it should not be detectable, but hey, the data is there, I might as well collect it.
I'm thinking to number the bras by embroidering flowers with varying numbers of petals, and use the arrows as a stem and two leaves.
Then, having unfolded the fabric, I cut it into one corner, two very wide pieces of bias tape (each with two rows of bra halves), and one irregular piece.
This was the most-delicate part of the cutting, because with all those bias lines on the fabric, I could very easily cut on the wrong one.
I think I have time to cut the back of E out of the irregular piece before time to set the table.
⁂
I did, and one of the cutaways has a long true-bias edge. I'll get two or three strips of tape out of that.
3 October 2017
And this afternoon I cut out the rest of them. For the sake of my meralgia paresthetica, I disposed of each scrap as soon as it came free: worthless snippets to the garbage plate in the kitchen, scraps with a true-bias edge to one pile in the sewing room, a particularly large scrap with the scrap with the almost-a-yard bias edge, which I'm keeping with the cut-out piece, everything else to another pile in the sewing room.
I'm not too fussy about the height of my cutting table; standing comfortably is the last thing I want to do. Though I needed a large table for laying out, the card table was very convenient for cutting: I could come at a cut from any direction.
When done, I stacked them up in order, with F on the bottom and A on top. The project takes up much less space now!
I noticed a couple of shoulder straps that hadn't been trimmed square at the ends, but I'd put away the mat and the cutter, and I'm sure to notice when I get ready to sew them together. The scissors are handy to the sewing machine.
5 October 2017
Yesterday it was too dark to sew in the morning, and I had other things to do in the afternoon.
This morning I started to drag the typing chair into the bedroom, then remembered that Thursday is Roomba day in the bedroom and dragged the treadle machine into the parlor instead. This left enough room to drag the cedar chest out and do a proper cleaning in the closet.
Of course, Roomba was finished by the time I cleaned out the lily bed, dumped the cat litter on it, and so forth, but I think I'll leave the treadle where it is until it's the parlor's turn to be swept. I should be done with all the darts by then!
I sewed the darts in A and B and brought C into the parlor, then was too hungry to continue, so I made some fresh-herb rice cakes. Gotta use the herbs while they are still in season! I hit only the thyme, oregano, and basil, and got a scallion of garlic out of the refrigerator.
I'm planning to sew all the darts, then sew them all flat — first stitch them to one side, then press before stitching down the free edge. May cut some excess fabric out of the overlap before stitching. I think I'll cut fabric out of the underlayer before stitching to one side, so that I can trim all the way to the dart stitching, then trim the overlayer after pressing so that I can be sure the flat-fell seam will cover all raw edges.
When I made this pattern, I made no effort to shape the end of the dart so that all raw edges would match after stitching, but simply continued the cutting lines until they intersected — which was not on the fold line. So the odds are that the overlayer is already trimmed.
Just checked A and B. Nope, the cut edges line up perfectly. But I think that the curve of the dart pulls them in after pressing.
Blither alert: time for a nap.
⁂
I found and trimmed three straps that had not quite been cut out. I'd thought there were only two.
Now the pieces are stacked up with A on the bottom and F on top.
6 October 2017
Got distracted this morning with learning HTML and writing a Usenet post, but I did get the ironing board cleaned off — and recycled a handful of useless paper. Found a five-year-old newspaper clipping that I want to respond to.
I should oil the White; it had been sitting unused for quite a while.
The pieces are now piled on the coffee table, handy to be plucked off and top-stitched. I plan to stitch close to the seam to press the darts to one side, then press the rest of the dart flat and press the folds for the felled seams on the back pieces. I think I'll sew the shoulder seams and hem the necks before sewing the side seams.
10 October 2017
First row of top-stitching done and the parts are piled up on the ironing board A to F.
I wandered off line when stitching the first dart in front B and had to pick it out. Then I did the exact same thing on the other dart!
So I was careful sewing A and the first dart was fine, but I had to pick out the last dart.
Then I changed clothes and we took the cat to the vet.
11 October 2017
Inverted the order again, and started another inversion.
In the morning, I got a mammogram, came back tired, and went to bed early, so I woke up in time to sew some before supper. (I should either rephrase that or find a word for "before" that starts with "s".)
I pressed the bust darts, and on the backs I pressed a quarter inch to the right side of each side seam and shoulder seam. I stacked the parts separately in order to keep the backs flat. I expect the seams to need pressing again, because I was afraid that using water would take out the wash-out blue marks. Lightly spraying the ironing board cover helped some, and of course the crease is persistent even though it unfolds.
After pressing back F, I left it on the ironing board and piled A through E on it so I could open the sewing machine, so the inversion was incomplete before I start another inversion.
I top-stitched darts F and E, and draped each over the end of the ironing board so the bulge could bulge. Then I was too hungry to continue, so I piled A through D on them to clear off my dresser and washed dishes.
Now (18:21) it's too dark to sew. That's partly because of the rain; sunset is at 19:10.
Before top-stitching each dart, I trimmed off part of what will be covered by the flat-fell seam.
Perhaps I should sew seams in those two bras before proceeding, to make sure that I haven't got it backward.
Not only no pictures, I haven't even re-set the date on the camera. Haven't felt like it.
Wanting to know when we start sleeping an hour later so that we can dine by candle-light, I DuckDucked "Devil Satan Time" — and the very first hit was the first half of this very blog! I searched on "sleasy-jersey repair", and this half is indexed too.
But it appears to have been last indexed before 13 July 2017.
12 October 2017
I have decided to sew the seams of F before proceeding with the top stitching. The folds on back F are comparatively flat, because I left a weight on them.
but they are unfolding anyway.
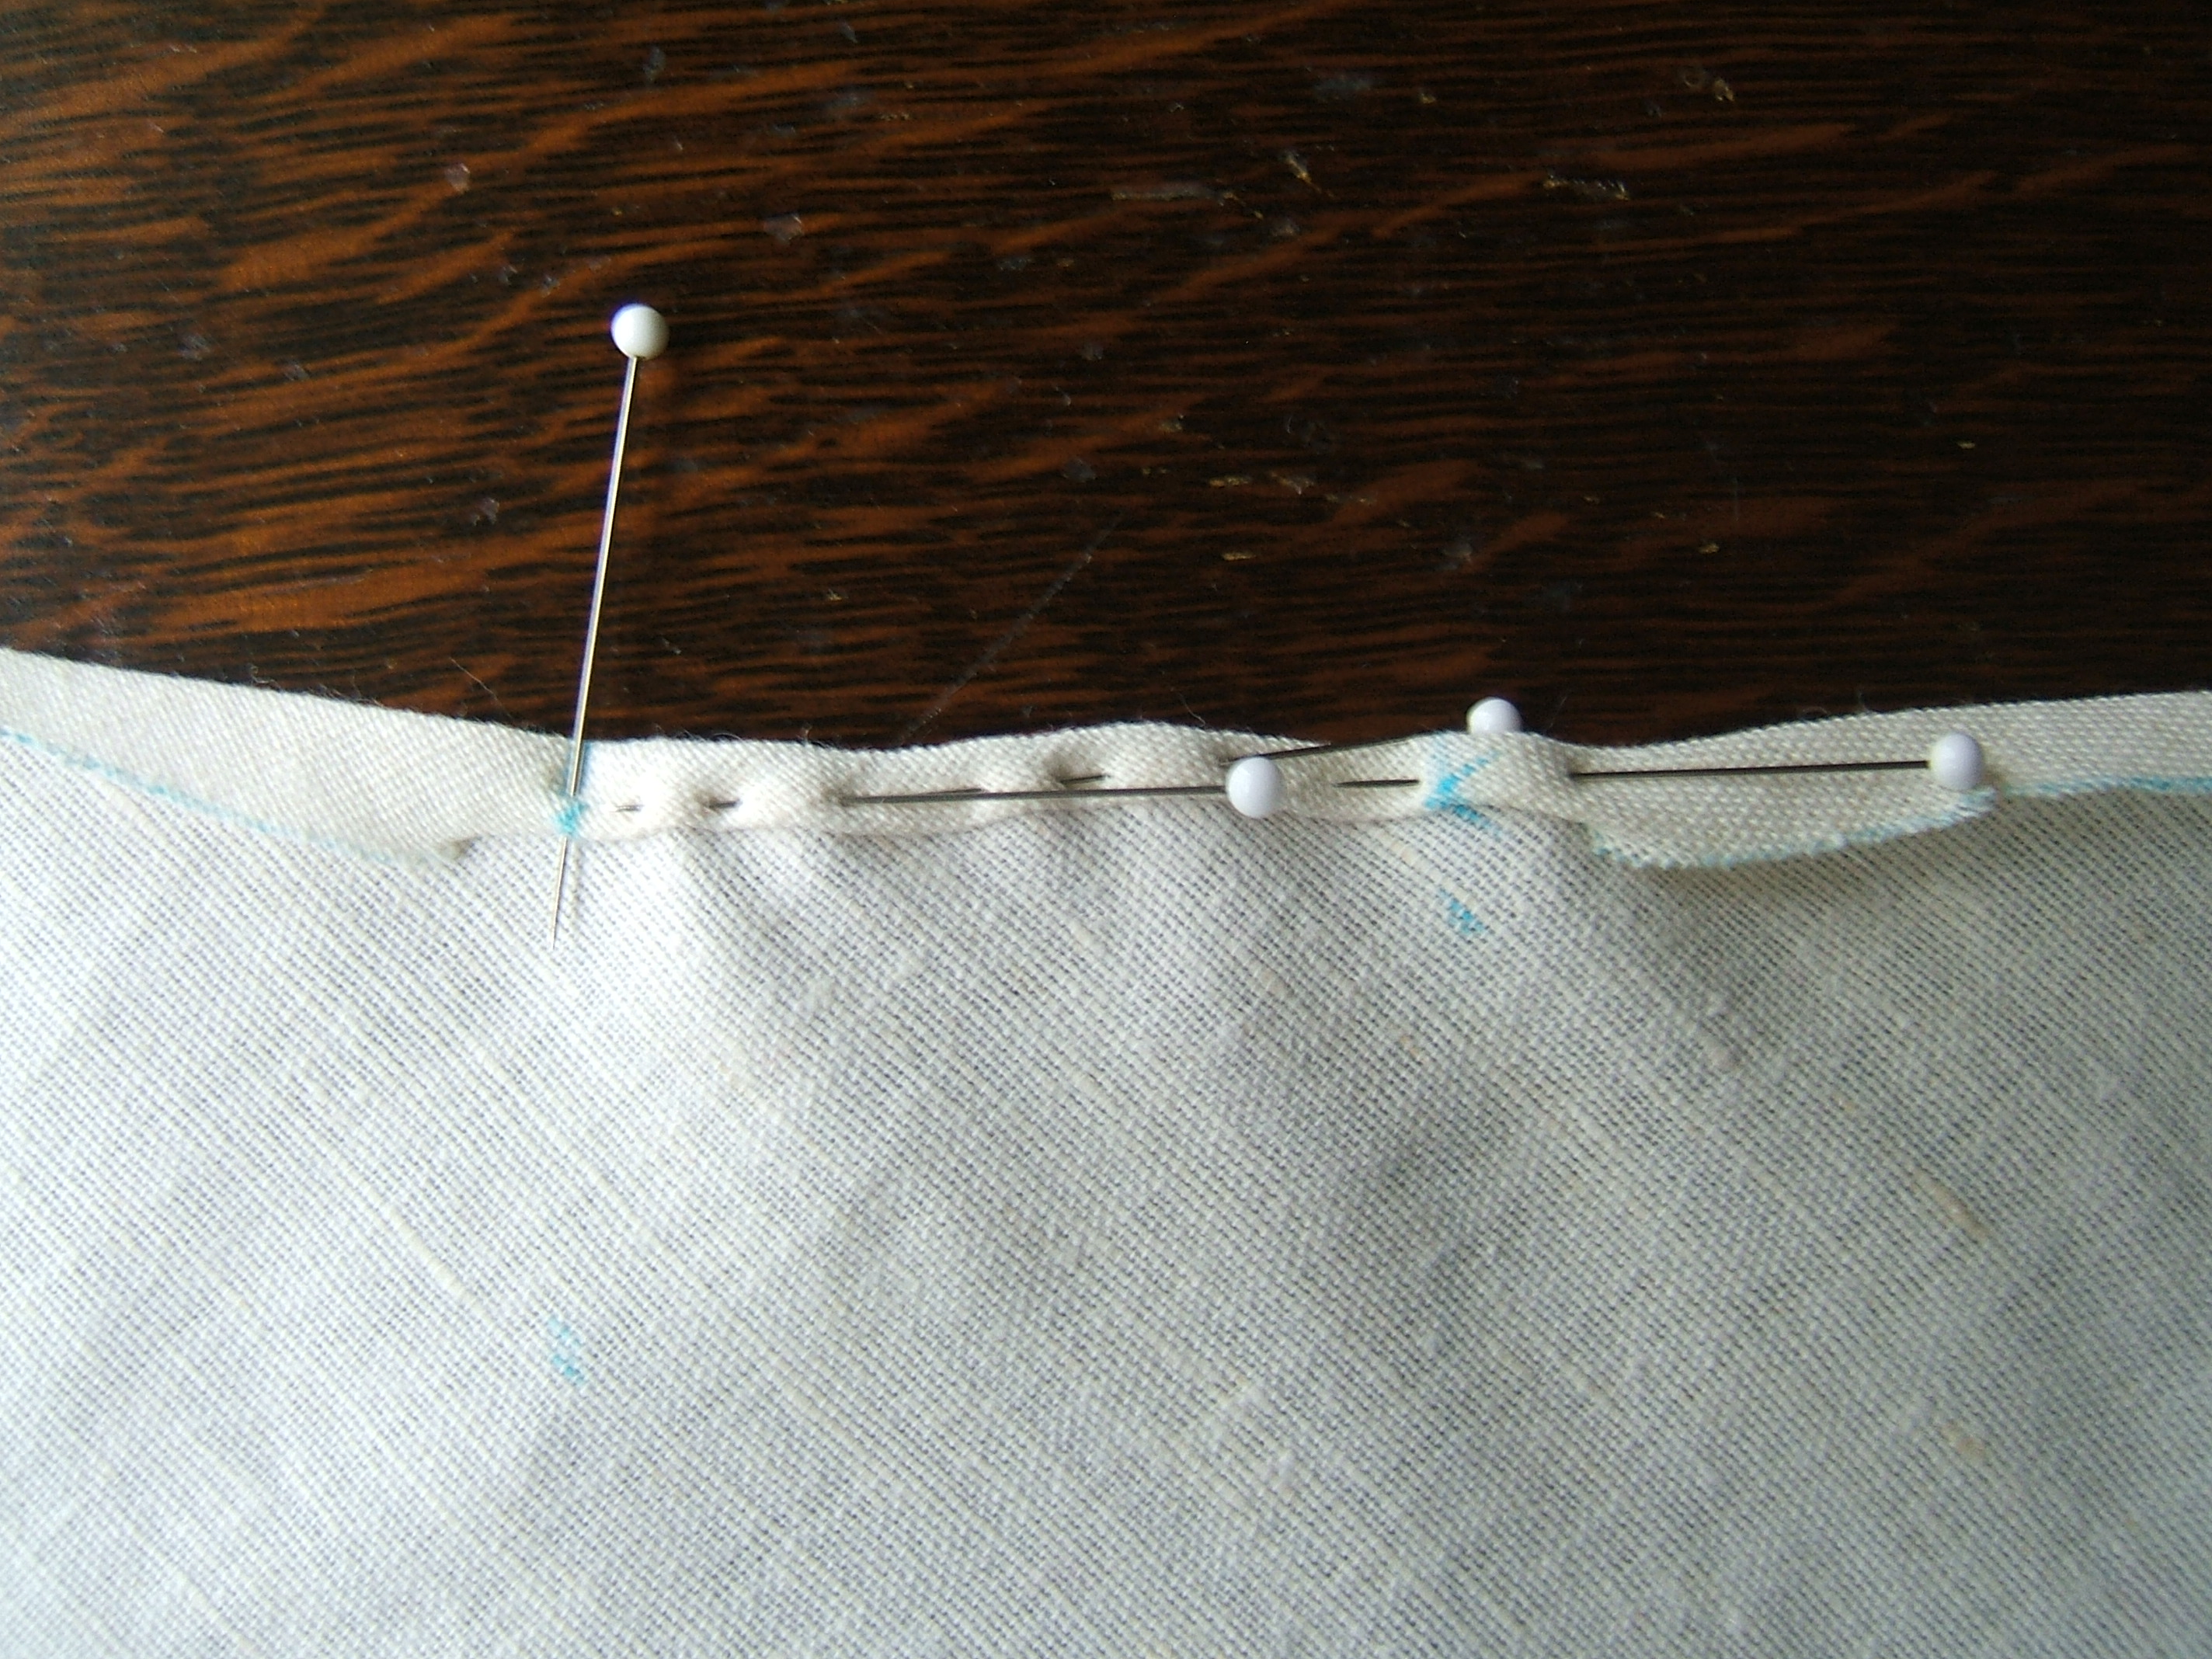
First step is to determine which is the left side seam, and hem the opening in the casing.
I stitched as close to the edge as I could, to minimize snagging when I put a bodkin through the casing.

Next, to sew the side seam where the gap will appear.
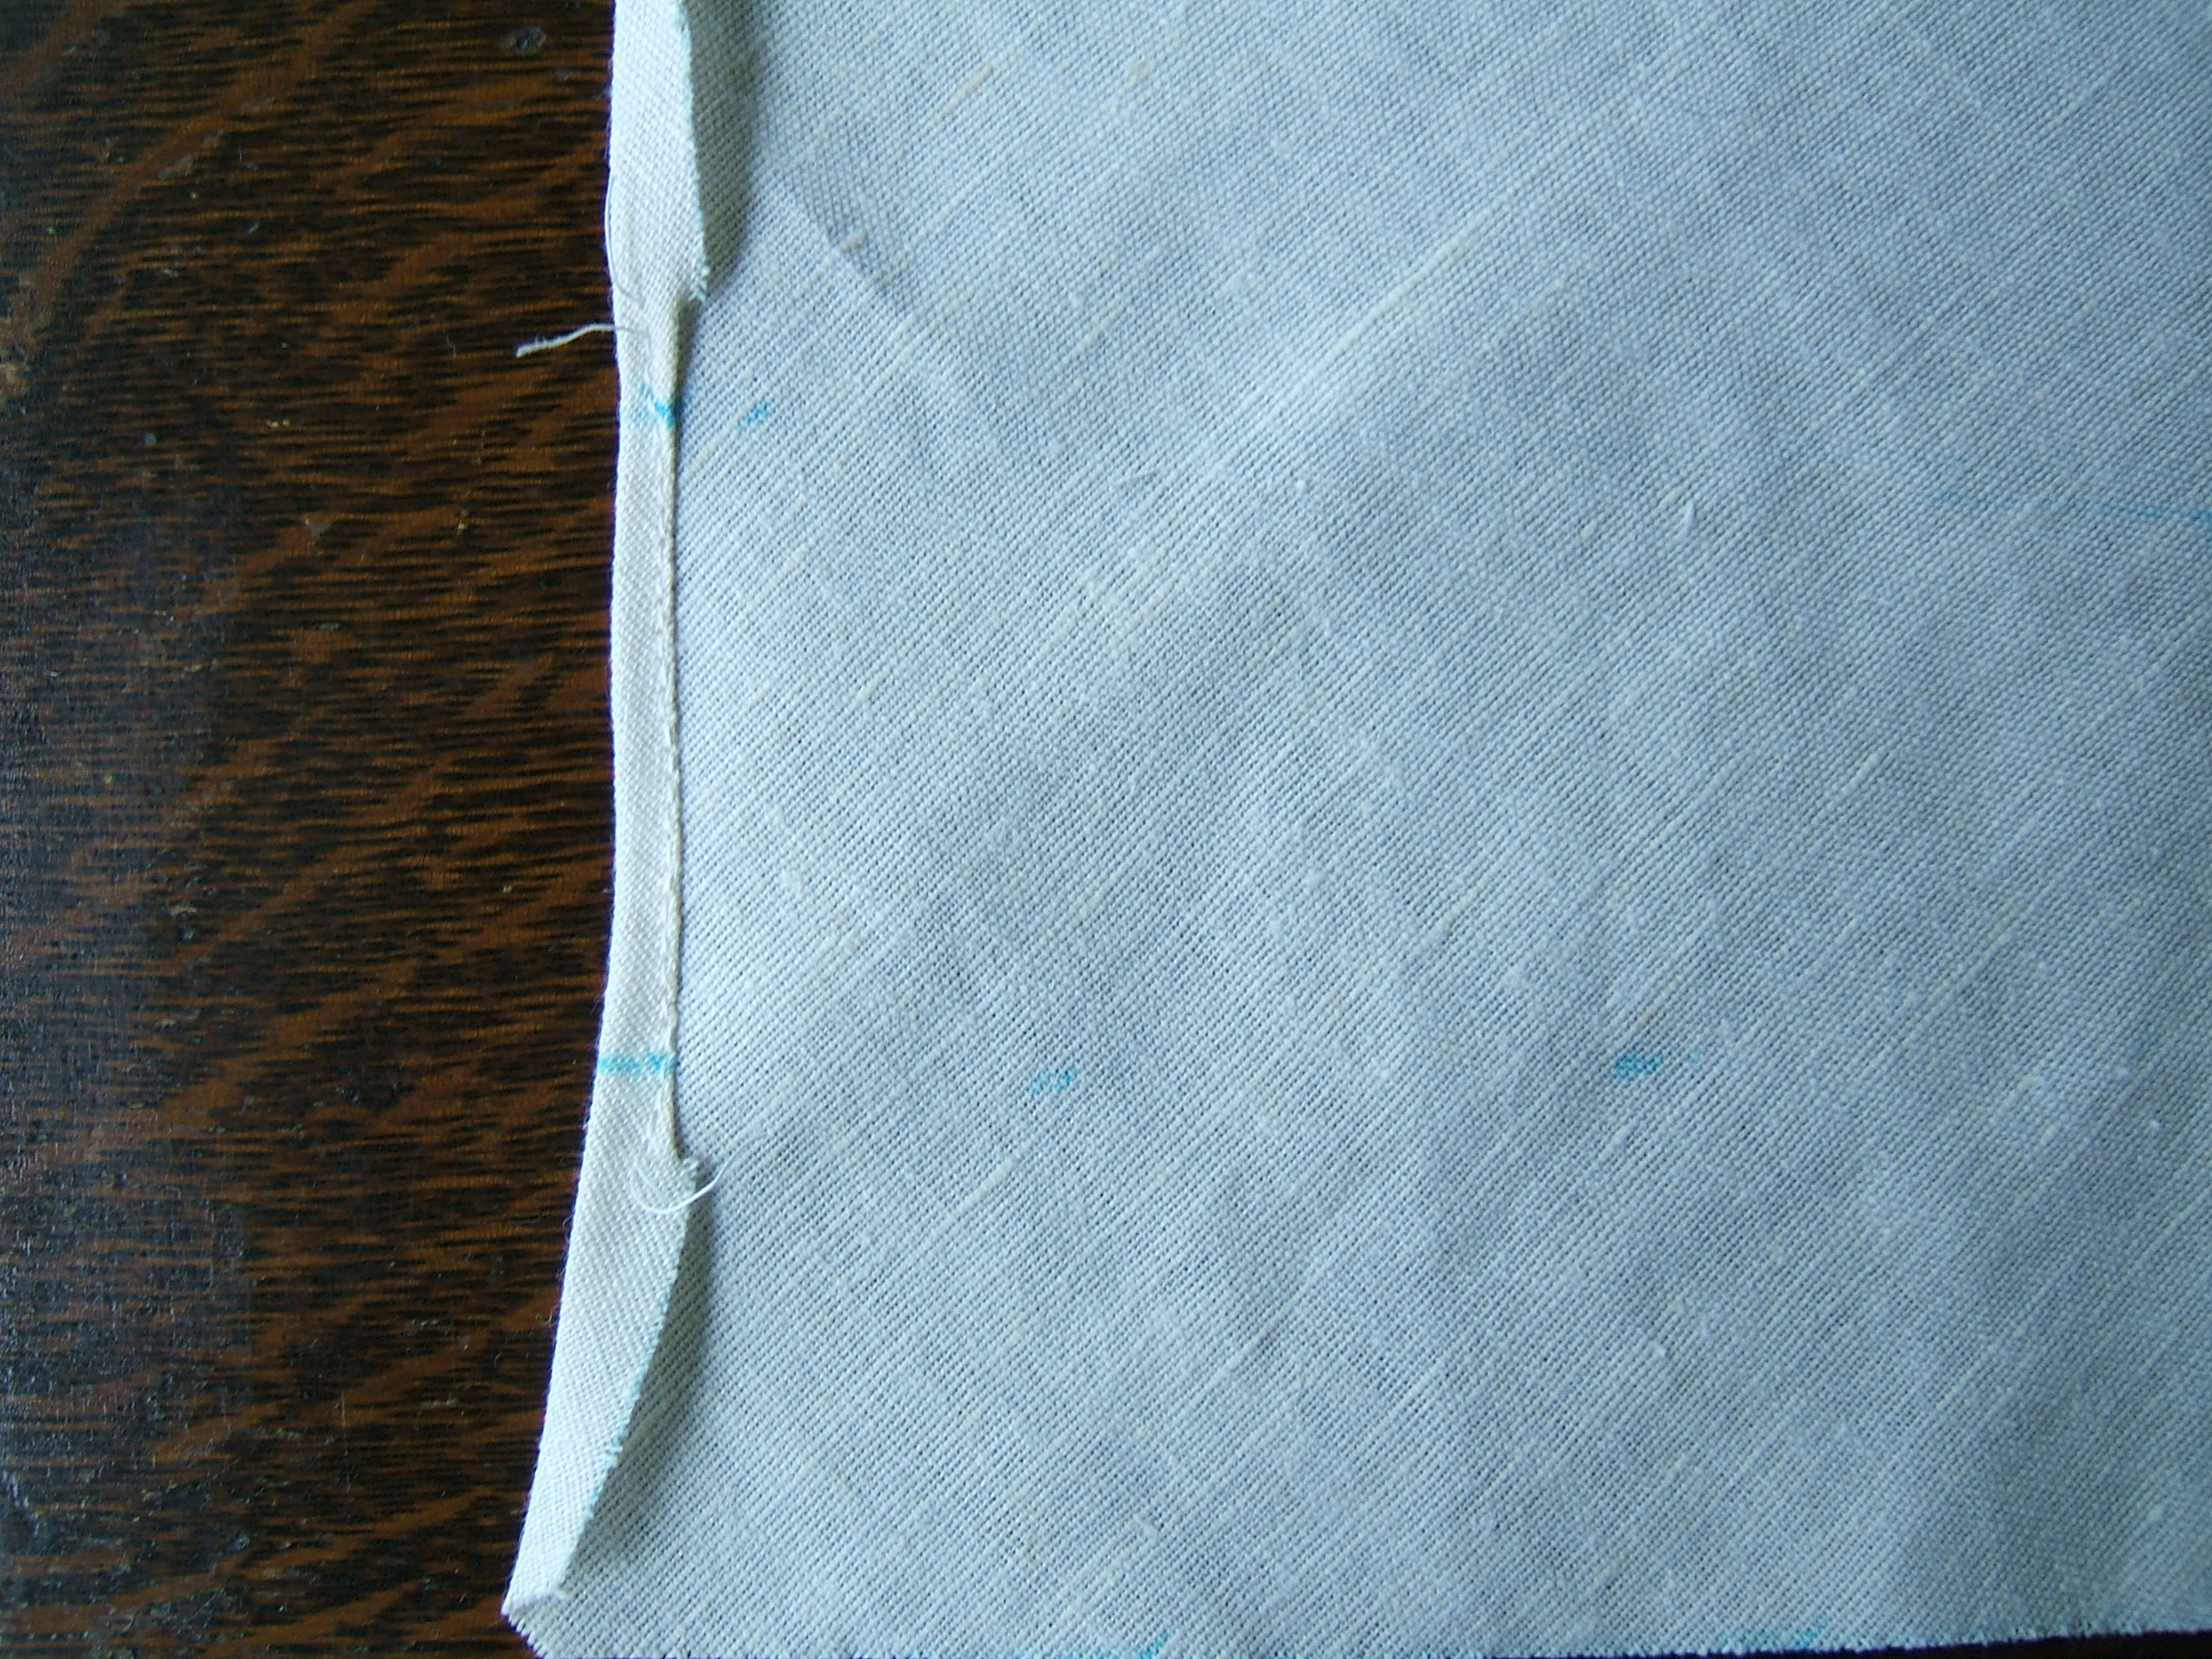
I lengthened the stitch at the opening. Since the next step requires an iron, I sewed the other side seam and the shoulder seams first.

And then I attempted to press the hem on the other side of the gap. The seam allowance looks as wide as the turn-under on the other side, but the hem is much narrower. About the time I considered hand-basting the folds in place, I realized that the easiest way will be to hand-sew the hem; then I can tuck the fold with the point of the needle just before I sew it into place.
I think I'll cheat a bit when sewing the other bras, and move the raw edge toward the fold when pinning this part of the left-side seam, so that the seam allowance comes out wider when I stitch half an inch from the fold.
15 October 2017
Cool! While looking up something else, I learned that my Japanese centering ruler is a shaku stick, and the ten divisions are sun. A shaku is 14.9 inches.
I don't appear to have a picture of it in "Tools". Not tonight dear; it's bedtime.
Monday 16 October 2017
I did a little hand sewing between loads of wash. Back-stitching the hem left long stitches on the right side, where they might wear away, so at the end, I pushed the needle through to the right side and running-stitched back, which left long stitches on this side.
17 October 2017

I thought my shaku stick was exactly the width to mark lines one inch apart, but it turned out to be a snit-bit shy, which added up when I measured across all four strips, so I re-marked with my eighteen-inch ruler.
⁂
I did such a beautiful job of top-stitching the top part of the left side seam that I should have photographed it before I picked it all out.
I had neatly sewn a shoulder strap to the other side.
I didn't figure on all that picking out — that wasn't the first seam that had to come out — and thought I'd be ready to face the armholes in bra F today, so I began work by cutting and pressing four strips of bias tape. After pressing each tape, I laid the next one on top of it to keep the fold in place, then ironed across to bring them into close contact, then lightly sprayed the pile of tapes, ironed the top one not-quite dry, then pressed a fold in it while it was still steamy, laid the next tape on it to keep it from unfolding, etc.
So all except the top tape were pressed really well. I still worried about unfolding, so I found a tea box about four inches/2.7 sun/10 cm in diameter in my box of tin boxes and wrapped the tapes around it, folds toward the box.
Then I ironed three shirts. The sprayer snapped off my spray bottle when I'd almost dampened the second shirt; I managed to finish by sticking it back on after every squeeze, and the third was a T-shirt that I wouldn't have dampened anyway. But I've got to stop by Ace tomorrow.
Then, on backs A-E, I re-pressed the folds that hadn't been under a weight, put the plywood under the iron on them, and set the iron on it.
I puzzled a bit over the other folds, which were already wanting to rise, so I couldn't just set another plywood on them. I smoothed a pressing cloth over them, stroked them with the still-hot iron to make the cloth cling, put the first plywood that came to hand on them, and set my steam iron on for a weight. First time I've used it in years.
That was probably when I broke for lunch. After my nap, I finished the shoulder seams and the right seam of bra F, then started on the left seam, the one with a gap in it, thinking that I'd start finishing the darts of fronts A through E when that was done, but alas, it was not to be.
No sewing tomorrow, if you don't count looking for a spray bottle at Ace on my way to Goodwill.
19 October 2017
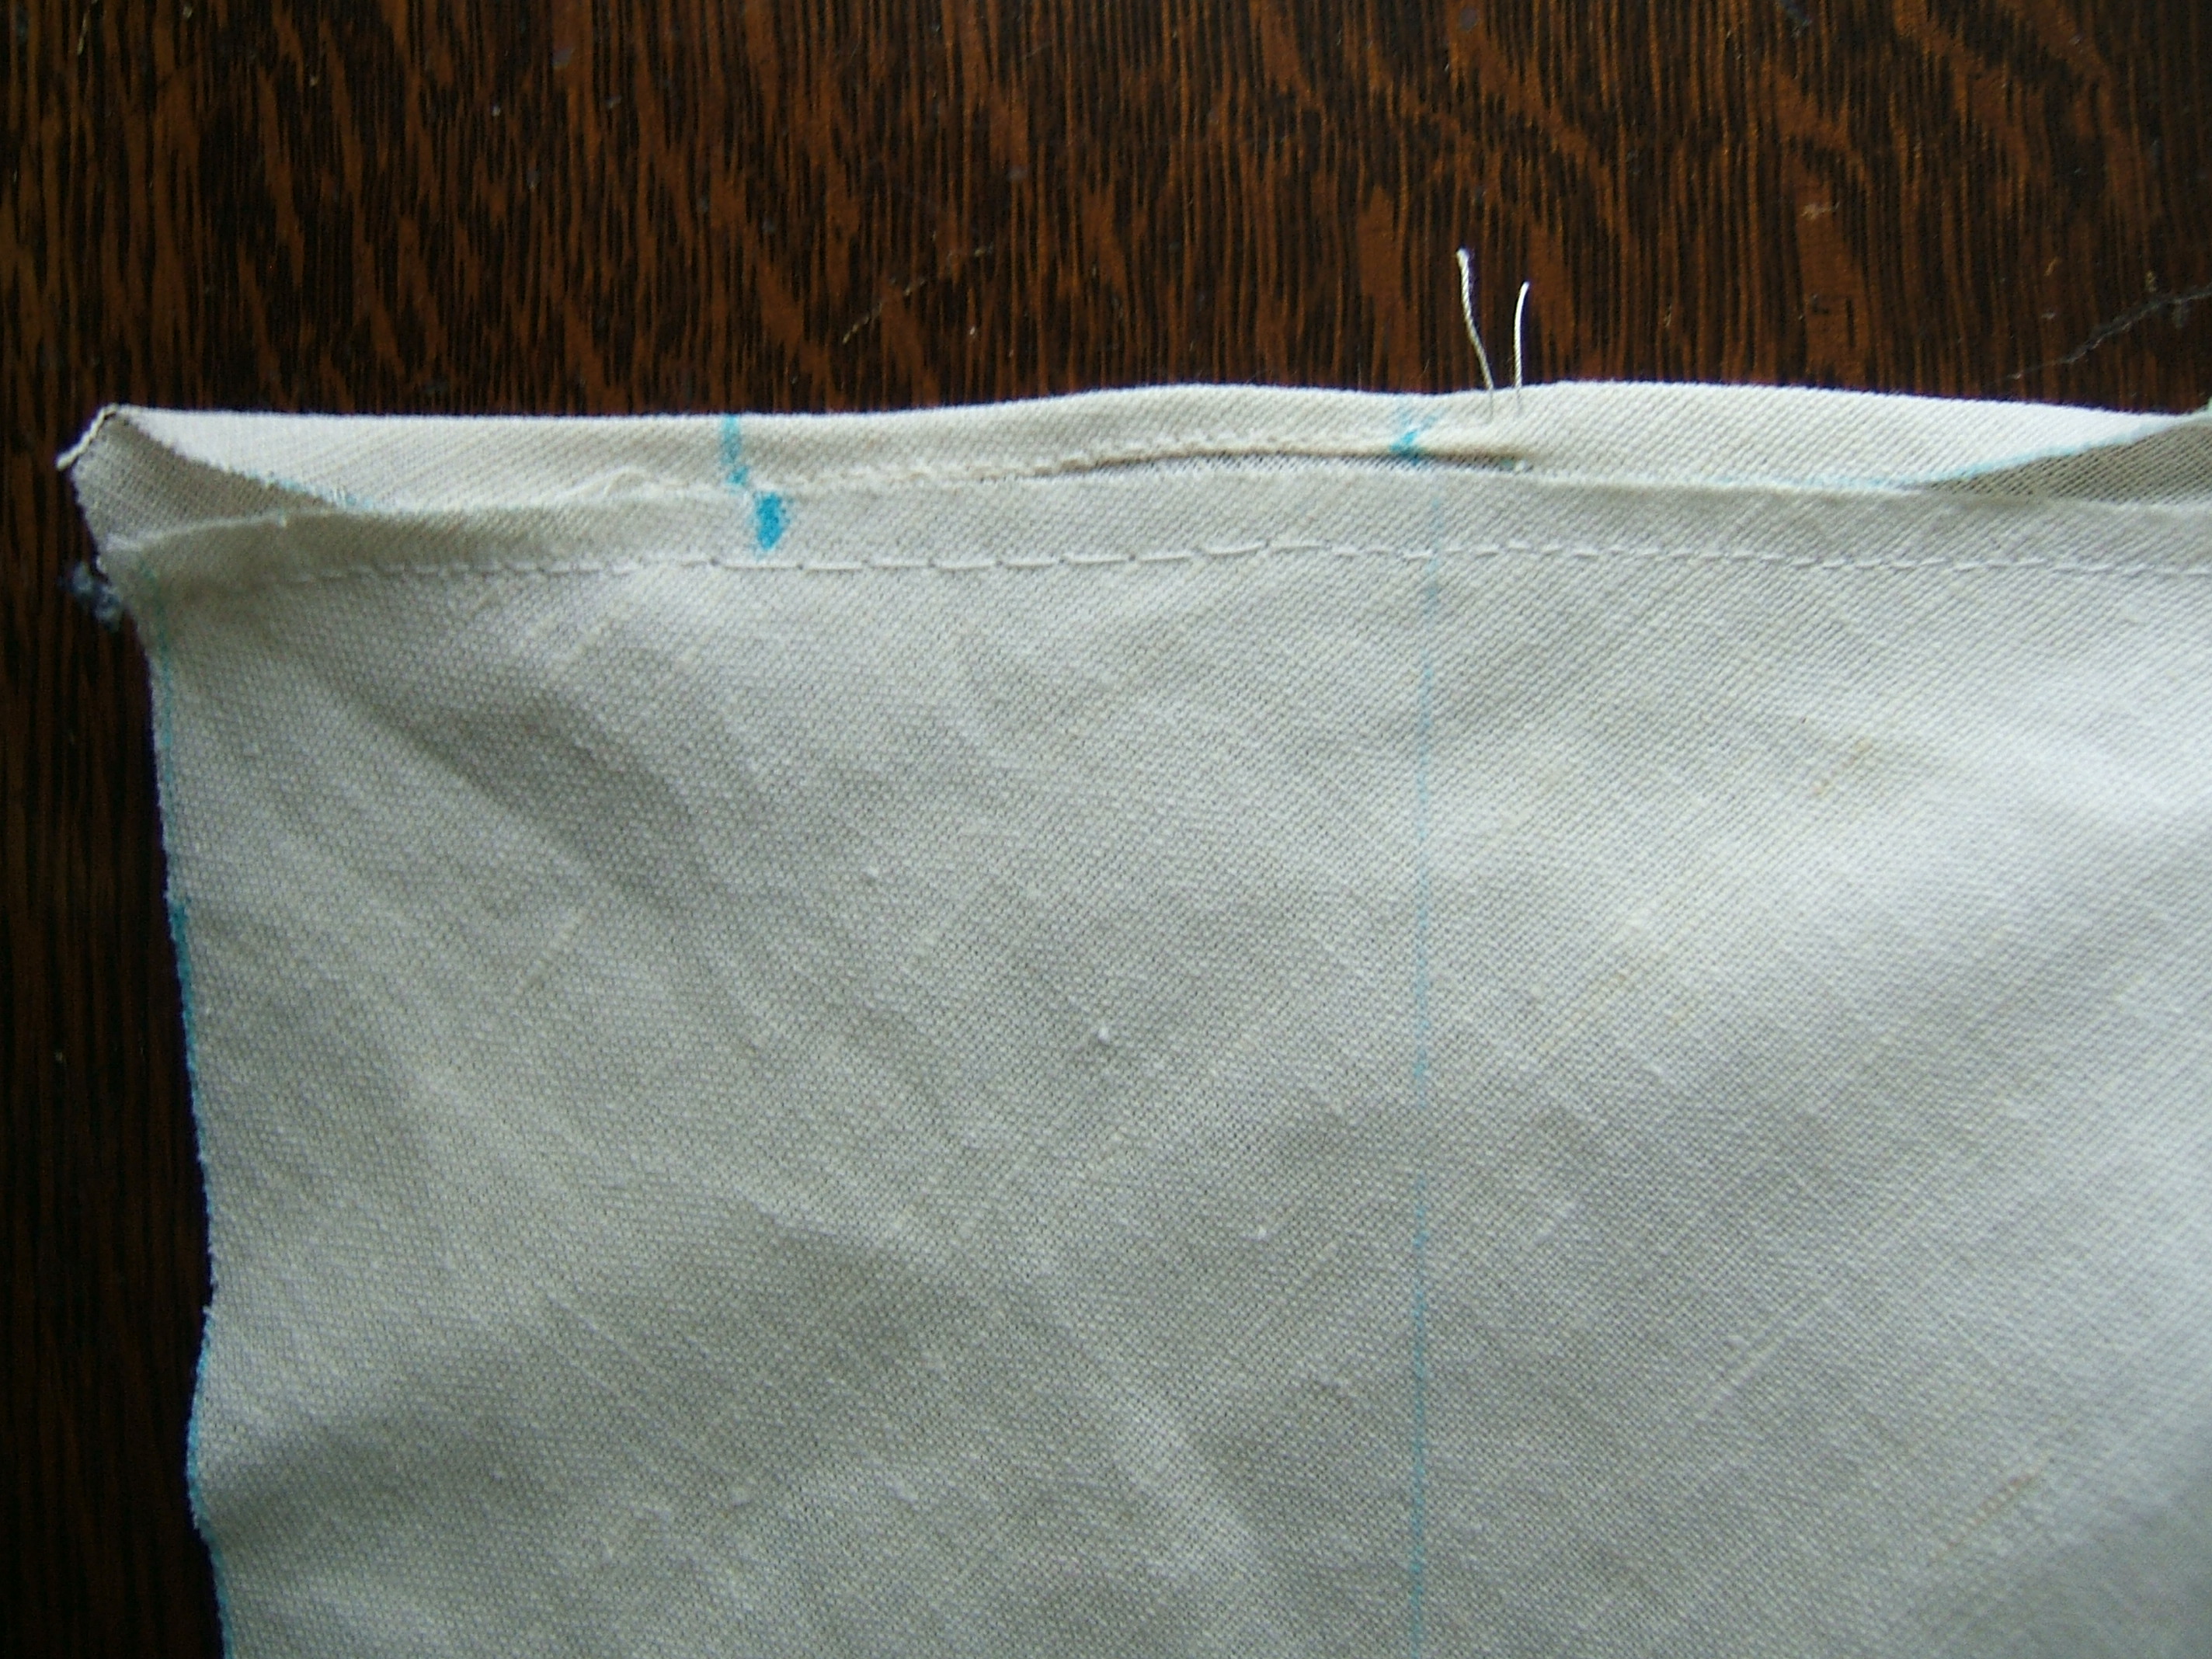
Frittered away the morning, but I did finish the seam, hem the neck, and attach the bias facing in the afternoon.
When finishing the seam, I realized that the part below the gap will be inside the casing and doesn't need to be finished, but I sewed it anyway.
I have enough tape to face one more armhole, two short pieces trimmed off the armhole facings, and a long piece with a notch in it.
I thought for a bit that I'd hem the neck before sewing the side seams of subsequent bras, but I don't want half a bra under the throat of the machine, and if both halves are to be folded to the same side, they might as well be sewn together.
The backs are still on the ironing board with weights on the side-seam folds.
23 October 2017
See training log for details
Just before going to bed after midnight, I pulled the sweatband off the deplorable hat mentioned in my training log. It was so badly worn that it was attached only at the seam, and that pulled off after I trimmed the seam allowance. There are some bits of lint and a couple of inches of seam allowance that I'm going have to remove with tweezers. Looks as though all I have to do is to cut the crown leaving a uniform strip that I can fold over and sew to the brim to replace the sweat band.
⁂
I started marking the cutting line this evening. The width of a business card looks about right. I'll probably fold it into thirds, to make it soak up more sweat than two layers would, and to conceal spots where I just barely cleared the holes.
Tuesday, 24 October 2017
While dressing, I started putting away the underpants I left on racks yesterday, and found that there was only one pair of the blue-flower batch in the drawer. The previous batch are all showing signs of wear, and some are strikingly ragged. Even though the underpants drawer is full, I'd better start a new batch of underpants soon after I complete the bras.
Pity that Dharma has replaced the hemp-and-cotton jersey with a finer quality. On the other hand, perhaps it will be fine enough to make the whole garment from — I must send for a sample.
⁂
A shaku is ten sun, a sun is ten bu, and a bu is ten rin. My ruler doesn't go below bu.
It's a mite drafty to pick lint out of stitches while sitting outside. Didn't help that I'm barefoot.
It was surprisingly easy to remove the tapes from the seams after I picked out the lint left after tearing out the old sweatband. Once I'd picked out enough thread to take hold of, it pulled right out. The thread looked thinner than 100/6.
When I went out later to photograph the hat on the picnic table, it was raining, so I used the concrete on the other side of the house.
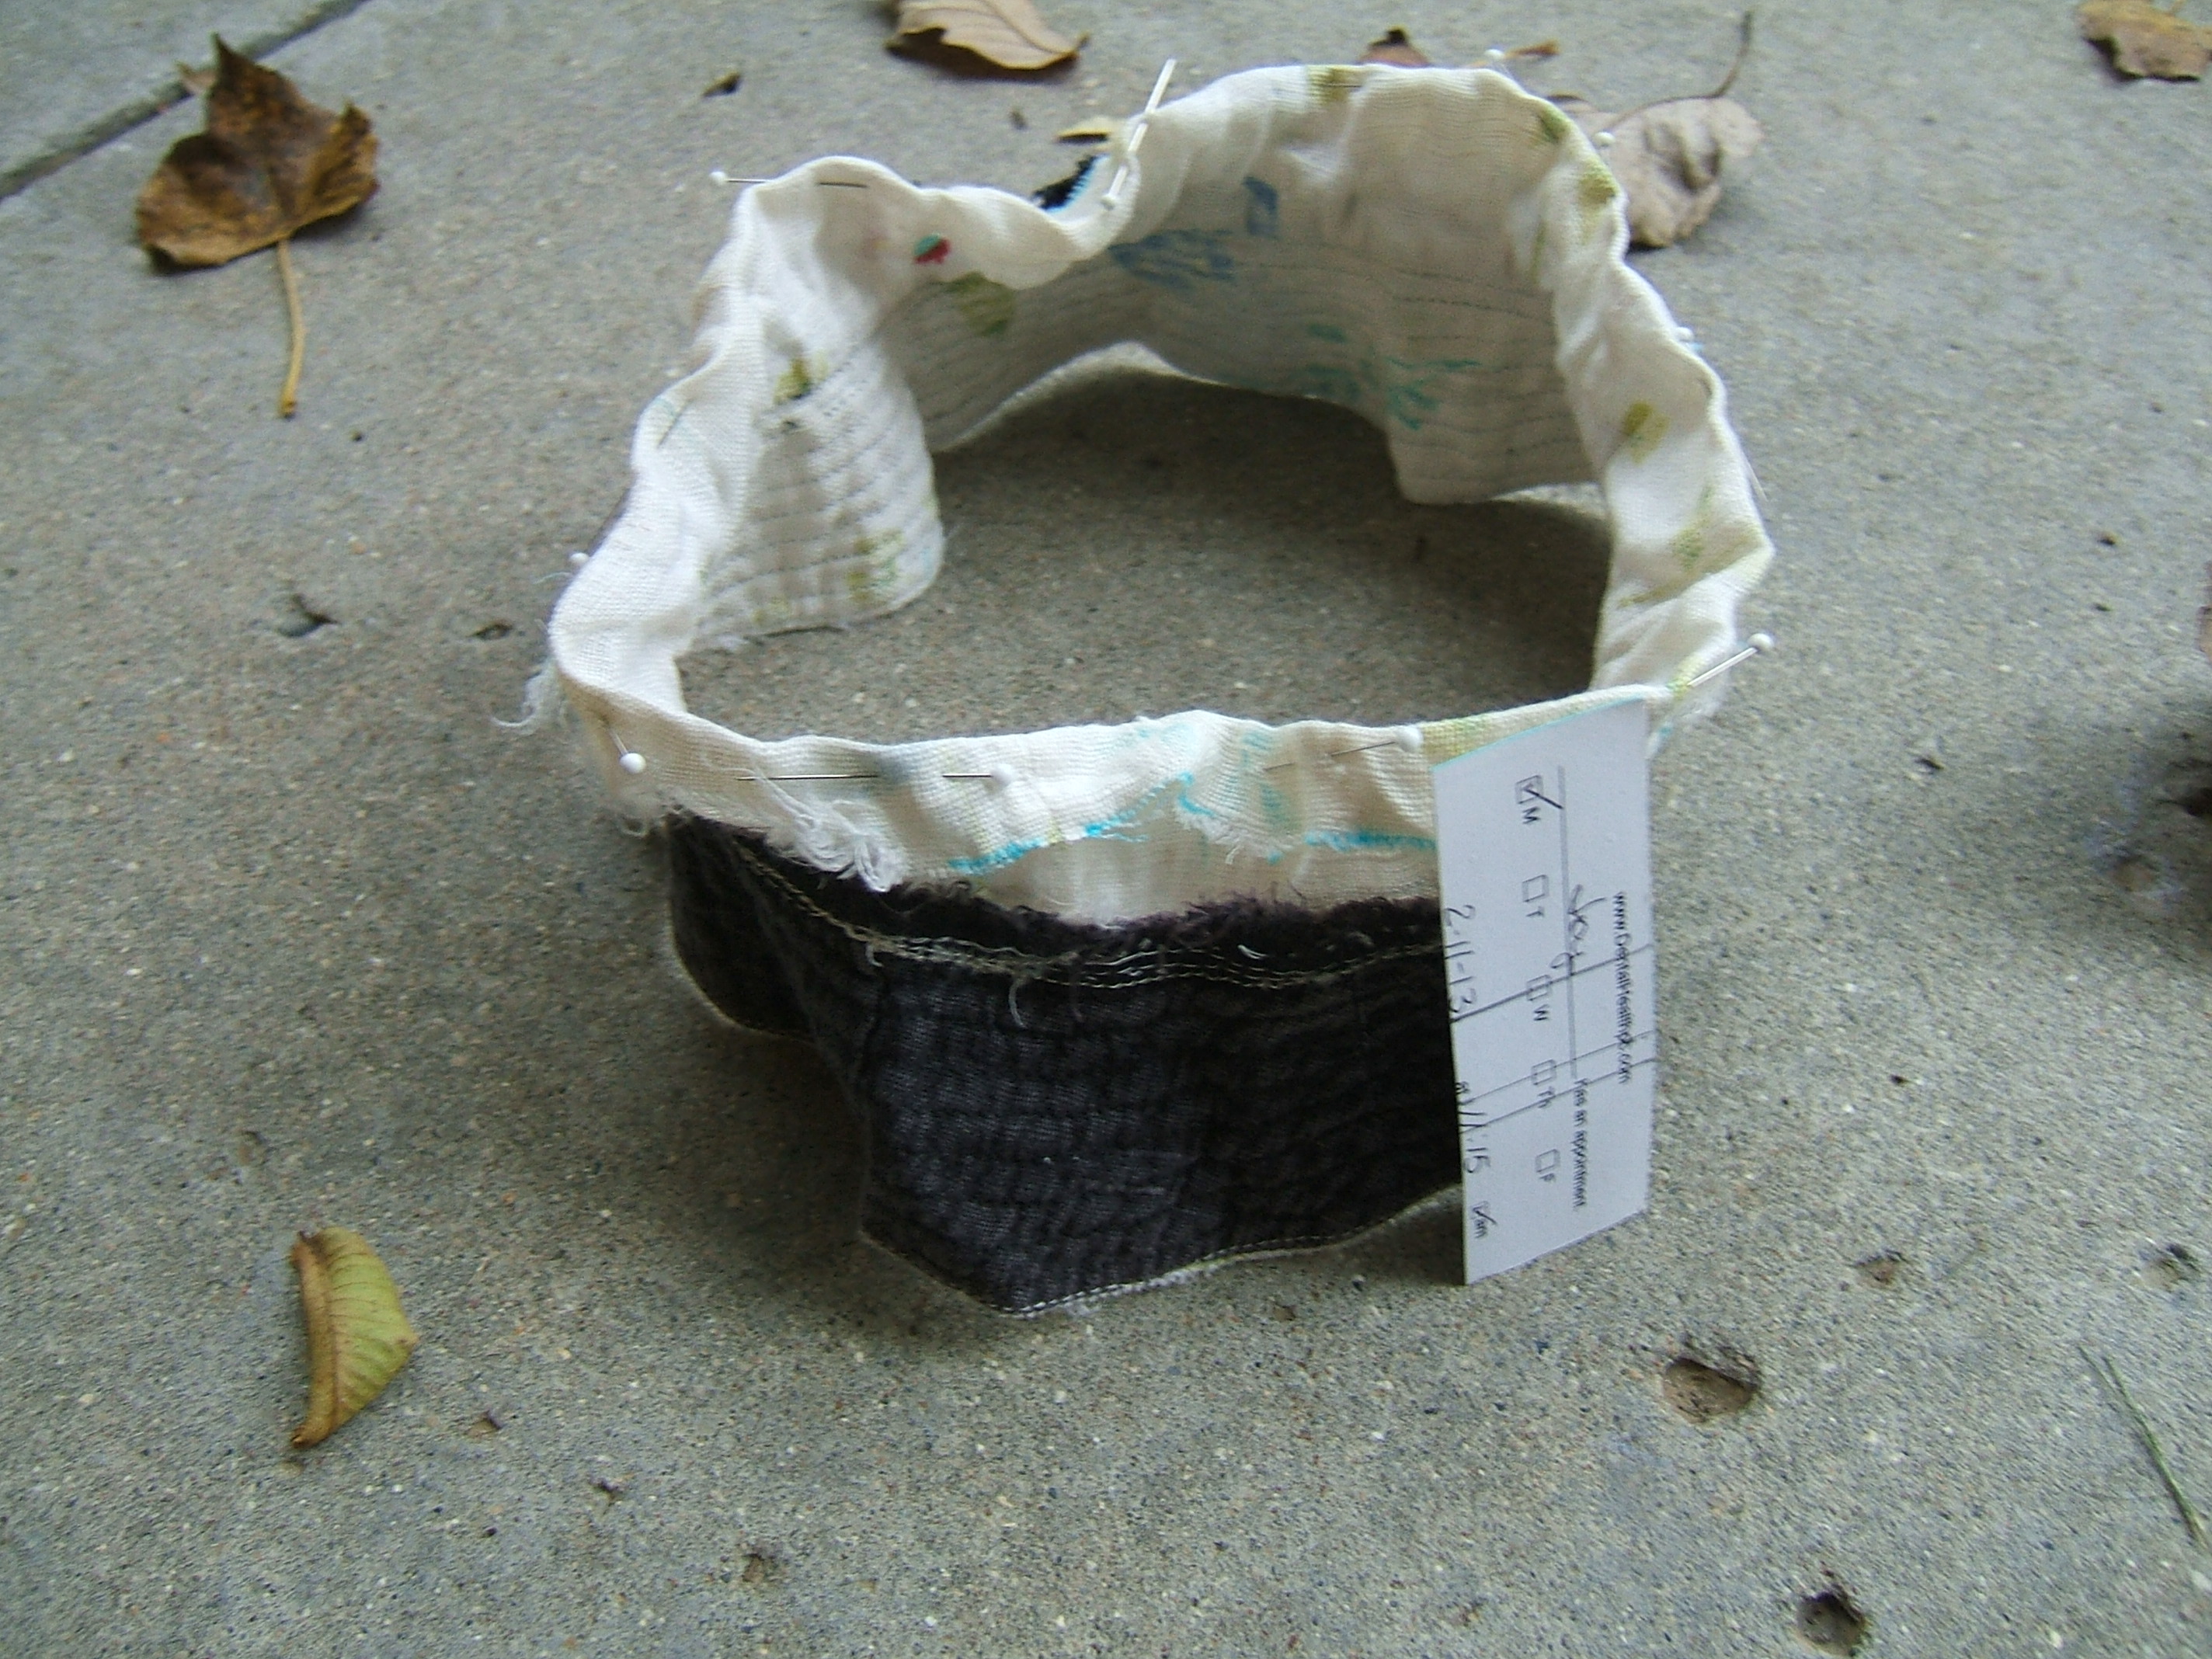
I had cut the hat two inches from the stitches attaching the crown to the brim. I marked a line a tad more than two-thirds of two inches from the end of a strip of business card and folded the raw edge over the card, pinning as I went. The turn-under isn't uniform, because the holes weren't always more than two inches from the stitching. Then I started to fold the edge down to meet the stitching, and realized that first I'm going to have to put in an easing thread.
So my next step is to finish top-stitching the darts on bras D-A. I'm going to need artificial light.
⁂
Oops! One of the darts on Bra C was pressed up instead of down.
I'm stitching the darts in pairs: top-stitch one dart from base to tip, scrunch the fabric up until the other dart is under the foot, stitch from tip to base, add next bra to the chain.
That will leave all the fiddley knot-tying to be done in one sitting; we shall see how that goes.
⁂
I thought that enough thread to span the width of a bra would be worlds for tying a knot. I was more efficient than I thought at scrunching fabric. But not too difficult with the aid of a pin.
With the timer for my lunch going off every few minutes, it isn't being done in one sitting.
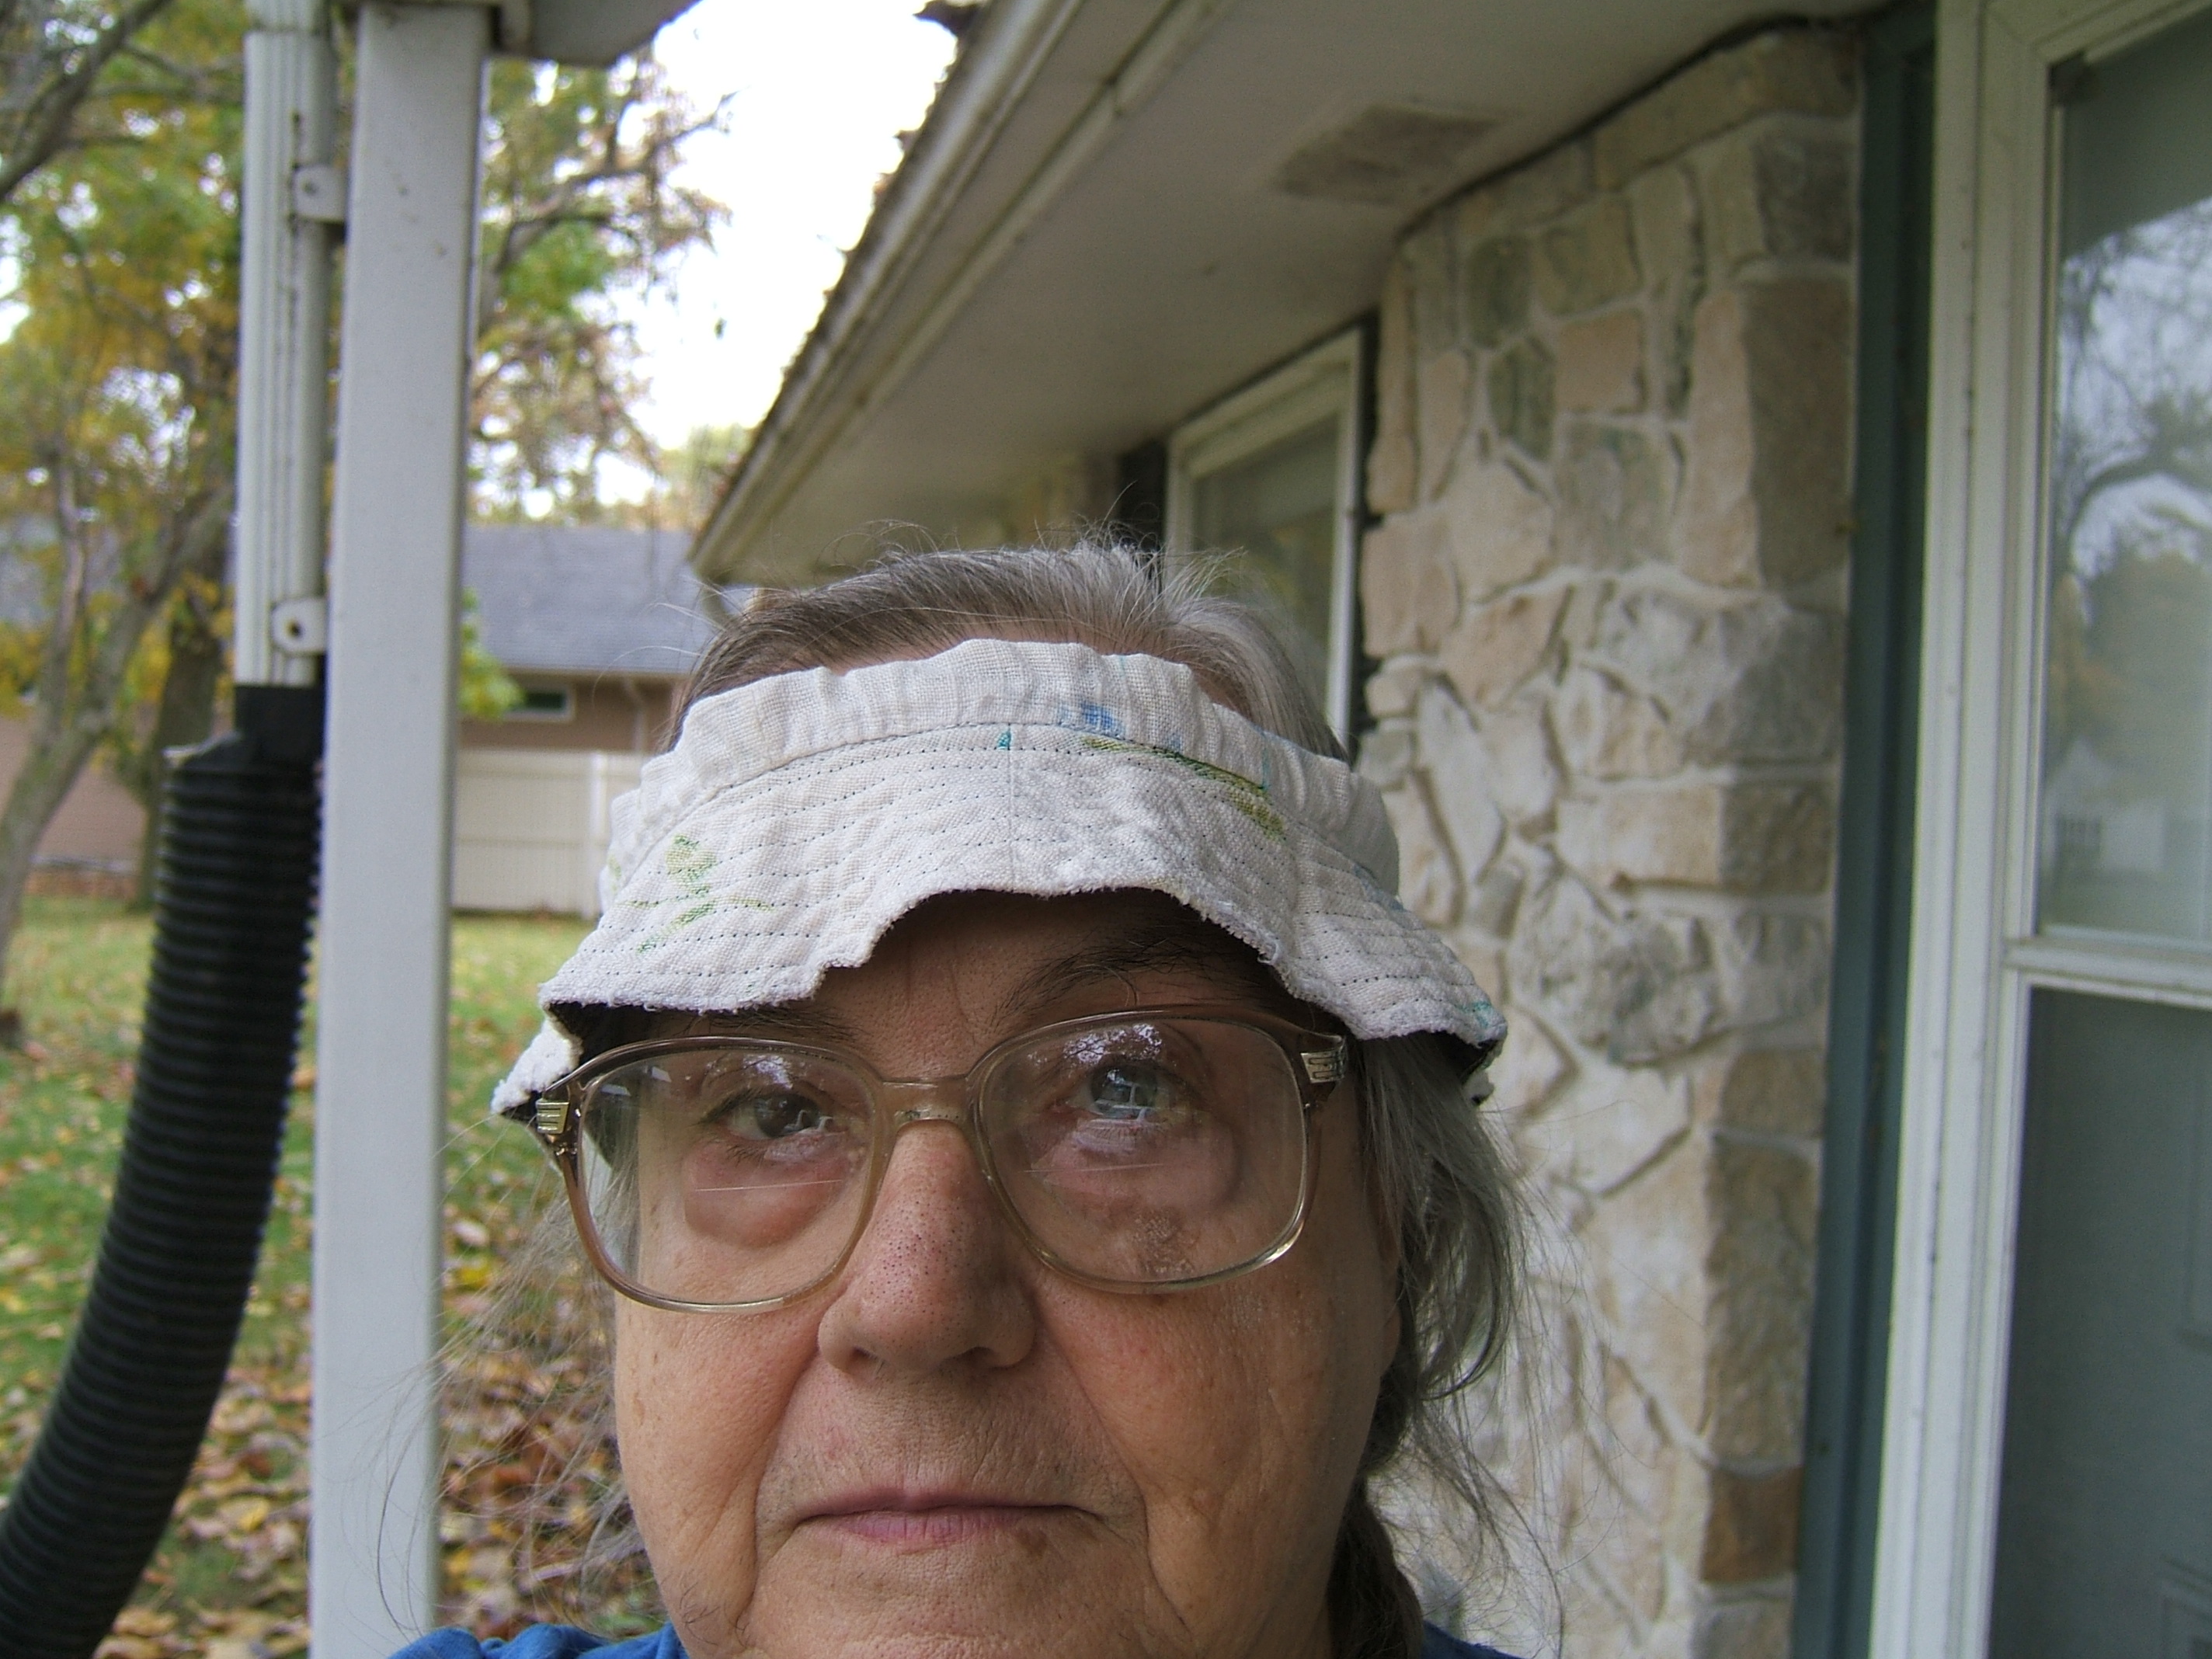
And after lunch, I didn't feel like fiddling, so I finished the visor. I think I'll iron it before I put it back into the tool kit.
I decided to use the longest stitch on the White, with no other changes from what I'd been using for the bras, to put in the easing thread. It was difficult to move the thread where it crossed the seams, but simply making the thread tight was enough to take out the pleats. I did have to use both hands to stretch the sweatband at some points. I left the easing thread in the sweatband.
⁂
Fiddling done, and the bra fronts are piled on the board with E on the bottom and A on top. I think I'll finish F before starting on the side seams. With both sides of the backs under weights all this time, the creases should be pretty firm — but I think I'll put the weights back after removing each back.
26 October 2017
This morning the facings had been sewn and the casing turned up and stitched, so bra F lacked only the division of the casing into three channels, three elastics, and a bit of embroidery.
I think I shall use embroidery floss for the embroidery. It won't hold up as well as basting thread, but makes prettier flowers.
My first thought for marking divisions is my japanese centering ruler, but the measurement in bu wasn't neat. So I tried my stainless-steel pocket ruler: precisely an inch and a half between the rows of stitching. So I marked the end of a two-inch appointment card a quarter inch from each side, and every half inch in between. I draped the bra around the leaf of the treadle sewing machine, matched the end marks to the rows of stitching, and put dots at the other two. To my surprise, I didn't have to cheat at any point — the casing is fairly uniform in width.
I had folded the raw edge to fall just short of the upper casing line, and where-ever I could see the lower line through the fabric, it was just at the pressed-in crease. (I didn't think to open it up and look from the inside.) Then I folded and pinned on the upper casing line. Whenever I couldn't see the line through the fabric, I stuck a pin into the line from underneath, and used the pin to pull out the fold. I stitched a toe-width from the pinned fold, then edge-stitched along the pressed-in crease, and that is where I found matters this morning.
I marked the divisions and stitched them, then it was time to dress to go out for lunch, and now it's past nap-time.
30 October 2017
Haven't touched the bra, but I put red bar tacks on my newest pair of thick black socks so that they can get back together when they come out of the washer. The second-newest pair have white bar tacks; the two oldest pair up willy-nilly.
They'll go back to languishing when it's cold enough that I have to wear the thicker gray socks.
When I put on black hose for the first time this fall, I realized that my last pair of Baa-Baa socks was just right to keep my toes from shining through. But yesterday, when I dressed for church, I discovered that the holes in them had grown so large that my heels were shining through — and more conspicuously than my toes ever had. So I had to resort to my last pair of men's dress socks. To keep them from wearing out from being washed after every two hours of wear, I'm soaking them in a bucket — and I just heard the washing machine click; it's time to put them into the last rinse of the black load.
Hey! I turned to "rinse and spin" and pushed the button, and it just started without having to be reset twice.
I hear that Speed Queen washers are still being made, but they cost well over a thousand dollars — and you can't take a washing machine for a test drive.
I'll try not to whine where DH can hear. When a man hears a complaint, he doesn't hear "I don't like this"; he hears "I demand that you fix this right now!"
⁂
I photographed myself in my new visor.

It's a pity that I have to fold it up and stuff it into my emergency kit.
Make visor out of deplorable hat
2 November 2017
Was able to carry it open on yesterday's ride — inside the kettle I was taking to Goodwill. Didn't go into a big-box store, so I didn't wear it. Now it's hanging over the saddle.
The white quarter-inch elastic was at the very bottom of the box, which caused me a moment of worry. Now I can't find any note of how long to cut it on the pattern.
Pays to look again. In small print after the January, 2009 project, it says "3 30" 1/4" elastic". I'm going to look up the red ramie bras of February of last year anyway, cuz that's what I sat down here to do.
And wasted most of the morning reading 2016SEW2.HTM. Noticed that there are better pictures for the arrow-embroidery tutorial, which I have not yet linked to. Probably haven't cropped and scaled them, either. And there's a step missing in the tutorial.
7 November 2017
Finally put the elastic into bra F this morning, and I'm wearing it. It's a little more . . . supportive . . . than the bras with two years of wear on them.
Now if I could remember what I did with the embroidery needle I was at such pains to find. I think I remember sticking it back into the red flannel swatch I found it in, but I didn't put it back into the "needles" box. Perhaps when I clear off the ironing board . . .
Oops, I just noticed that I'm wearing F inside out. That's both an advantage and a disadvantage of my bra pattern.
Counted my briefs this morning. Of those that are not wearing into holes, I have four white, one black, one yellow, and two of woven linen. I almost never wear the woven linen, but I suppose I should wear the red one every week so it will continue to match the red bras.
Dharma has stopped selling the cotton-hemp jersey that's too coarse for anything but making brief linings. Eventually, I shall order a yard of the finer jersey they replaced it with, to see whether it will do. If not, I can make a pair of briefs out of it.
⁂
I ran a couple of searches before nap time. The only place that offers unbleached jersey is Etsy.
⁂
And just before going to bed, I remembered that I put the threaded needle into the tin that I wrapped the bias tape around.
8 November 2017
Well, I touched the job today. I warmed up by embroidering grain arrows on all the fronts — then decided to mail a letter I wrote yesterday, which meant walking to the post office, only I wanted to dust off my "pedal-powered wheelchair" and see whether it irritated my rotator cuff, and the air compressor didn't do the job, which meant going over it with a rag, and picking cobwebs out of the deeply-sunken bolt head in the middle of the handlebars with a mysterious wire hook that was lying around.
At that point I'd had quite enough of standing on cold concrete, and went inside to scrub my feet and put on shoes, socks, and jeans before pumping up the tires.
I needed to use a flashlight sideways to see the black-on-black label on the tires: only thirty pounds ?!? and the first stroke of the pump took it up into the eighties. Thinking that the valve was stuck, I pumped into the nineties or hundreds then, afraid the tire would blow, let the air out until it was quite soft; then it pumped normally — that high pressure had all been inside the pump. So I let some air out of the other tire before starting, and that made it work right the first time.
Also took the worn brake blocks off my Fuji to show to the mechanic at the Trailhouse.
I forgot to go round to the teller machine behind the post office, but I paid for the stamp with change, and I paid for my brake blocks with a debit card, so I came back with as many greenbacks as I'd started with.
There was still time to sew before lunchtime, but I read the last snippet of David Drake's "The Spark" instead. Whimper. The last bookstore in town went broke, so I can't order it, and I have no way to send money to people who don't have a snail address, so I can't buy it on line. The library has it on order — and the last snippet was the last because the book is supposed to be available now, but there's a long gap between "supposed" and "is". and a long gap between "is" and "delivered and accessioned".
I wonder whether reserving the book would speed up the process? It would, at least, see to it that I'm notified when it becomes available.
change of topic
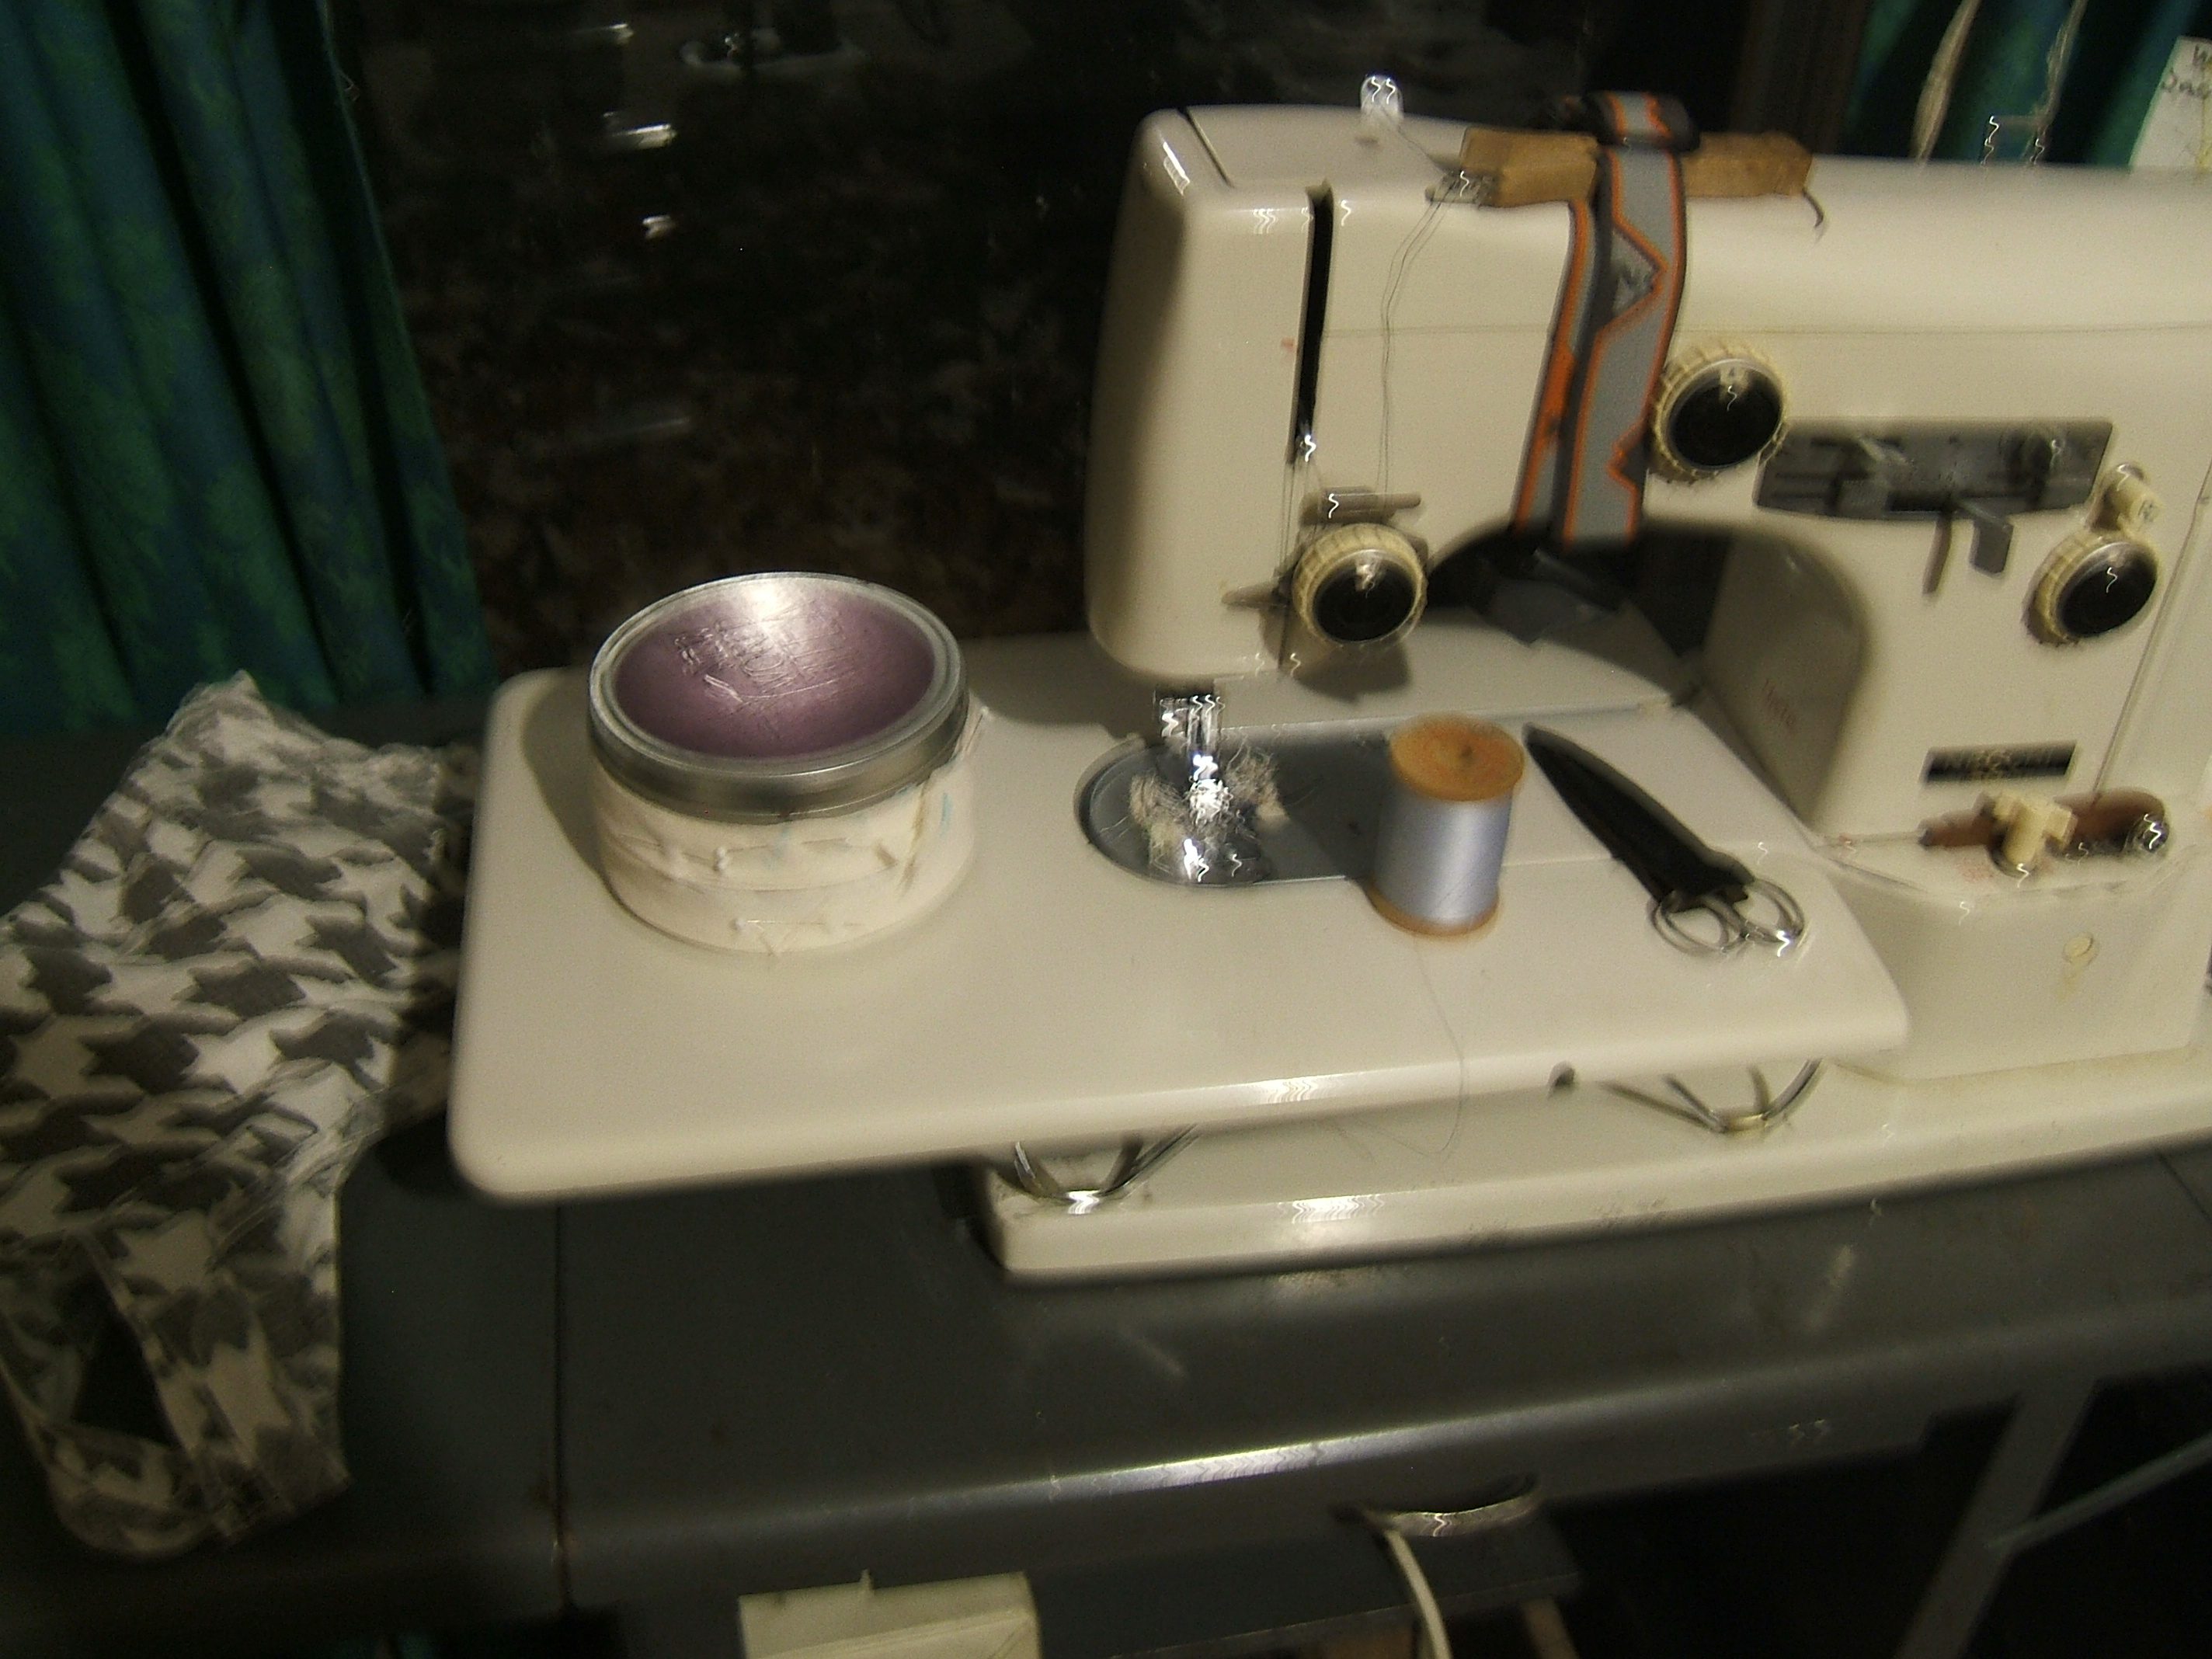
The picture of the tea tin with bias around it was taken after dark. In the enlargement, you can see that it was a time exposure with the camera held in hands.
The spool of basting thread is the only light-blue thread in the house. The blue floss that I bought for the embroidery gig is a bright royal blue.
I have some worn-thin houndstooth linen suitable for patching the houndstooth bra, but I think that instead the bra will join the other one in the rag cupboard. The rest of the fabric looks sound, but these things never last long once they start to go.
12 November 2017
On Thursday, that would have been the ninth, I hemmed the gap on back E, then sewed the left side seam, forgetting to lengthen the stitch while passing the gap, then hemmed the other side of the gap — all by machine, with finger-pressing and lots of pins. Then I made the first pass of top stitching, remembering to lengthen the stitch in the gap, and removed the should-have-been-basting once the top stitching had secured the gap.
While I was considering how to top stitch the other side of the flat-felled seam, the phone rang: my prescriptions were ready. I wanted to go by bike, so that meant half an hour of dressing for the weather. I never did get back to sewing.
And tomorrow is wash day. I never get anything done on wash day.
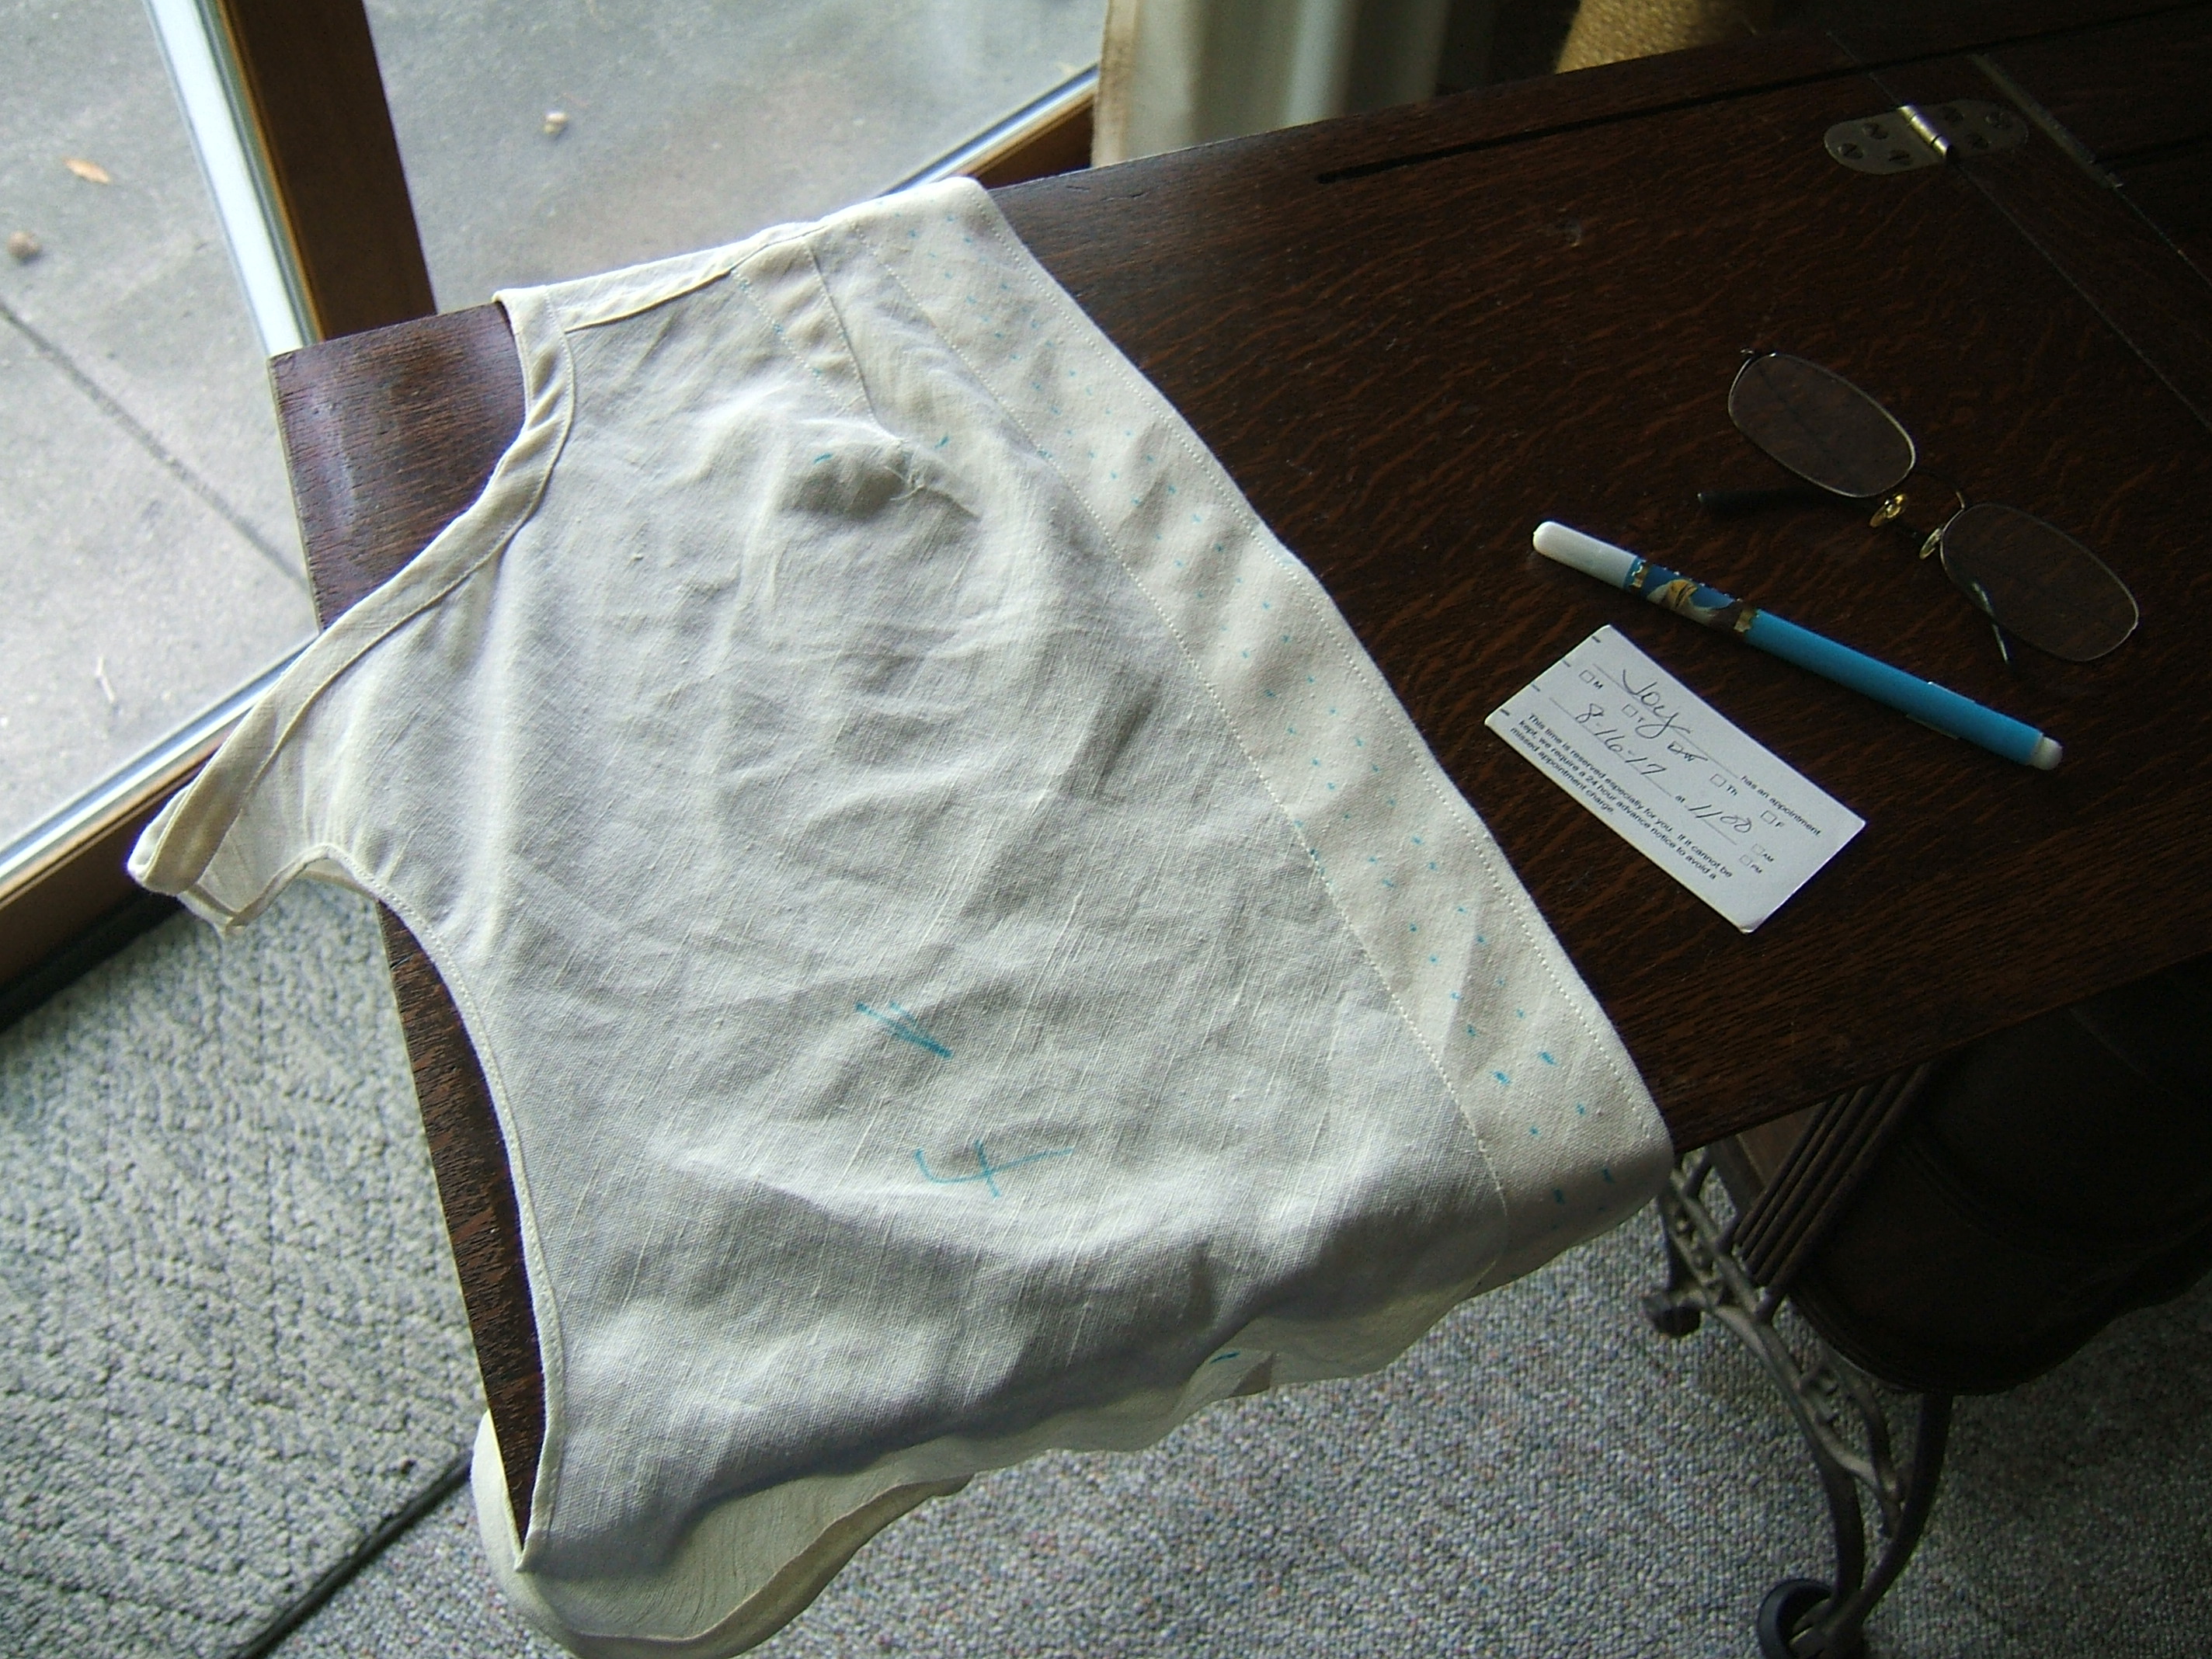
Here's another picture that was taken after dark with a hand-held camera:

I didn't think the envelope on the table would show through the linen so distinctly!
14 November 2017
Today, for the first time, I preferred the K-Mart table to the Walmart table.
I have two shirts and a neck-scarf to iron, and a seam to press, so that meant putting the stuff that has accumulated on the ironing board somewhere else.
The stuff includes bra backs A through D, which have been resting under two pieces of plywood and two of my irons for many days. I thought the slightly-padded table would conform better to the plywood and do a better job of pressing the creases. On the other hand, when I press hot and want a really-sharp crease, I lay it on a piece of plywood . . . </secondthought>
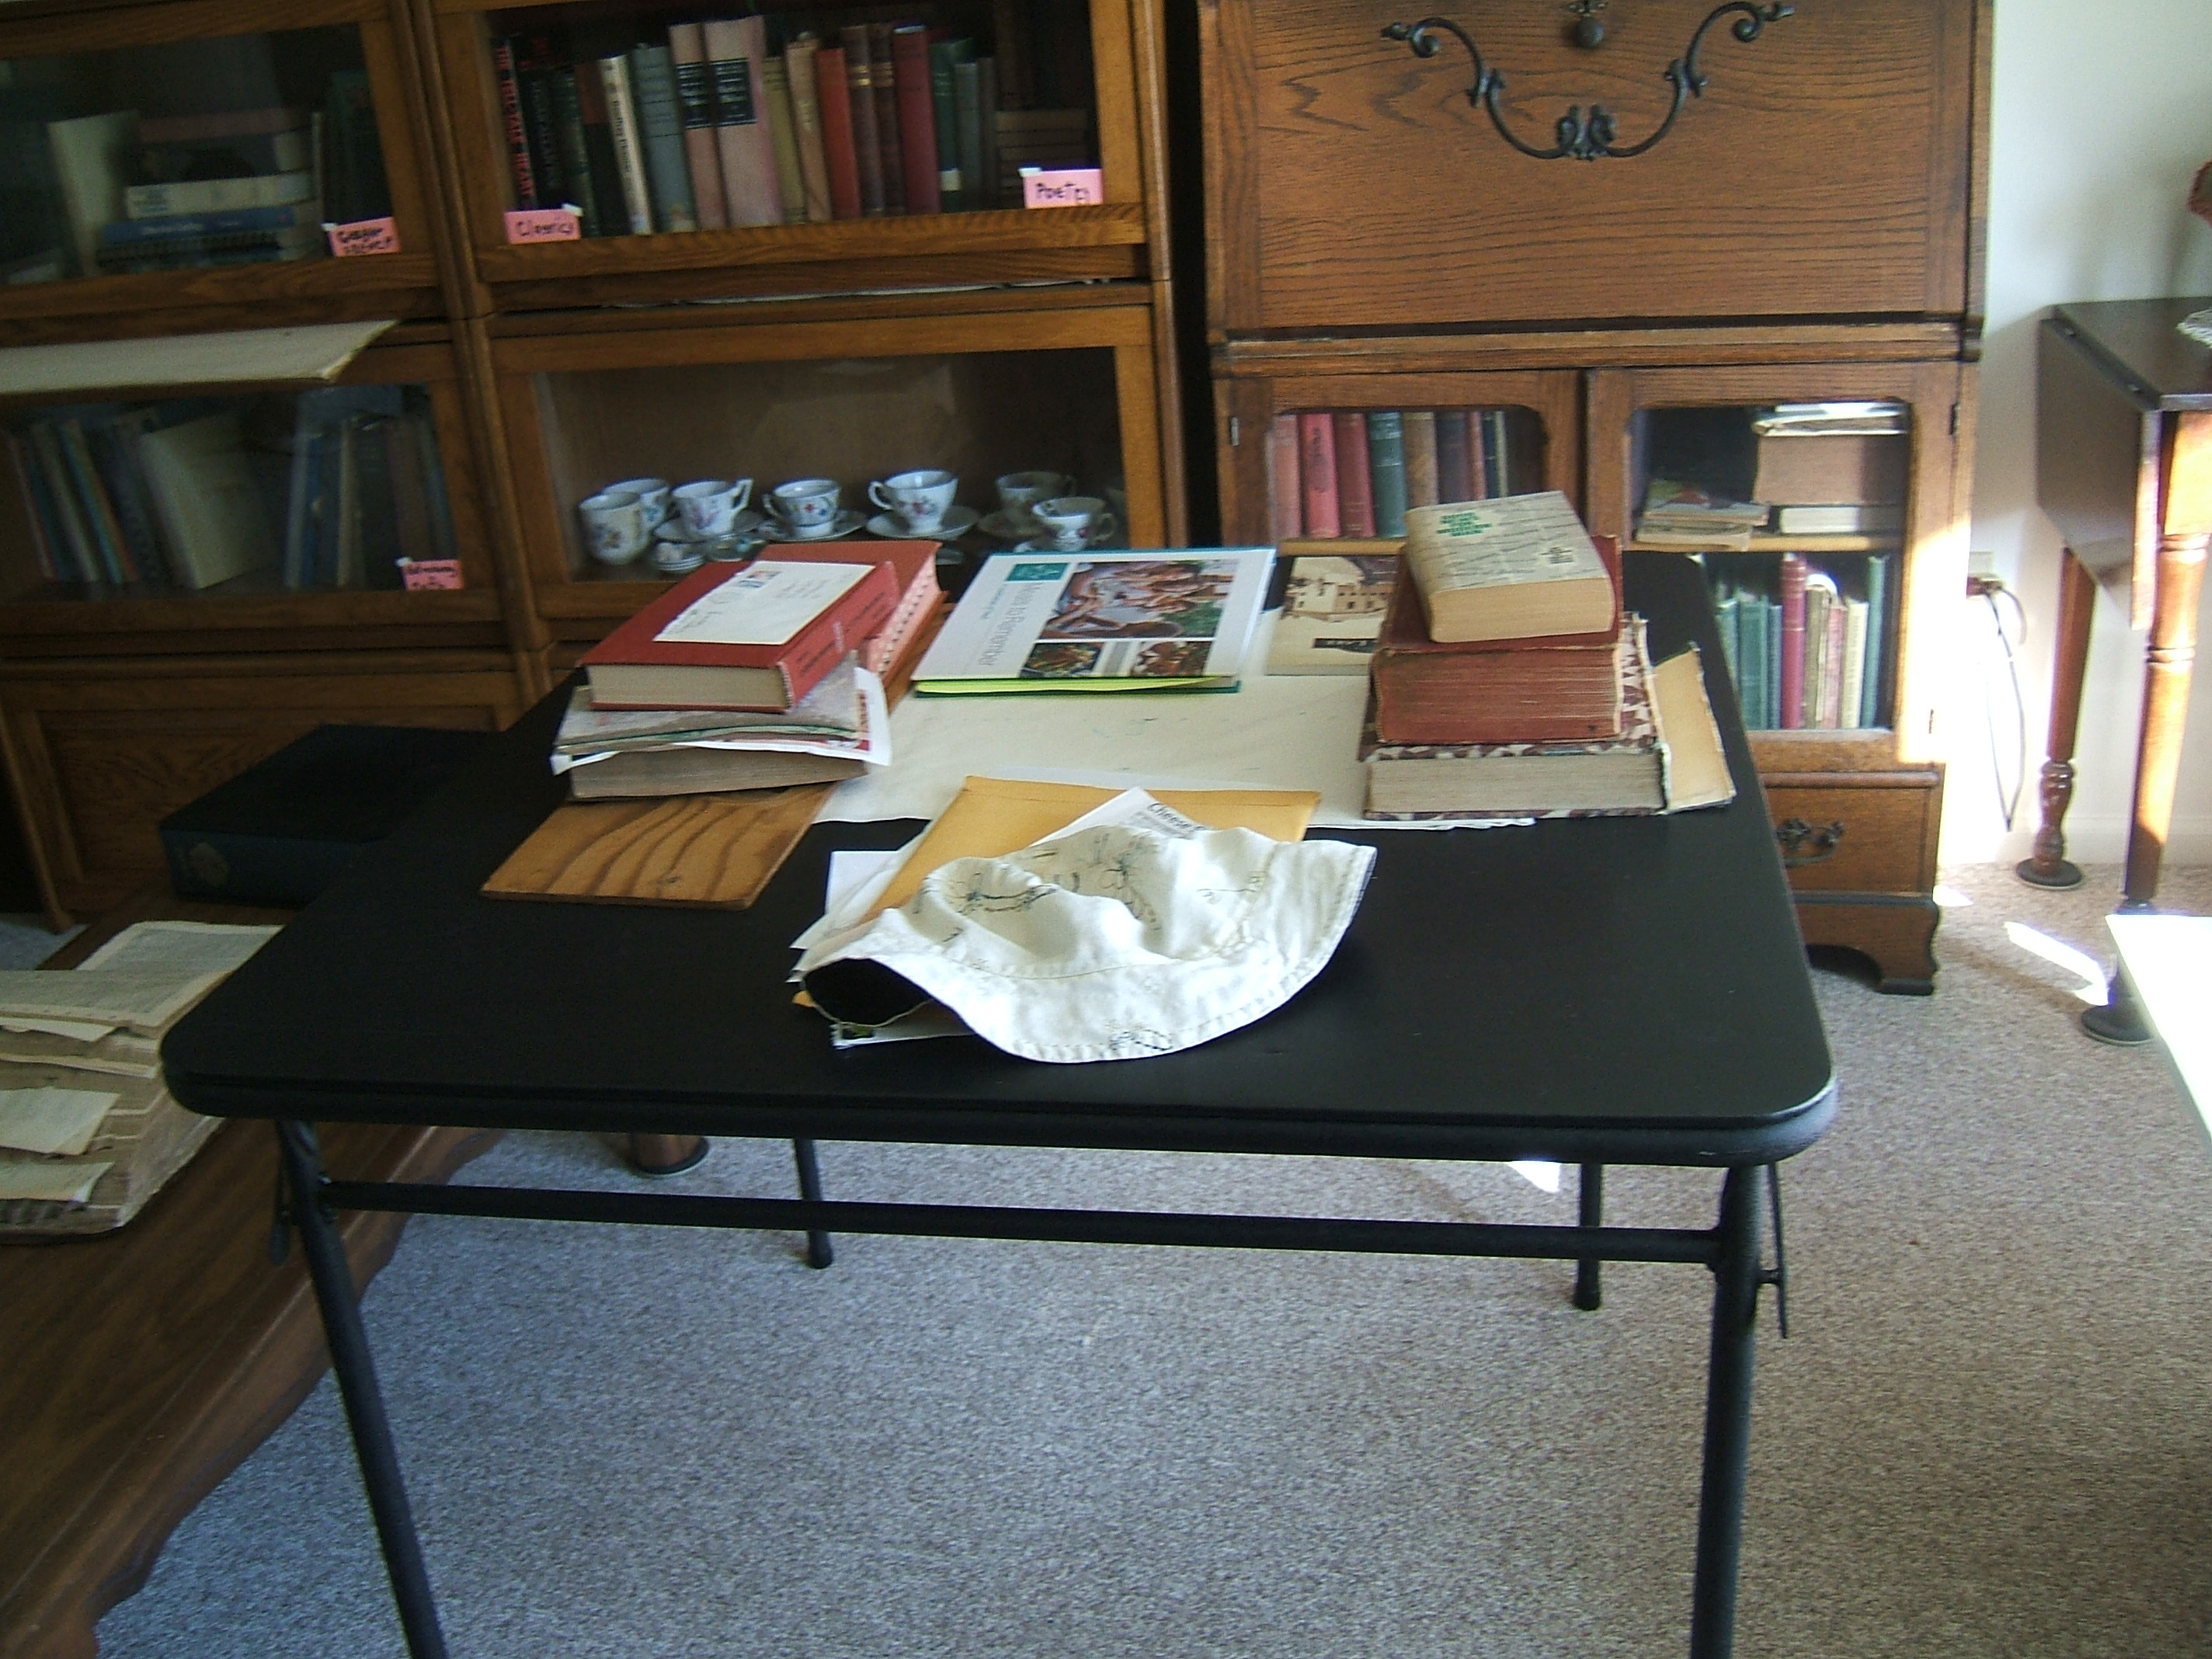
I replaced all the weights with books that were handy on the dictionary table just visible at the left of the picture. The shoulder creases were starting to think about opening despite having been pressed with water, so I put books on those too.
I still haven't decided what to do with the brown envelope that was under Bra E when I took the previous picture. In that previous picture, you can see the iron and plywood weighing down side seams.
16 November 2017
Frittered away the time the Roomba was on charge, so I read a few scenes of Bull's Territory while Roomba finished the bedroom.
Then I put away the rugs etc. that had been on the White, dragged my chair in, and finished the left side seam of bra E.
At the bottom, I decided that I didn't need to make a neat U turn joining the two top-stitching rows, and left the end raw a little above where the casing stitching will secure it. I think that in subsequent bras, I'll do the same for the upper stitching too — instead of breaking the thread at the opening, I'll just lengthen the stitch at the gap, and sew the second top-stitch row all in one piece.
Then I pinned the right side seam, absent-mindedly "cheating" at the opening I wasn't going to leave, so I had to take out half the first row of stitches and re-pin correctly.
Now I need to trim the allowances where the armhole facing is going to be, finish the seam, and sew the shoulder seams. Then I can start on backs A through D, production-line style.
<consults stomach> I shall start on the backs after lunch.
⁂
I decided that the right-side seam needed pressing before the last stitching, so I pinned it to keep the fold from unfolding, sewed the shoulder seams, ate lunch, and went to bed.
After waking up, I sewed the little hems in bra backs D through A, moving each sewn back to the other table and putting weights on it. (DH had gotten the second table out for a job that he'd finished, so I used it.)
When I'd done back A, I sewed front A to it.
I overdid the cheating at the gap a bit, which made the hemming very easy. Perhaps too easy — my stitching wandered so much that I had to take it out. While taking that stitching out, I noticed that the little hem on the back was also insecure — as in I'd missed the fold for almost the entire length! I hope I did better on the backs under the weights on the Walmart table.
The back hem had been close enough to stitched for long enough that I didn't have to re-pin it, at least.
I finished the left side seam, but after I'd pinned the right side seam, there was just barely enough light to sew it, it was getting darker fast, and it was time to start preparing supper, so I put everything away.
Bra F is in the closet, bras A and E are on the ironing board, and B, C, and D are on the card table in two piles.
Bra E requires one row of topstitching, a casing, a neck hem, and two armhole facings. Bra A also needs shoulder seams, and the side seam lacks two rows of topstitching.
And Weather Underground says that it will be fit to ride my bike a short distance tomorrow. Since I'm soon to be shut in for the winter, I ought not to miss that.
17 November 2017
I'll ride in the afternoon, perhaps.
I'm functioning again. I began by pressing everything and moving the three backs back to the ironing board, with irons on pieces of plywood on the creases.
Then I did the last row of stitching on bra E's last seam. Despite having been pressed, the seam rippled. It won't affect wear, so I'm not going to pick it out and try again. The seams of bra A went in smoothly.
Then, bra A was in my hand, so I started pinching a crease around its neck hole. When pressing, I'd considered starting the neck hem of bra E, which already had its shoulder seams, but it's hard to do a neat job on a turn that narrow without burning one's fingers. After a bit, I went back to try pinning the hem, to make sure this tedious process was going to work, and realized that it would be better to pinch the first crease just before turning it under, so it wouldn't have time to open and need to be re-pinched.
When the job was done, I was too hungry to focus on stitching very carefully, so I broke for lunch, typed this up before forgetting what I'd done, and now it's nap time. Napping so early should give me time to run out for cat food and peanut butter before suppertime. It's not all that cold, so it shouldn't take me forever to dress.
18 November 2017
A rainy day is a two-edged sword. It kept me indoors — but I really, really hate artificial light, particularly the glary-blue light of "white" LEDs. But the necks of A and E are hemmed now.
And I'm about three-fourths of the way through Territory
23 November 2017
I marked Dave's new jeans today, but just as I was about to pick up the scissors, it was time to attend to Thanksgiving dinner, and I don't like to cut in my present condition.
Tomorrow is supposed to be mostly sunny, and on Black Friday, I'm not going anywhere.
Perhaps to the grocery to buy a can of apple-juice concentrate to stew cranberries in.
1 December 2017
hem grubby sweat pants
That one never made it into the to-do list. I threw my grubby sweat pants into the laundry last night, so this morning I downgraded my second-shabbiest pair from cycling to grubby. They were raw on the bottom, and a tad too long to walk barefoot in. It wasn't urgent, but the white was still set up with black polyester from hemming Dave's new jeans.

Yesterday I cut at least ten pieces of bias tape, and I think that at least nine of them are long enough to do an armhole without piecing.
2 December 2017
Before I can press creases into my new pieces of bias tape, I have to clean off the ironing board. The quickest way to do that will be to sew the three backs that are under weights to their corresponding fronts.
&& cheating made easy
5 December 2017
When I wrote the "&&" remark, it was obvious how it should be expanded.
Ah, "cheating" — making the seam allowance wider at the gap. When pinning, I simply followed the edge of the turn-under on the back: the raw edge before and after the gap, the edge of the hem in the gap.
This morning, I washed the cookie sheets that I dirtied on Saturday. Setting over Sunday and Monday had let the grease gum up, so it was nearly ten when I finished, and somewhat after ten before I set up the ironing board. I ironed two shirts —one from yesterday's wash and one from the week before— then started on the bias tapes.
At this point, I should have lowered the ironing board to work sitting down, because at nineteen after eleven, my hip announced that I'd been standing up quite long enough. So I knocked off for lunch and plan to take a nap when I've finished this entry. (Which I started in the intervals of preparing lunch.)
I pressed a crease into each tape —moving back and forth to find a cool place to work on— then smoothed a strip of old pillowcase over it and dry-ironed the strip so that I could see through the rag that everything was in place, then I sprayed the strip with water, ironed it until it was dry, then removed the press cloth, laid the previous strip over it, re-pressed that strip, put that strip on the pile on the Necchi, and moved the current strip to the back edge of the board to await its turn to be a press cloth.
Before quitting, I carefully piled all the pressed strips on the ironing board, covered them with pieces of plywood, and set two irons on the two pieces of plywood.
I haven't decided whether to continue in the afternoon or ride my bike to the grocery store.
And now it's nap time.
6 December 2017
Did neither. The wind was howling, so I walked to the church instead.
I have seven pieces of tape still to press, but instead of continuing this morning, I cleared off the other end of the ironing board and pressed all the bras, then second-stitched the side seams and shoulder seams of B, C, and D. I plan to press those seams again before finishing them. When pre-pressing the side seams, I pressed them as they lay to remove ripples and make it easier to turn them to the side as I sewed. The second crease of a flat-felled seam lies more smoothly when it's sewn in, rather than pressed in.
Then I finished attaching the bias tape to the armhole of A, and I'm about to lift the plywood to get three pieces of tape to do the other armhole and the armholes of bra E.
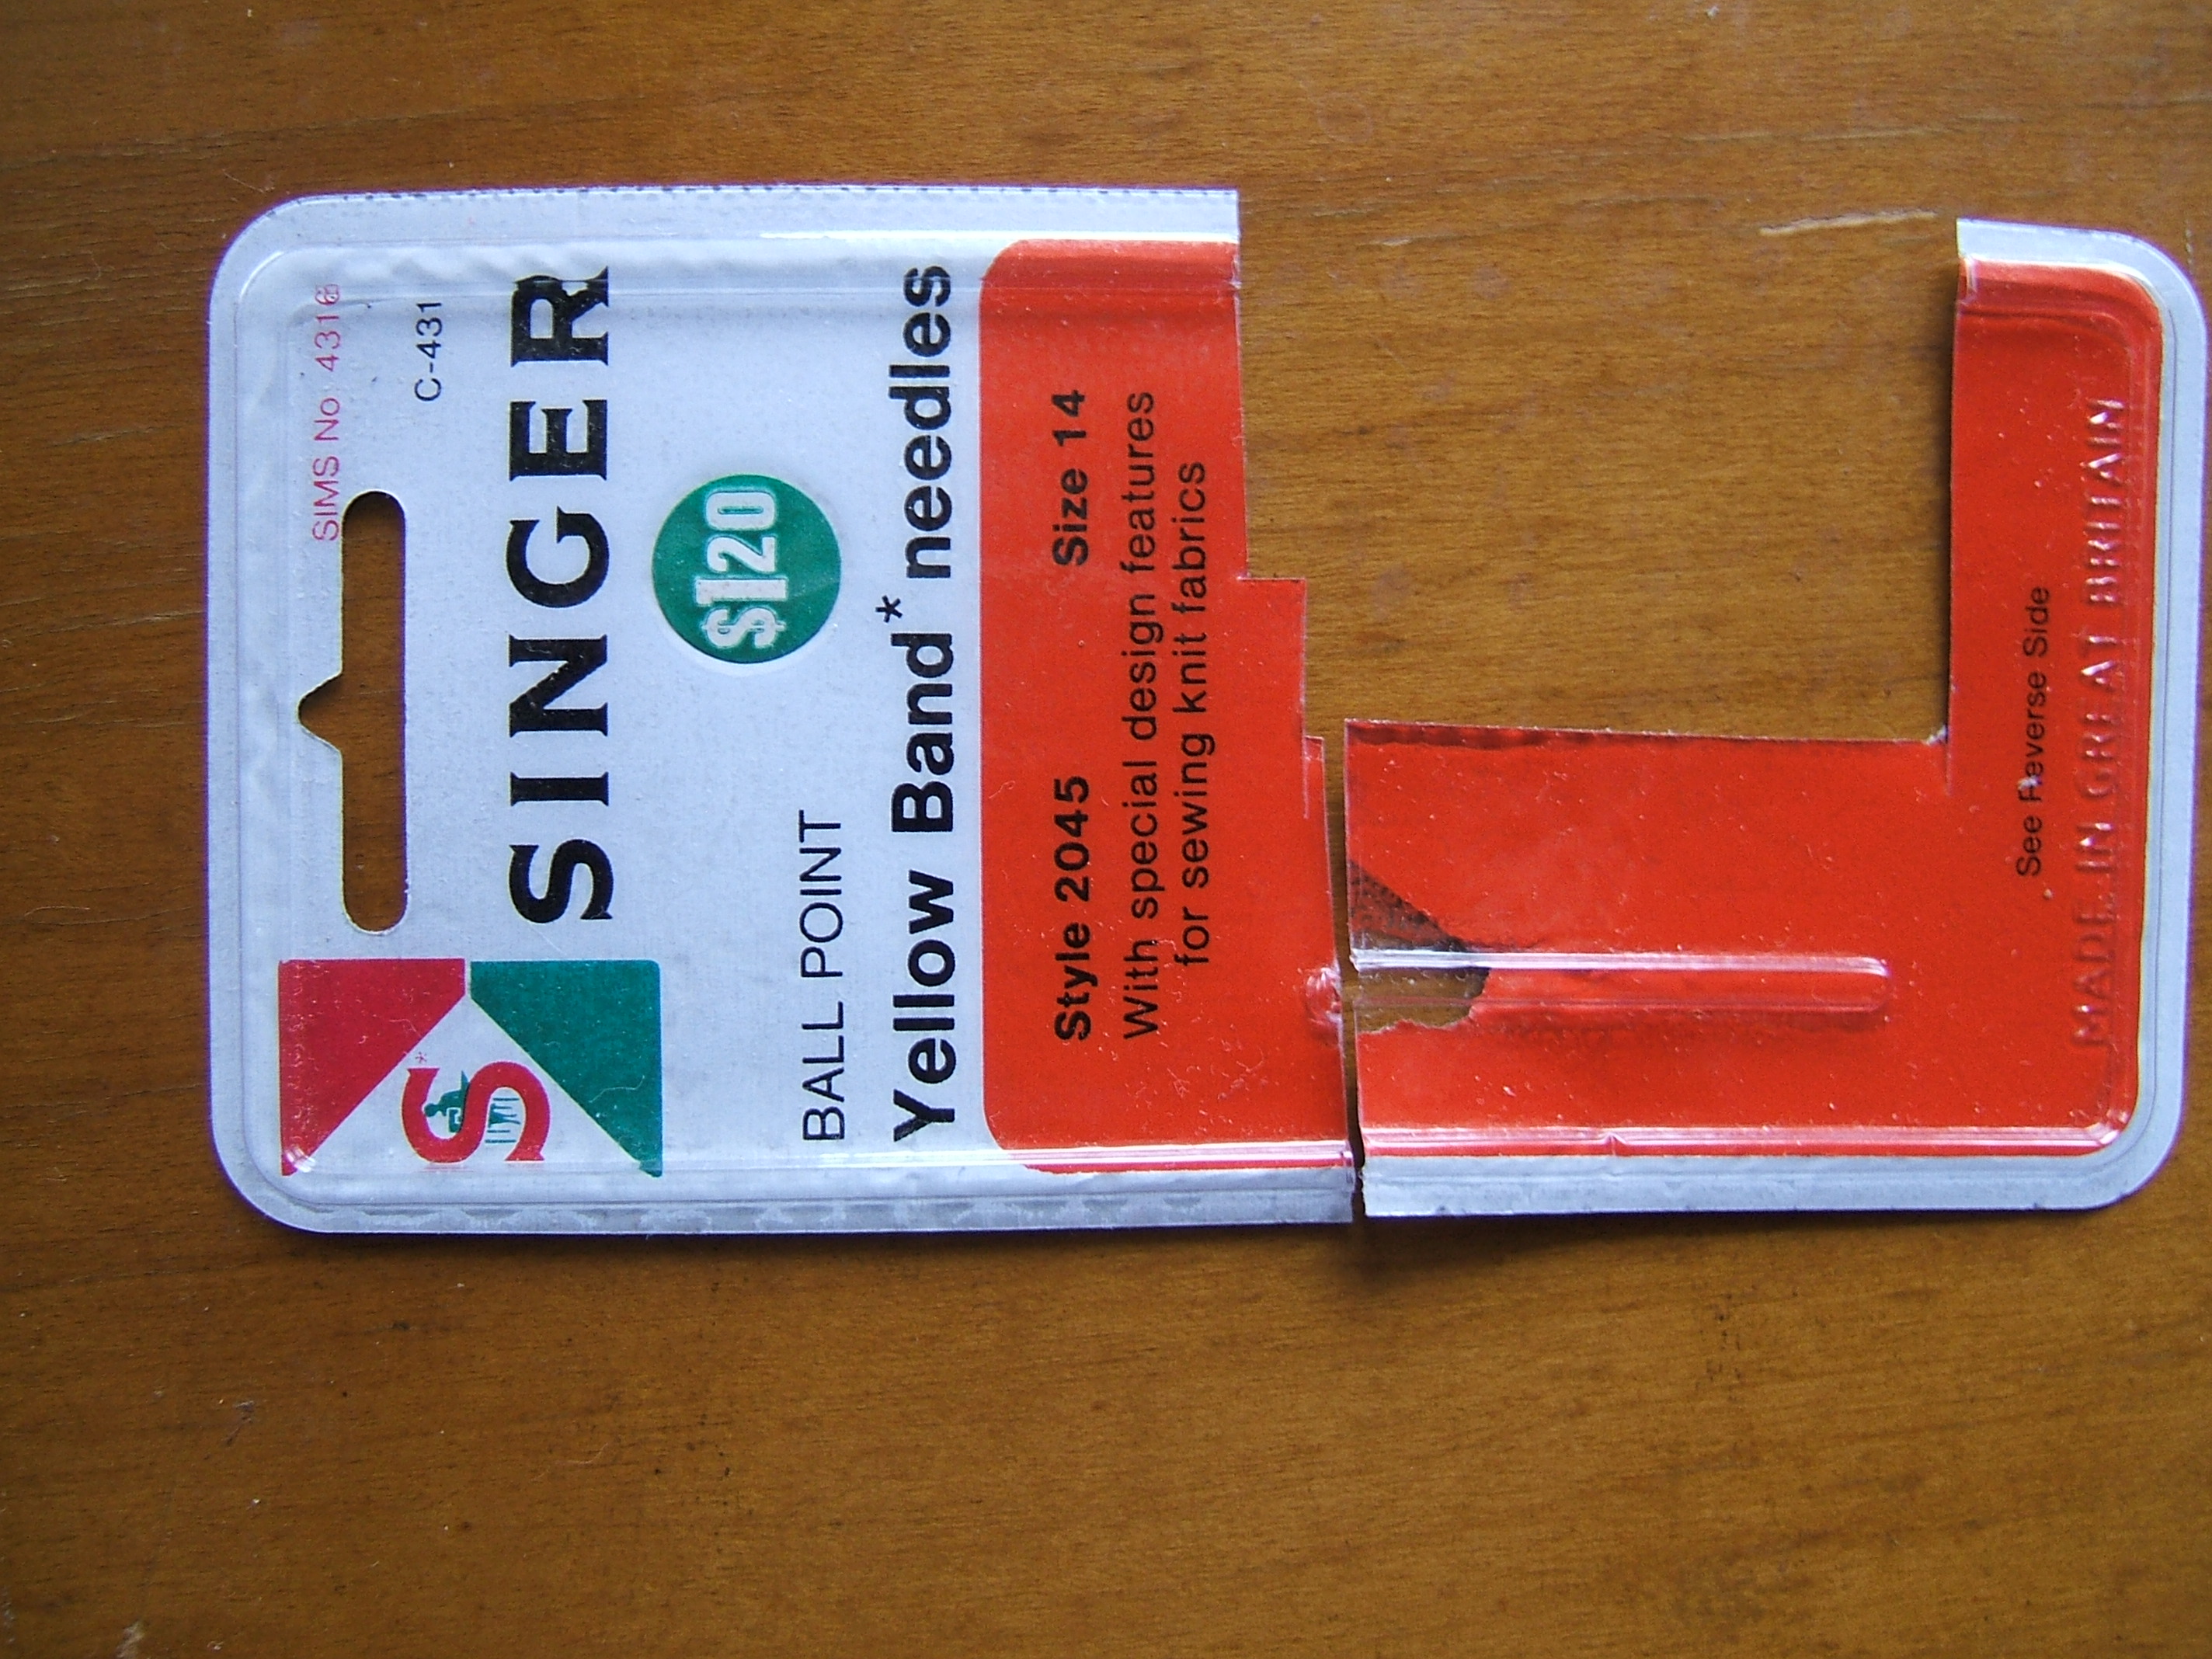
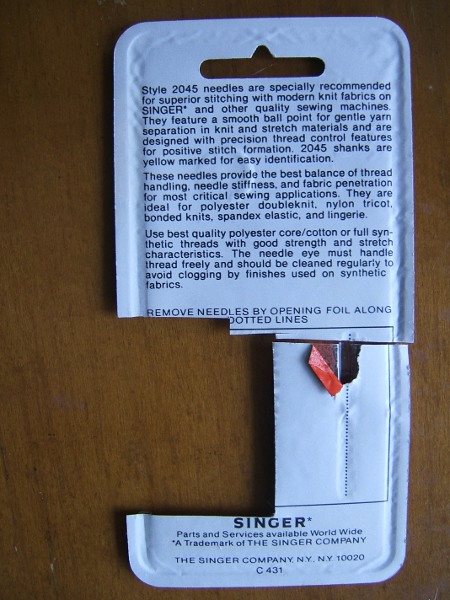
Along the way, I became aware that my needle was dull, and installed a vintage "Yellow Band" ball point needle, the last in a bubble-pack from Singer, $1.20 for three — enough of the package has been cut away that I can't be sure, but it would be an awkward layout with only two, and I don't think there is room for four. I should photograph the package before I throw it away.
At the end of the next seam, there was barely enough thread left to reach almost to the spool, so I hunted around for the spool that belongs on the Necchi, since refilling a spool is something that I can do in the evening when I'm stupid. Turned out that the spool on the White was the one that belongs on the Necchi; the other spool was in the drawer of the White. Which I looked in last, of course. I even checked the futon arm, even though I always use off the original ball when sewing by hand.
And now I'm hungry. Looks as though sewing is over for the day at only 11:39.
⁂
Before going to bed, I pinned bias to the armhole of A, and also stuck a few pins to keep the first fold of the casing from coming unfolded. When I woke up, I fiddled around for a while, then sewed the bias into a ring and cut off the excess — in that order; perhaps I wasn't as awake as I thought I was.
When I went into the sewing room (we keep the treadle in the bedroom) to dispose of the end, I noticed that it was time to put the frozen lasagna into the oven and I hadn't pre-heated the oven. After turning on the oven, microwaving the lasagna, sprinkling it with extra cheese, and putting it into the oven, I came back to the bedroom to find that I'd left the sewing-machine light turned on. No immediate harm, but I hate to waste the battery.
After sewing the bias to the armhole, I put everything away, because the light was gone and I need to spend the evening getting ready to roll out at nine for my annual exam at ten tomorrow. I puzzled over how to dress for my first really-cold ride and for the appointment at the same time, gave up, and folded up a cotton dress that, now that I look at it in that light, is the same exact pattern as the gown I snitched from the X-ray department when I was in the hospital for tests thirty or forty years ago. (Except that the dress has side-seam pockets.)
I didn't really snitch it. The X-ray technician told me to take off my robe, but (because the steam pipe ran through my room) I wasn't wearing anything under it, so they gave me a gown that wasn't open in the back, and I carefully protected it from the laundry crew for the rest of my visit.
Except for bringing my list of questions up to date and printing two copies, I think I'm all ready, which is why I felt free to spend the time to bring this diary up to date.
I also need to find a bit of needlework for the waiting room. The most-urgent darning is my alpaca tights, but they don't fit into my pocket.
Clock just chimed seven bells: 19:30/7:30.
8 December 2017
The ride was snowed out. Good thing I woke up half an hour early, because I needed it to shift all my stuff from the pockets of my cycling clothes to the pockets of my driving clothes.
I took my emergency tatting shuttle, but spent the waiting time reading Boy's Life. I don't think it's as good a magazine as it was when Heinlein was writing for it.
I've got clothes laid out for car pooling to a mall in Fort Wayne tomorrow. Emergency tatting shuttle in one pocket.
When I started work this morning, I discovered that I'd pressed the short pieces of tape first. There was one that was long enough, so I sewed it to bra A, then did a bunch of pressing. I moved the ironing board up and down to alternate sitting and standing.
I sewed two pieces of tape to bra E, and finished the shoulder seams of D. I'm not sure when I second-stitched D —it had been thoroughly pressed for third stitching during the pressathon— but when inspecting the bra to write this report, I realized that I hadn't hemmed the front at the gap first. I'll pick out only the basting at the gap before repairing it, in hope that I did do it and it somehow doesn't show. The bobbin thread ran out while third-stitching D and it was time for supper. I thought I'd re-wind it tonight, but I think I'll pin the neck hem of D instead. And maybe pick out the basting to see what I have to deal with.
I wound the short pieces of tape onto a second tea tin. By putting one piece with the fold toward the lid and the next with the fold toward the bottom, I could put all of them in one winding.
Considered taking a picture of it, but after wandering around in search of good light and a decent background for a few minutes, I decided I'd rather sew.
The long pieces are on the ironing board, under two pieces of plywood and two irons. Probably five of them, since I started with seven and used two.
I thought I'd done more than that; I sewed all day. But with the afternoon nap and all, that's only two or three hours.
12 December 2017
Not much time spent sewing, since I wanted a long walk today, and it had to be before lunch time or not at all.
My first step was to pick out the basting so as to find out which left seams had been sewn up without hemming the gap. To my pleased surprise, only two needed repair, and the two that had been done properly had already had one side of the basting undone, so I could peek without picking.
So I pinned the two little hems, put them on the sewing machine, and dressed for my walk. The neck of D had already been pinned; I'm going to have to do some stitching or I'll run out of pins.
Current status:
A: ready to wear as soon as I sew the casing and put elastics in it.
B: Little hem pinned, side seams and shoulder seams ready for third stitching. I had to pick out some of the second stitching in the left seam.
C: needs to have the little hem pinned and sewn; side seams ready for second stitching, shoulders ready for third stitching.
D: Neck pinned, little hem pinned, right side seam ready for third stitching, third stitching on left side seam needs repair.
E: Bias on armholes needs to be pressed and turned under; casings need to be sewn.
I had an epiphany one day when I was fretting over how to make the five-petal flower on bra E definitely different from the blue six-petal flower on bra F.
A 1 Brown (I have at least two spools of tan thread)
B 2 Red (pink will do)
C 3 Orange (I think I have some peach floss)
D 4 Yellow (any yellow is pale enough)
E 5 Green
F 6 Blue — already marked!
If you haven't heard of the resistor code before, the full count is black, brown, red, orange, yellow, green, blue, violet, gray, white.
There are all sorts of cutesy-poo ways to make sentences out of words that begin with the same letters as the colors, then memorize the sentences, then memorize what BBROYGBVGW stands for, but all you have to remember is that zero is the color that reflects no light, the next color is the color most like black, the next six colors are the rainbow, the biggest digit is the color that reflects all light, and eight is the only color-group left. Gray can also be viewed as one step down from white.
13 December 2017
Having sewn the neck hem, little hem, and side seams of D, I'm ready to pin bias to its armholes. One of the pieces I propose to pin is 25 1/2" long (27 1/4" point-to-point). The other is 31 3/4" (33" point-to-point) (one of the points is blunted).
⁂
The scrap from the first mentioned is 2 1/2", 4 1/2" point to point. So it takes 23" to do an armhole.

The scrap from the second is 7 7/8", 9 1/4" point to point. So this armhole took 23 7/8". The first time I took this measure it was 22". Is this a trend?
Attaching the second facing, step by step.
The shape of the end required me to pin in the opposite direction to the one I find comfortable, so I used right-angle pins to get the length. Perhaps that helped me to ease more bias onto the armhole?
Then I overlapped the ends and marked where they met. I held the camera too close to catch the way the surplus length was folded out of the way a few inches to the right.
I drew a thread two seam allowances from the mark
Then pinned the seam and checked the length before cutting off the surplus,
sewing the ends together, finger-pressing the seam open, and pinning the tape to the armhole. I used each right-angle pin after it was replaced; there were several left over.
And now I've had lunch and it's time for my nap.
⁂
After my nap, I sewed the armhole I'd pinned and added D to the pile of things to be pressed, then finished the side seams and little hem of B. I used both the "stitch inside the teacup" technique and the trick of putting the bra on the machine the way I want the seam to finish, then pulling it under the presser foot. Perhaps I should make pages for those in the list of techniques.
Then I turned out the headlamp, closed the machine, put the pile of sweat rags on it, and covered it with the quilted pillow sham.
I must get around to asking the animal shelter what size pieces to cut the matching quilt into. It's too dirty to use, too big to wash, and too cheap and worn to dry clean. Not to mention that I wouldn't want solvent anywhere near my bedding.
Then I sat down to pin the neck hem in, and realized that I hadn't sewn the third stitching of the shoulder seams. It was already too dark to sew when I closed up, so I'm not going to open it again.
All my pins are now on the Grabbit, and there are barely enough to do a neck hem. I wonder what happened to the rest of them? I don't think that I left any in the linen dress when I postponed it to April and hung it in the back of the closet.
Ah, well, there are still plenty in the box.
⁂
Aha! While looking for my typing hat, I discovered that I've left a lot of pins in casing folds.
15 December 2017
I've finished the shoulder seams of B and I'm about to pin two strips of bias tape to it:
27 3/4", 30" point-to-point.
30", 32" point-to-point.
⁂
Scrap 4"/6". This armhole 23 3/4".
⁂
Scrap 6 3/4"/9". This armhole is 23 1/4".
⁂
Pinned the tape before lunch, sewed it afterward, then I pinned B's neck hem, but decided not to stitch it for fear of "one more seam" syndrome. Toward the end, I thought I might have to get more pins out of the box, but there are two still on the Grabbit.
I'm really, really hipped on magnetic pin dishes, by the way.
⁂
I sewed the neck hem just at sunset, after putting duck bacon on to warm for supper.
I thought that I'd have to piece bias for the last pair of armholes, but when I thought to pin the last two pieces of bias to clear the ironing board, the bra that needs third-stitching on the side seams was the only unbiased bra I could find. This doesn't feel right, so I'm going to take inventory:
A: needs only casing, and the first crease is pinned.
B: neck hem done, first stitching on the bias done, casing not begun.
C: only first stitching on side and shoulder seams.
D: neck hem done, first stitching on bias.
E: neck hem done, first stitching on bias
F: in closet.
So the bias on hand is enough. I could finish the side and shoulder seams and attach it before heating up the iron in the morning.
And then iron three of the shirts I washed on Monday, which I meant to do this morning, but I brought my training diary up to date instead.
16 December 2017
After midnight, when I was too sleepy to go to bed and I'd run out of computer games, I took the last stitching out of the casing of the houndstooth-print bra. This morning I measured the loops of elastic: fifteen inches precisely. So they haven't stretched. I suppose the old bras are less supportive because the elastic doesn't spring back as strongly.
But then, I didn't think to compare the support of the houndstooth bra to the other old ones.
I put the elastics into the scraps-of-quarter-inch bag in the elastics box; they are still good for the waistbands of underpants.
Now to get the last two pieces of bias off the ironing board.
⁂
By laying them on the sewing machine, actually. When I went to take the basting out of the gap after sewing up C, I discovered that I'd forgotten the little hem. Luckily, only the third stitching of that seam (which had a stretch of basting at the gap) had to be taken out; I'd cheated so well when pinning the first stitching that I could make a little hem without taking out the second stitching.
But after all that, I thought I wanted to press it before putting the third stitching back in.
So I ironed three shirts, then lowered the board and pressed the side-seam of C and the bias on three other bras: first the joining seam, which I did with water sprayed directly on it, then pressed as it lay to take out puckers and confirm the crease in the bias, then away from the body to get it ready to turn under.
Then I trimmed an old appointment card to the width of the casing and . . . stopped to cook and eat some chicken gravy with a can of chunk chicken in it. About time I used up that nice fat and jelly that cooked out of our Thanksgiving chicken. On two slices of toast.
After lunch, I picked the basting out of the gap of A, then scooted the step stool around to the end of the board and pinned the casing.
An unexpected side effect lowering the ironing board enough that I can work while sitting on the step stool: I can't grab the handle of the iron for balance when I climb up onto the step stool to unplug the iron. Fortunately, I'm not yet wobbly enough that it isn't safe to stand on a stool.
And (well duh) it wouldn't have been difficult to pull it up again.
⁂
I was mistaken: there were more pins in the box, but not plenty more. "Pins" are now on my shopping list. I put the plastic box into my box of tin boxes.
A defragging kerfuffle kept me from reading Usenet after supper; I looked around for something I could do while stupid, and decided to fold the bias on D, B, and E to the wrong side and pin it.
I did the second armhole by pinning alternately at the edge of the hole and the edge of the bias. This worked better and used slightly fewer pins, so I did the next bra and part of the third that way. Then I re-pinned the first armhole, which netted me only two more pins.
At this point, I reflected that a needle is as easy to stick as a pin (except for requiring a thimble), and basted the rest. I kept all stitches in the seam allowance that I was turning to the wrong side.
The first needle I found was a coarse darning needle that was very hard to push, so I got out a #10 Milliner's needle. I must have used a milliner needle before, because a couple are missing from the package, but I don't recall liking it so much.
I must remember that I have these.
18 December 2017
I changed the cases on all six pillows this morning. I can't do it again next week because I took two of them off too late to get them into the wash. Time to move "buy four yards of muslin" up on my priority list. I might have a chance to go downtown on Wednesday.
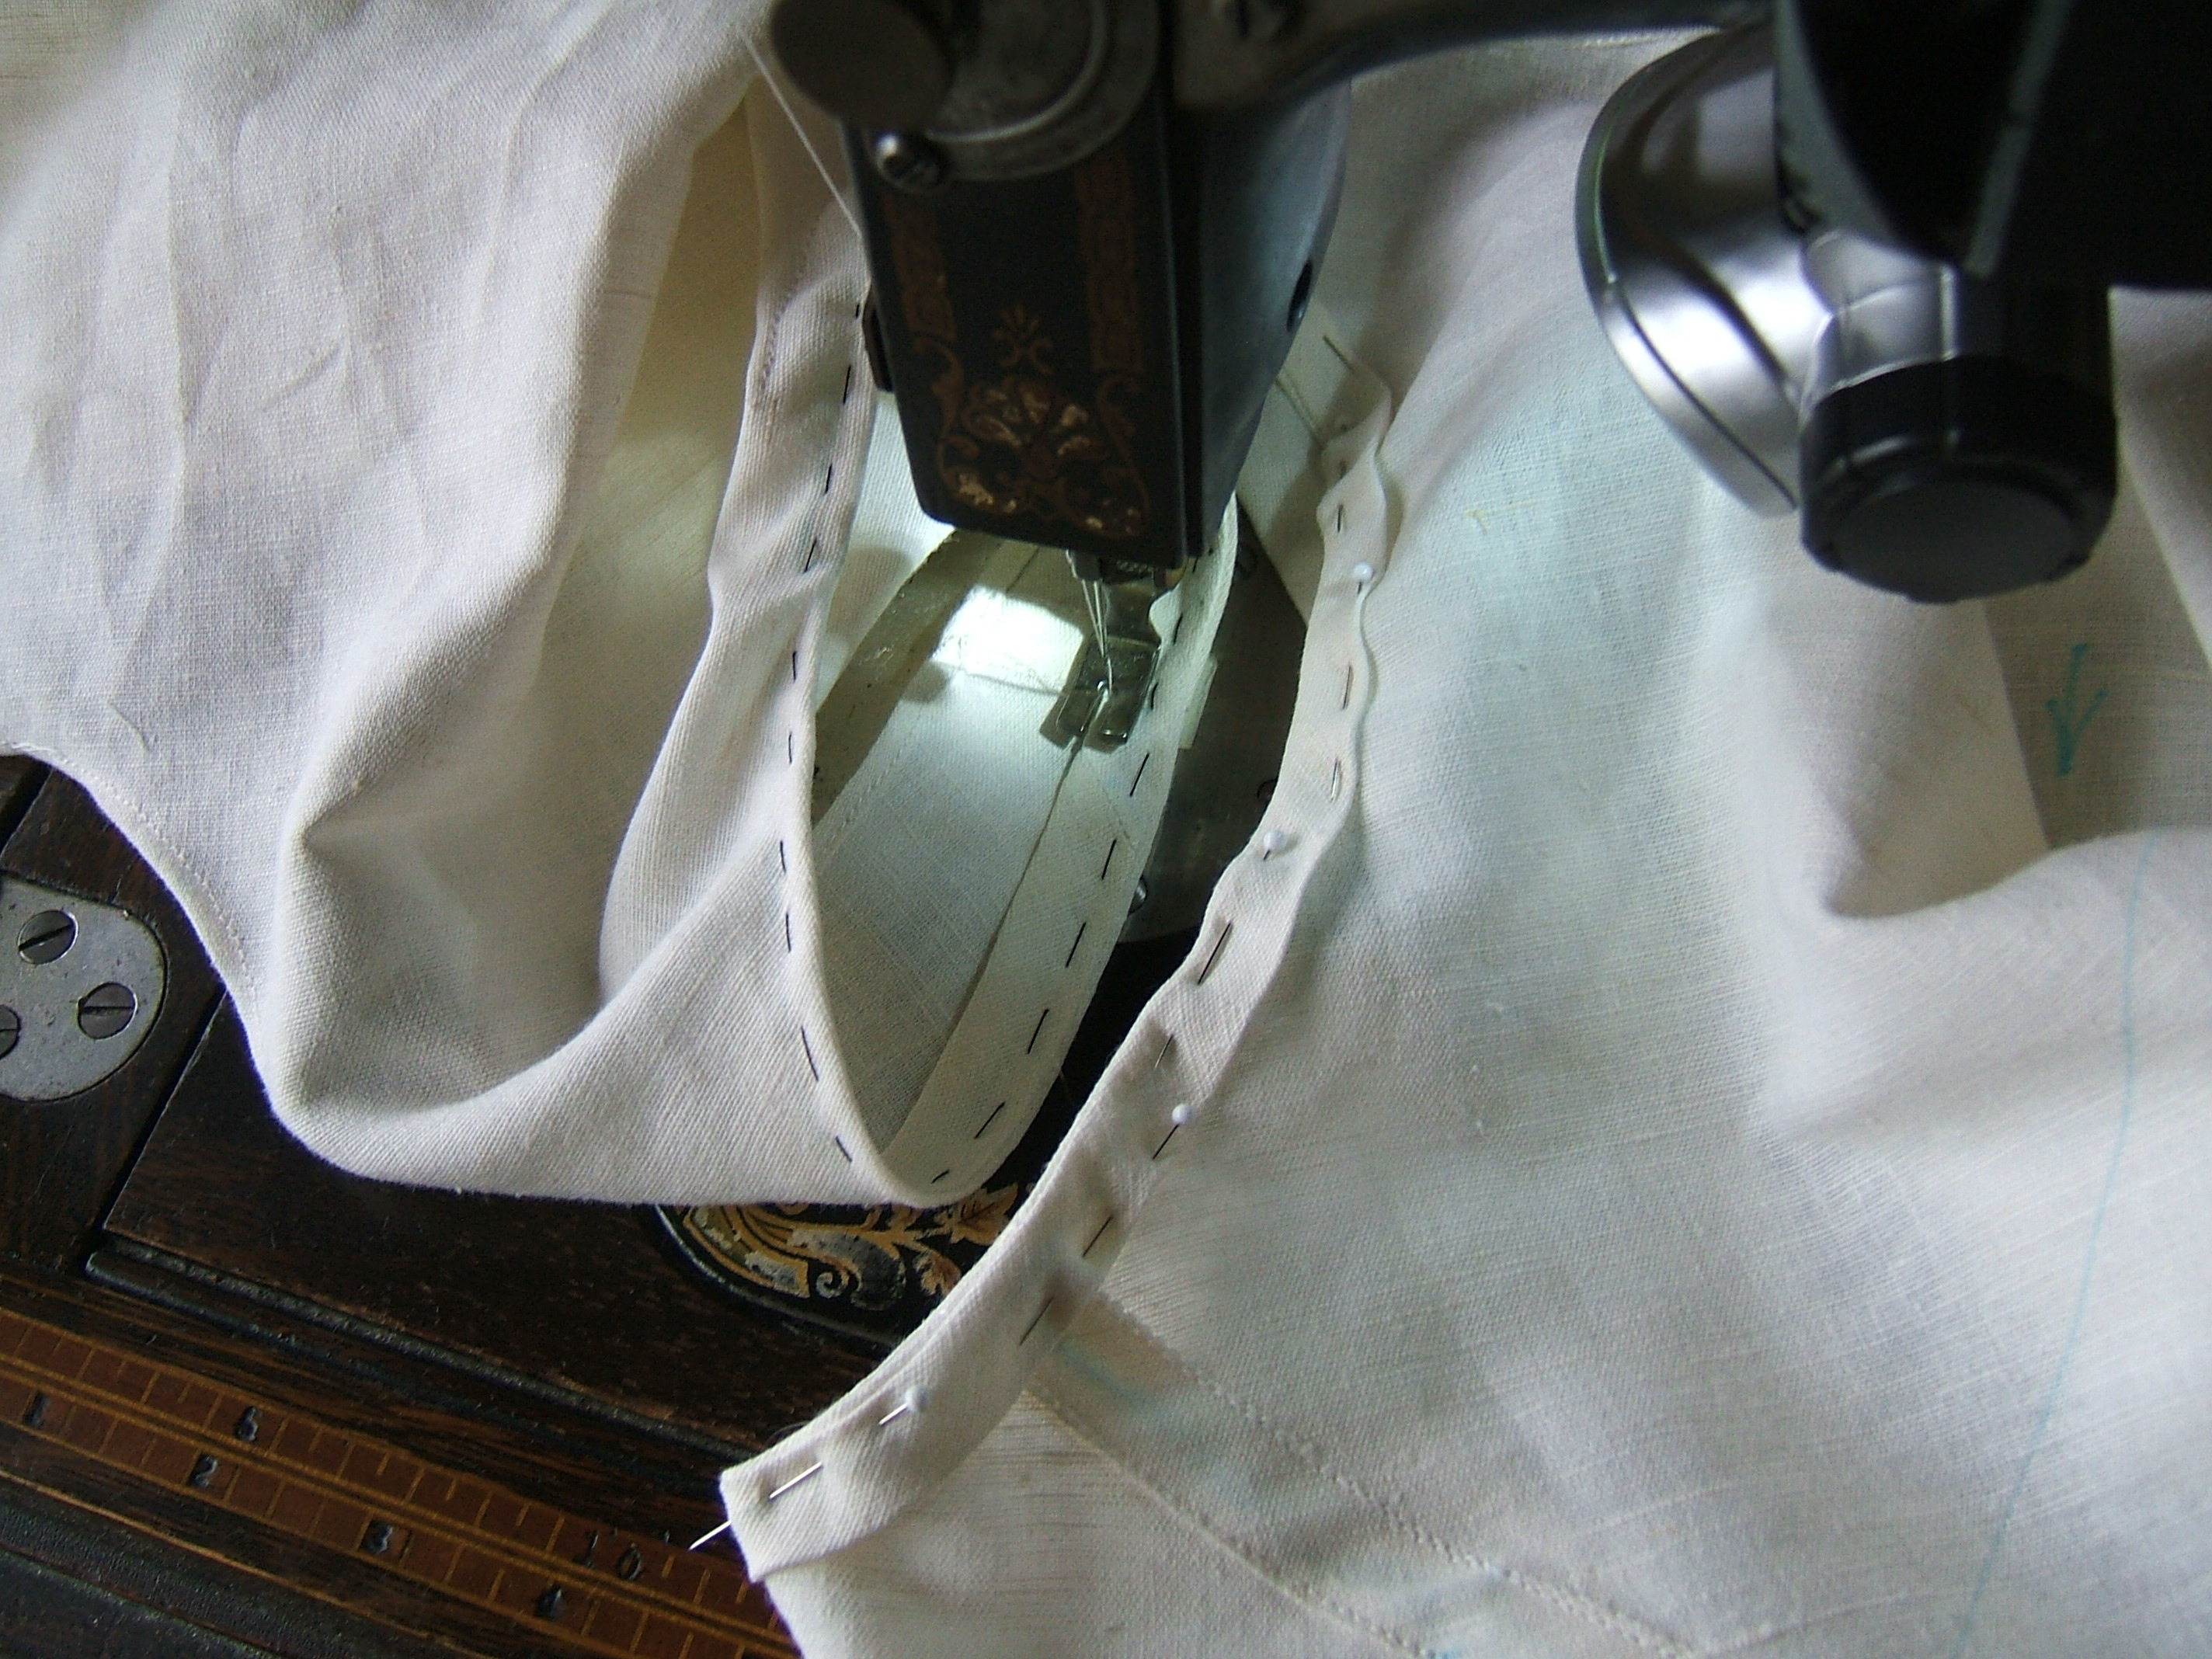
I sewed the hem that will become A's casing and set it aside to be pressed before I stitch the other three rows, finished the left-side seam of C and set it aside to pin the bias and the neck hem after I free up some pins, started to sew down a facing on D, then paused to take a photo comparing the basted facing on D and a pinned facing on B.
⁂
You'd think that replacing nose-to-tail pins on one edge with pins that alternate edges would end up with pins overlapping a bit, but in practice there was a small gap between the pin on one edge and the next pin on the other. This made it very easy, when starting to sew, to set the foot down firmly and take a few stitches before removing any of the pins.
Pity it will be a couple of years before I need that information again.
19 December 2017
I had only a triangle of fabric left after pinning a square-ended tape to the armhole. Pity I forgot to measure it first. The other one is 24 1/2", and I think that they were the same length. I'm tempted to trim the other one before pinning and make it fit.
⁂
I sort of did. The strip came so close to being the right size that I simply trimmed the ends to straight-grain seams, then divided the bulge in half and re-pinned in both directions until it disappeared, which was much sooner than I expected.
After attaching bias to both armholes, I pinned the neck hem by the fading light of the setting sun. When I was about halfway through stitching it, it was time to eat the pizza in the oven, and when I came back, it was pitch dark. But the headlamp strapped to the sewing machine sufficed to show me what I needed to see to finish the hem. Had to bring it into the sewing room to check that I'd done it properly. It helps some that the hem had a tendency to lie as it should when held under slight tension; each short stretch got neater when I pulled out its pin.
Dave said "why didn't you turn on a light?" — because there is no light, just lamps in spots nowhere near the sewing machine. But I did turn on a lamp to fold up the machine and put tools away.
22 December 2017
Yay, time to sew today — after boiling fruit for a batch of fruitcake and setting it aside to cool.
It looks as though the remaining five bras are in a dead heat: all are done except for the casing.
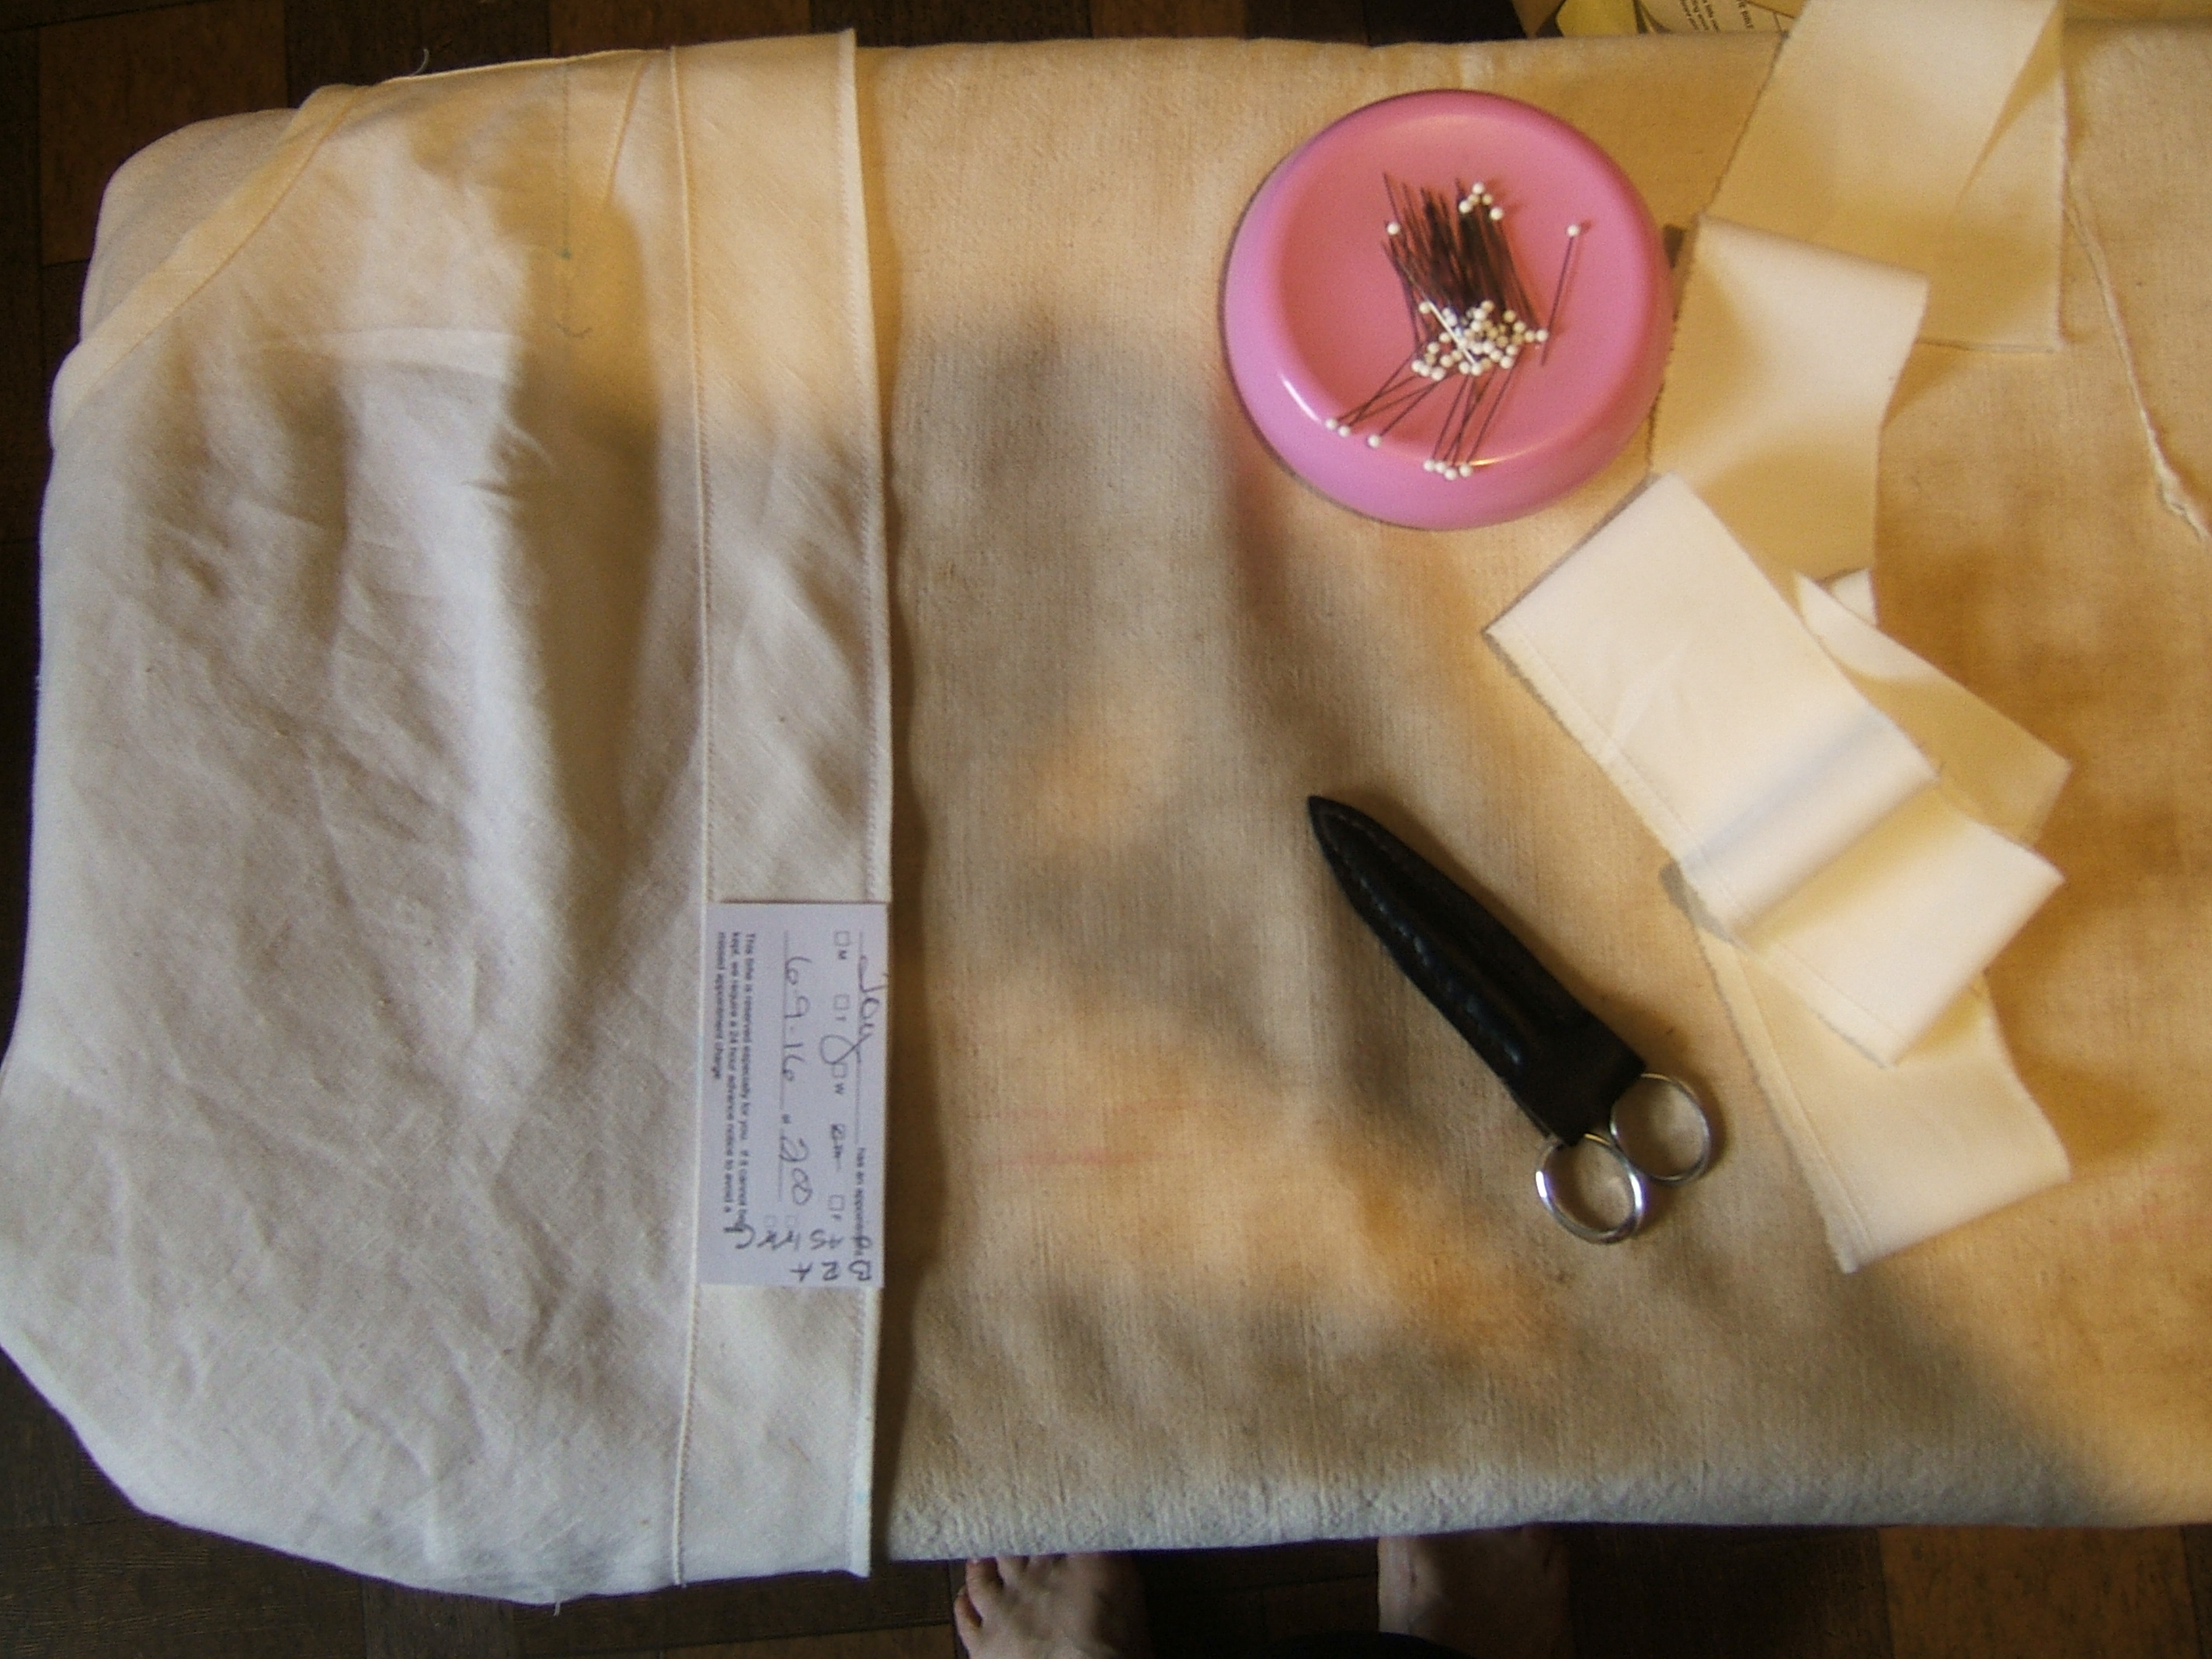
Bra A is pressed and ruffle-stitched and ready for me to mark the division into three casings.
First thing was to press all bras, sitting down. Luckily, the ironing board was already set for sitting, which reminded me that I could — unlike ironing shirts, there is no stepping around.
Since the chair is on castors, clearing out a space around the board should enable me to do that sitting too. I must test the idea the next time I have shirts to iron, in case I need to use it.
Not all the bras needed pressing. I pressed the neck hems and armhole facings of all, just to make them look better even though with bras, you really can "take a deep breath and iron them from the inside".
After piling up three bras with the first fold of the casing pressed and pinned, I pressed the casing of A and hung it on the walker, handy to the sewing machine. Then — it must have been C, since that is on the top of the pile — I pressed the joining seams of the armhole facings, pressed the facings as they lay, then pressed them away from the body. For this process, I used the sleeve board for the first time. The neck hems could be pressed flat, front and back at the same time, leaving the bit at the shoulder seams to be done when pressing the armholes. Pressing "inside the teacup" (must create a page explaining what I mean by that) sufficed for the armholes. And the bras could be draped around the ironing board while I pressed the casing folds.
Then I was hungry. I got the ruffle-stitching on A and the pinning and stitching on C done in the intervals of preparing lunch and after eating it.
Now it's time for a nap, and I think I'm going to fruitcake the rest of the day. I plan to go out to buy more ground cloves in the morning.
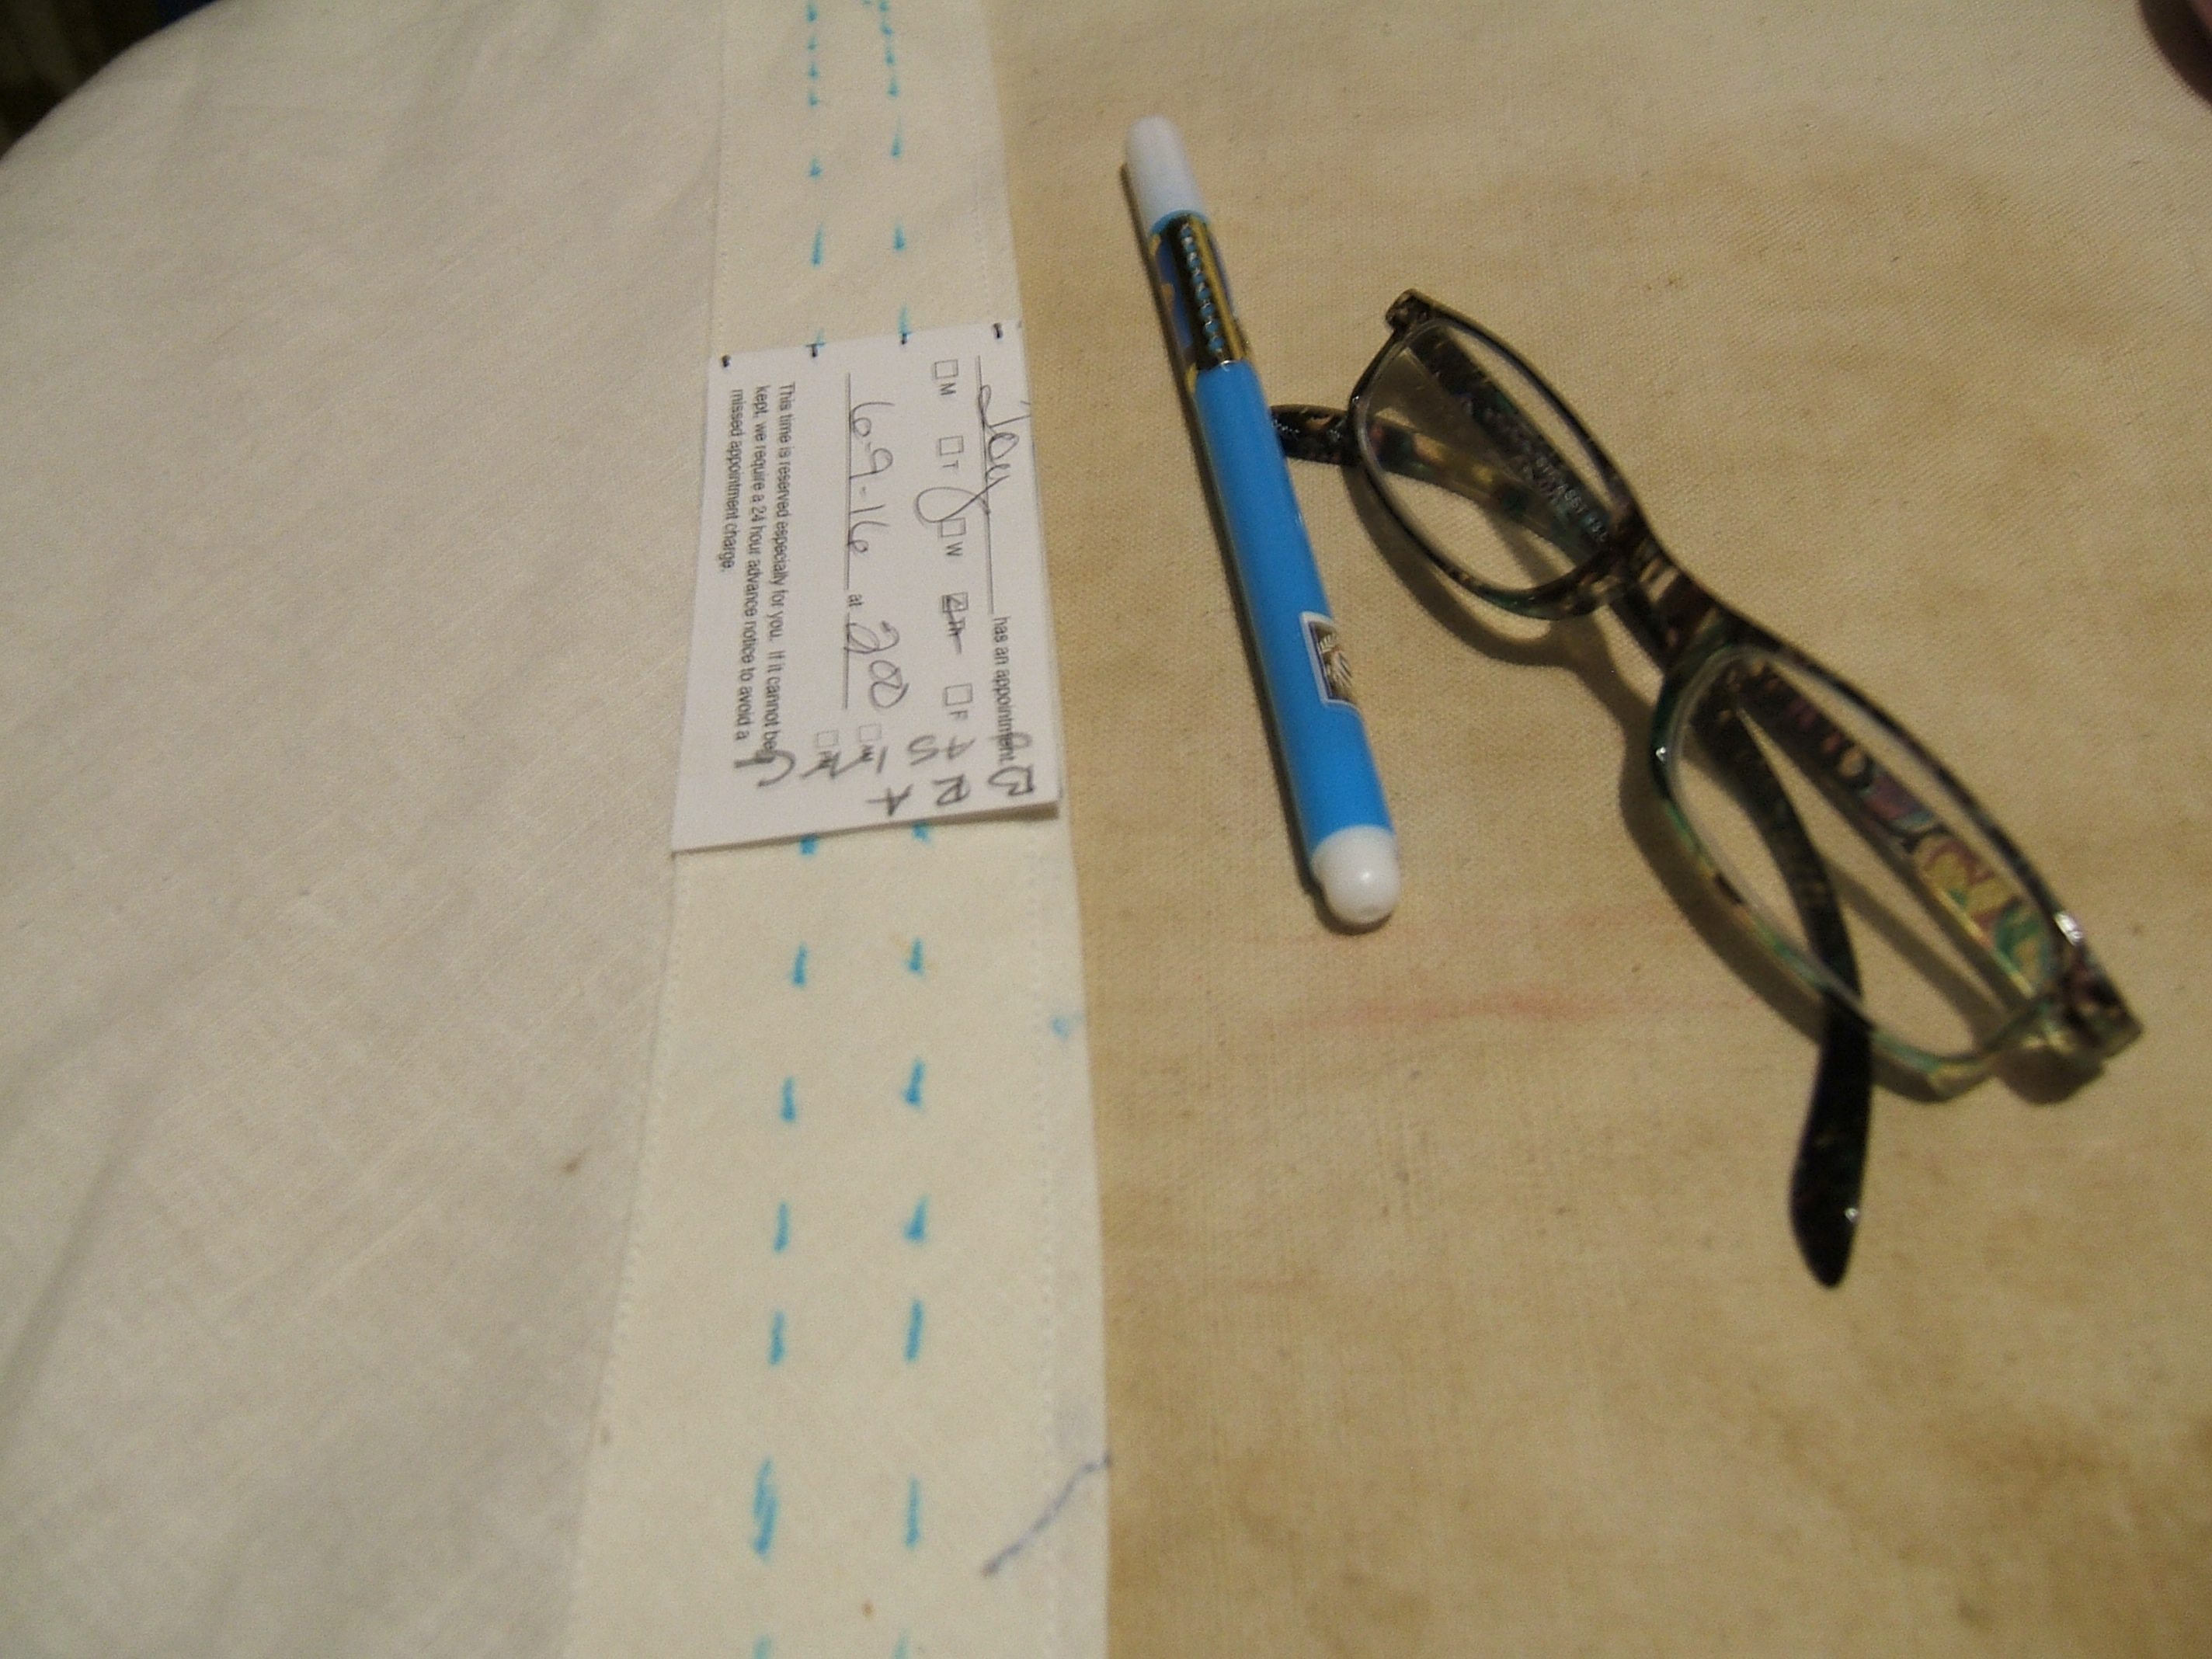
25 December 2017
I wound a bobbin today.
Turned out that I have plenty of ground cloves, but I went shopping on Saturday anyway. I meant to sew the two marked rows to divide the casing into three before leaving, so that I could put the elastic in in the evening and have A to wear to church on Sunday, but I ran out of bobbin thread halfway through the second circle and didn't care to take the time to wind when it was already past time to leave.
I was a bit surprised; I'm sure I re-wound that bobbin quite recently. But those bobbins are narrow, and don't have a firm enough grip on the winder that I can wind tightly.
26 December 2017
I just measured a casing on a bra: forty-two inches. My calculator says that that means that the twelve rounds to close the four casings will take fourteen yards of bobbin thread. The fatter bobbins of the Necchi are rated at forty yards — all I know from personal experience is that they will take an entire hundred-yard spool of size A silk — so I'd wild-guess the White bobbins at twenty, particularly since I don't fill them clear up for fear of over-filling and having to wind some off.
⁂
And before starting to pin, I re-open this file to paste in today's quote from the Ink-Free News: "The way to get started is to quit talking and begin doing." — Walt Disney
⁂
Started pinning C and realized that I'd forgotten the ruffle-stitching. Revised estimate: 18.7 yards. If I remember to check the bobbin, I should get a close estimate on my guess of twenty yards.
After picking out the gap basting of C, I found that the little hem hadn't been sewn properly. After a bit of puzzling over how to get it under the presser foot, I took a pre-threaded needle out of the box of 100/6 Necchi bobbins.
I think I'll unfold the White immediately after getting C pinned.
⁂
Which I did, and I also sewed E immediately after pinning, but I intend to pin both B and D before sewing again.
I find it difficult to insert in-line pins with the casing flat on the ironing board and at right angles, so I'm sticking right-angle pins and doing the final pinning in my hand. Sometimes the right-angle pins are more than the final pinning, sometimes they are fewer.
27 December 2017
I did a perfect and very firm job of joining A's second ring of elastic.
Then I tried to straighten the elastic out to pull it back into the casing: I'd sewn in a half twist.
So I paused here on my way to pick up the seam ripper.
While cutting the elastic, I heard Roomba thumping unnaturally, stopped cutting, stopped Roomba, turned it over, found a thread coming out of it, pulled out a few feet, reflected that there must be a spool at the other end, traced the thread back to one of my precious cops of size B sewing silk in the closed footlocker, under the tray. I must have somehow dragged an end out when I got out the box of embroidery floss.
I wound up what had strung across the sewing room and down the hall, then pulled out a few more yards, then the thread broke.
When I pulled out the brush, I found a very tight winding of thread thicker than my finger. I salvaged a few yards from the smaller winding on the end of the brush, but most of it had to be cut off — and that was far from easy; the tool supplied for this purpose was far too dainty and not all that sharp. I finally managed with the aid of a letter opener of the same design.
Then returned to the piano, cut the third piece of elastic, assembled the bodkin etc. for putting it in, and settled into the rocking chair.
I think I'll have an early nap today. My cough isn't as bad as when I first woke up, but I'm not exactly full of pep and vigor.
Fawchunately, I keep a selection of cough drops in the freezer for just such an emergency.
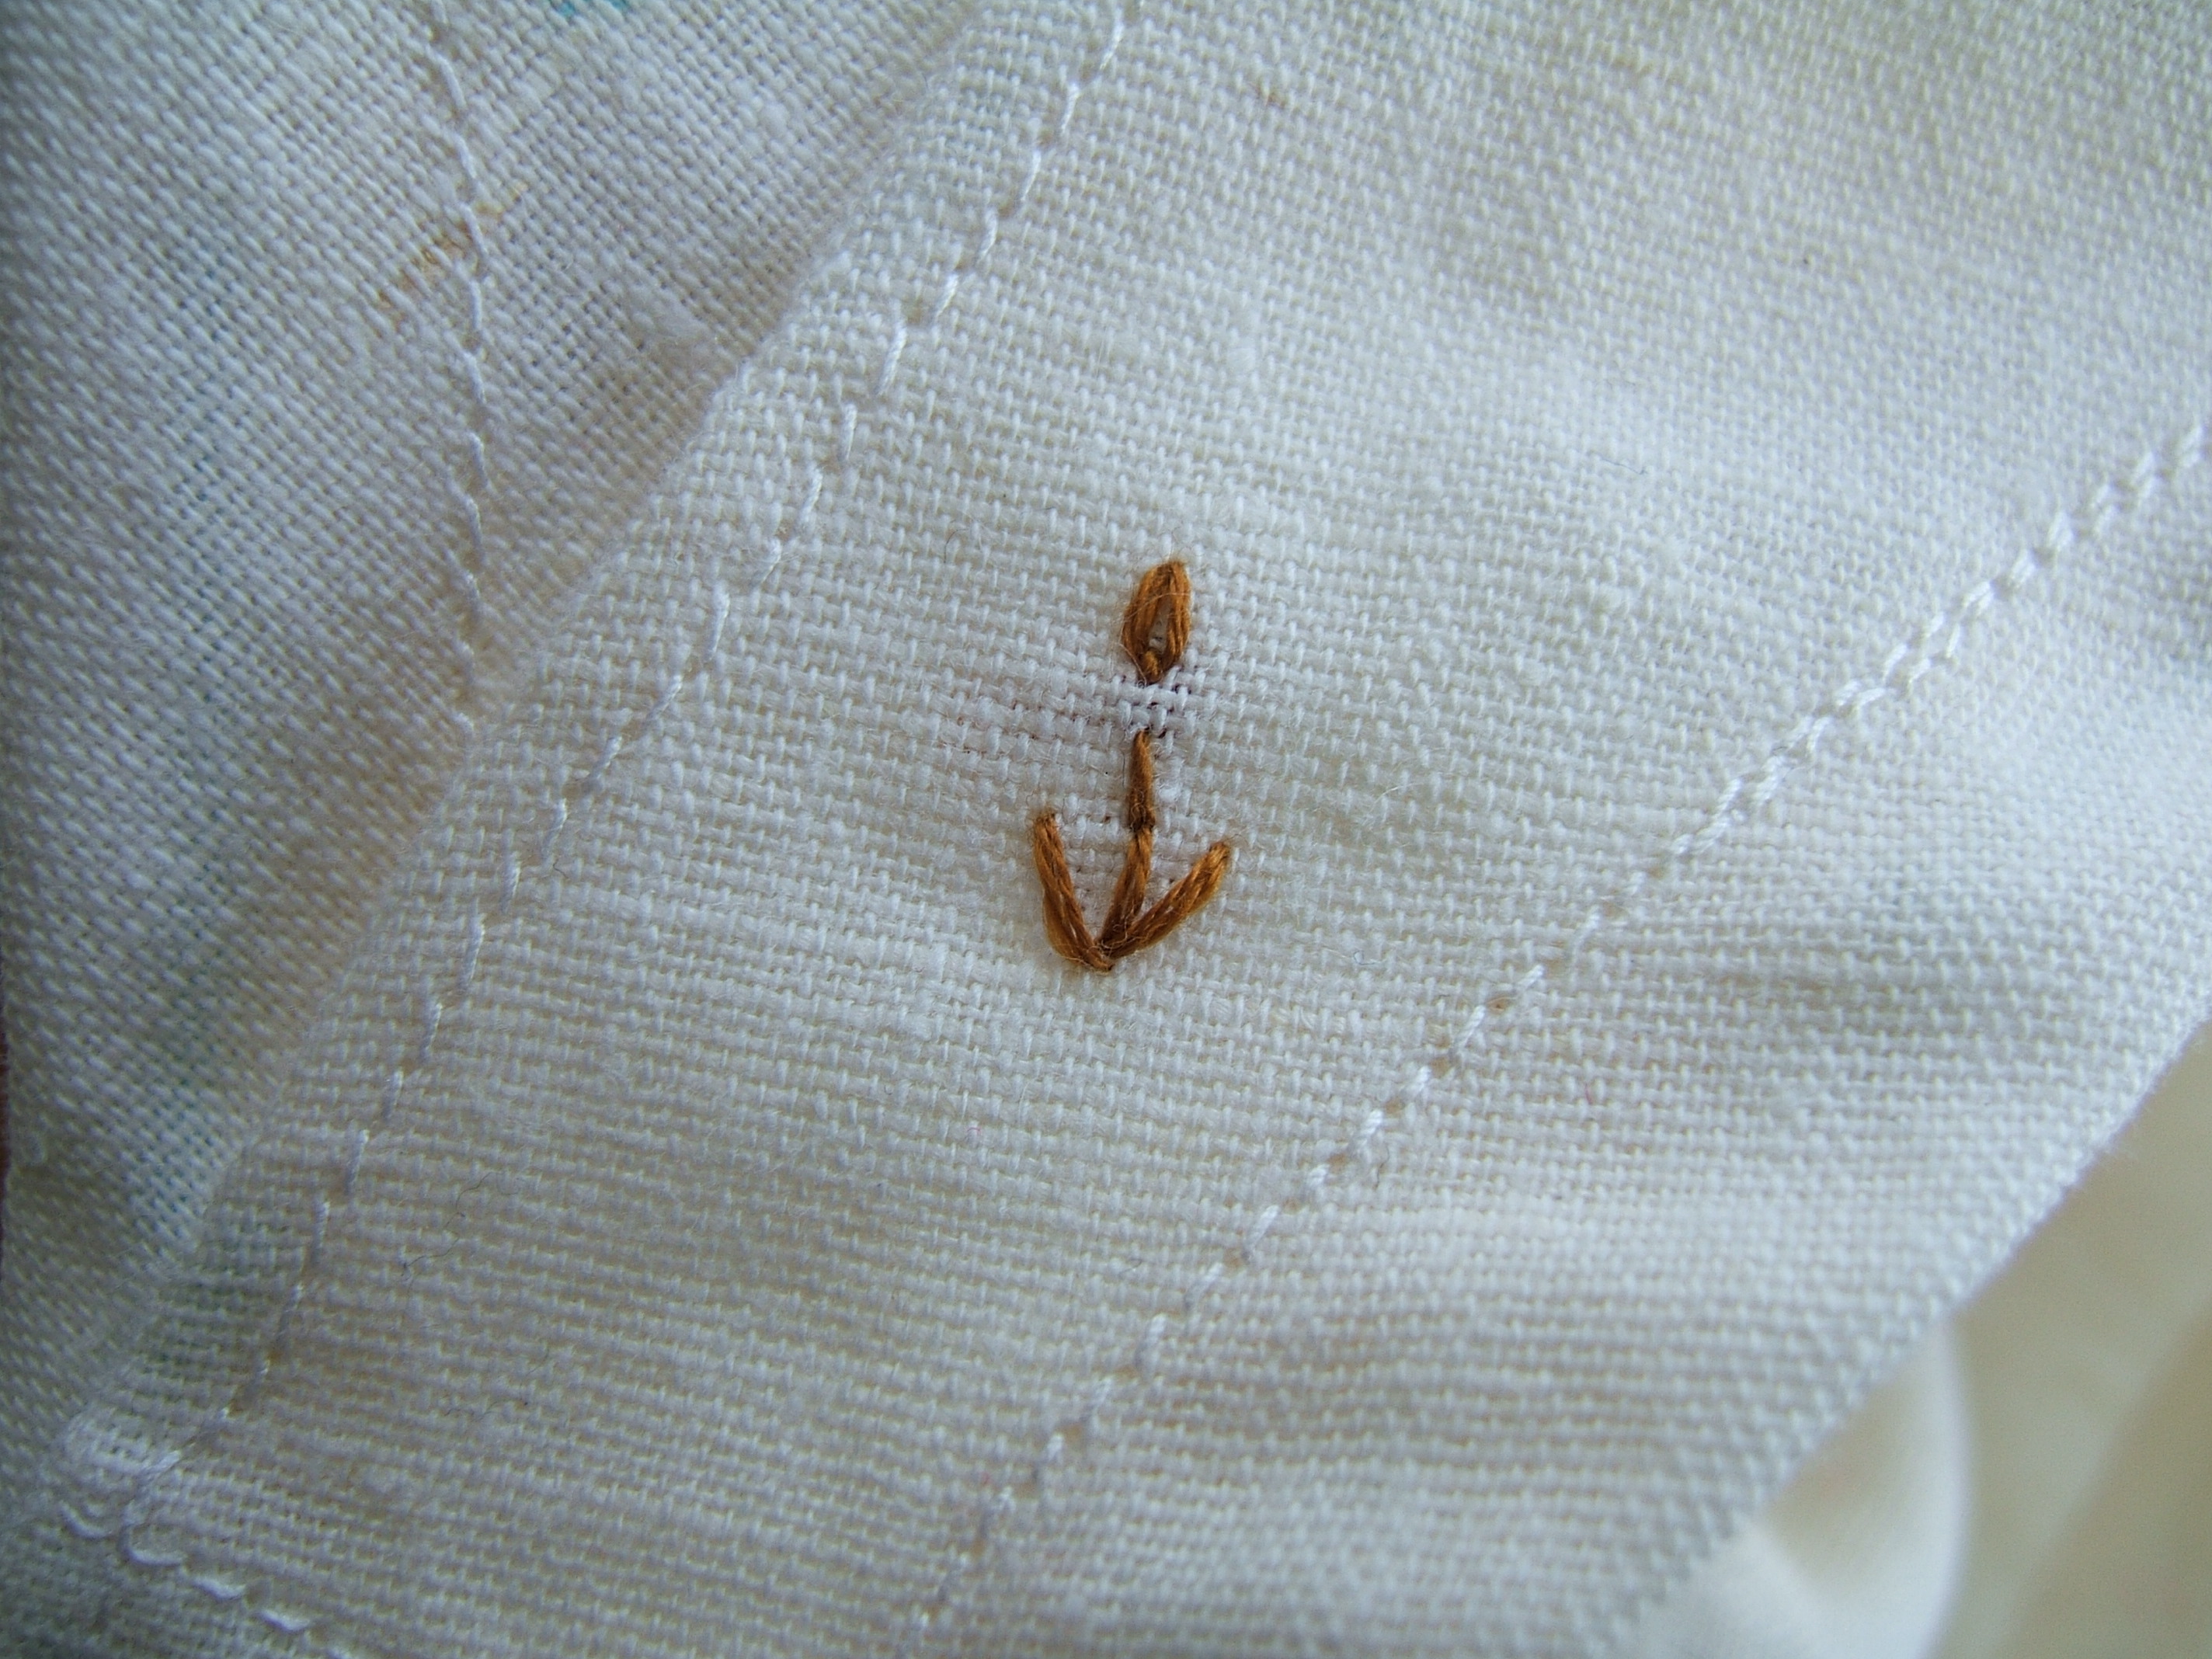
Now A is hanging in the closet. Above is a close-up of the one-petal flower I embroidered on its shoulder.
28 December 2017
I was looking at the roll of quarter-inch elastic and reflecting, yet again, that there wasn't enough to do the job. Well, duh! I bought only ten yards to begin with, I've already taken off six thirty-inch pieces, and the four remaining bras will need twelve more. Just punched the calculator: twelve times thirty is exactly ten yards: I could have figured that without a calculator or any other tool.
29 December 2017
Did the last of the casing stitching this morning, but forgot to peek at the bobbin. But a White bobbin definitely holds more than 18.7 yards.
And that estimate didn't include overlap or trimming ends.
30 December 2017
I found this link while poking around in some ancient e-mails I was thinking of deleting: "A great blog for directions on sewing Indian clothes is http://artvani-vani.blogspot.com/ "
So I tried it and it's still around. A little hard to read, but it would be easier to follow if I didn't already know what she is trying to tell me. It would also have been easier if I'd twigged right away that this is a blog; the mysteriously-missing antecedents are in the subsequent post. I should check my "get out of here" page and add it if it isn't already there.
I think I'll do that now — anything rather than wash two weeks of dirty dishes.
⁂
It's the very first entry under "patterns".
I need to give that page a complete overhaul, but I think I'd rather wash dishes!
⁂
After dishes (I forgot to wash the cat-food cannisters, which were my reason for doing it in the morning) I DuckDucked "Marie Grace" and found an archive copy of the dead hand-pleating link. Perhaps after my nap I'll search on some sentences from the page to see whether I can find a live website.
Then I cut six thirty-inch pieces of elastic, leaving three inches in the bag. There's no way I could buy more elastic before closing this blog out for the year, seeing as that is the day after tomorrow and today and tomorrow are booked. Between this persistent cough and the constant spits of snow, it might be weeks before I can go downtown. There might be a slot open for dashing to the grocery and back on Tuesday afternoon, then it's snow showers to the end of the nine-day forecast.
It's supposed to be a ten-day forecast, but the arrow for seeing what is off the right side of the screen vanished a couple of weeks ago. The arrow for seeing what's off the left side remains, but without the right arrow, there isn't anything off the left side.