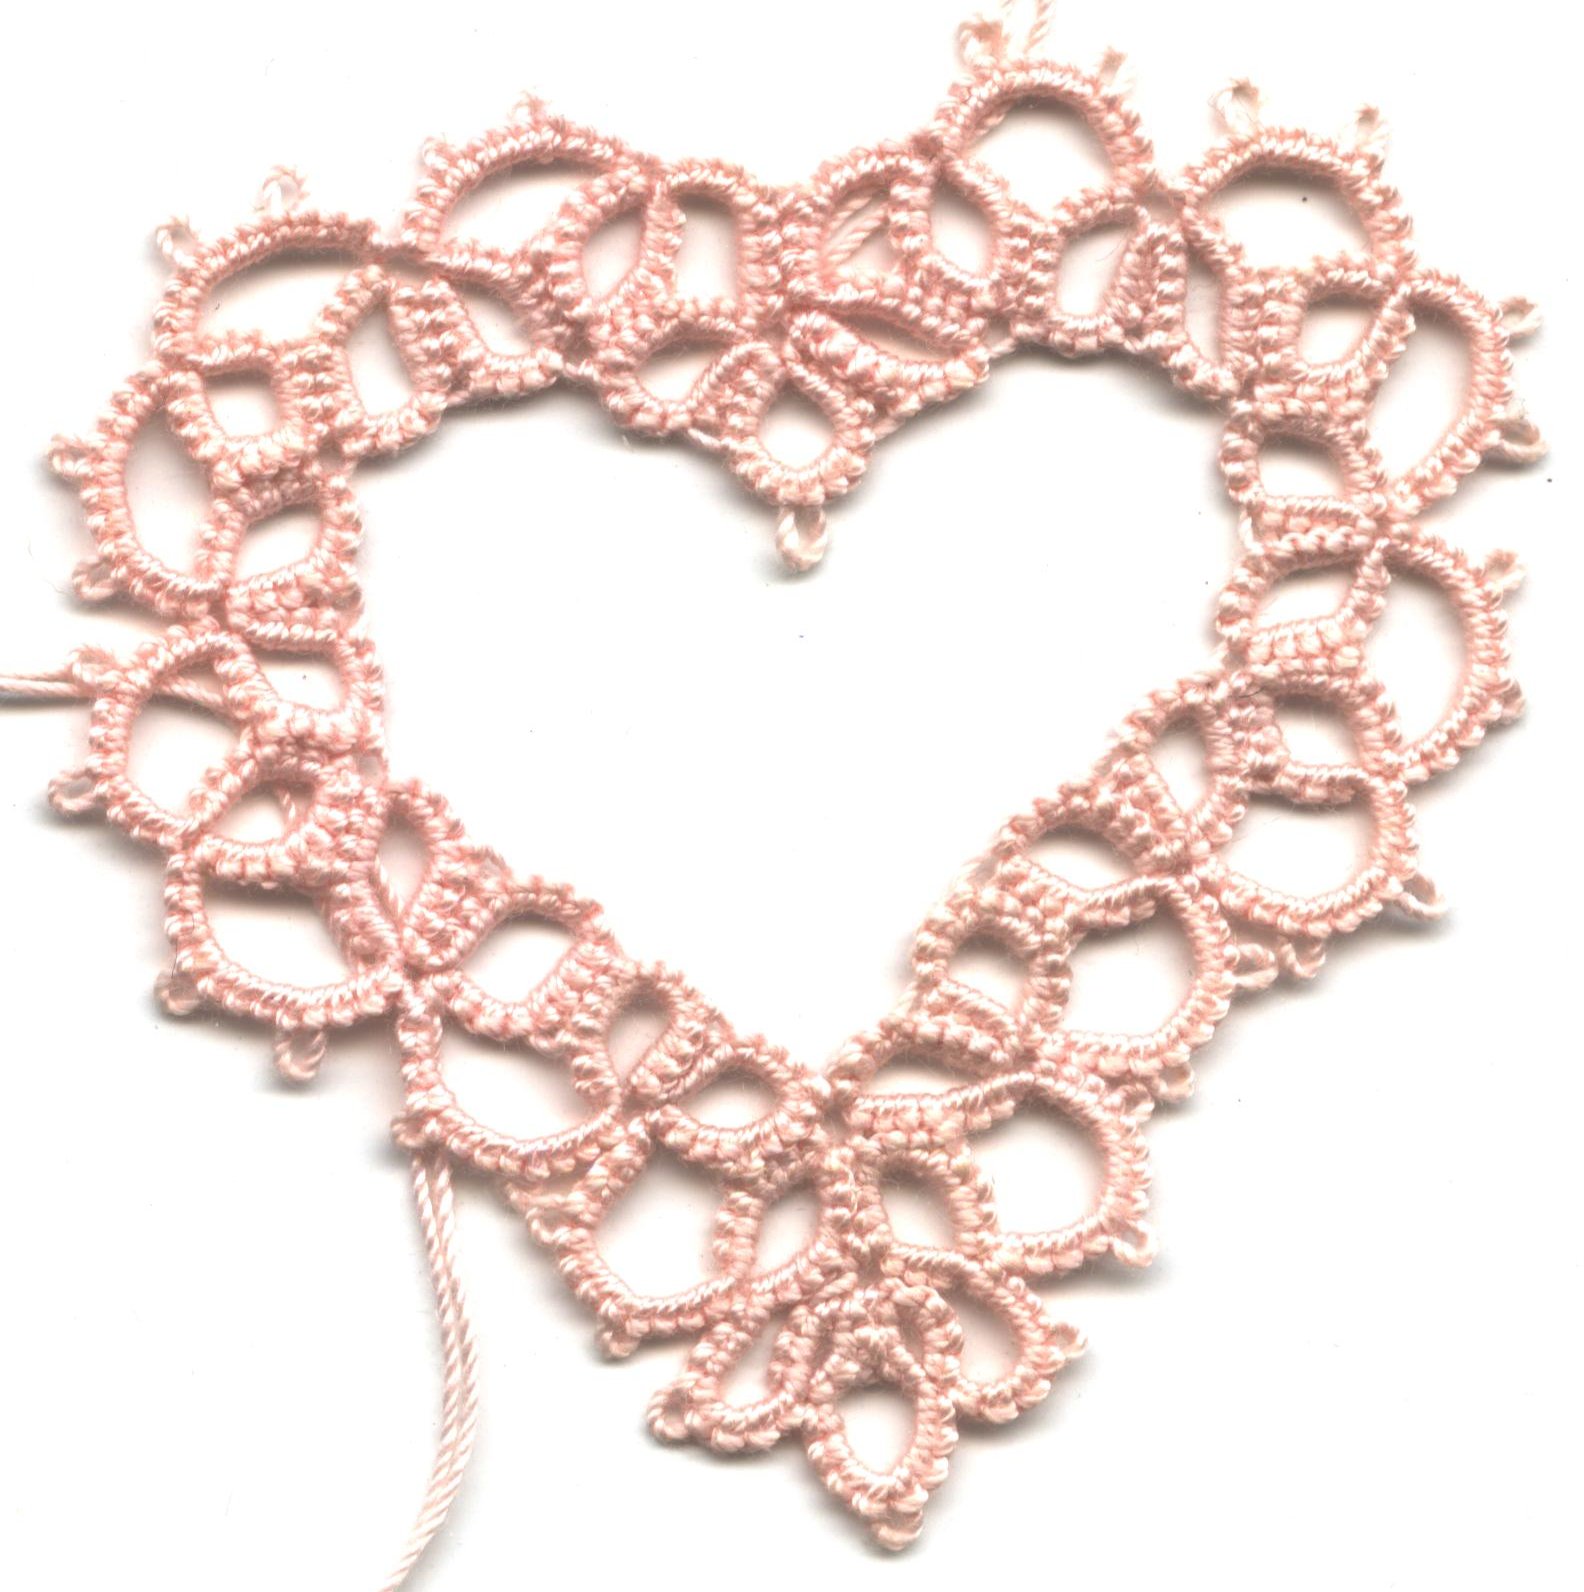
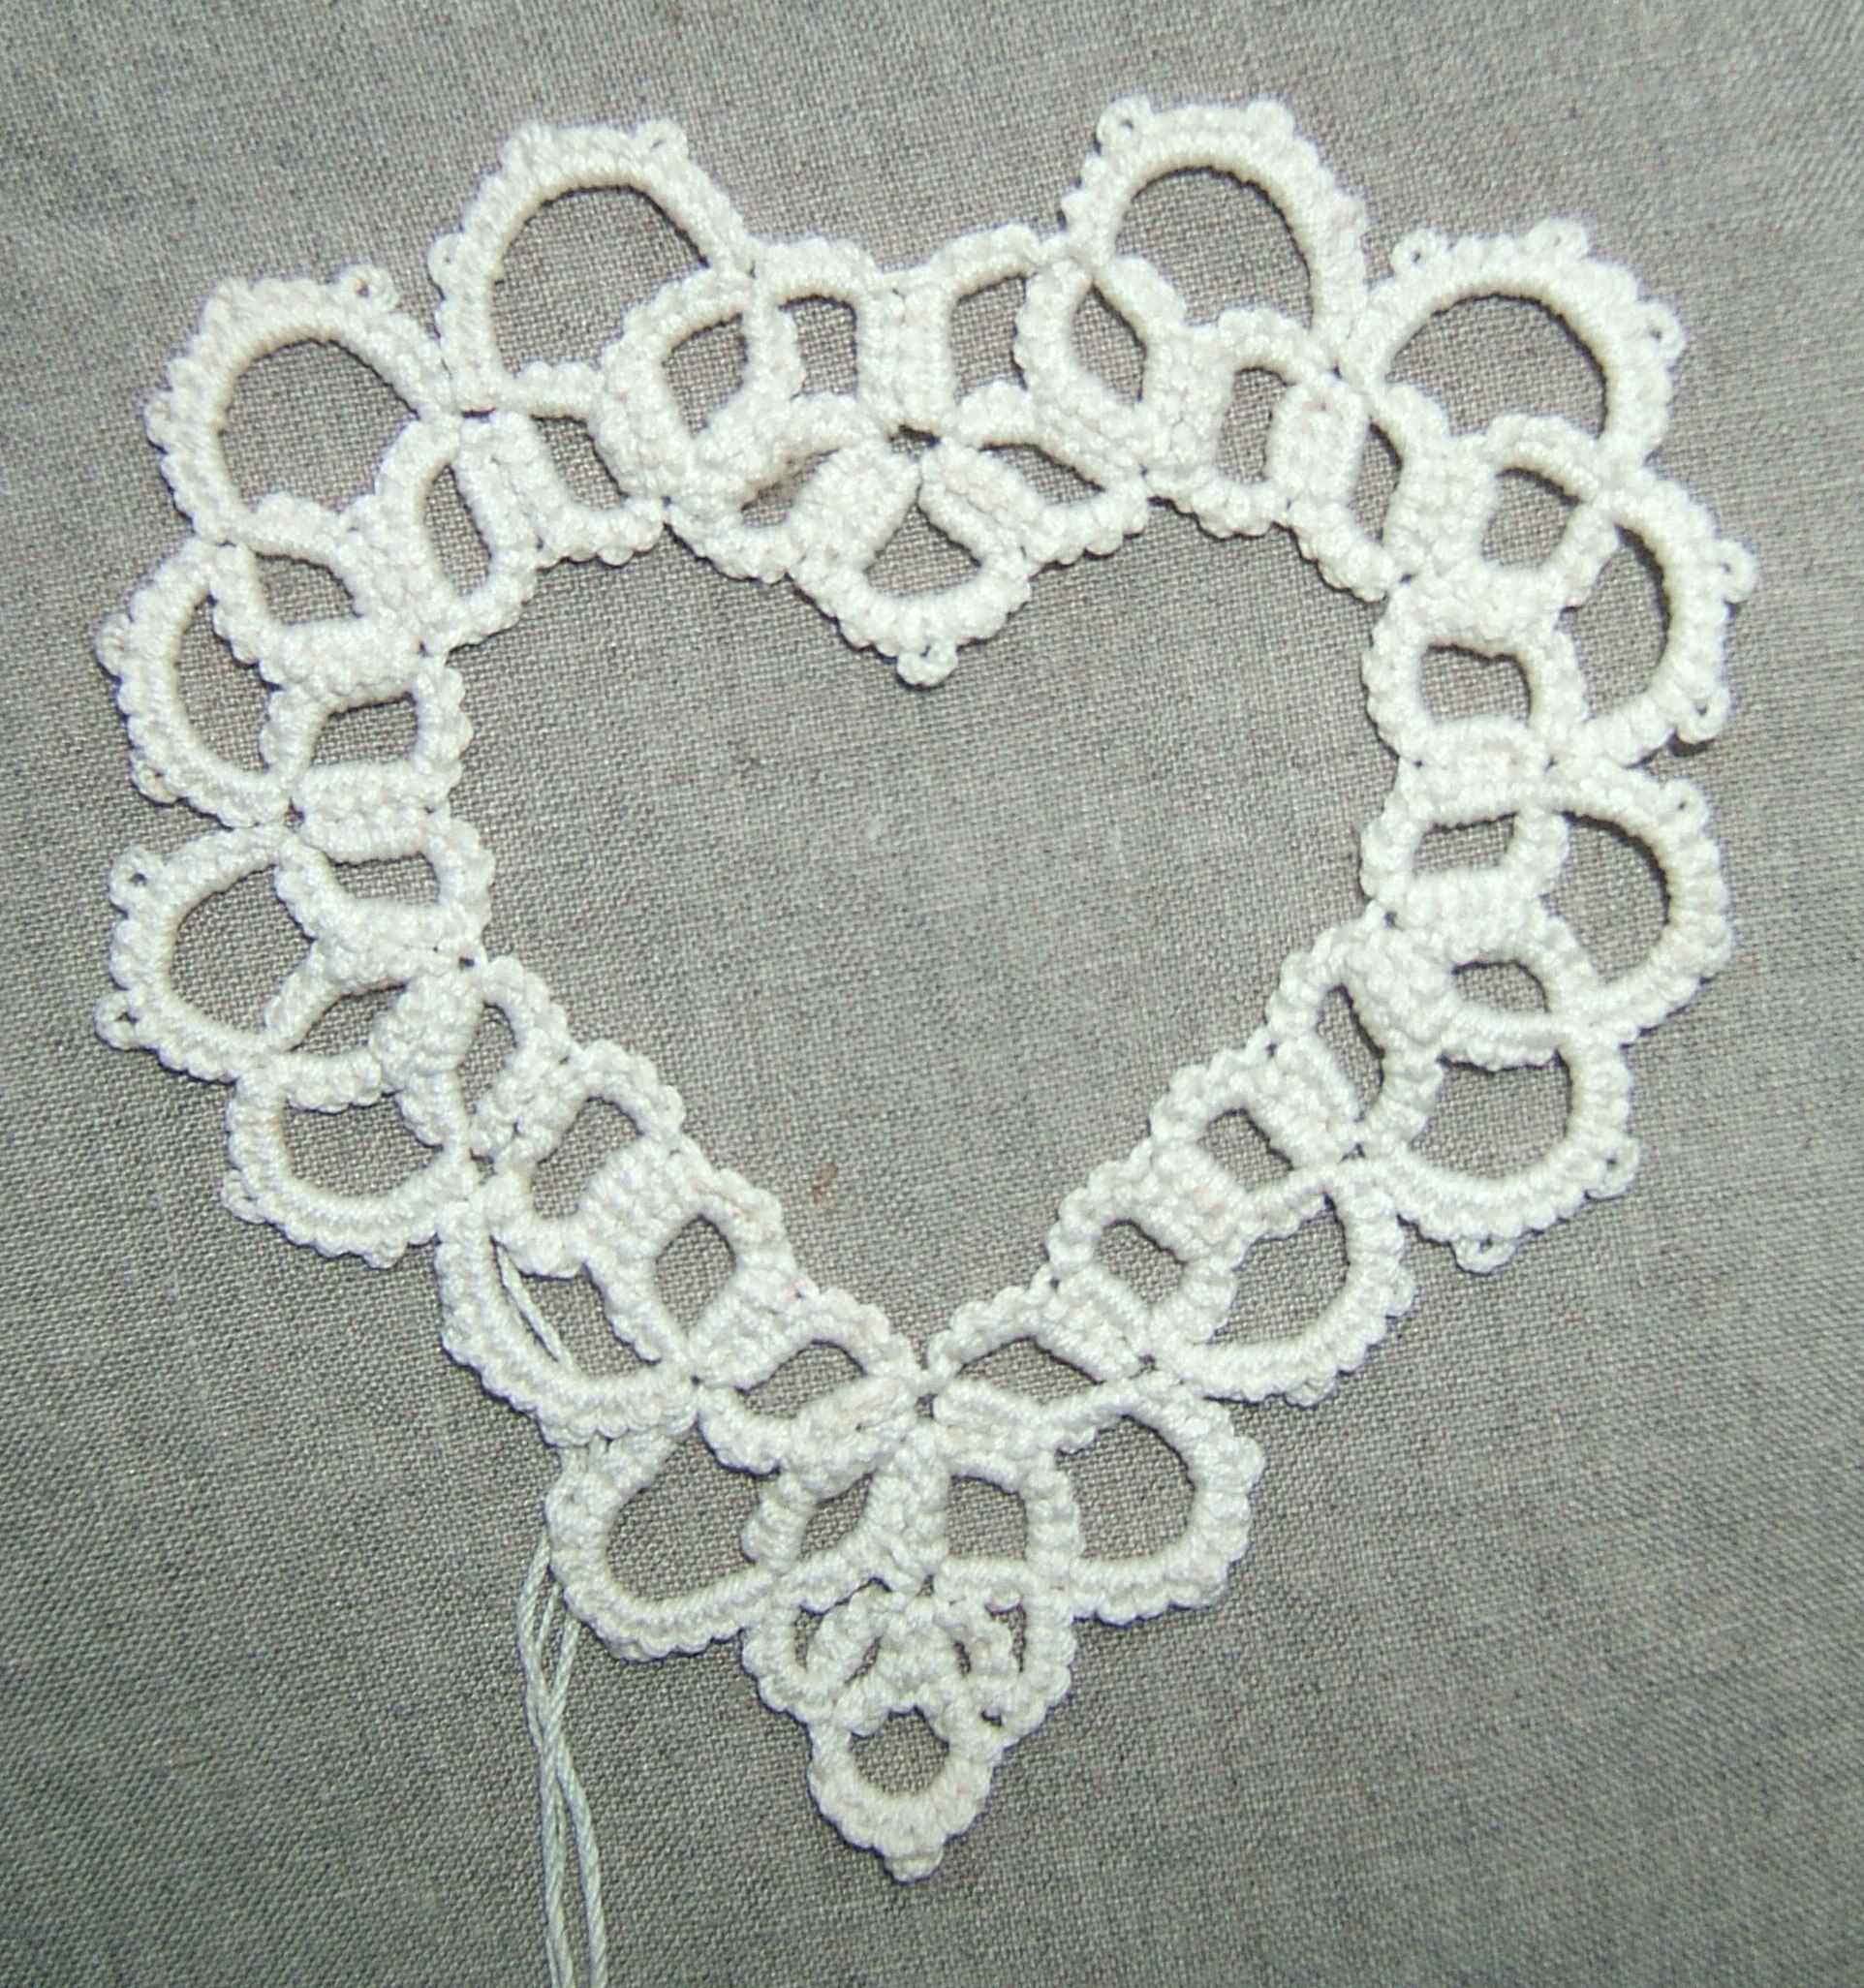
This medallion can be made with whatever thread and shuttle you are accustomed to. When made of Speed-Cro-Sheen, it measures five inches across, and is thick enough to serve as a hot-mat for a coffee mug. In sewing thread, it would make a dainty appliqué for a sachet. In #30 or #20 crochet cotton, it would make a delicate but durable ornament for a little girl's shirt. In bright-colored #10 thread, it can form part of a splashy all-over pattern for a dashiki or poncho. Suggestions are given for making star and diamond- shaped motifs to compliment the heart.
The model is made of #20 crochet cotton.
To make the hot mat, wind 14 yards of Speed-Cro-Sheen onto a shuttle; this allows about five feet for tying-off and error. Leave the thread attached to the ball, so that there will be only two ends to hide.
In finer work, it's better to fill the shuttle and not attempt to use a continuous thread.
All rings except the two small ones in the point of the heart are made of sixteen double stitches, divided into four sets of four by three picots or joins. All ring picots (except the middle picot in the clover at the top of the heart) are for joining, and should be as small as possible.
Most of the chains are twelve doubles long. In all of the chains, picots or joins divide the doubles into sets of four. The two chains which have no picots are four double stitches long. All chain picots are purely ornamental and may be made according to taste. Those in the model were the width of four double stitches before they were drawn up. For the hot mat, I recommend small picots about the width of two double stitches.
Chain 4 ds, picot, 4 ds, picot, 4 ds. Reverse work.
Ring of 4 ds, join to last picot of previous ring, 4 ds, join to middle picot of previous ring (or join to same picot to which previous ring joined at its middle), 4 ds, picot, 4 ds, close ring.
Ring of 4 ds, join to picot of previous ring, 4 ds, picot, 4 ds, picot, 4 ds, close ring. Reverse work.
Chain 4 ds, picot, 4 ds, picot, 4 ds. Reverse work.
Note that you have simply added one ring to the single.
To begin the heart, make a pair, substituting picots for the first two joins. Make a single, a pair, and another single. Before reversing work after the second single, make a picot and four more double stitches, to bring the chain to sixteen double stitches and three picots. Make a pair and again lengthen the chain to sixteen double stitches.
The indentation at the top of the heart: make a single, but make its chain only eight double stitches long, with one picot. Proceed as if beginning a pair, but make the middle picot of the second ring ornamental. Make a third ring according to the recipe for the second ring of a pair, thereby creating a clover. Chain 4 double stitches, picot, 4 double stitches. Make a single with a sixteen-stitch chain.
To complete the top of the heart: make a pair and again lengthen its chain to sixteen doubles. This is the last of four sixteen-stitch chains.
Down the side: single, pair, single, pair, pair.
The point: make a single, but abbreviate the chain to 4 double stitches.
Ring 4 ds, join to last picot of single, 2 ds, picot, 2 ds, close ring. Reverse work.
Chain 4 ds, picot, 4 ds, reverse work.
Ring 2 ds, join to picot of previous small ring, 2 ds, join to picot of single where previous small ring is joined, 4 ds, close ring. Reverse work.
Chain 4 ds. Reverse work.
Make a normal single, joining first at the picot of the previous single where the two small rings are joined, then into the picot into which the middle of the previous single is joined.
To complete the heart: make a pair, joining the second ring to the first ring of the first pair in place of its picots. Tie off.
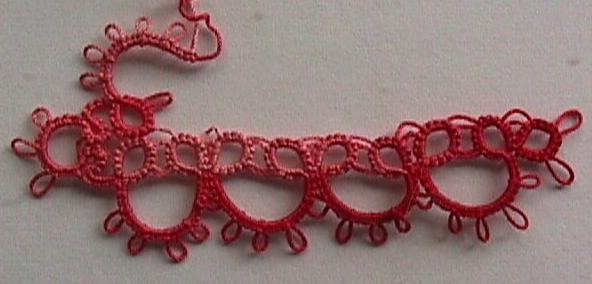
If you want an elaborate corner, follow the instructions for the point of the heart. Note that the pointed corner will not lie flat until its rings are blocked into ovals.
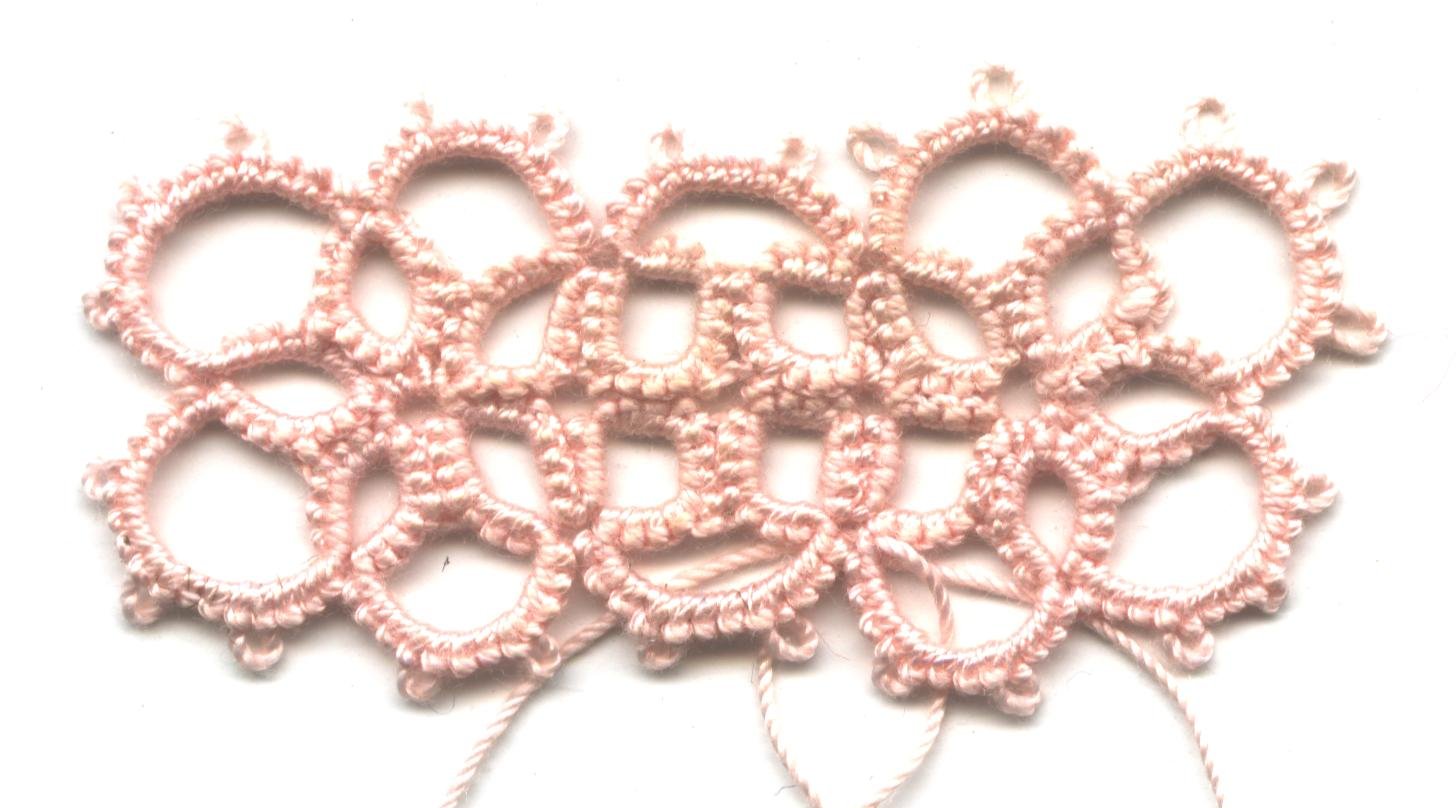
Because the elaborate corner is blocked to the angle wanted, this edging can go around a pointed collar or other acute corner. The simple corner can be blocked to fit an obtuse corner, or it can add needed fullness on a curved edge.
You can regard this edging as made of heart-points worked side-by-side, or you can regard it as a series of pairs in which the twelve-double chains have been replaced by three short chains and two small rings.
Turn a corner by omitting the second ring of a pair.
To make a pointed, slightly-ruffled corner that must be flattened in blocking, omit two second rings in succession -- i.e., work the heart-point as written.
To turn a corner in the first round: add a third ring to a pair, turning it into a clover. Replace the first picot on the following chain with a join to the last picot of the previous chain. (Do not make that picot small in anticipation of this join; it can, indeed, be up to twice as long as the ornamental picots, if they are small.)
Notice that you turn an outside corner by omitting a ring, and turn an inside corner by adding a ring.
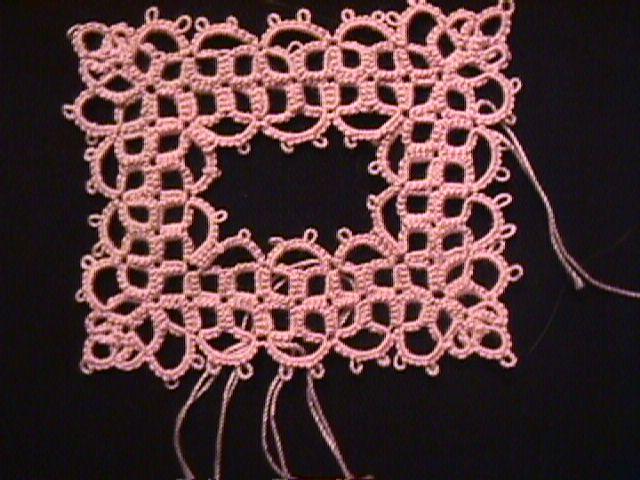
Work the simple edging or the scalloped edging onto this round, joining the rings to the rings of the inside-out edging. At the corners, you will treat the first two rings of the clover as a pair, work your chosen corner, then treat the second two rings as a pair, thereby using the middle ring twice.
If you want to make the outside edge to shape, as when making a picture frame, work the outside round first, and work the inside-out round onto it.
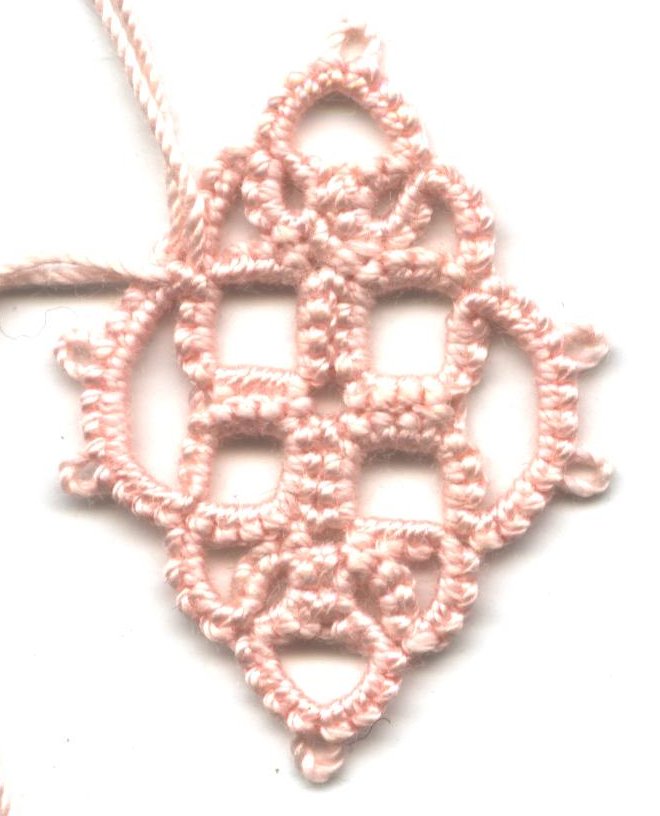
You can make a small, diamond-shaped medallion by working the point of the heart twice.
Pairs and singles worked alternately will make a ring medallion; it closes after the sixth repeat.
Triangle, Square, Pentagon, or Hexagon: work three, four, five, or six singles in succession. Join the last ring to the first.
To make a star: work the point of the heart, but instead of making a normal chain after the second single, work only four doubles. Count this as the first four-double chain in the heart-point, and start over. Join the fifth single to the first one, then make one more point and tie off.