Best viewed in a narrow window.
Last Revised 11 November 2014
typos corrected 20 December 2015
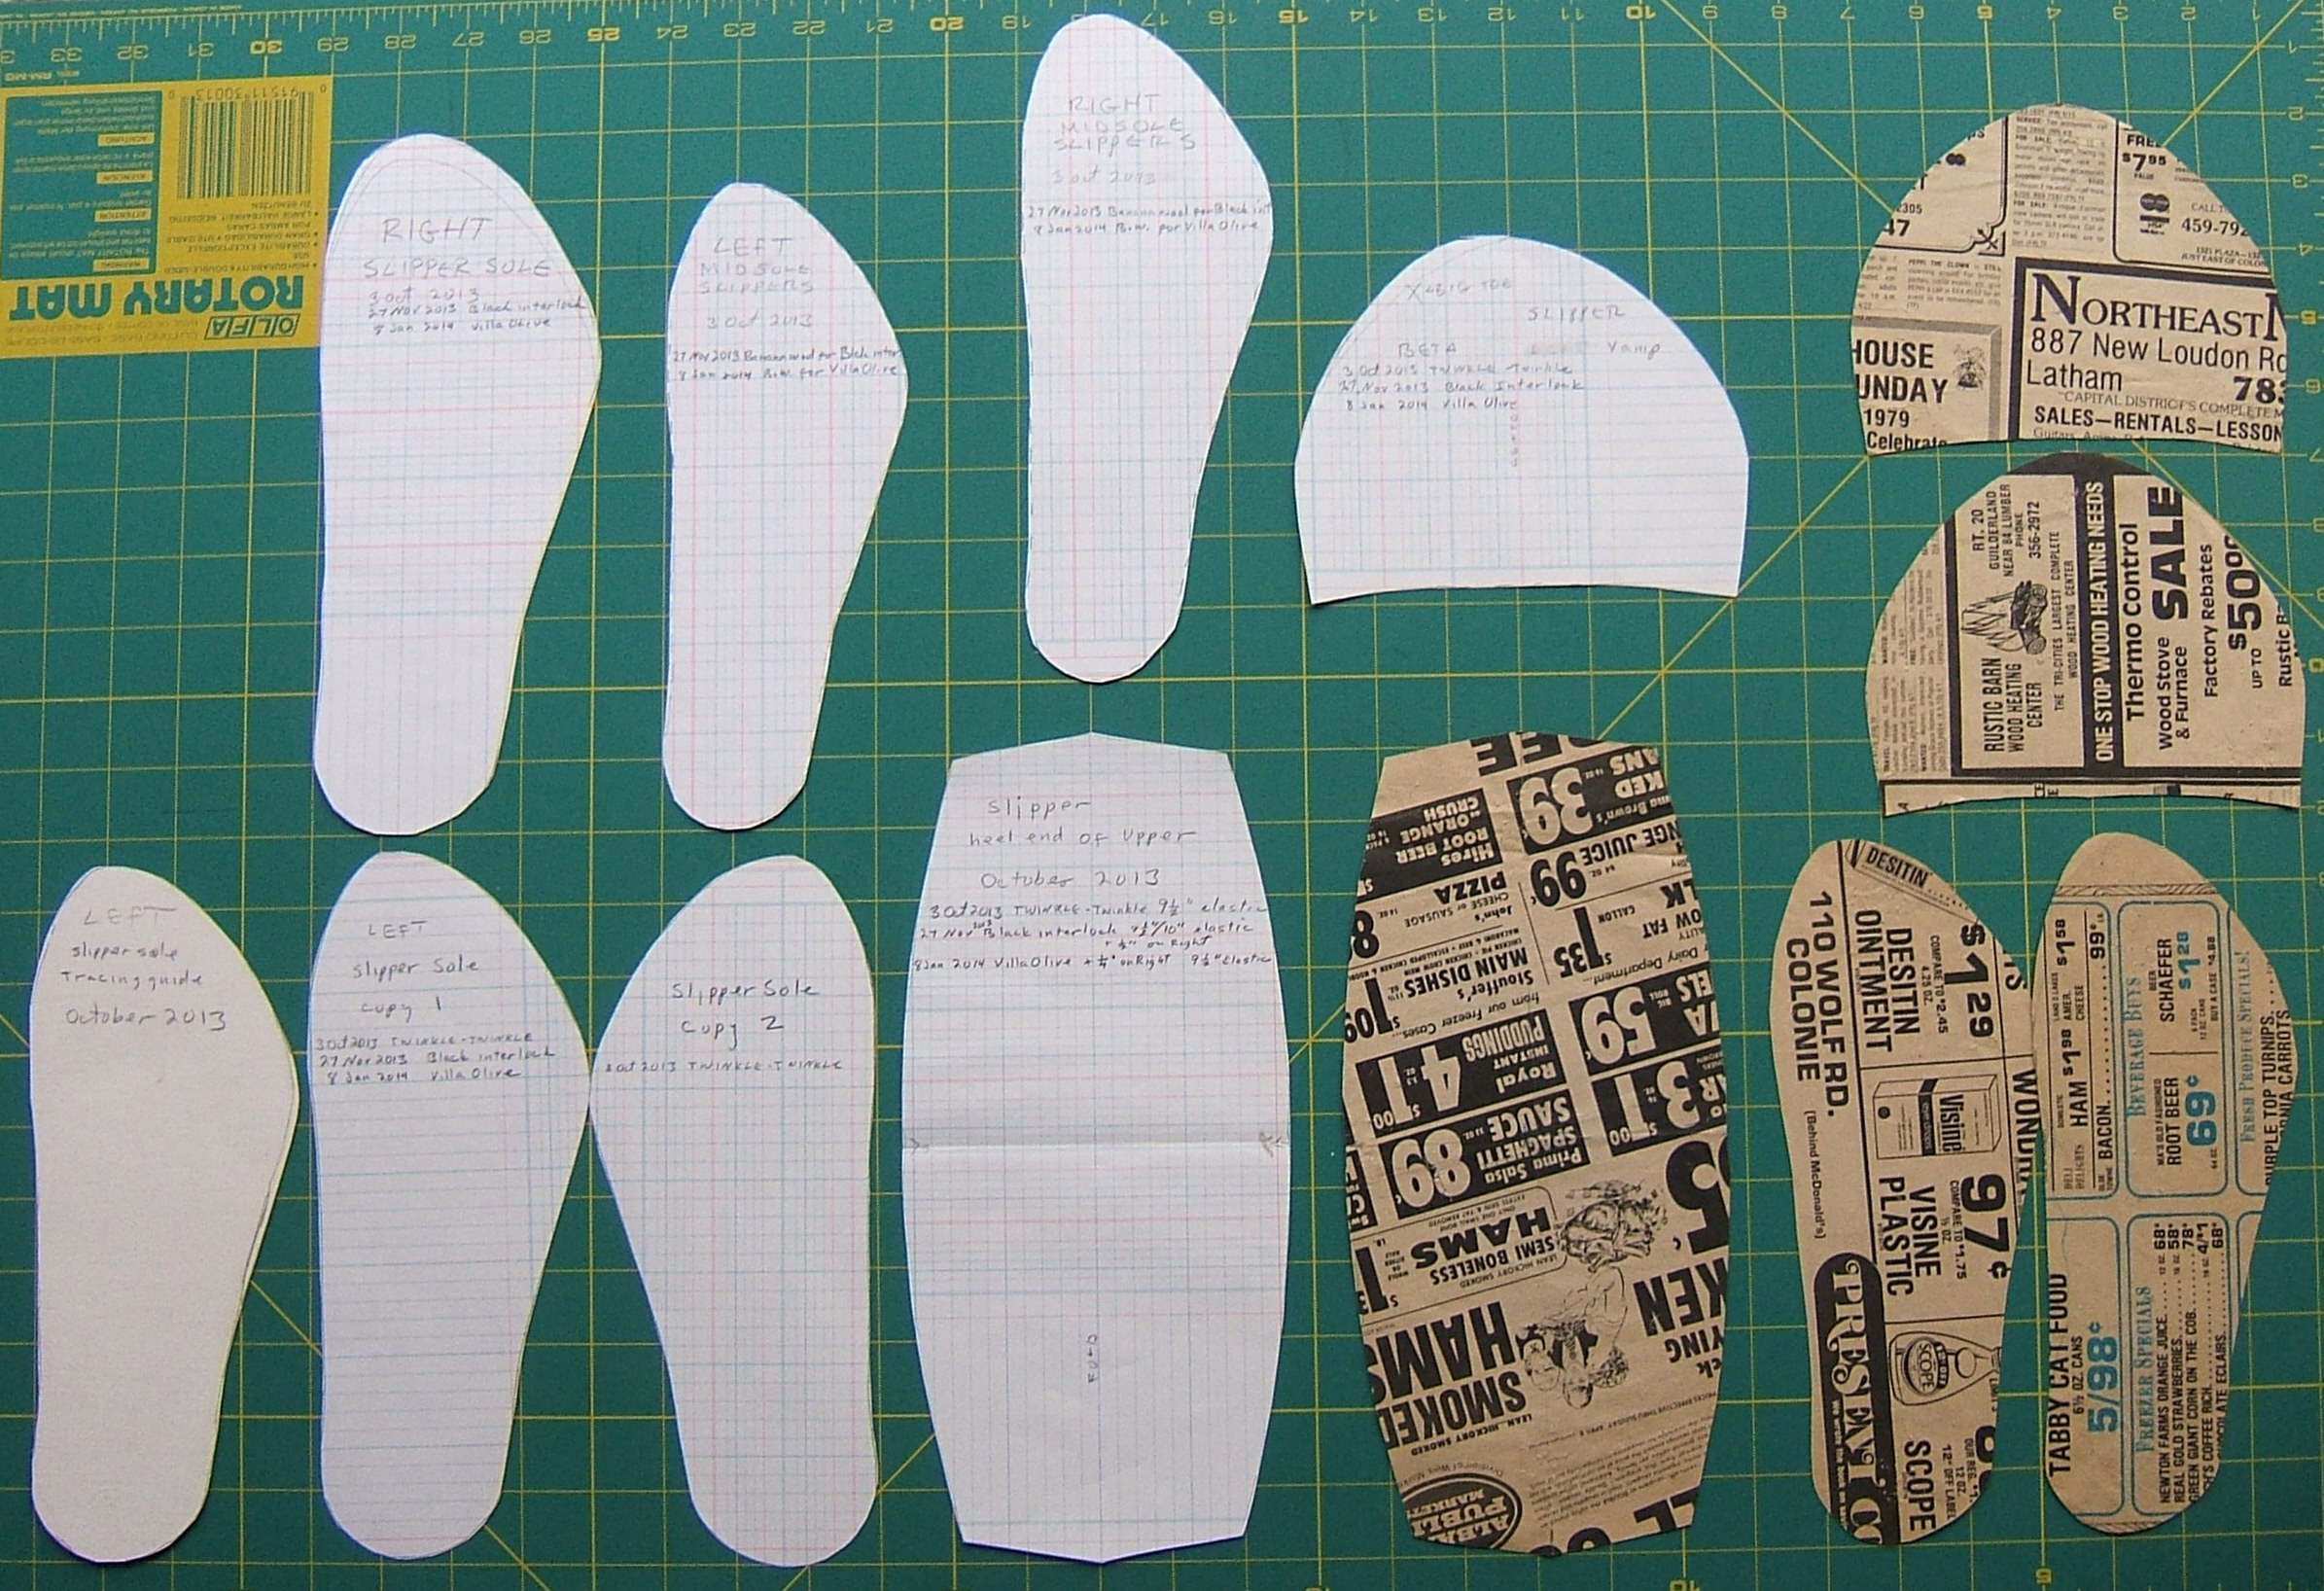
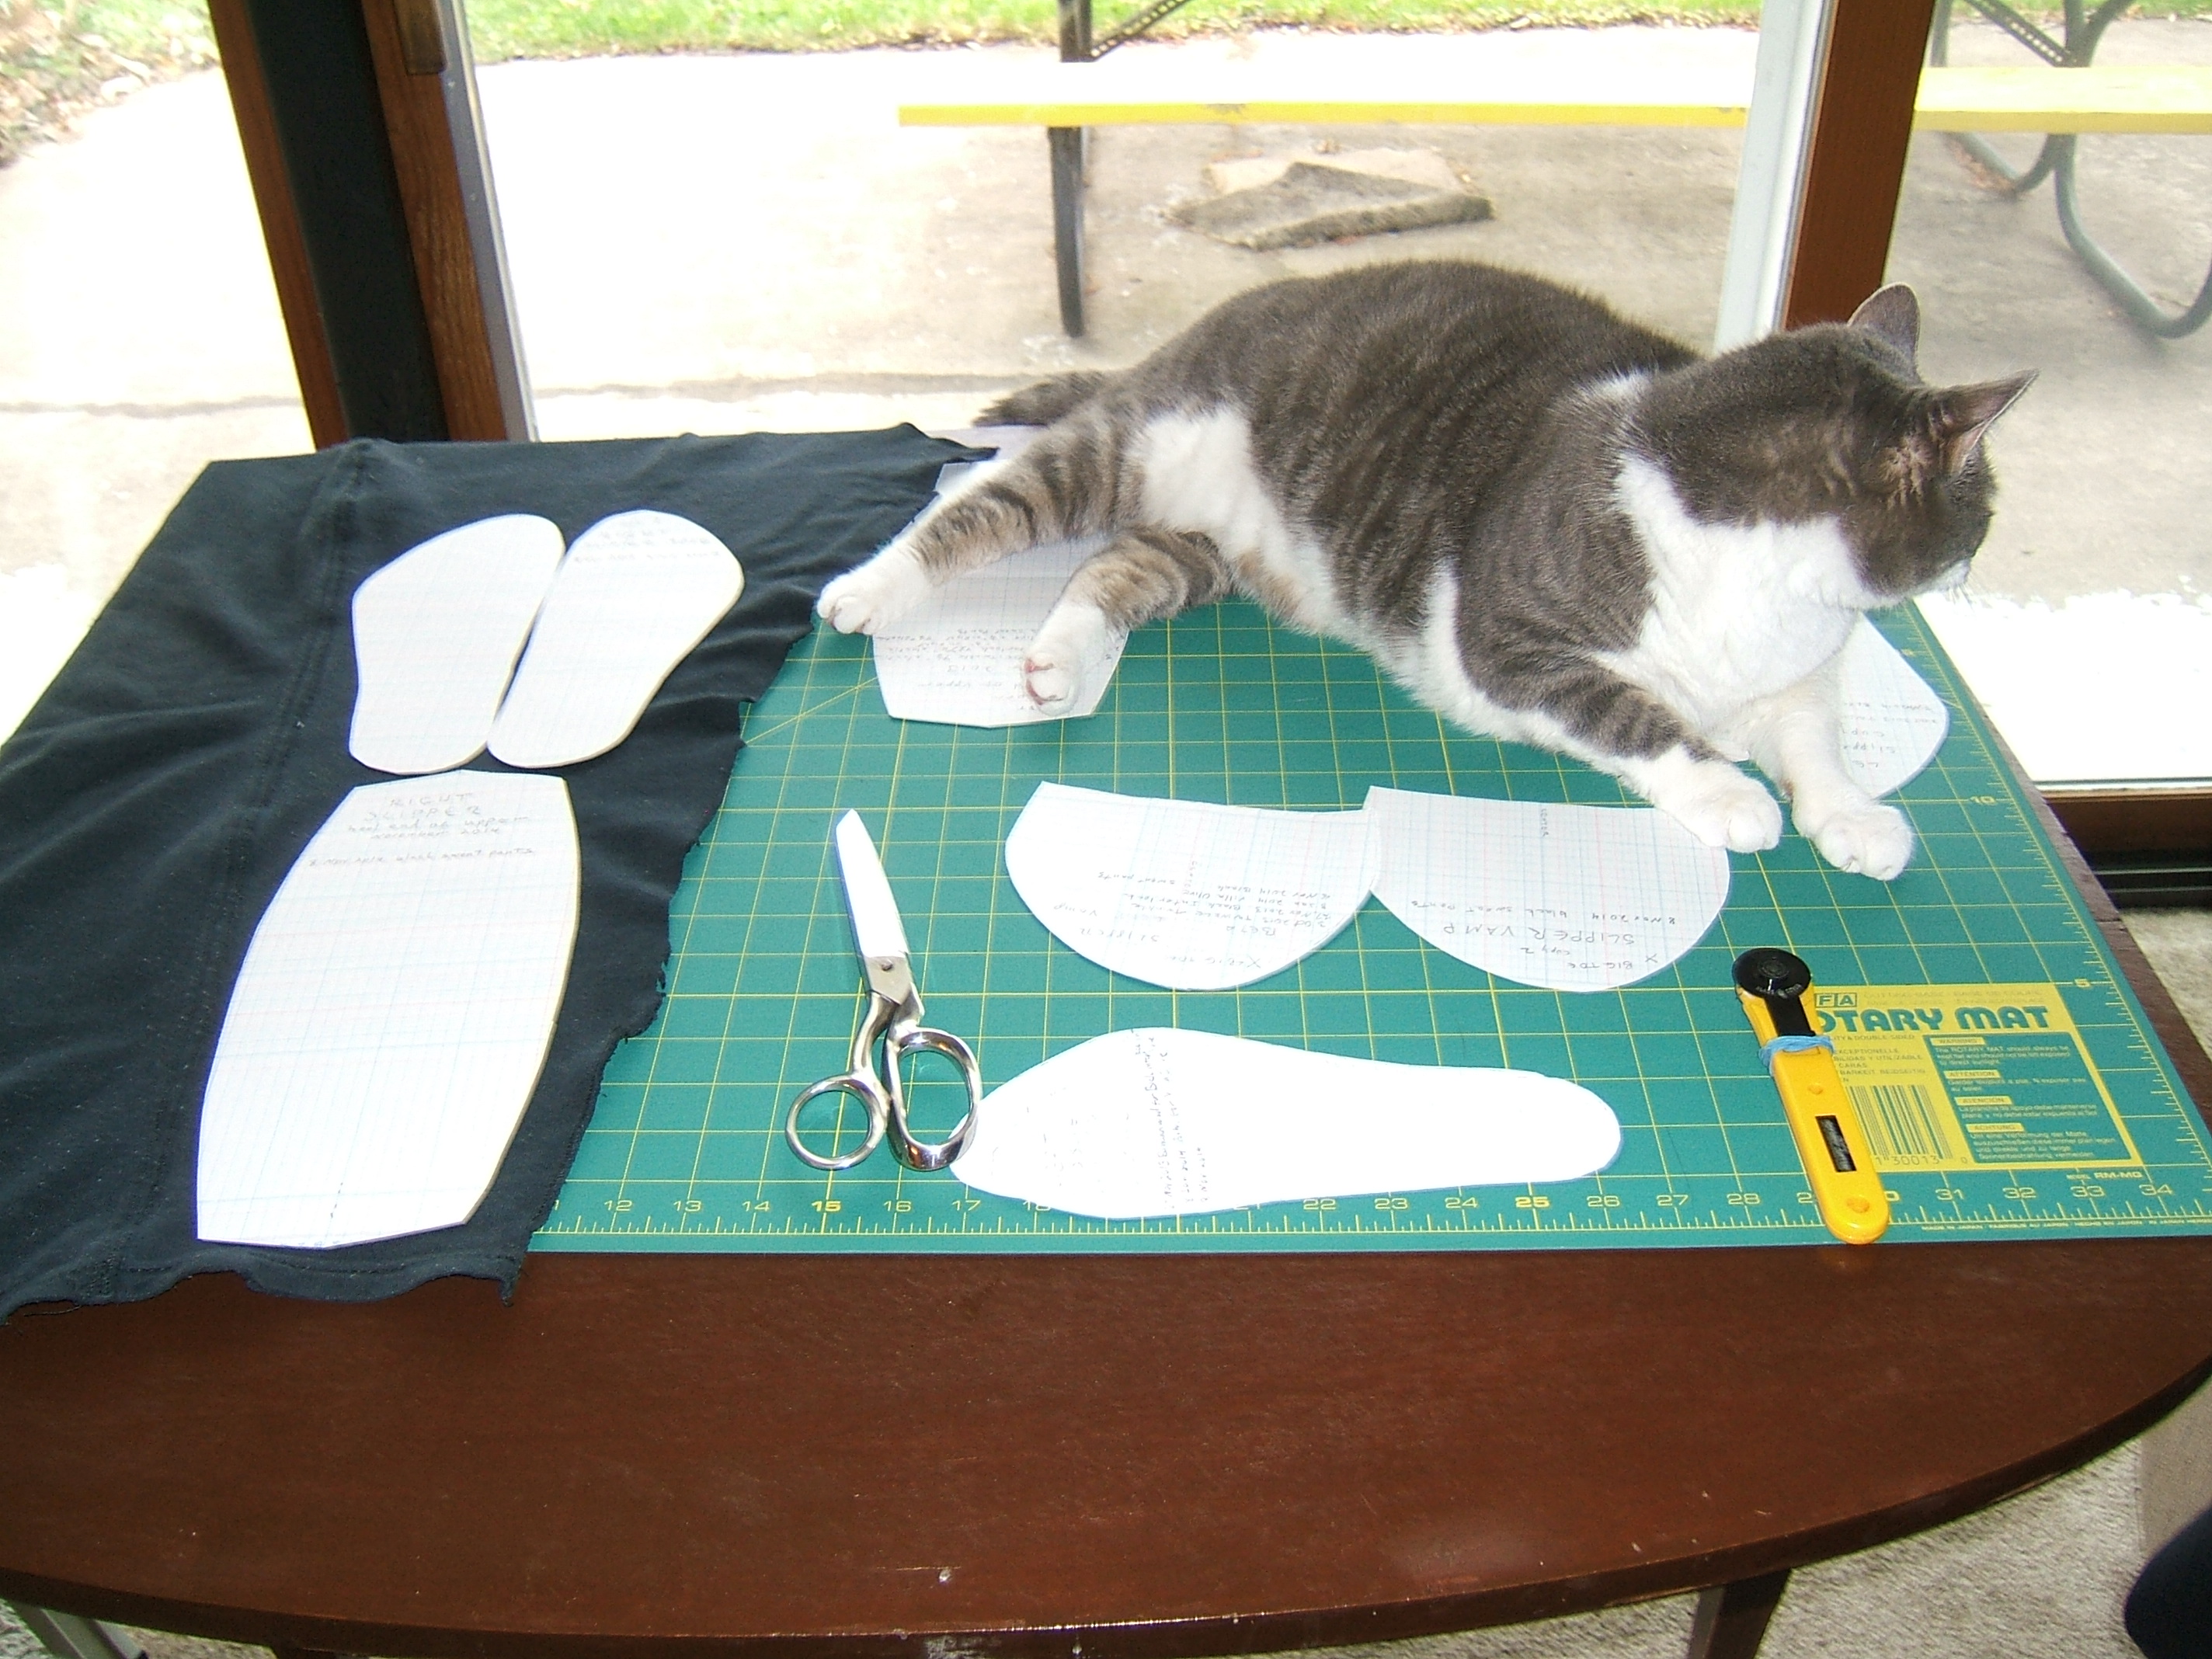
Having located suitable fabric, I dug the envelope of patterns out of the antique trunk. The yellowed newspapers are my old pattern, which I obtained back when patterns circulated on newspaper. When I got it, the sole piece was shaped like a Dr. Scholl insole and longer than my foot. That version is forty years gone. I traced around my foot to make the sole pattern you see here, and shortened the heel pattern to allow for the difference in length. I didn't make the heel pattern any narrower, and I left the vamp pattern exactly as it was. It must have been the seventies, because the slippers were made of scraps of polyester doubleknit. (That was a really good fabric for purely-ornamental garments; pity it was so over-used that it's still out of style.)
There are two copies of the vamp and sole because the slippers are made double. To make two slippers, cut two of the heel piece and four each of the sole and vamp. Optional: cut two extra soles of thick wool doubleknit; place between two sole pieces to make the slippers warmer on a cold floor.
Fold the heel piece in half lengthwise, wrong sides together. Tack a piece of quarter-inch elastic inside the fold, where its ends will be caught in the seam. Baste the ends of the heel piece to the right side of the short, shallow edge of one of the vamp pieces. Place the fold to the inside and the raw edge of the long side of the heel piece lined up with the long, deep curve of the vamp. Sew the other vamp to this vamp, right sides together and the heel piece caught in between. Turn the vamp right side out and you will see a completed upper with two right sides.
Stack the sole pieces and sew them to the upper, right sides together. Since the sole also has two right sides, it doesn't matter how you sew the first slipper as long as the second slipper is sewn the other way. Turn the slipper right-side out, and it's finished.
When I got the pattern out of storage last year, it got a little more complicated.
The pieces made of spread-sheet paper are refinements I made at that time. First I made a new tracing of my foot to take the permanent swelling corns have left into account. The three soles in the bottom row are identical copies of this tracing; the "tracing guide" is a belatedly-made cardboard copy made to assist in designing the right sole after I decided that I needed to take the difference in my feet into account. I've always fitted the right foot, but when using cotton jersey instead of polyester doubleknit, the left slipper would look a bit rumpled if made to fit the right foot. Also, when I made the "twinkle-twinkle" slippers, I had to really skimp on the seams to get my right foot in. (By good luck I had made the left slipper first, and tried it on inside out.)
Then I decided that the vamps really ought to be left and right, and added a tiny bit to one side of the pattern. If you click to enlarge the photograph of the patterns, you can see by the tracing of the original that the change was subtle; if I didn't mark the side with the extra fabric when I cut out, I'd have no idea how to put the vamp together.

Since the Villa Olive slippers fit pretty well, I may decree the pattern finished, and make duplicates of the new pieces before cutting into the sweat pants.
Not tomorrow, because a fit day to go outside is predicted for the morning, and in the evening it's First Friday.
I am definitely not going to have these slippers to wear to church next Sunday.
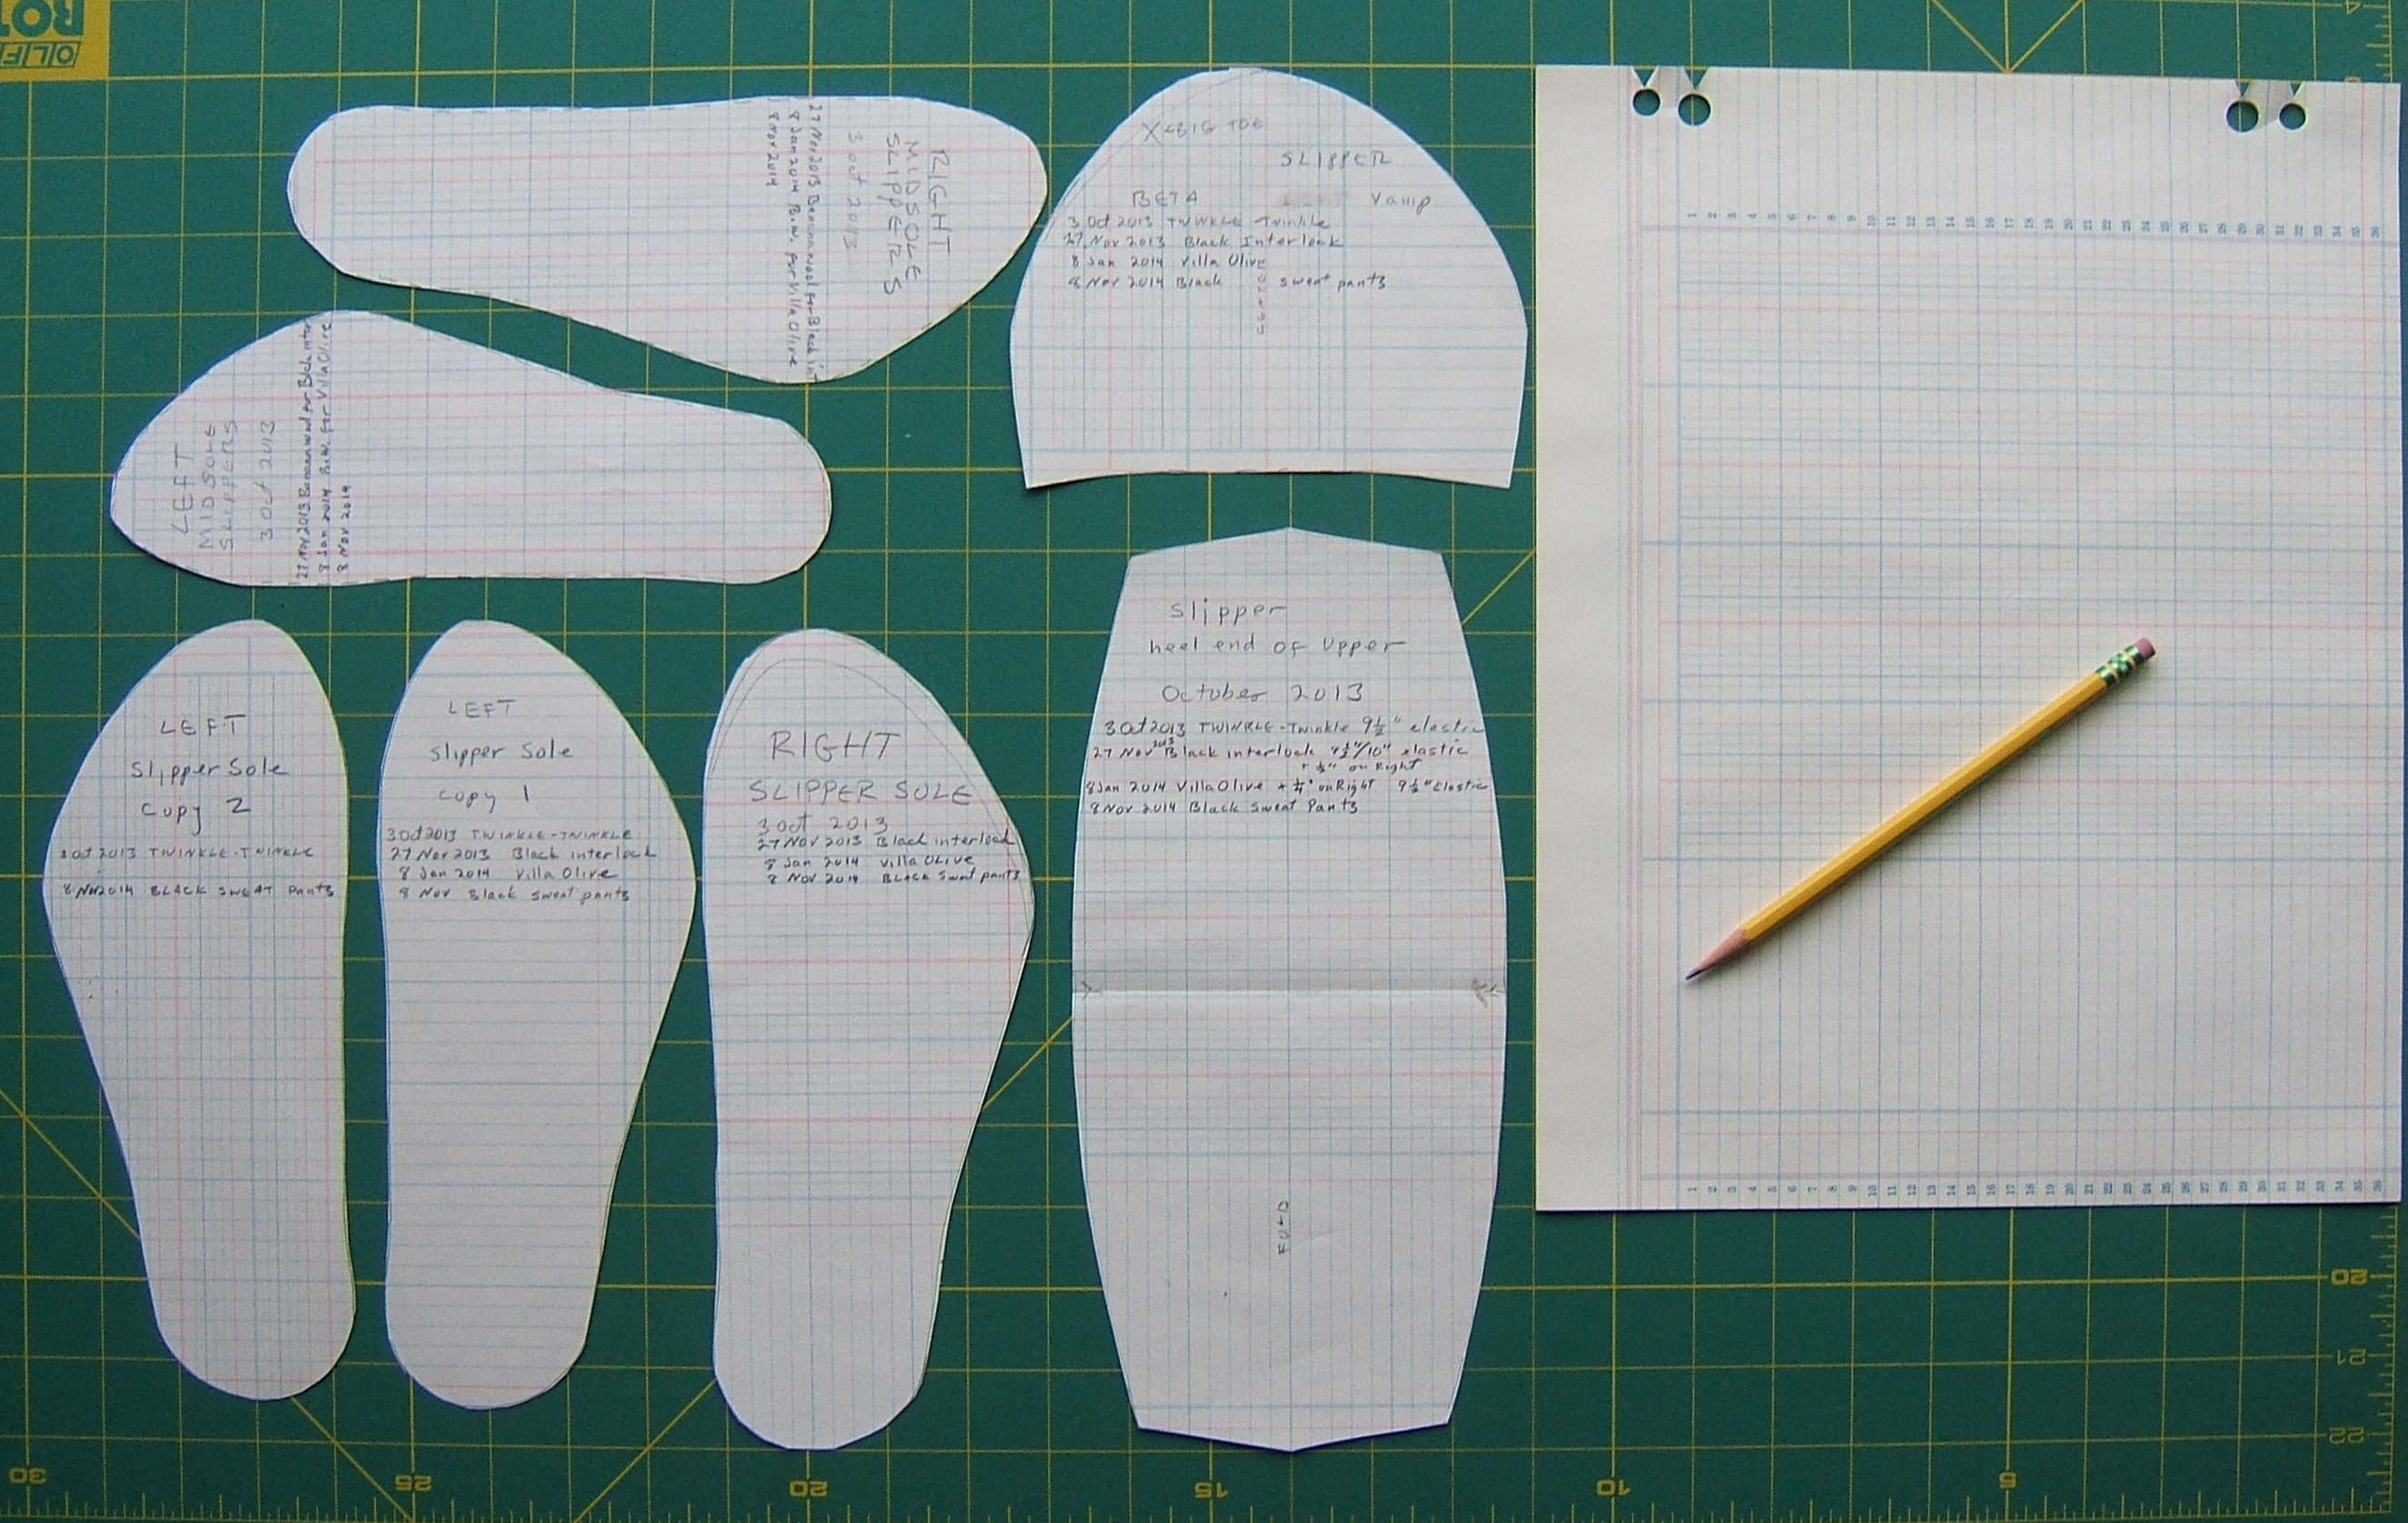
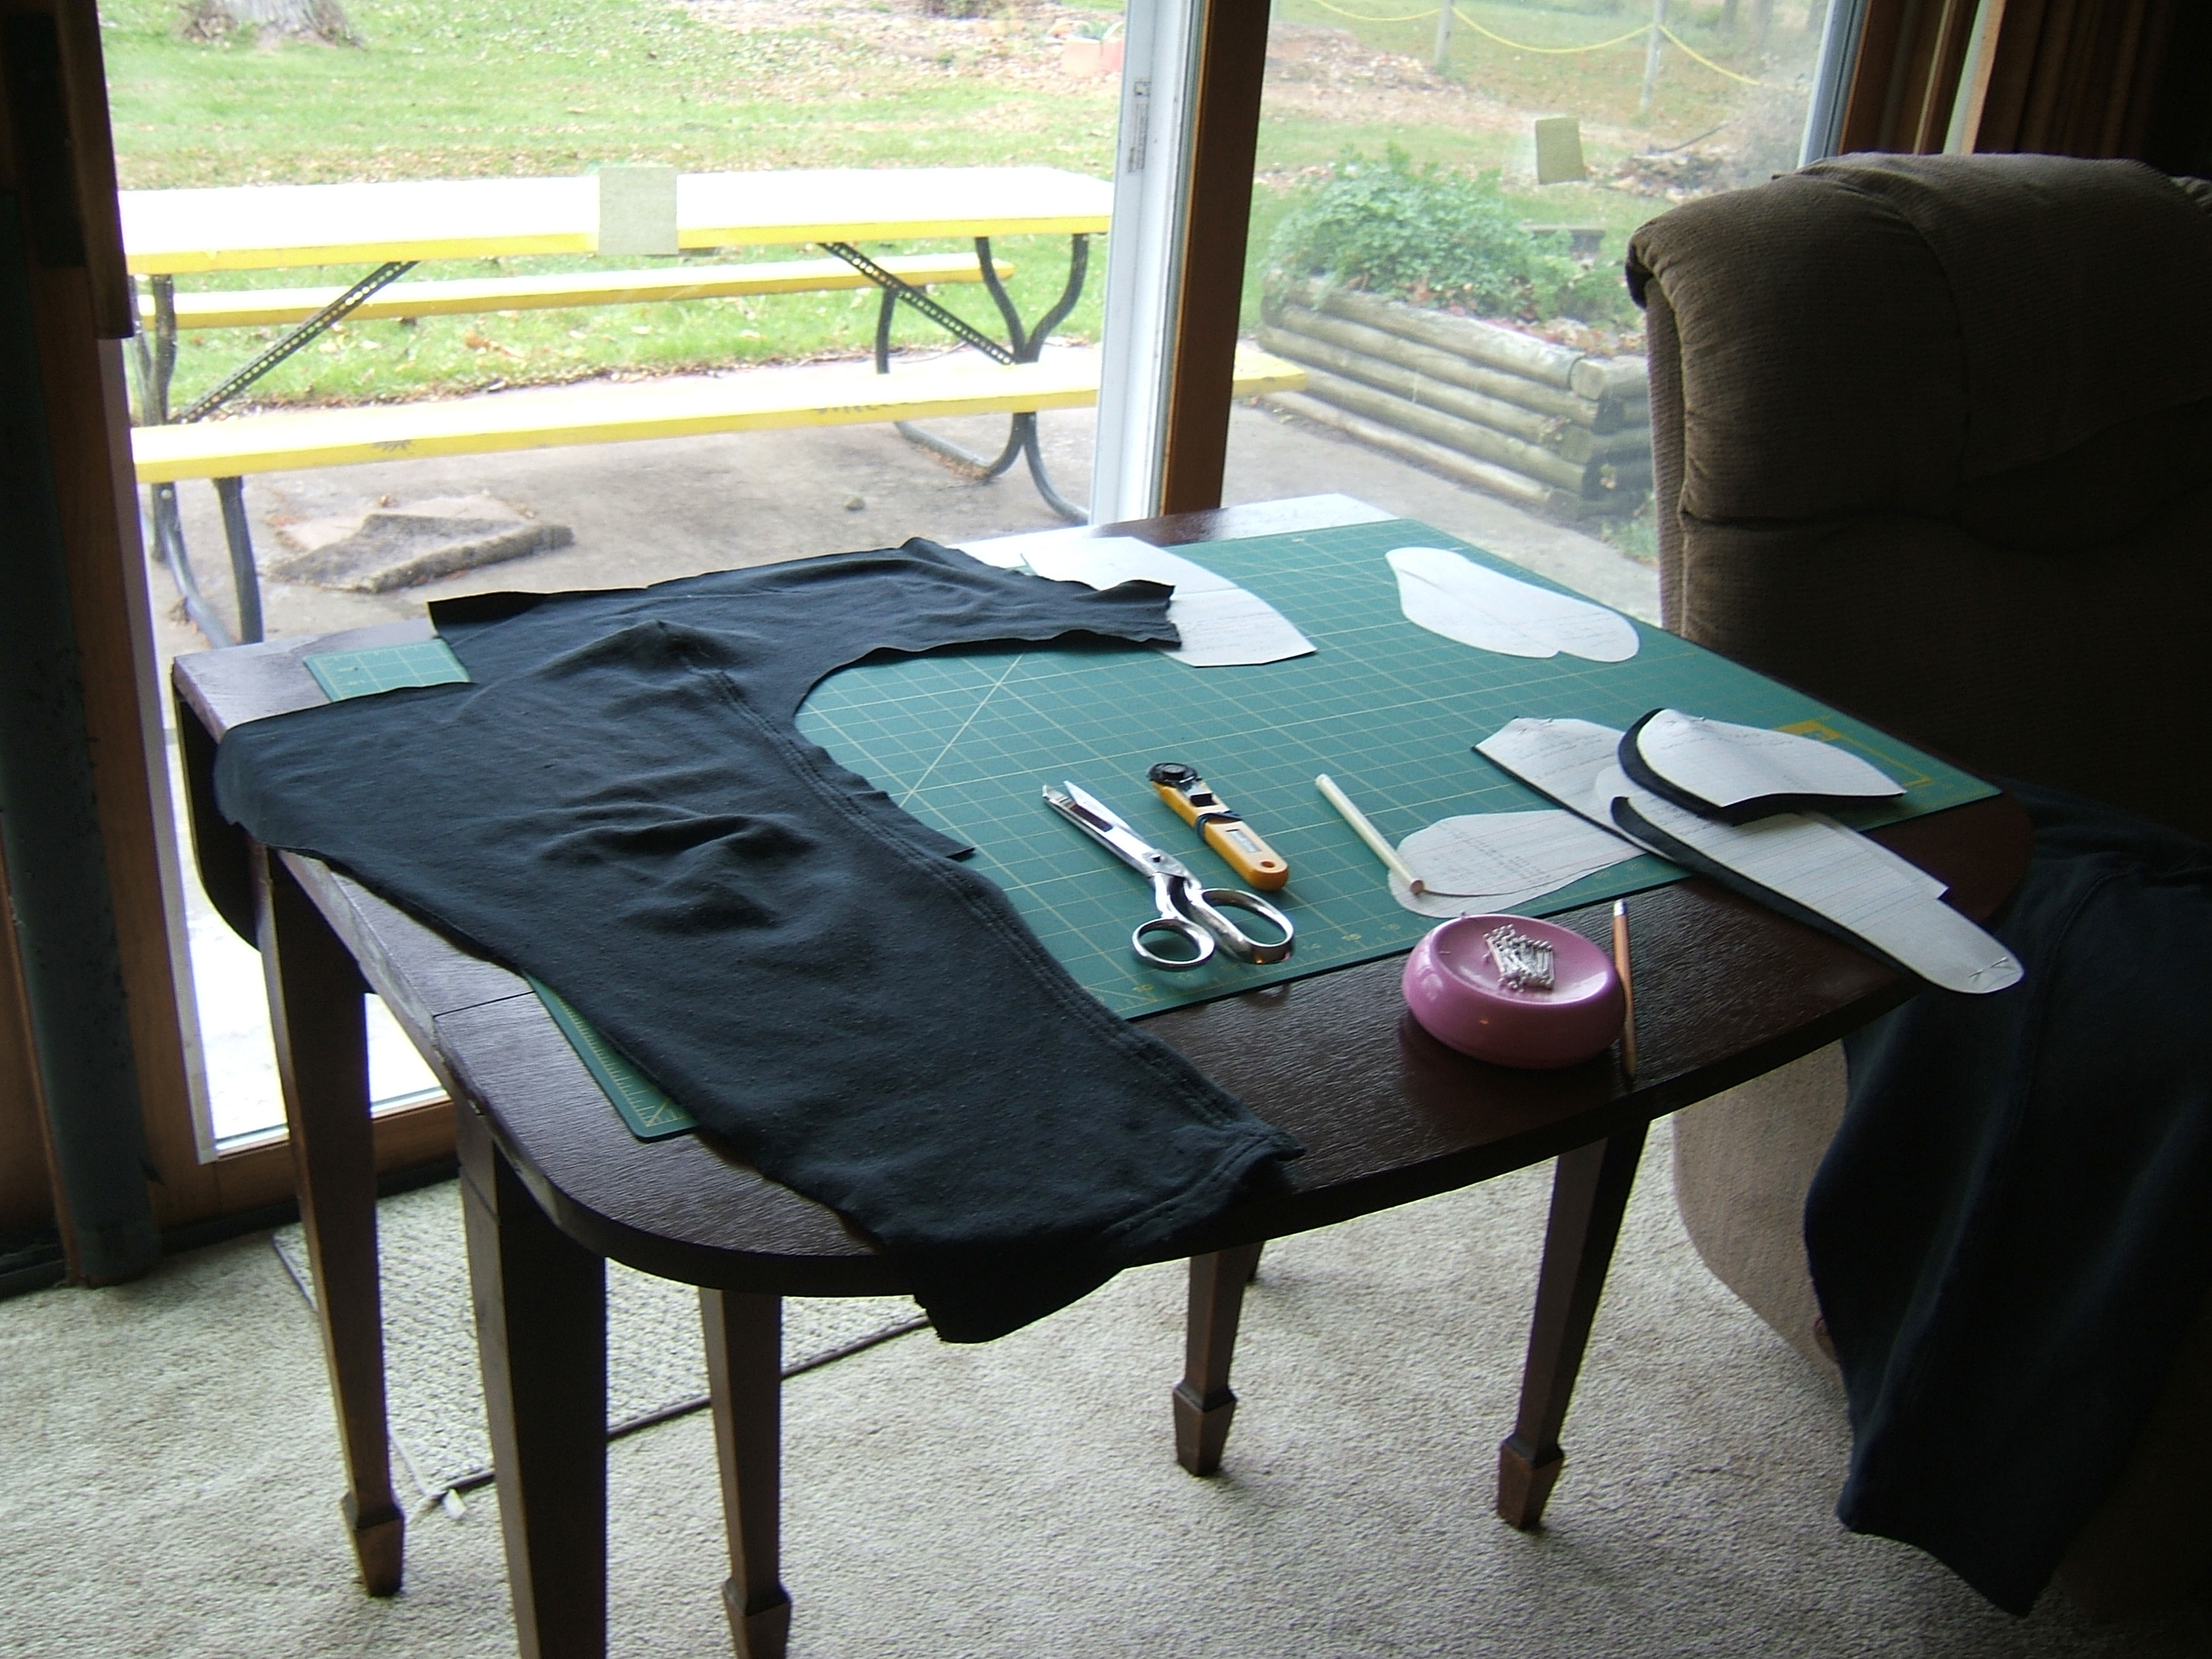
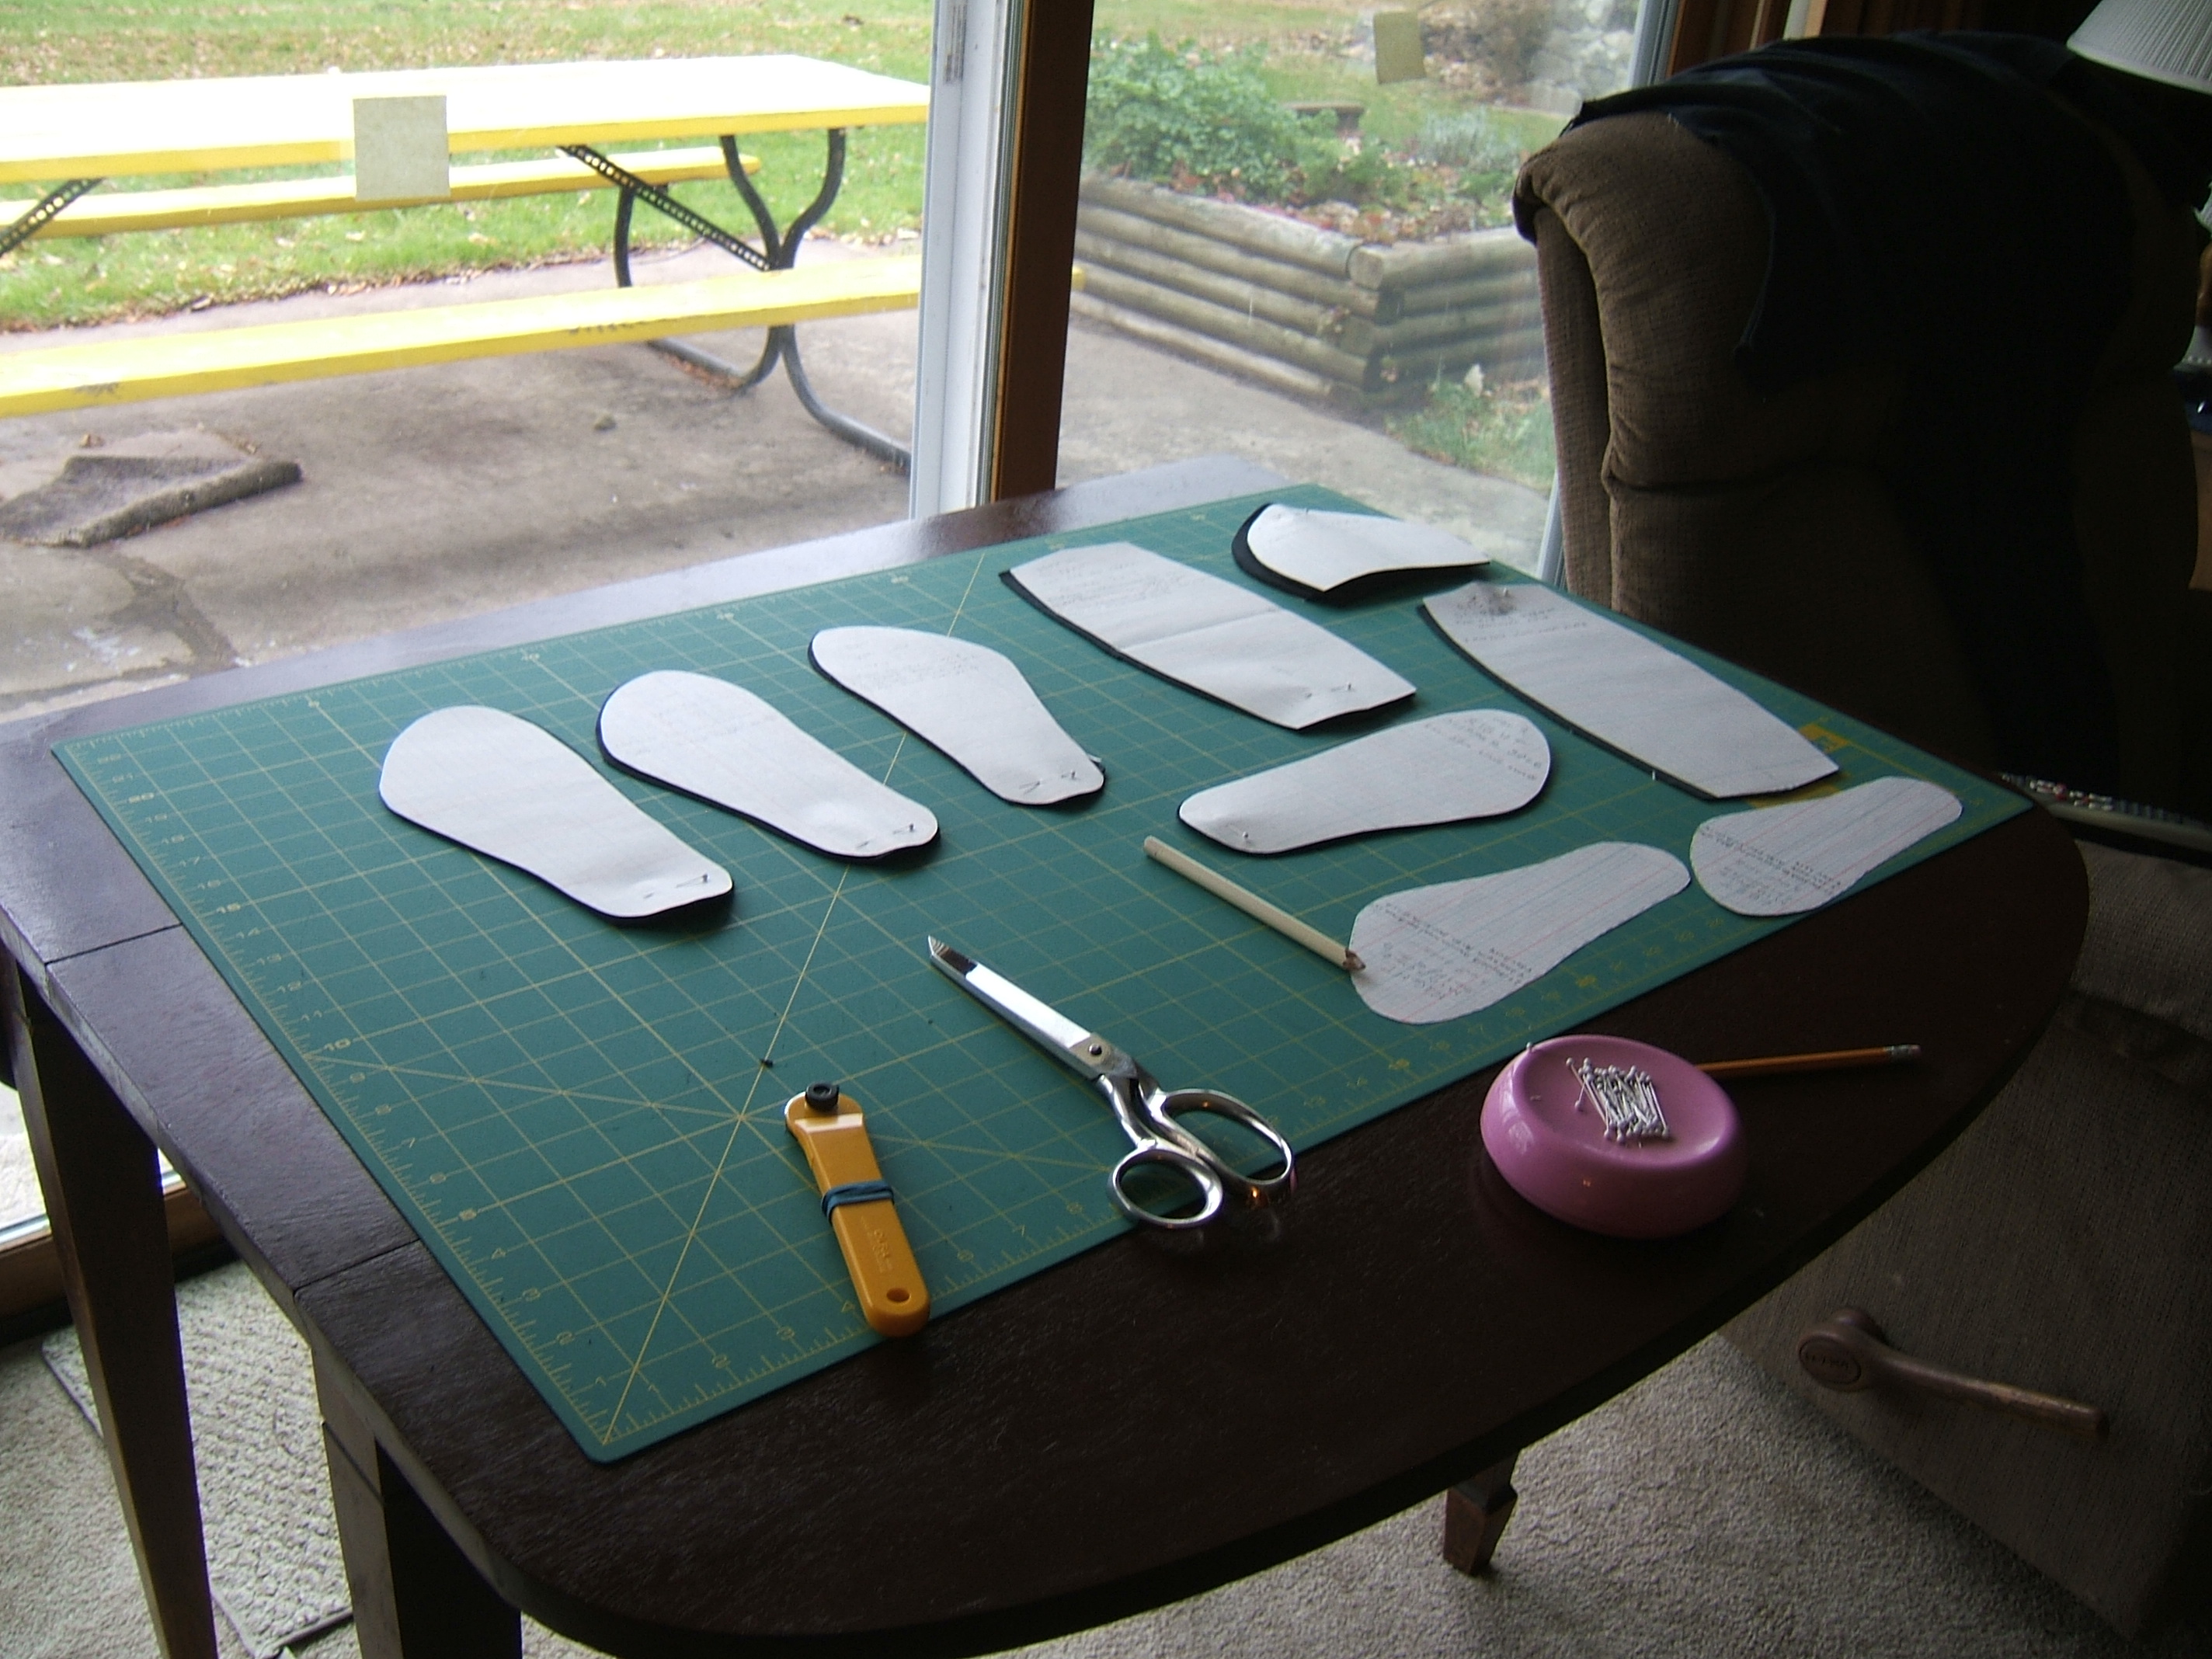
Wouldn't you know, the piece that has a tracing guide is the piece that I already have two copies of. But spread-sheet paper is fairly easy to trace around. I made an extra copy of the right sole and the vamp, and made a right heel piece by adding the quarter inch to the pattern instead of adding it at cutting time. I should have made four copies of the vamp, to match the other pieces, but I just used two copies twice. Scattered on the board, the pattern looked like a lot of paper. Since the finished product is tiny, I'd envisioned taking one slipper off each ankle of the worn-out sweat pants.
Is there really enough good fabric in these pants to cut two slippers?
Ayup.
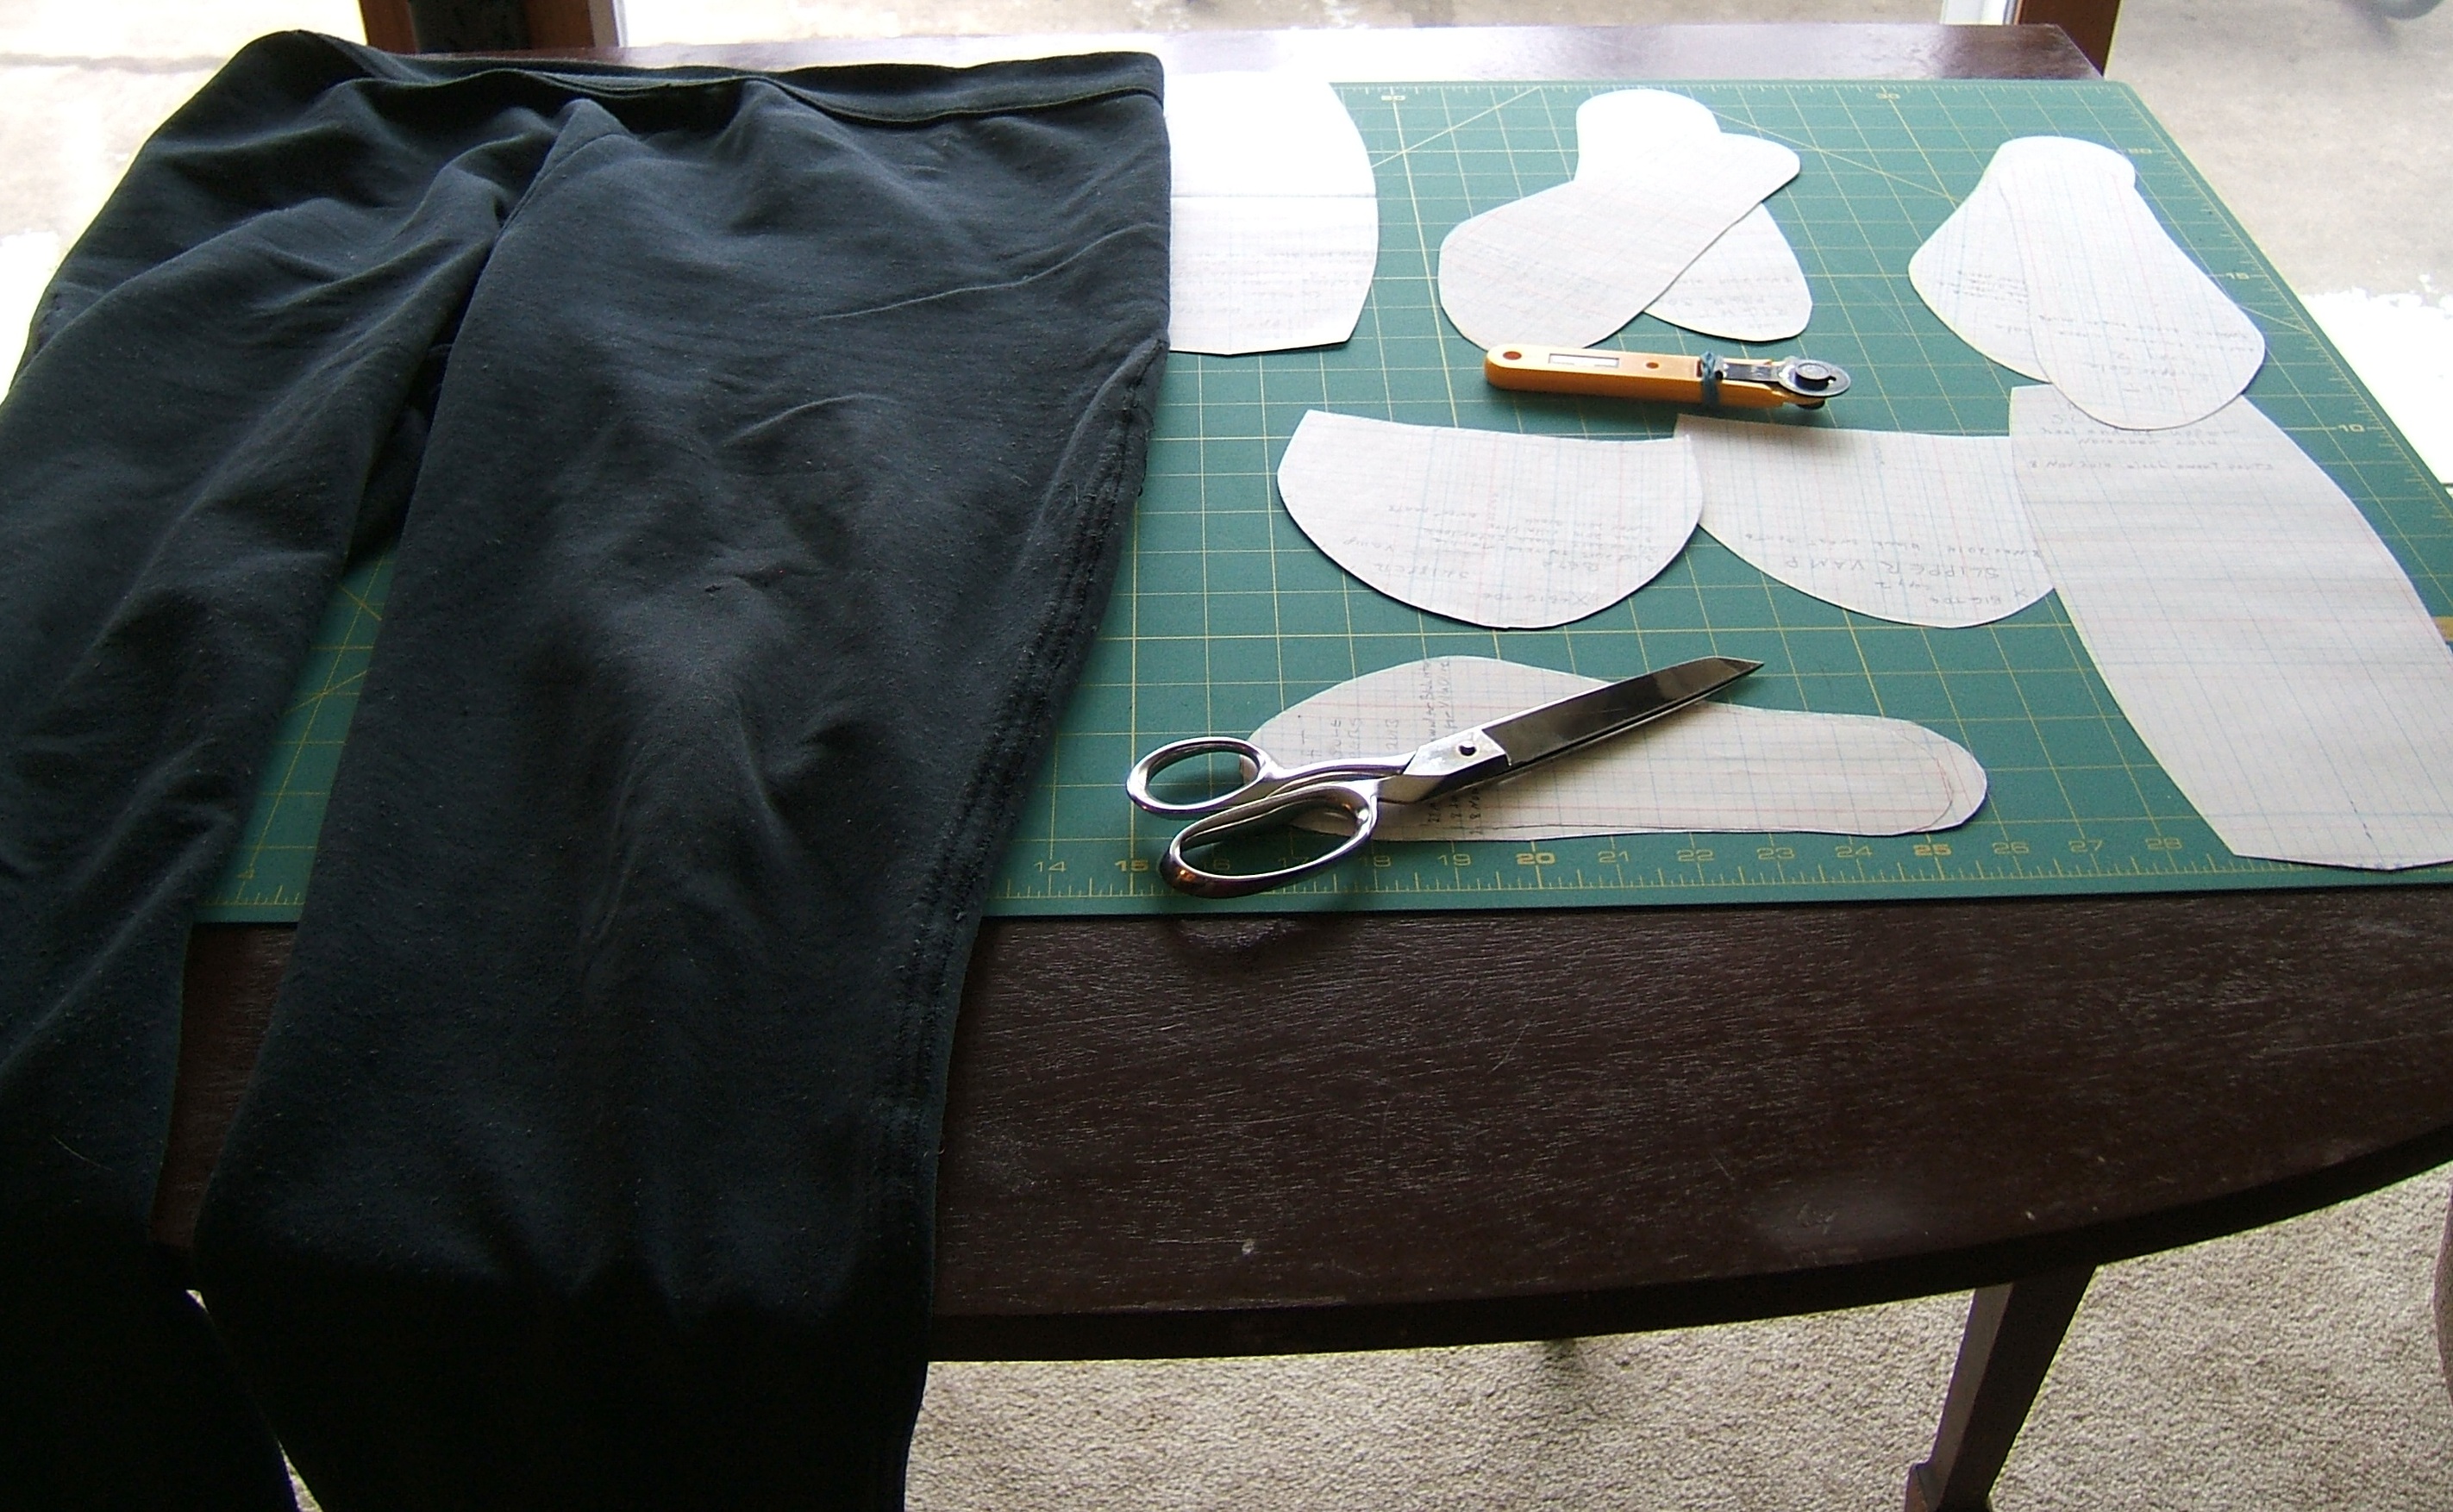
After cutting the pants in half along the inseams and center seams, I got the entire upper of the right slipper out of the back of one leg, and cut all four vamps just below the waist.
Done with the sweat pants. Now where did I put the banana wool?
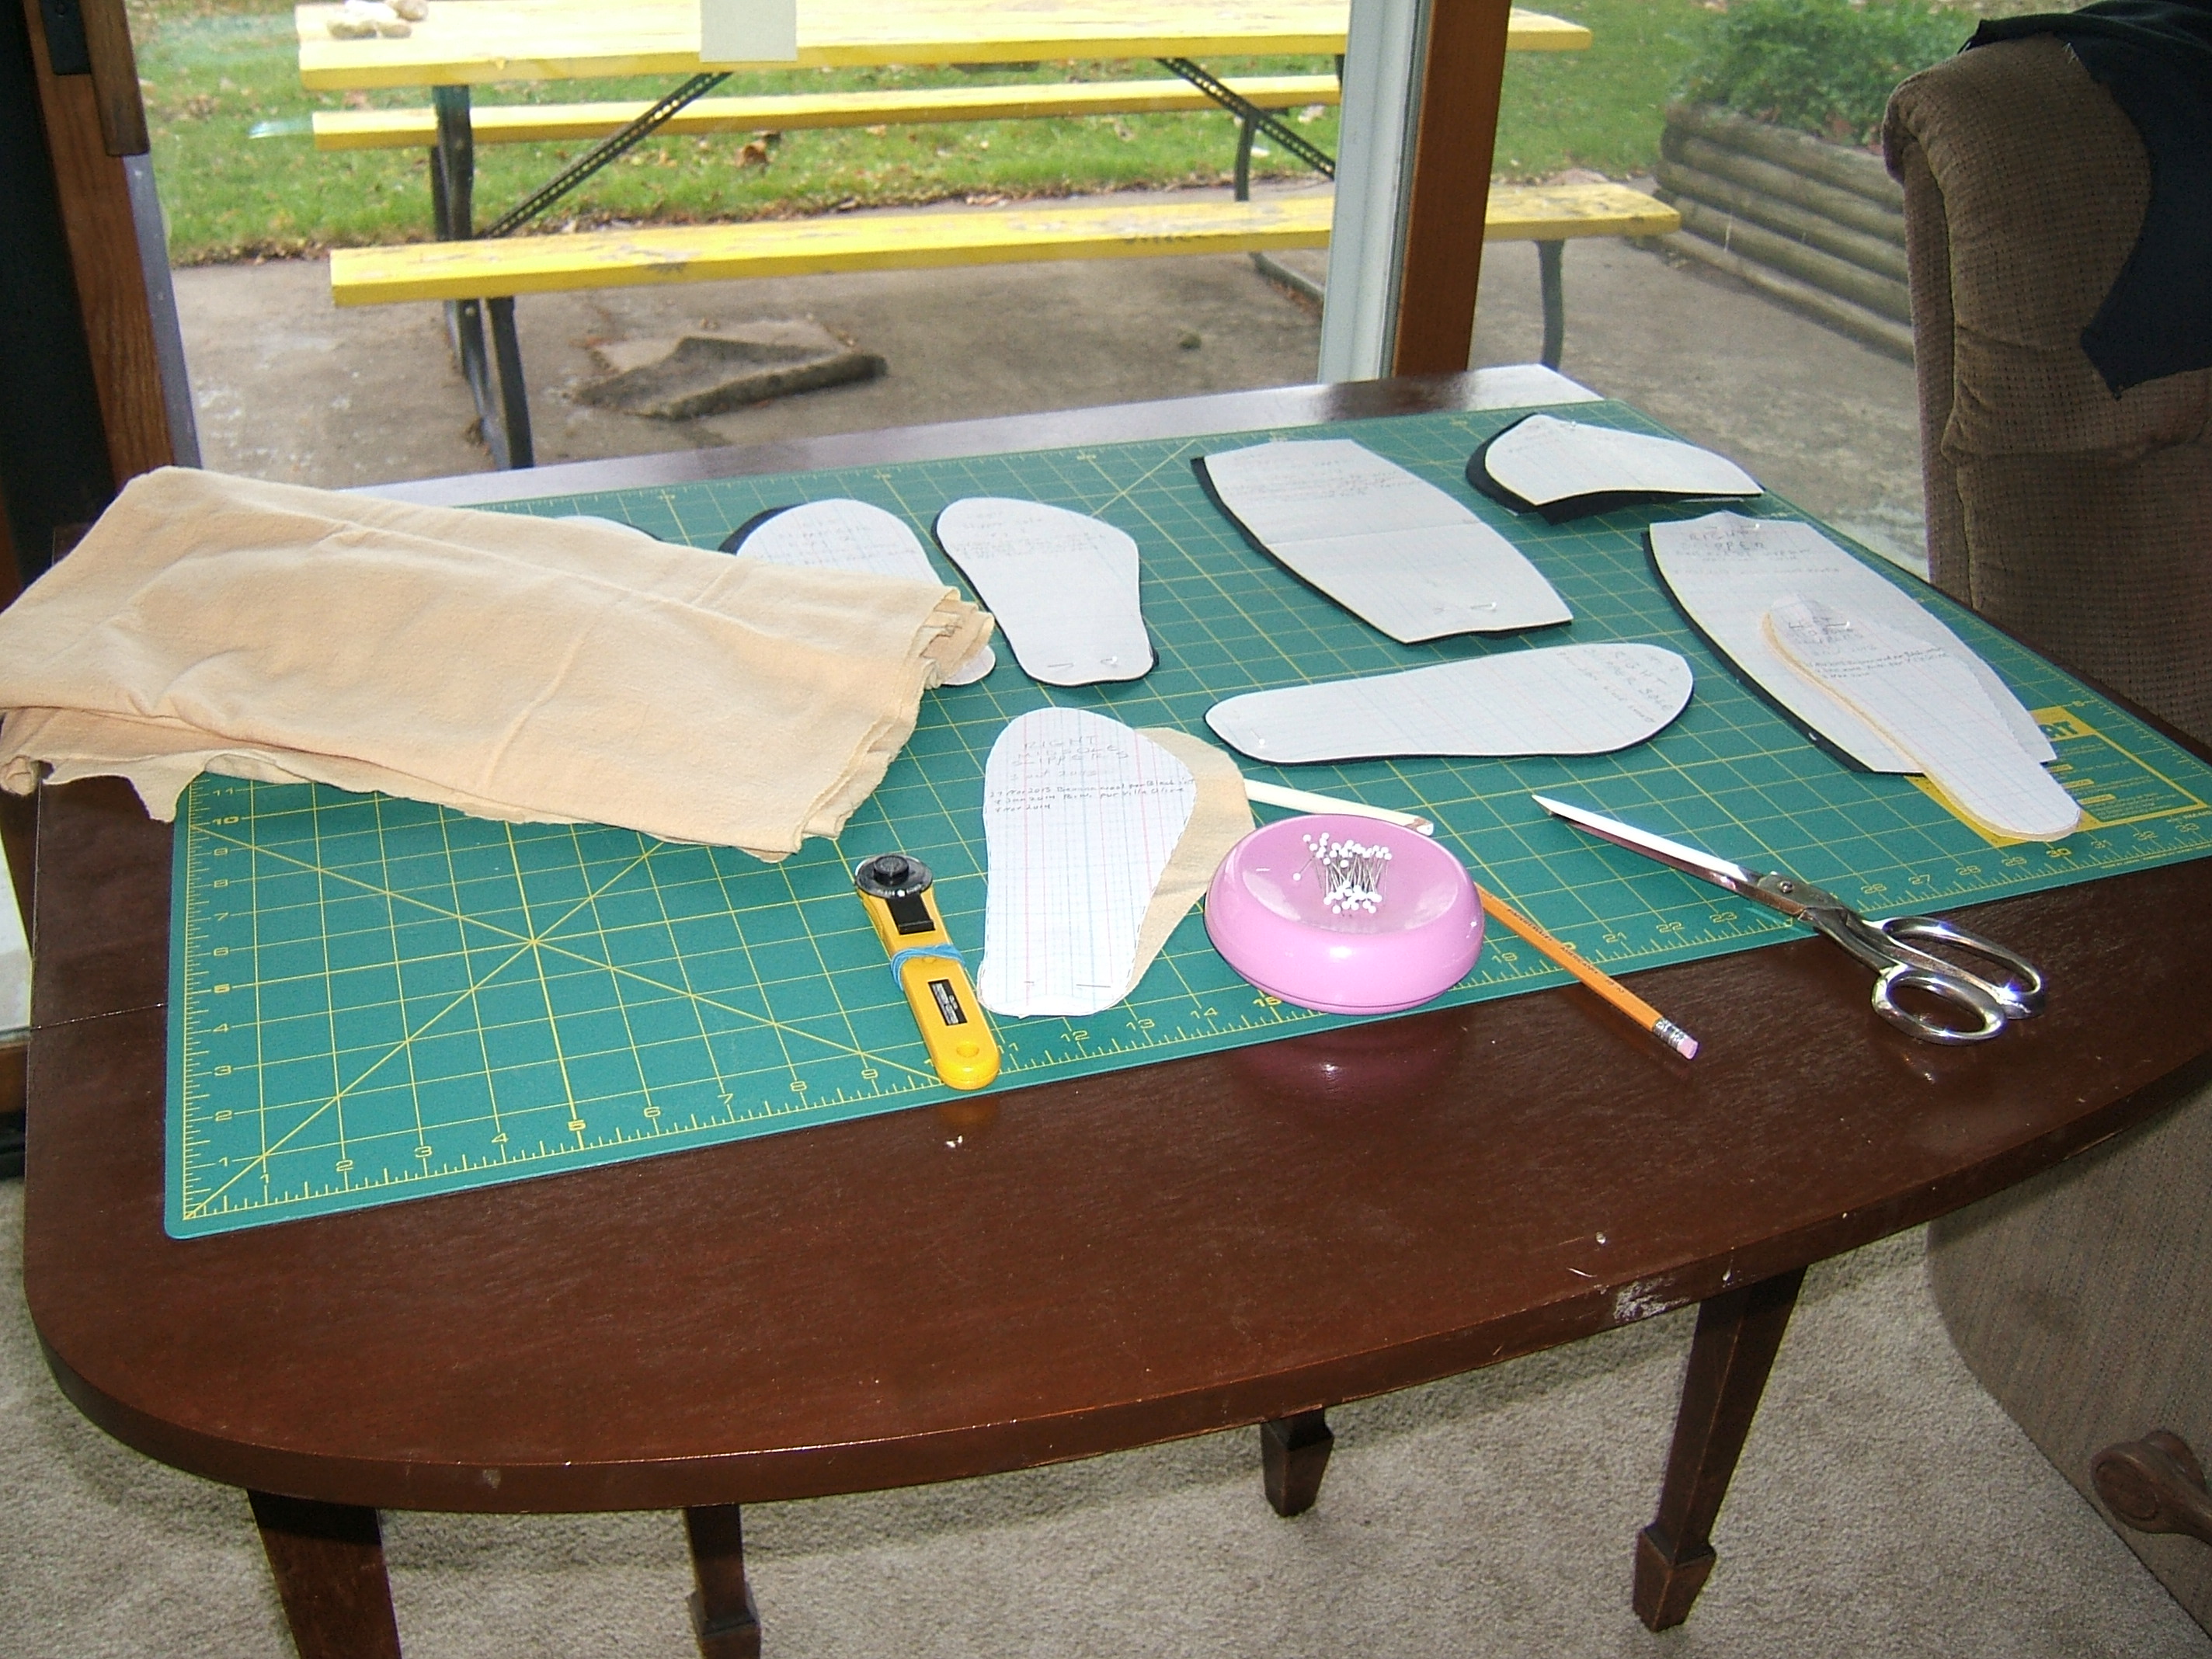
It was on the shelf with the other knit fabrics, of all places, in only the second place I looked. The first place was in the box of wool scraps. There were some other scraps in the box that probably would have done at least as well.
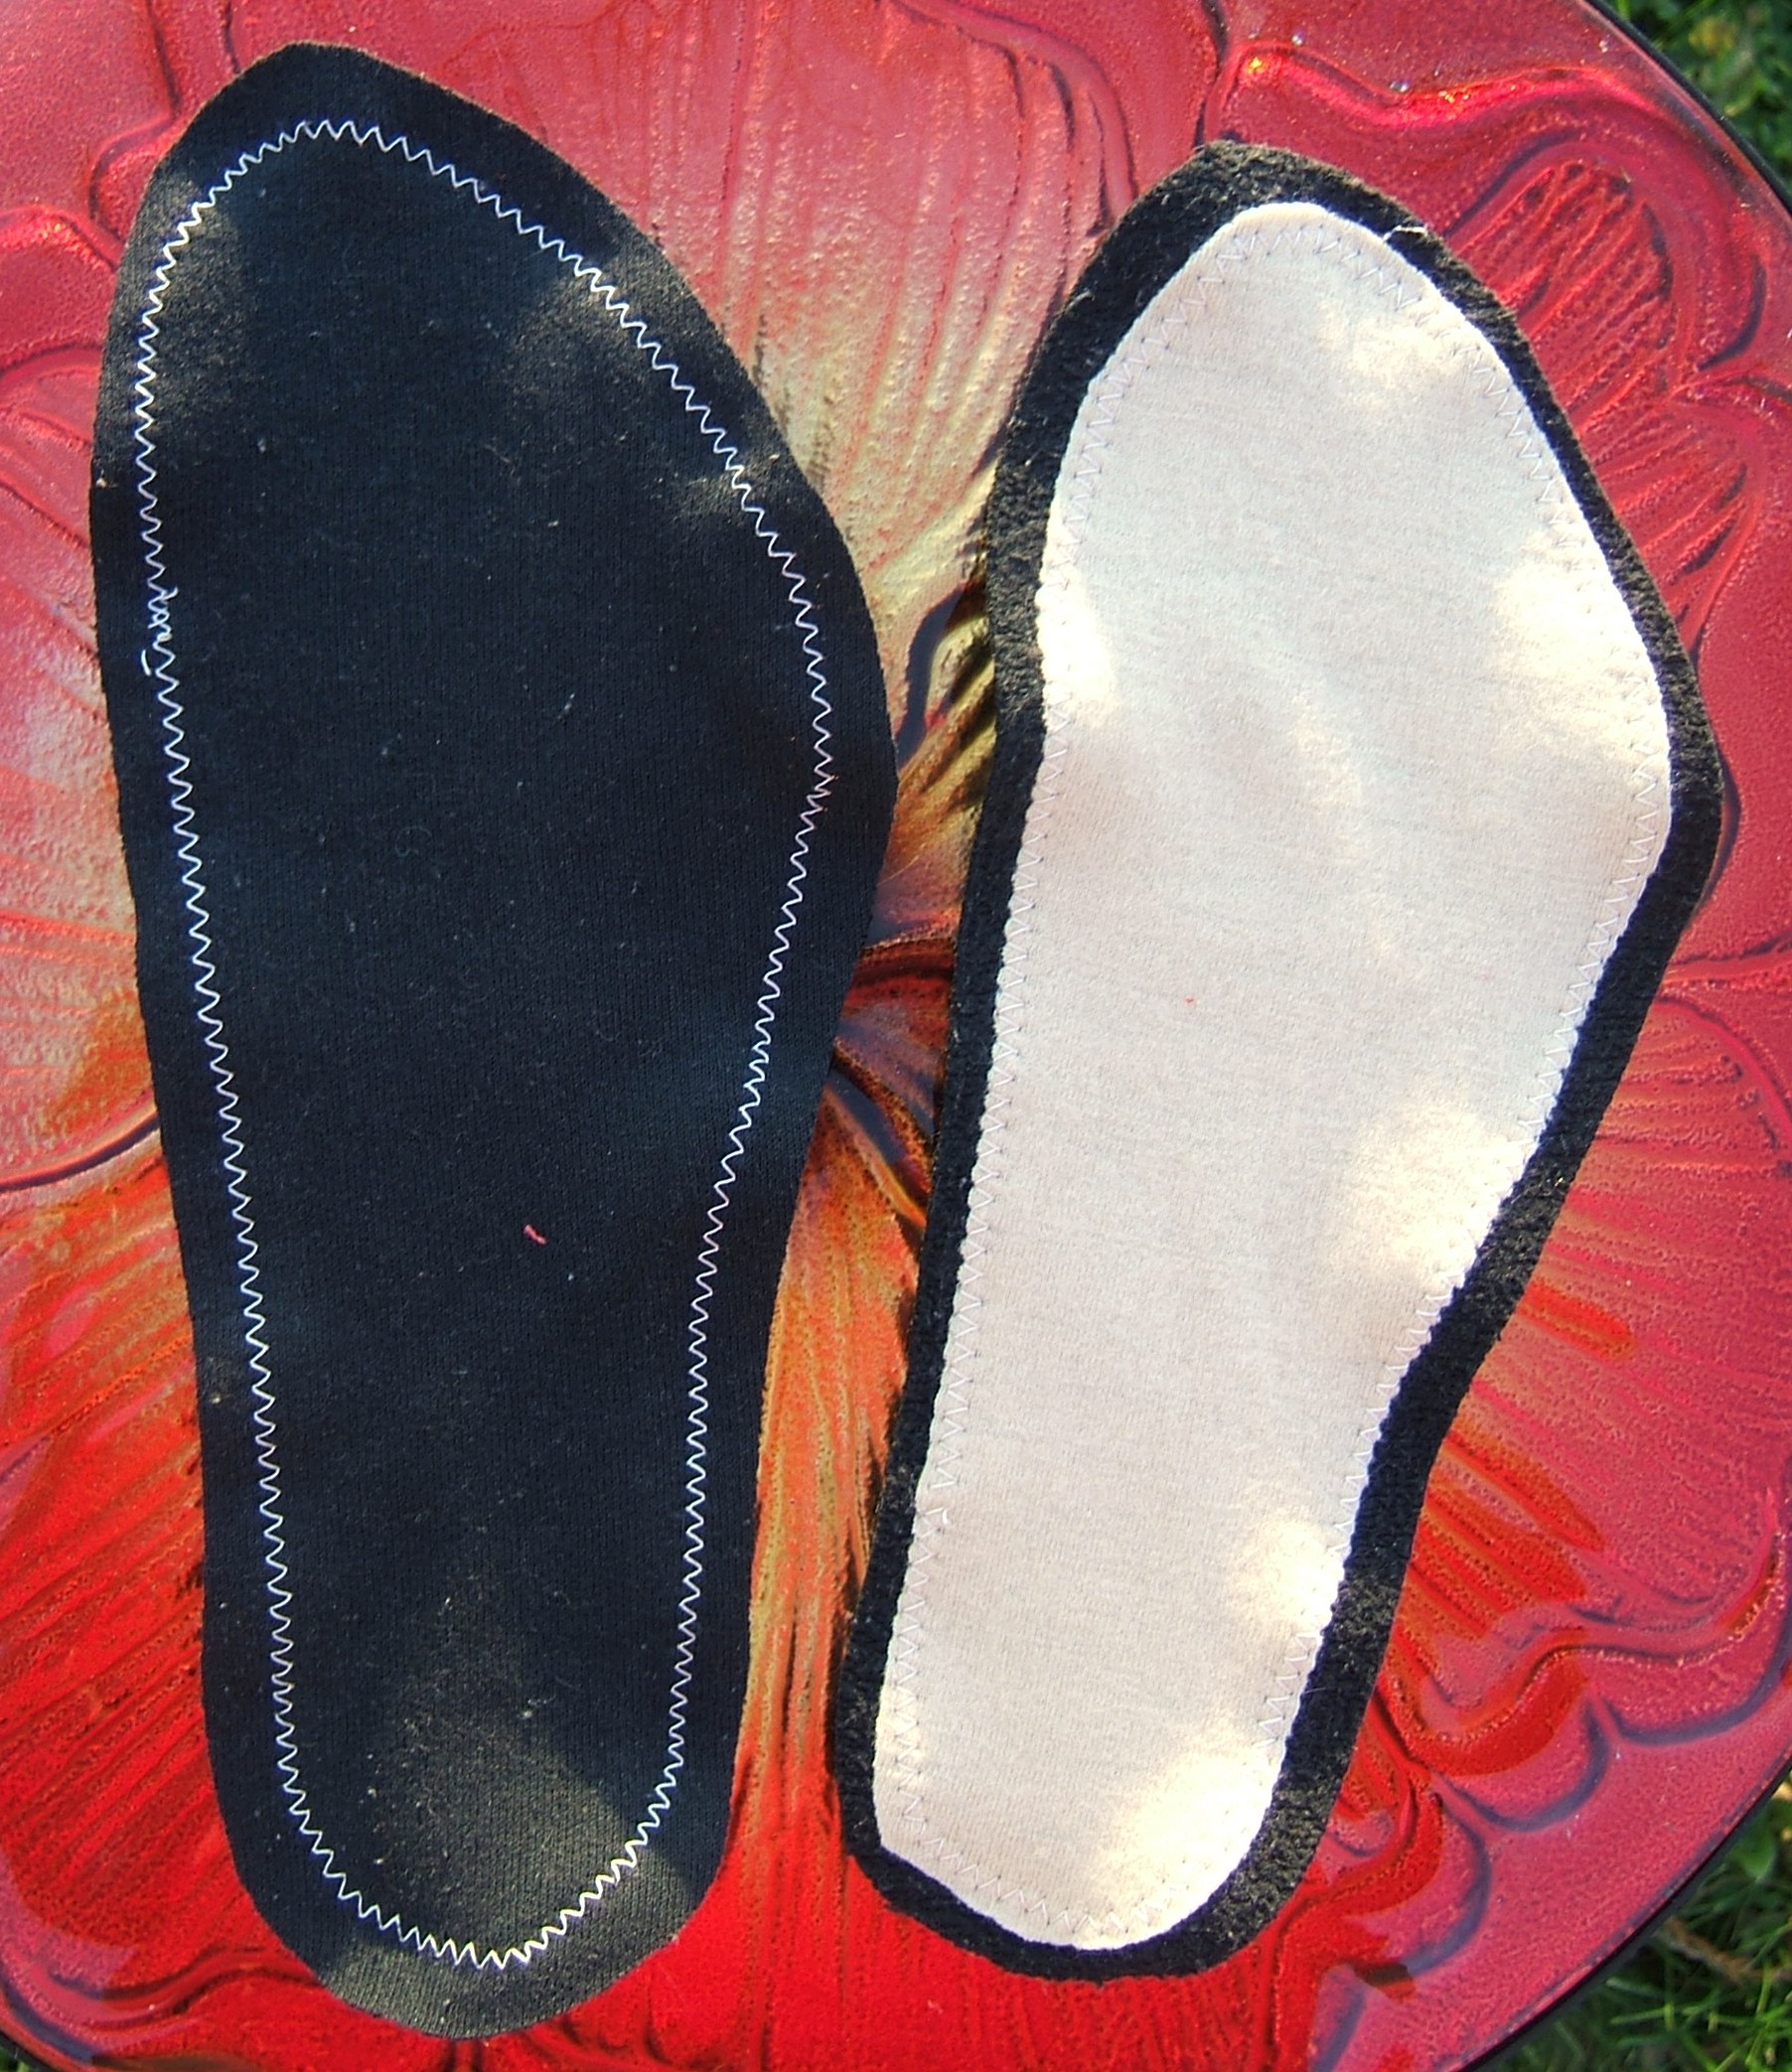
I intend to use polyester thread for the construction seams, but the permanent basting holding the midsoles to the innersoles will rub on my feet if I wear the slippers without socks, so I wanted to quilt with cotton thread. It won't be under any strain, so weak black cotton would do. But the quilting won't show, so I used the 6/100 cotton thread that happened to be on the machine.
I began by stitching around the edges of the midsoles. Stretching to keep the seam smooth lettuced the edges slightly, so I'll press before quilting. Pressing also causes fuzzy fabrics to stick together, which should help keep the quilting neat.
A moment of silence at eleven o'clock.
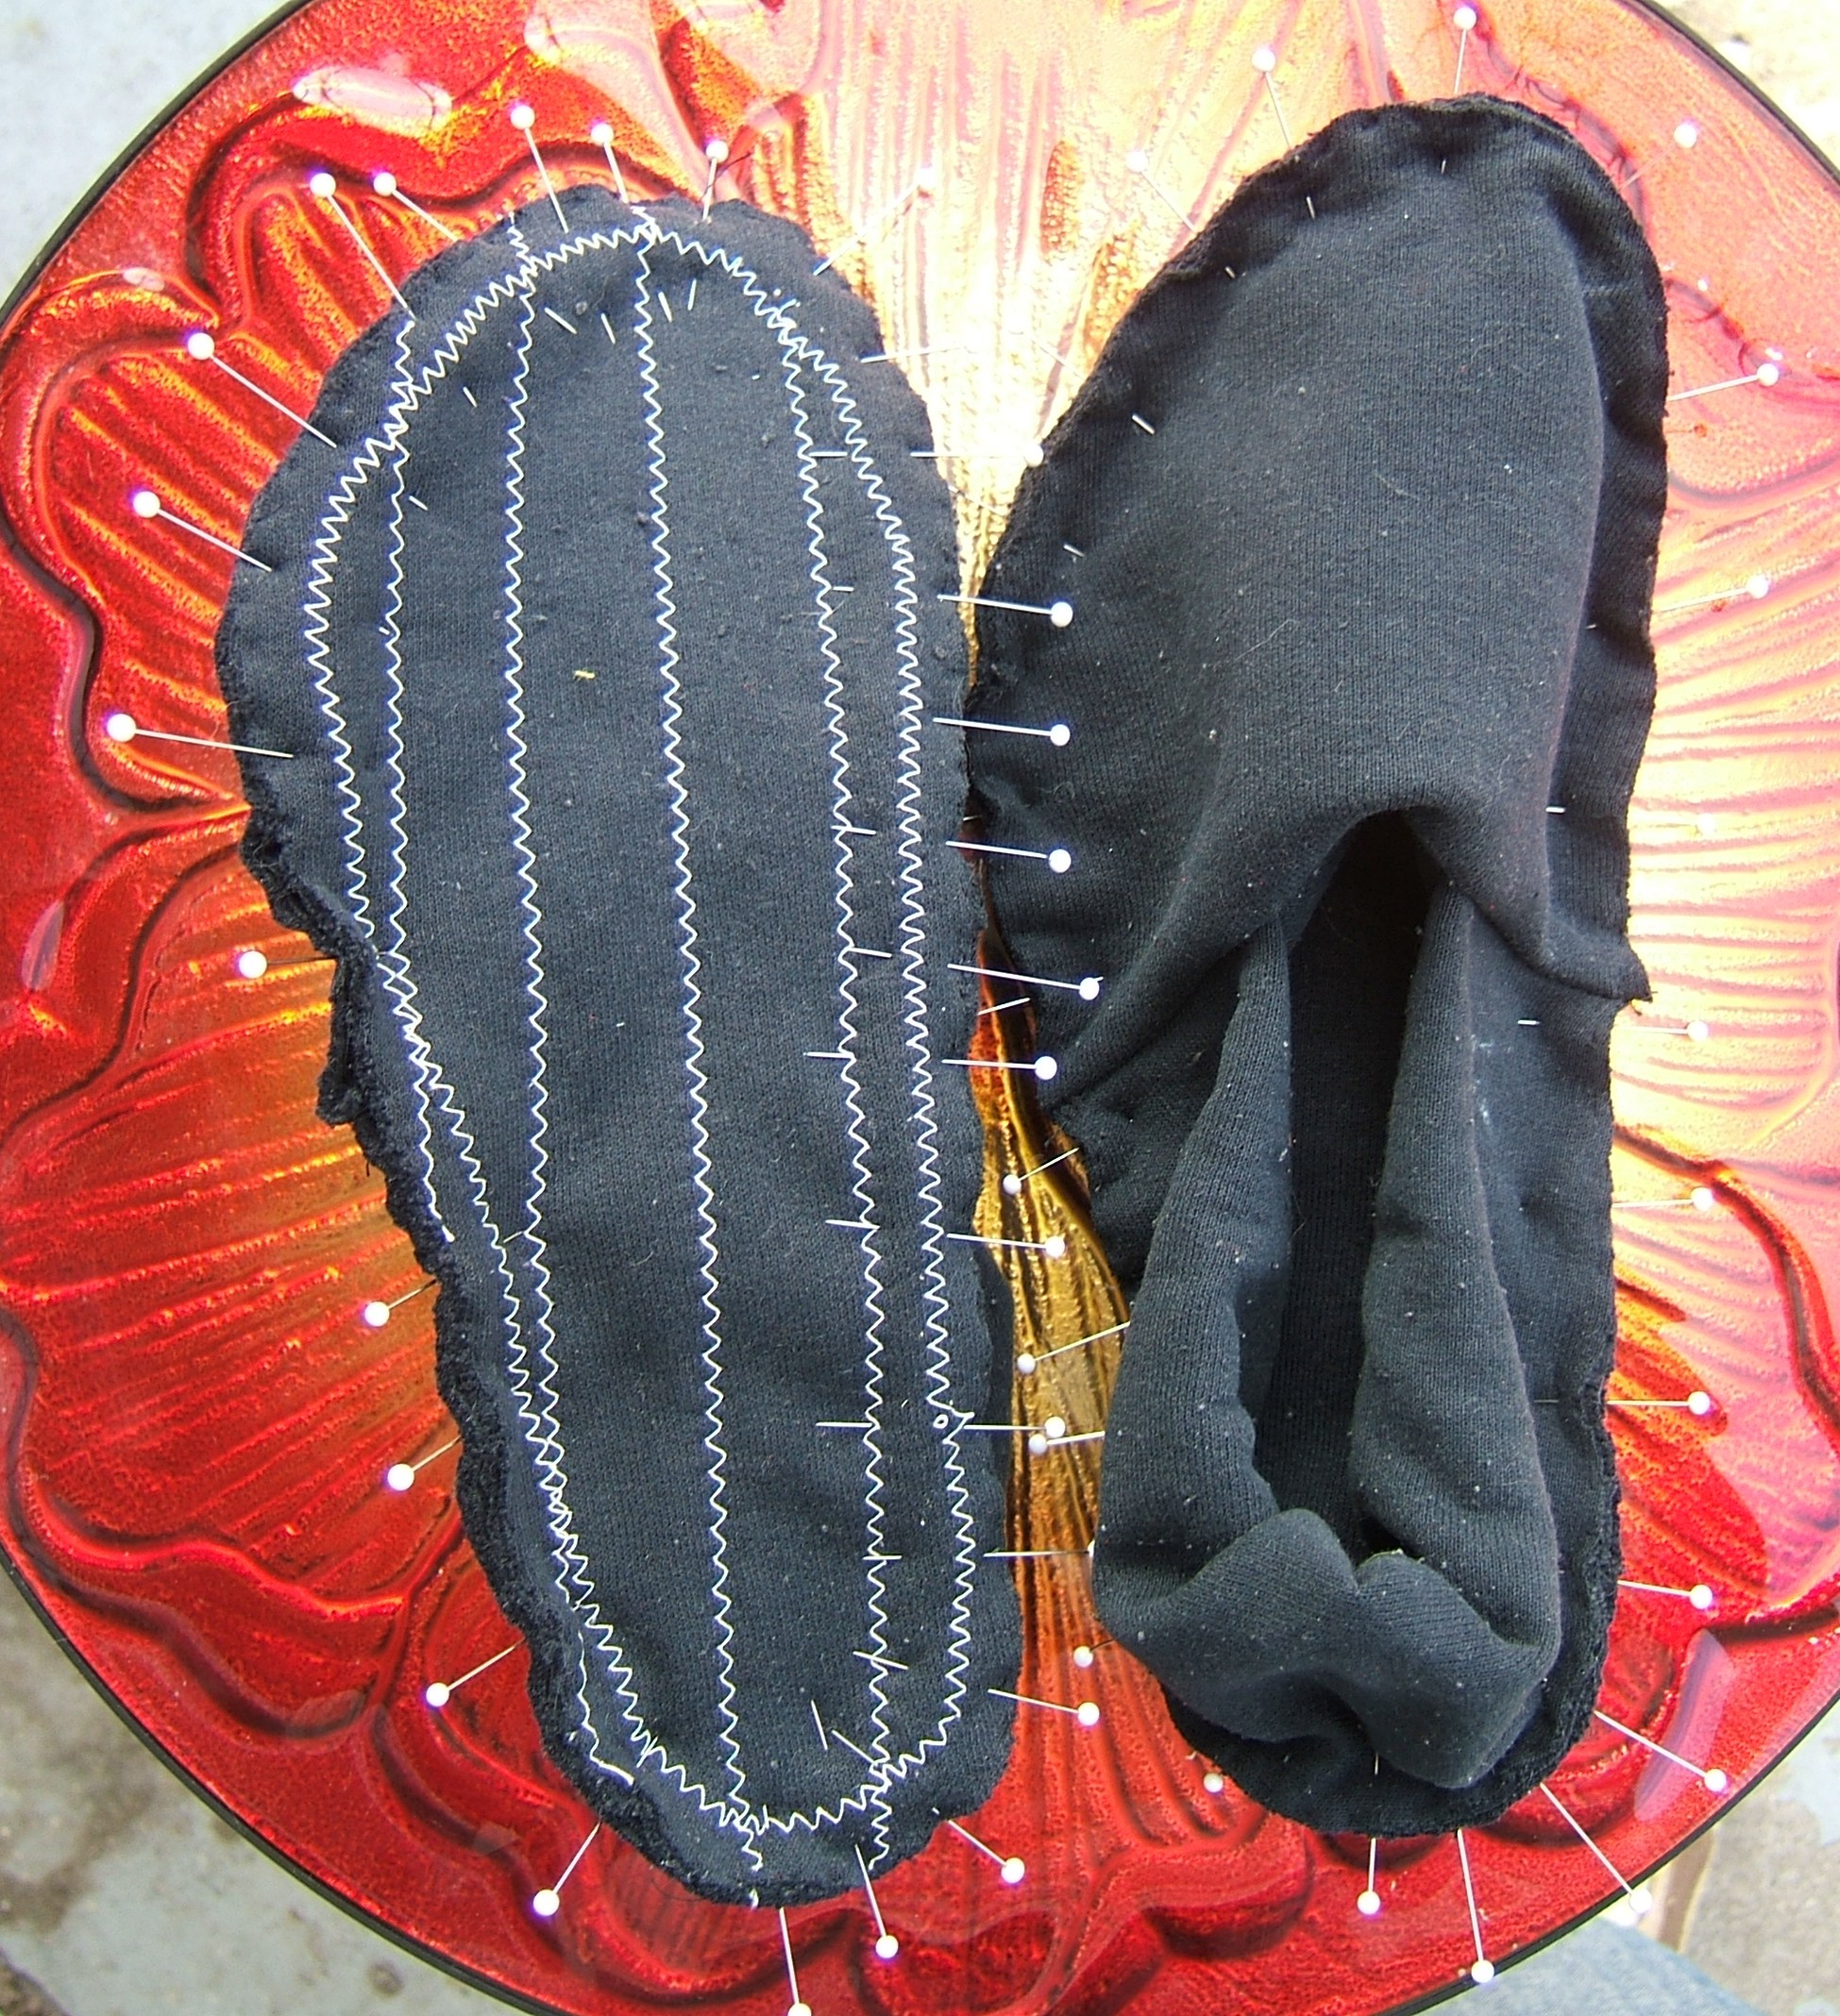
I pressed the midsole/innersoles, then zig-zagged parallel lines across them.

After stitching the first line, I rotated the sole to stitch back -- but saw that this was wrinkling the midsole, so all subsequent quilting lines were stitched in one direction
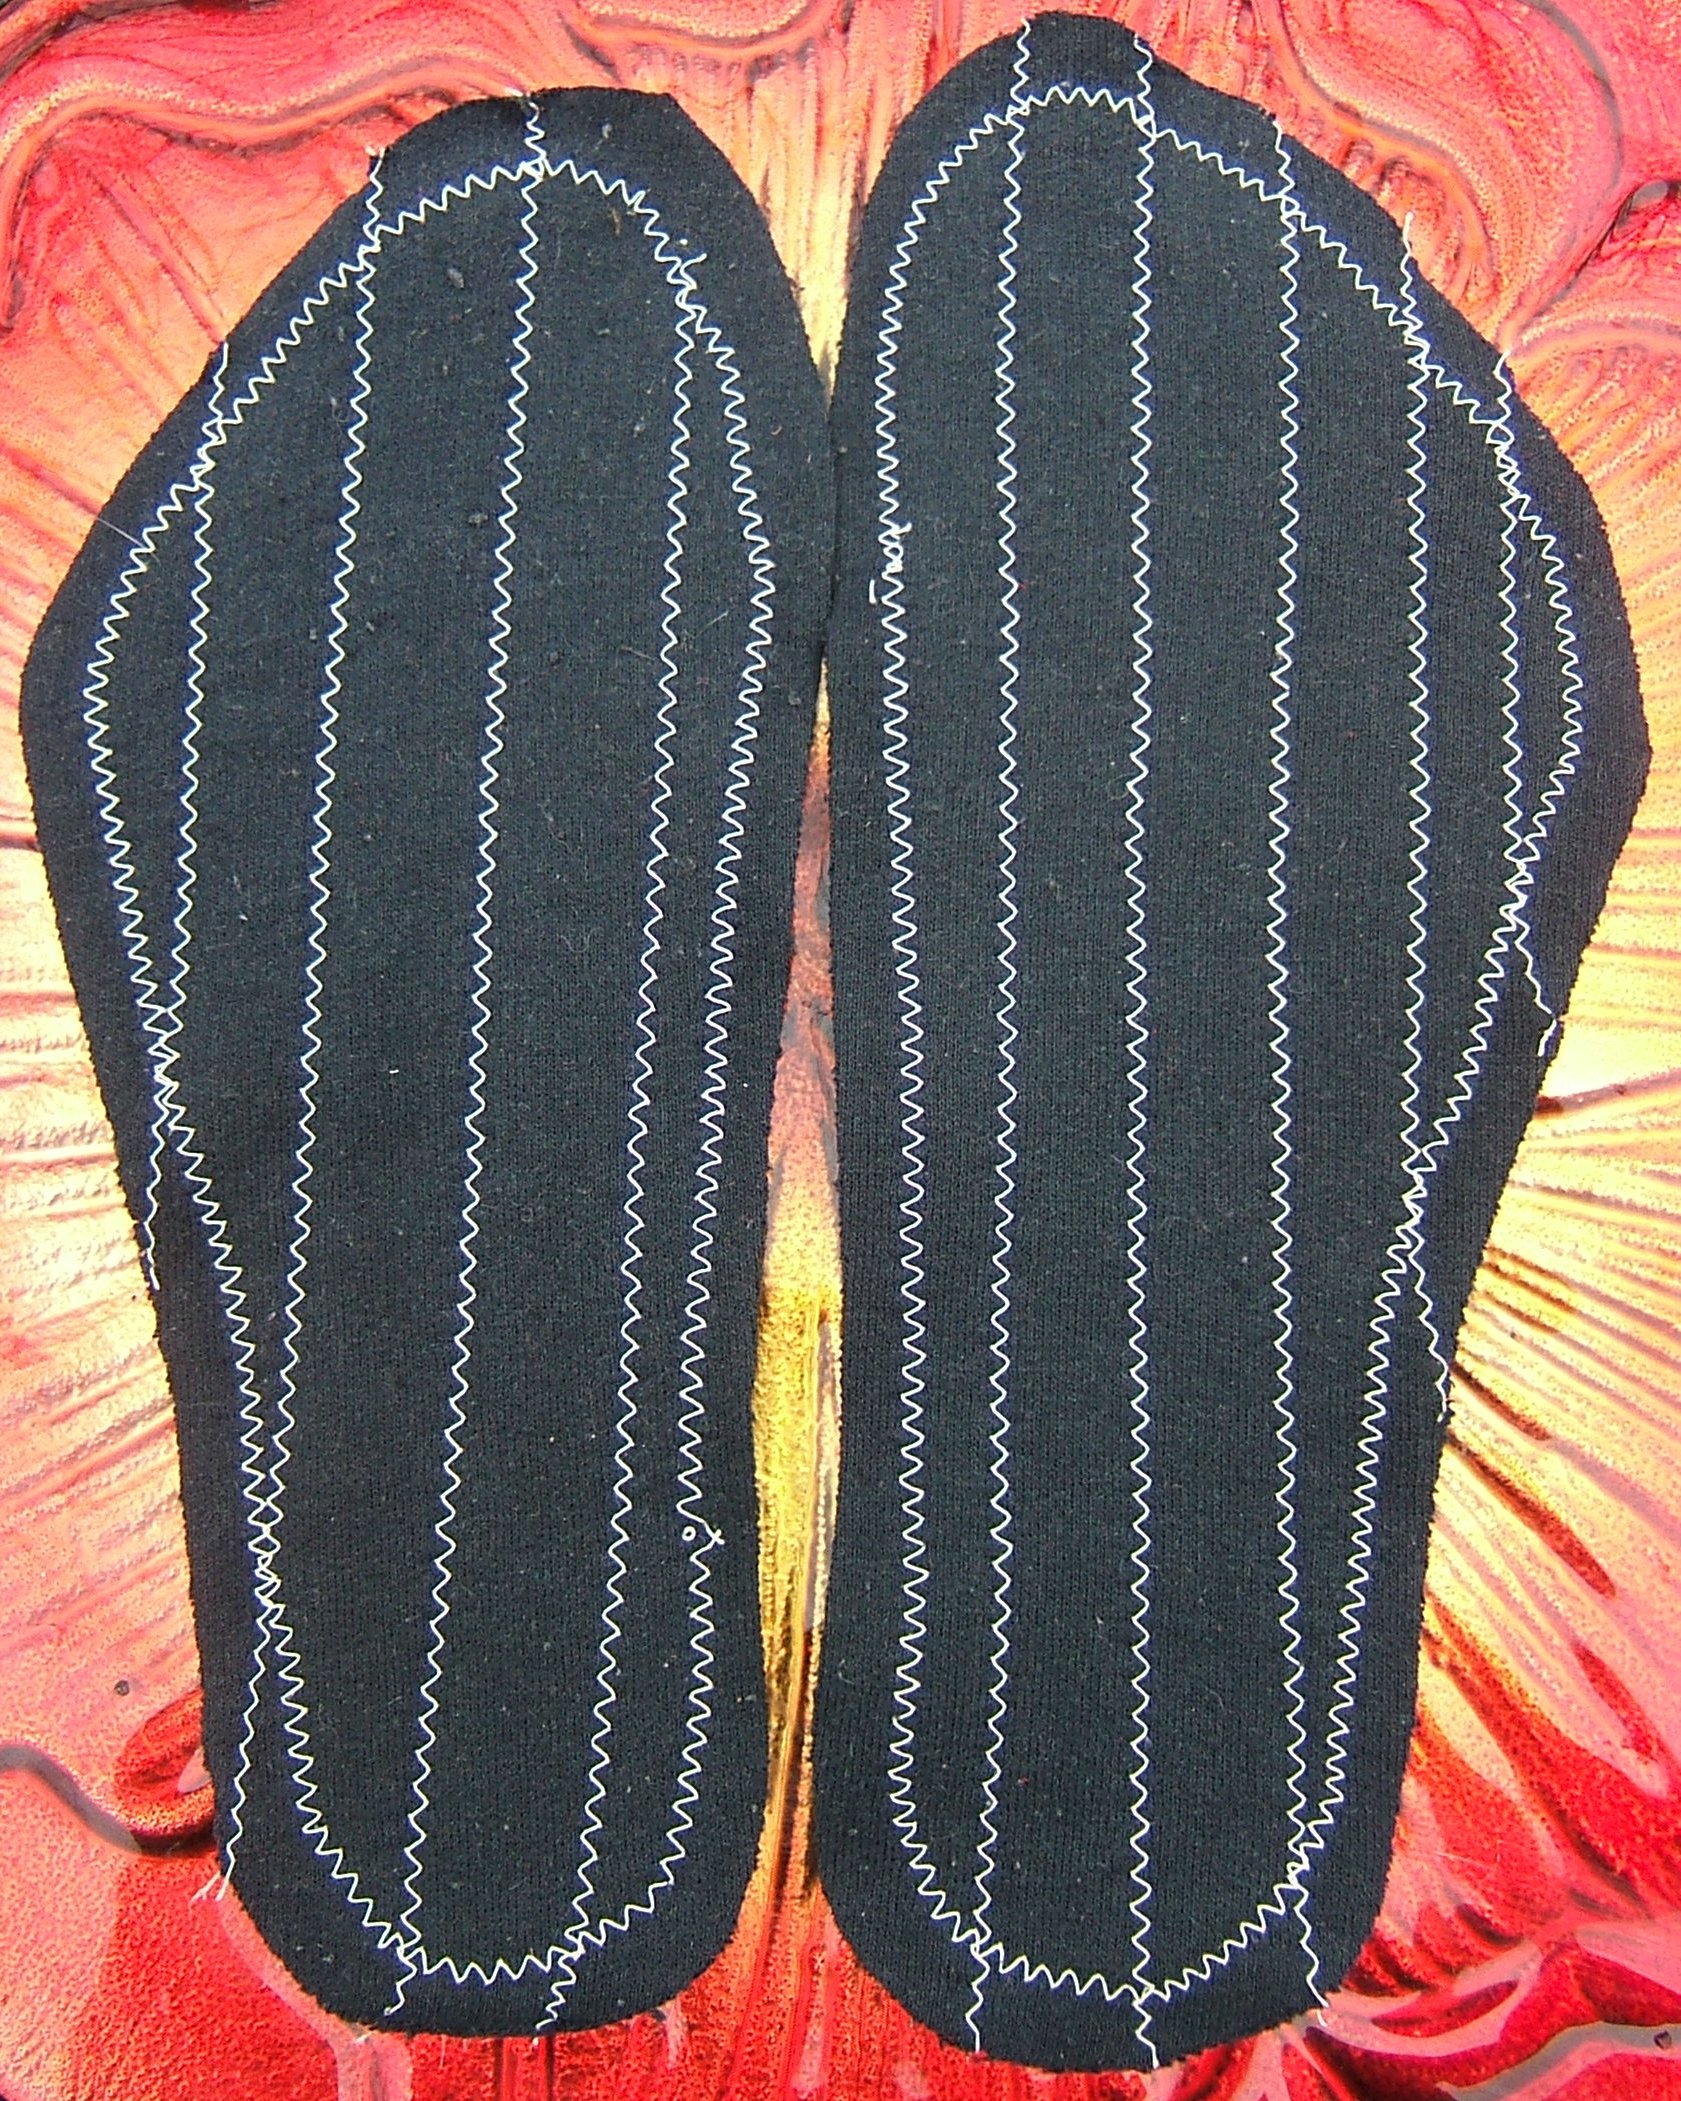
Above, the midsole side of the quilting.
After I had worn the twinkle-twinkle slippers a few times, I discovered that there were places where the seam attaching the soles to the uppers hadn't quite caught all layers, so I'm hand-basting the soles to the innersoles very close to the raw edges to make sure everything stays in register. I'm using 50/3 cotton and not securing the ends of the thread so that I won't have to take the basting out.
Leaving out false starts, I used right-angle pins rather than pins in the seamline, pinned at two strategic points, and then walked two other pins around the edge as I basted. I don't appear to have taken a picture of this stage.
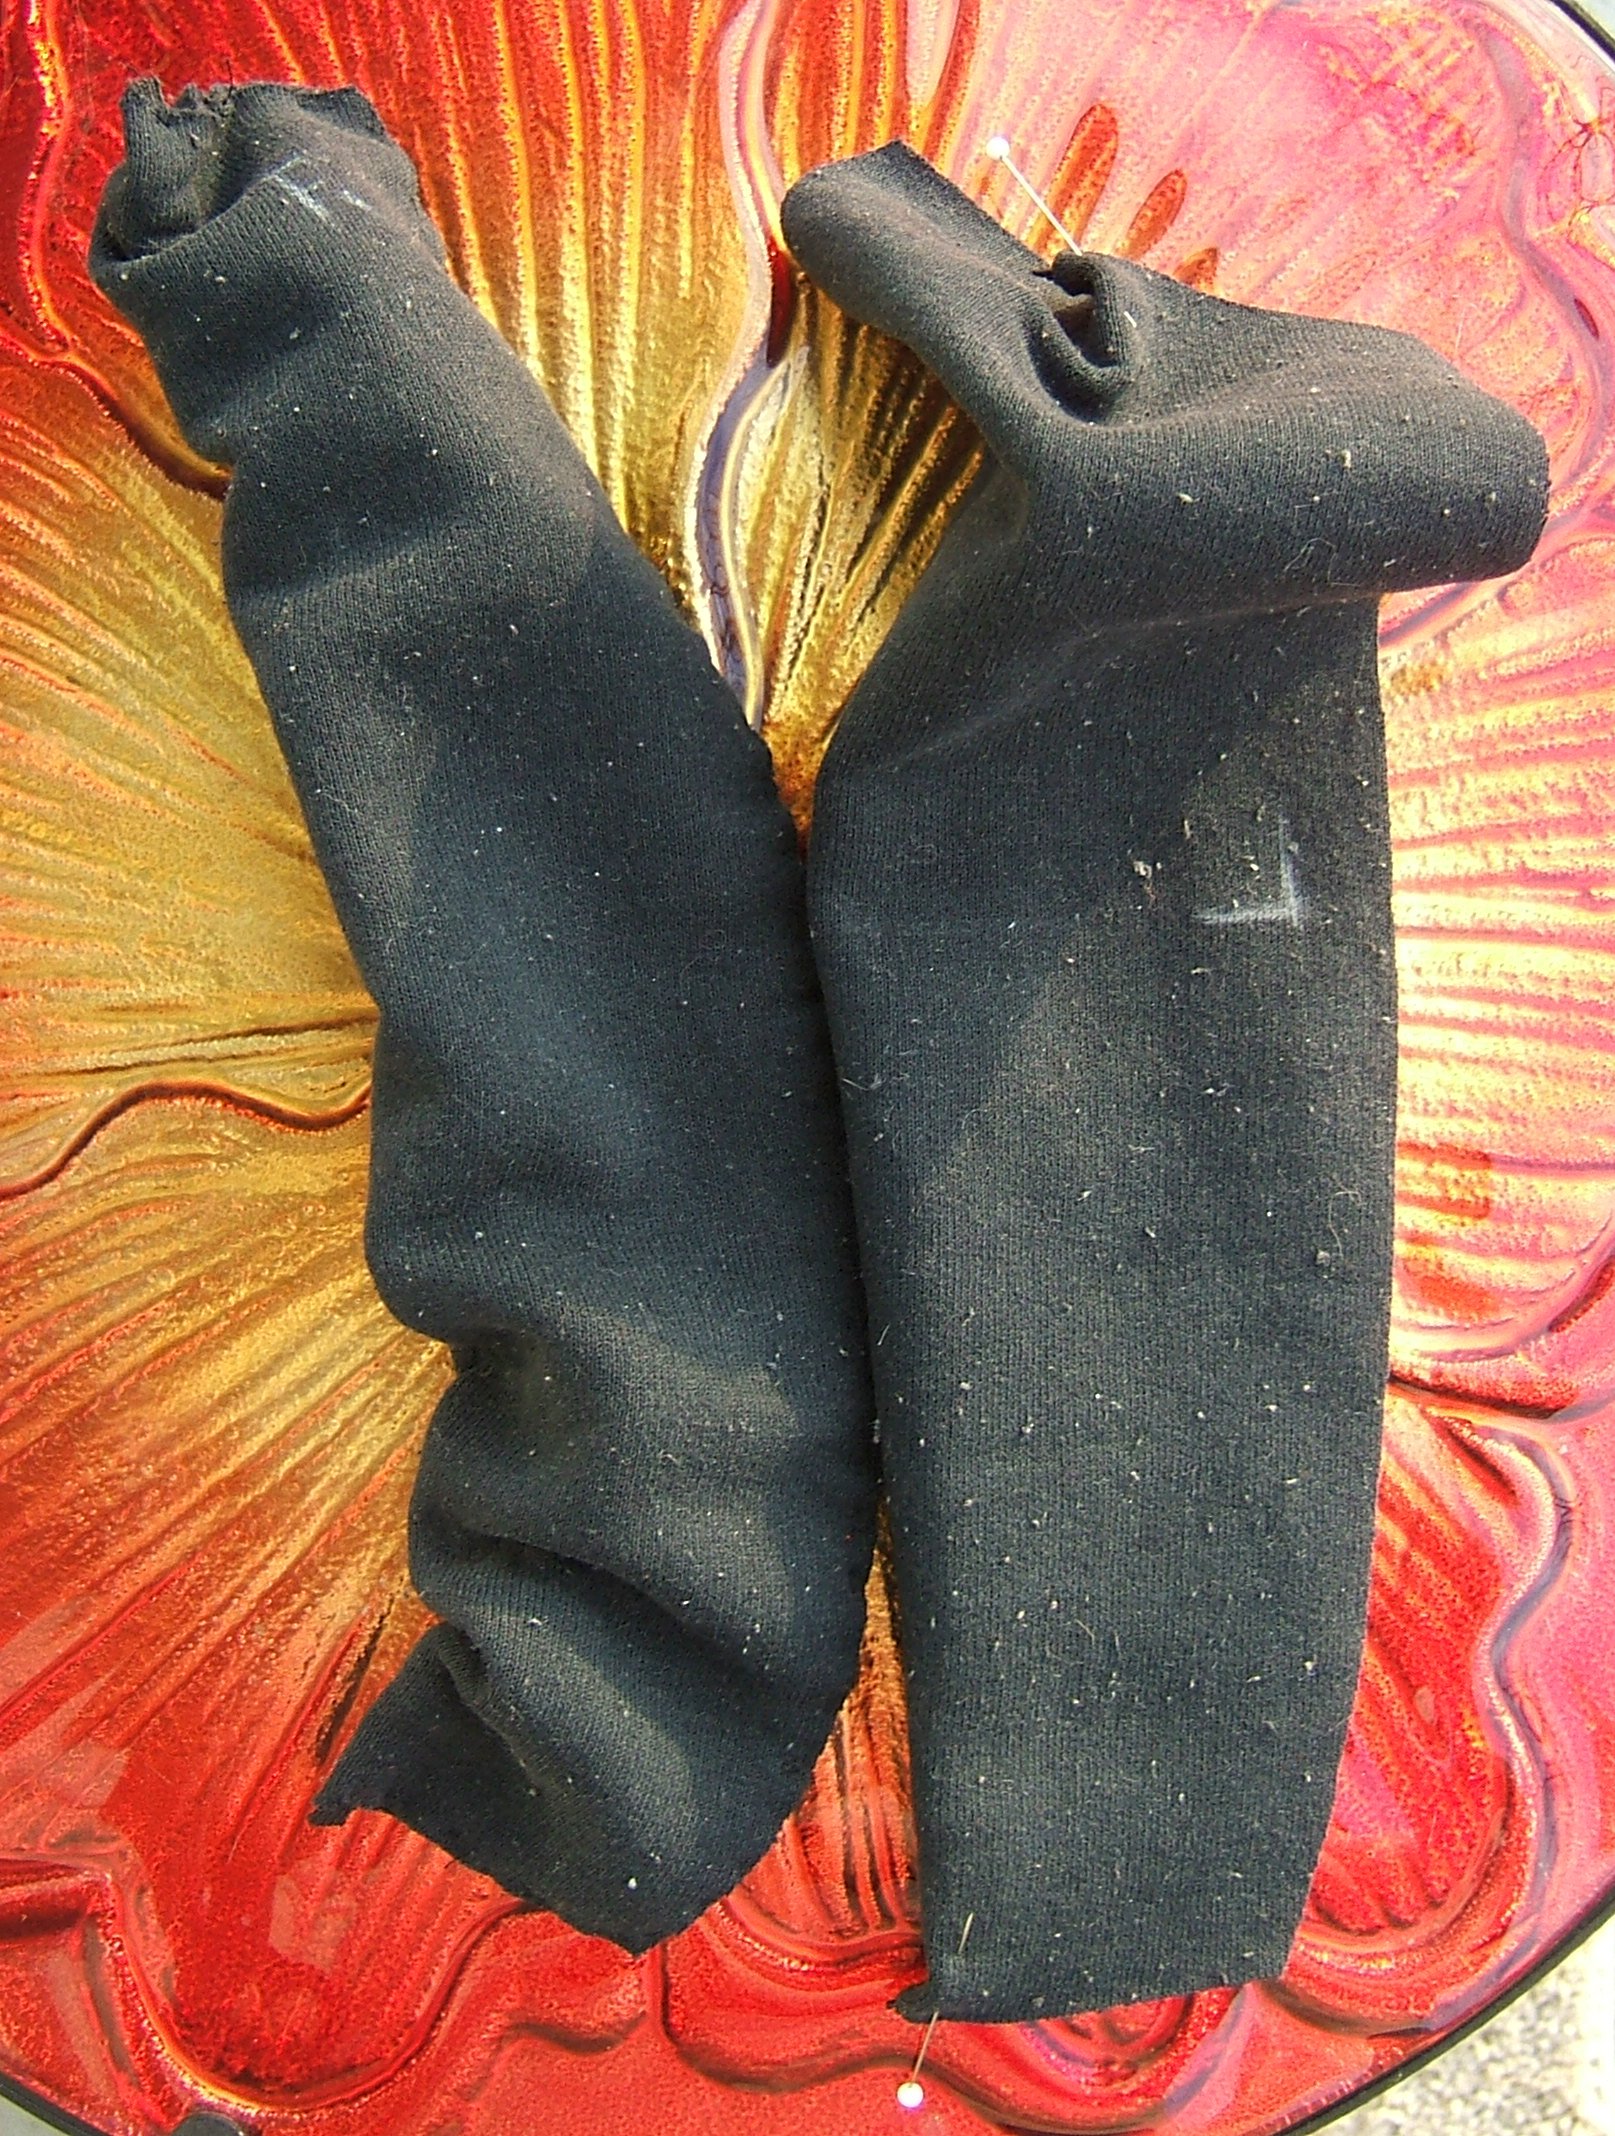
That's not a great picture, but it was cold out there, and the wind kept re-arranging the unbasted heel piece.
Note that I marked the right heel piece on the end and the left piece in the middle, in case the marks become illegible. I also marked one with a chalk pencil and one with the Nonce pencil, but can't tell the difference.
The two pins are holding the elastic in place. I basted from the middle to the corner, then pushed the needle back and forth through the cloth and the elastic a few times, took a back stitch, and broke the thread by pulling on it. (Since it was 50/3 cotton, breaking it was easy.)
When removing the pin, I let the elastic slip back until just enough was sticking out that I could be quite sure it would be caught firmly in the seam.
Got everything done today; it came out better than I had expected when I saw how shabby the fabric was. Lets see whether I can remember what the pictures I took mean.
Since some of these pictures are of the left slipper and some are of the right, the order I took them in doesn't reflect the order of construction. Pity cameras don't have keyboards for taking notes.
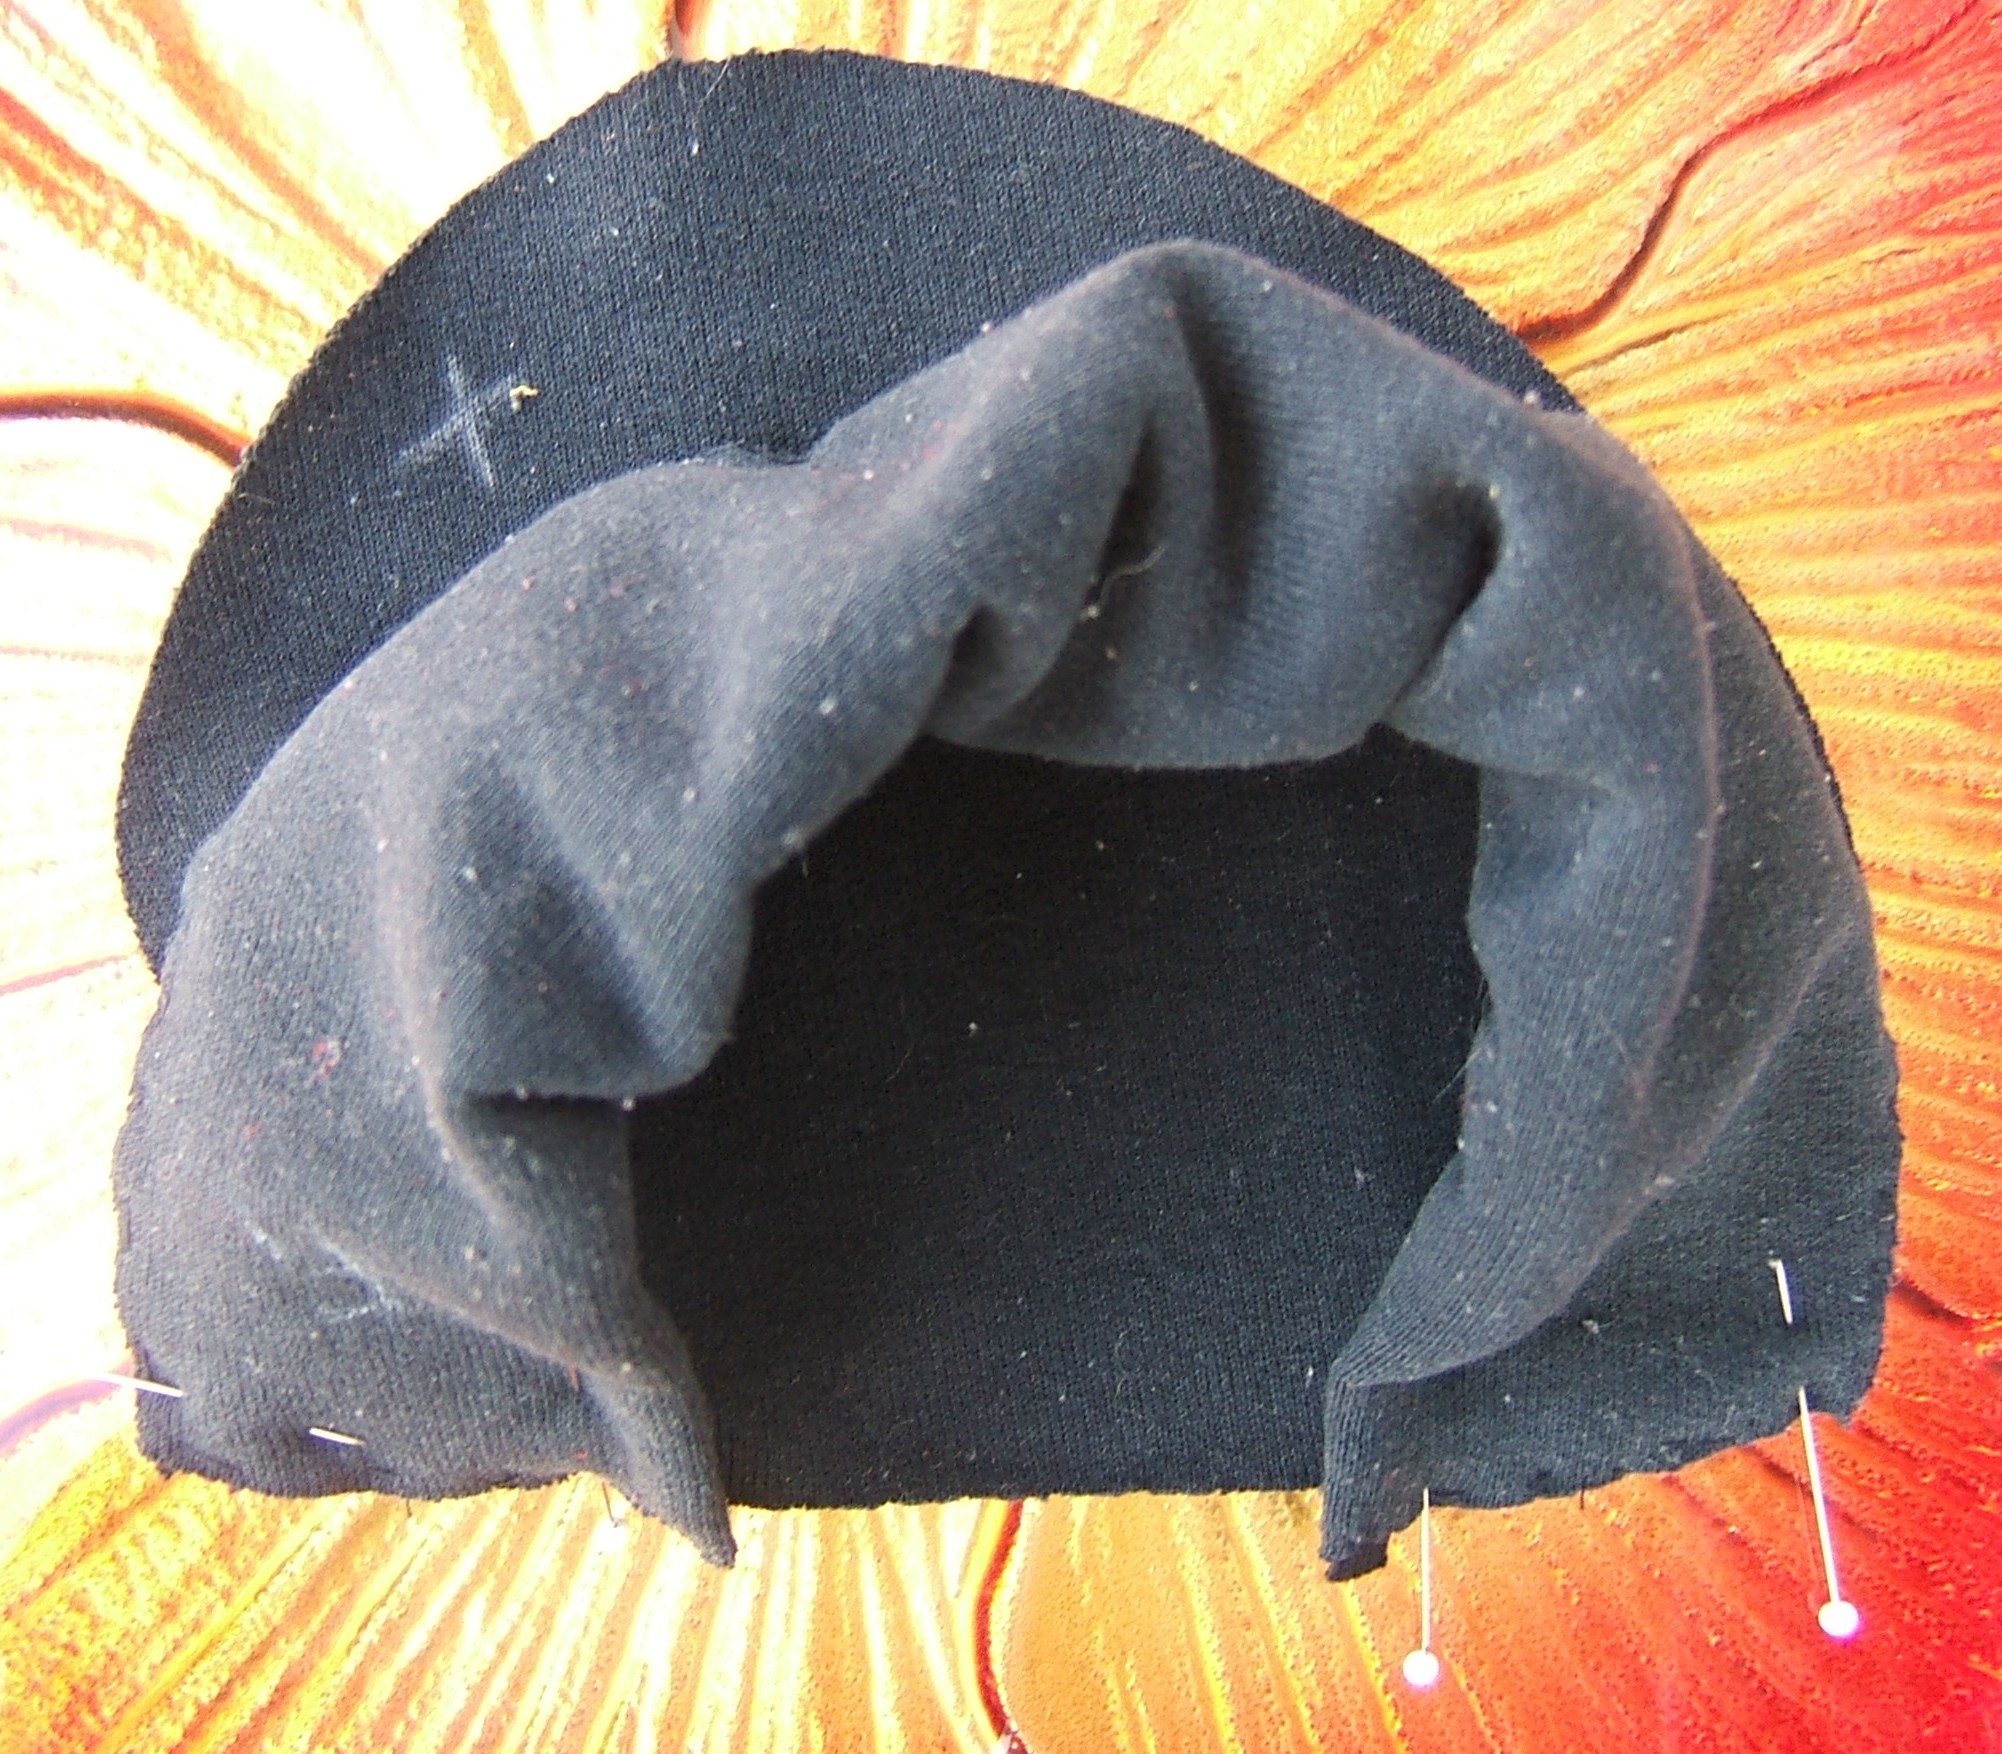
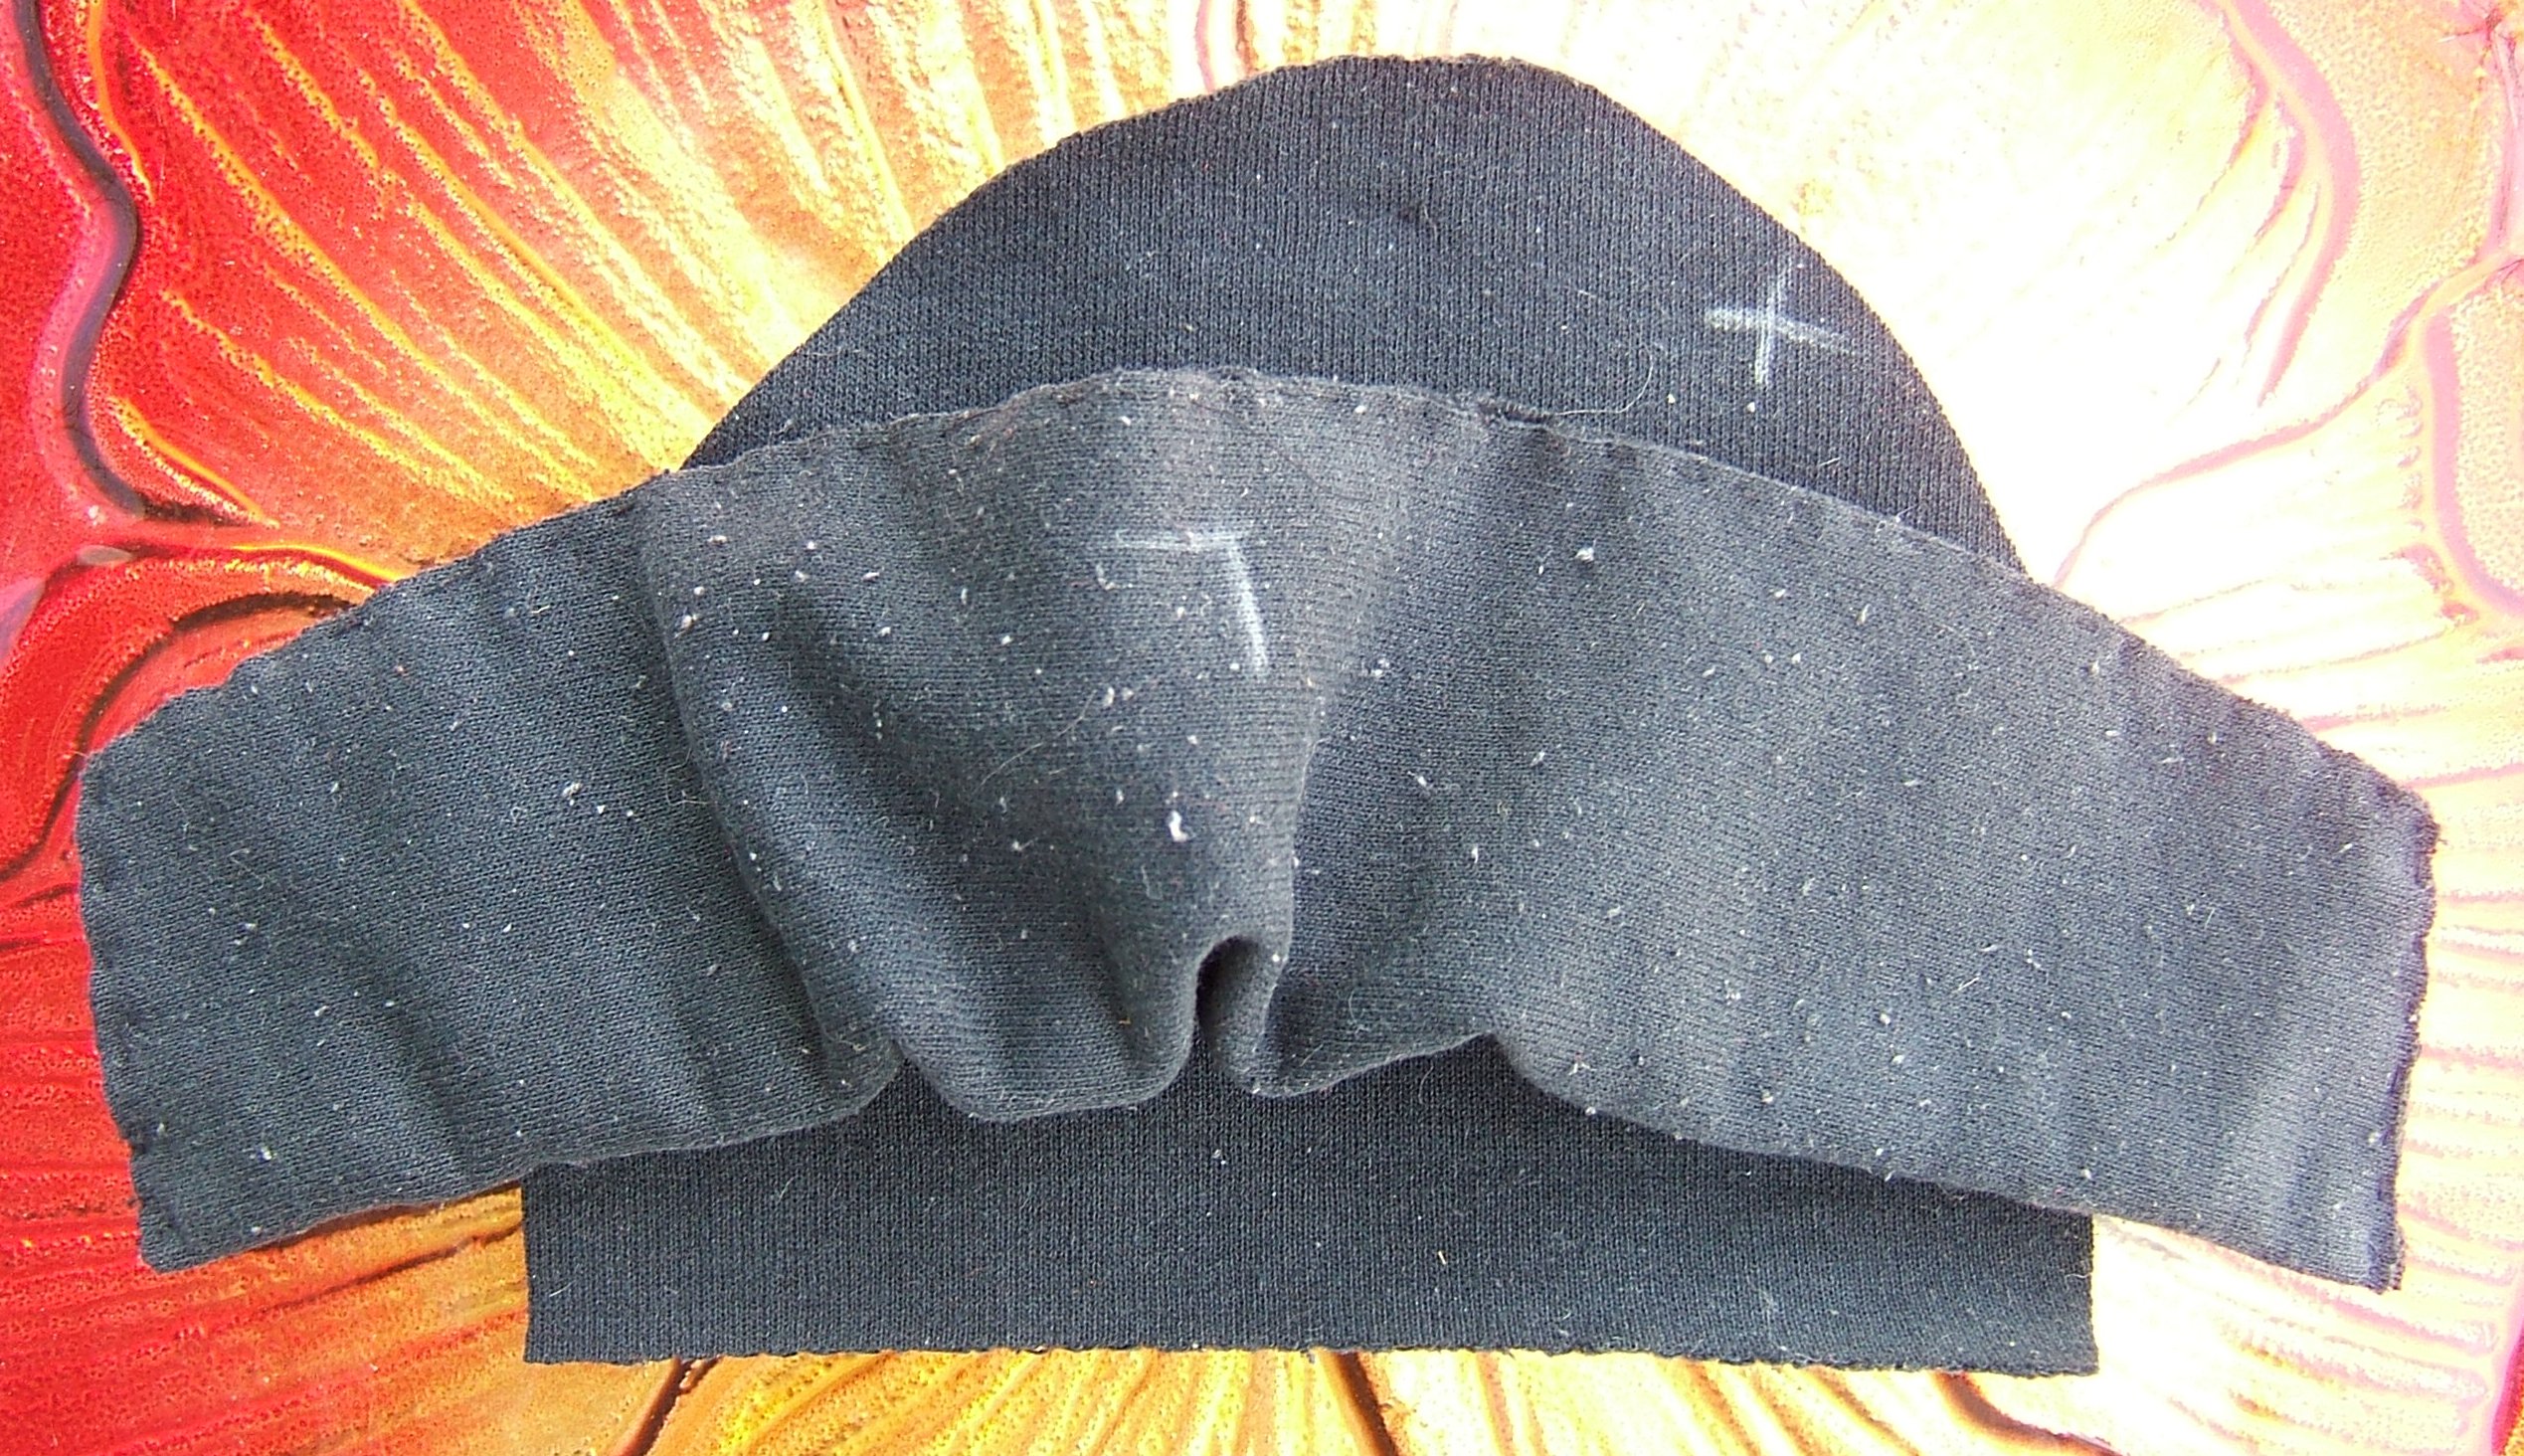
This must be the right upper that's pinned ready to baste the heel to the vamp
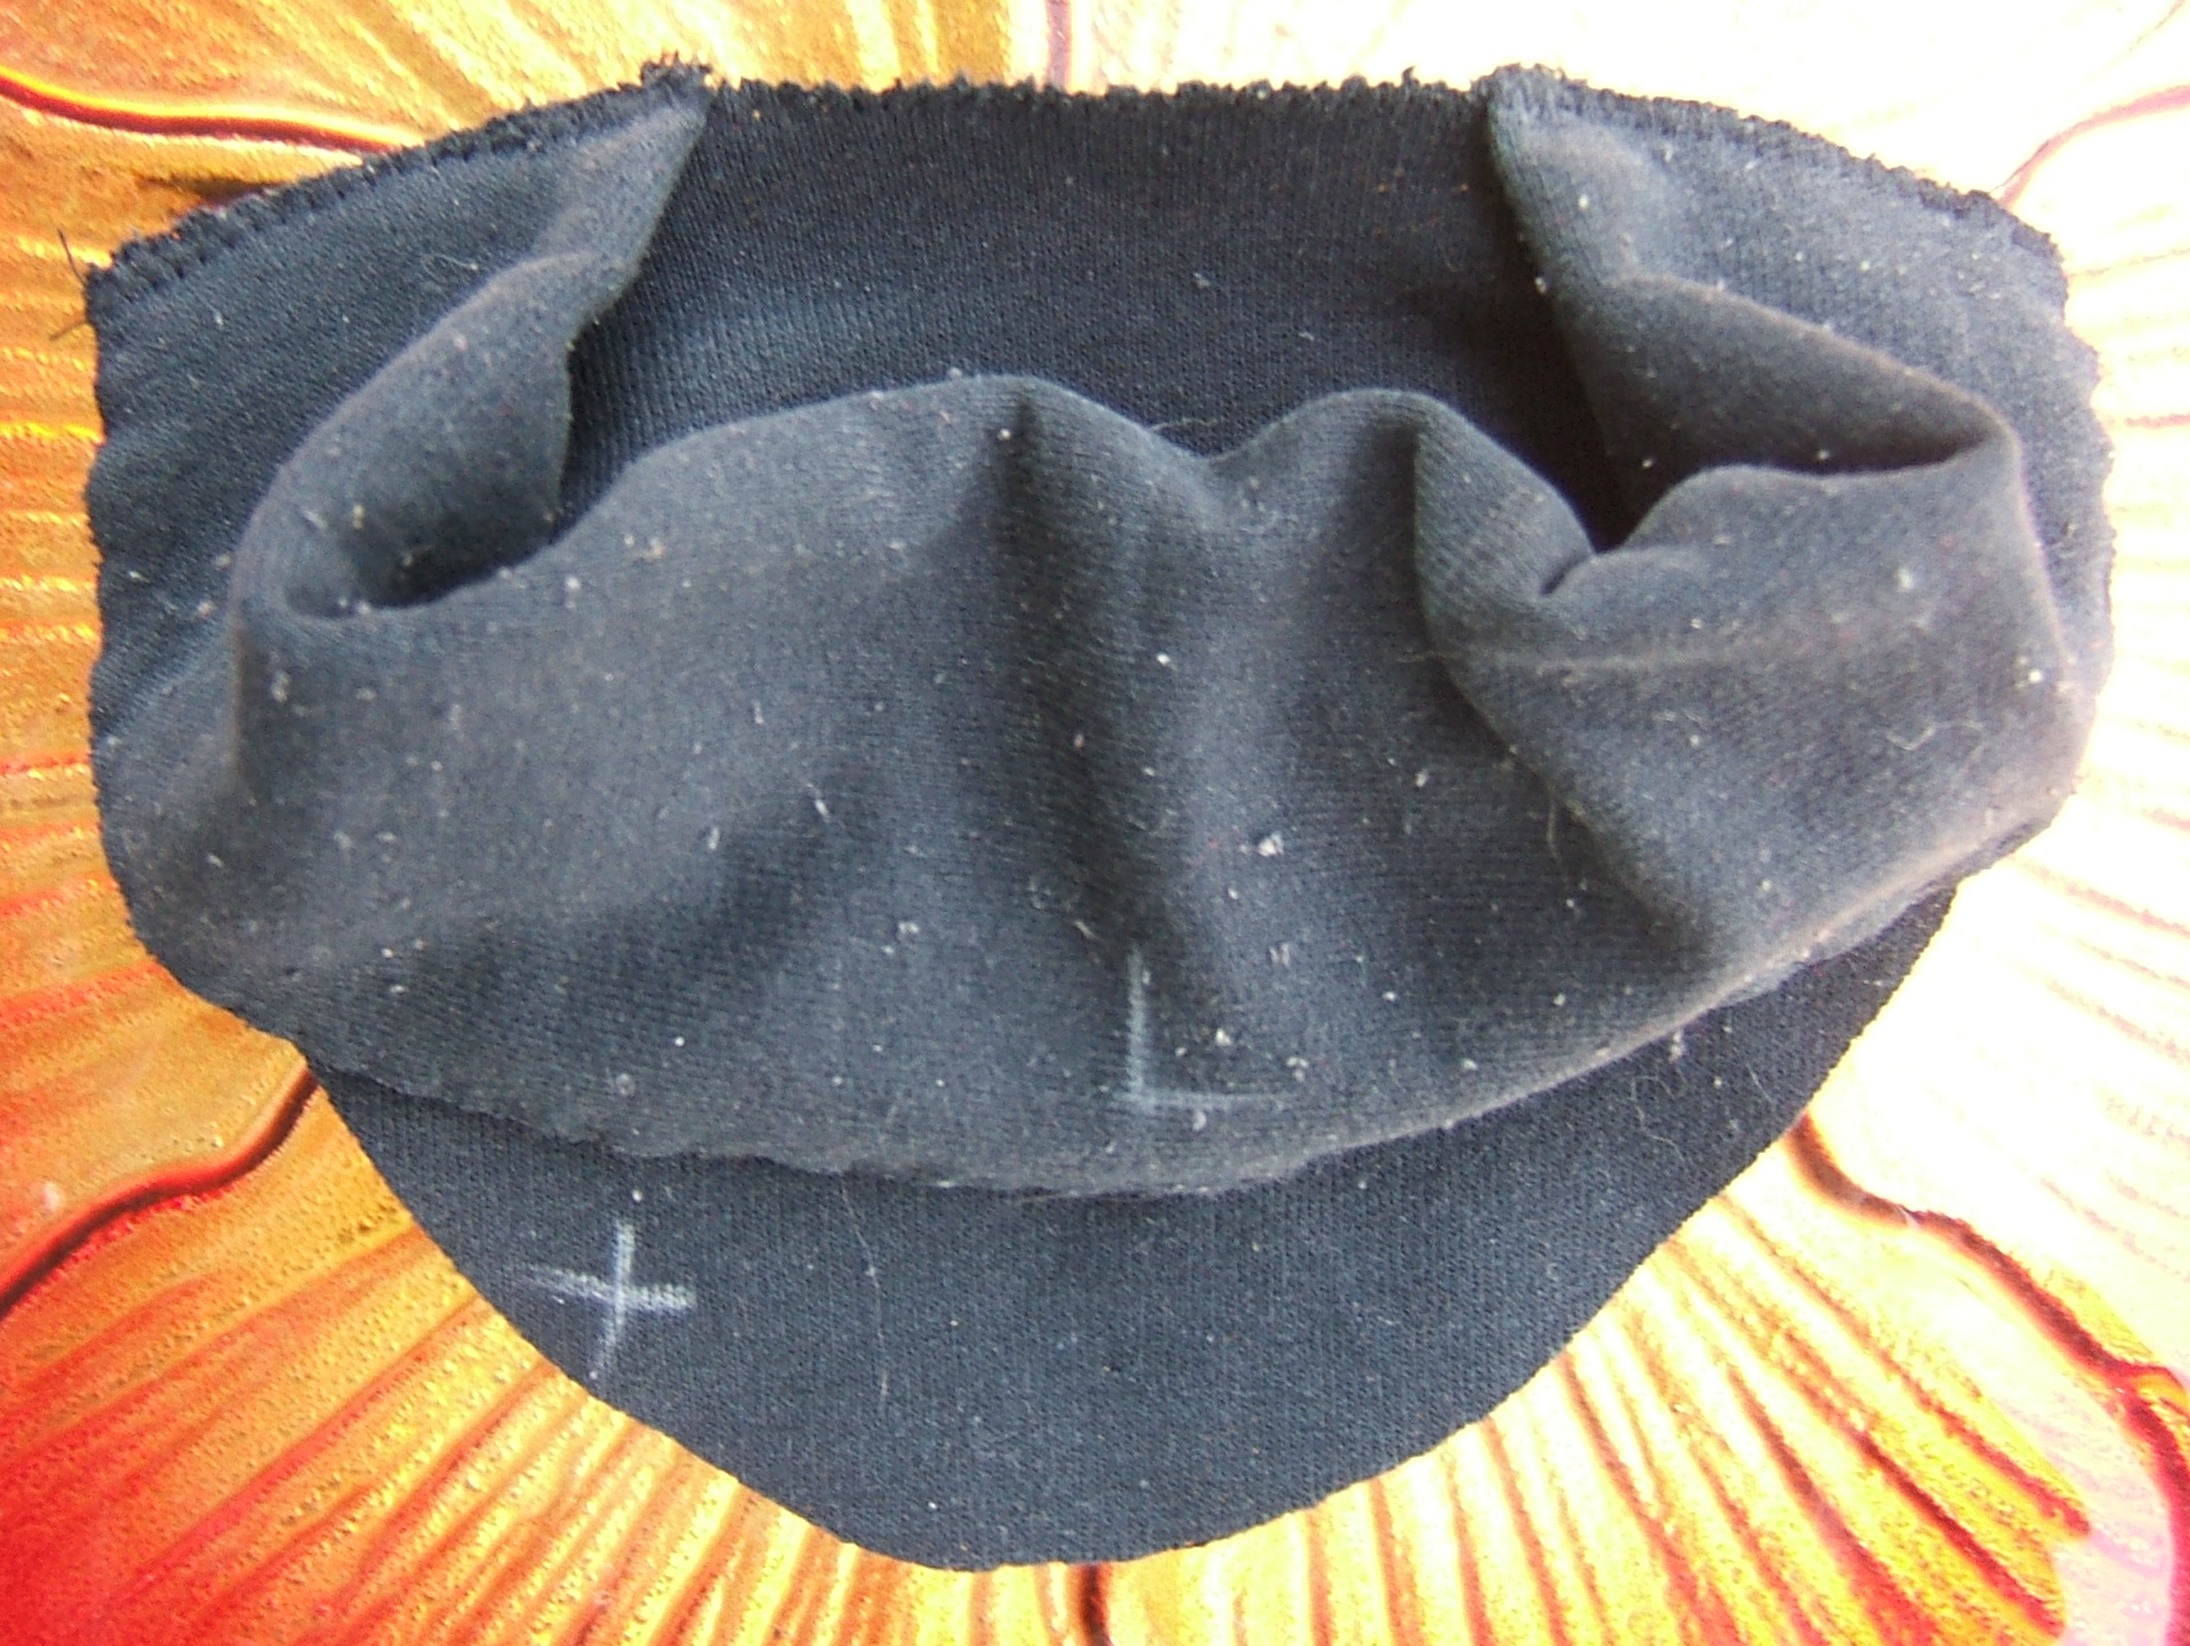
because this picture of the left heel lying on a vamp that it's about to be pinned to was taken later.
Pieces in above picture machine-basted together. I overcast the edge to make sure this row of zig-zag is entirely within the very narrow seam allowance. Machine basting the right upper while figuring out what I was doing was a bit more complicated.
Both heel pieces are now sewn between two vamp pieces.
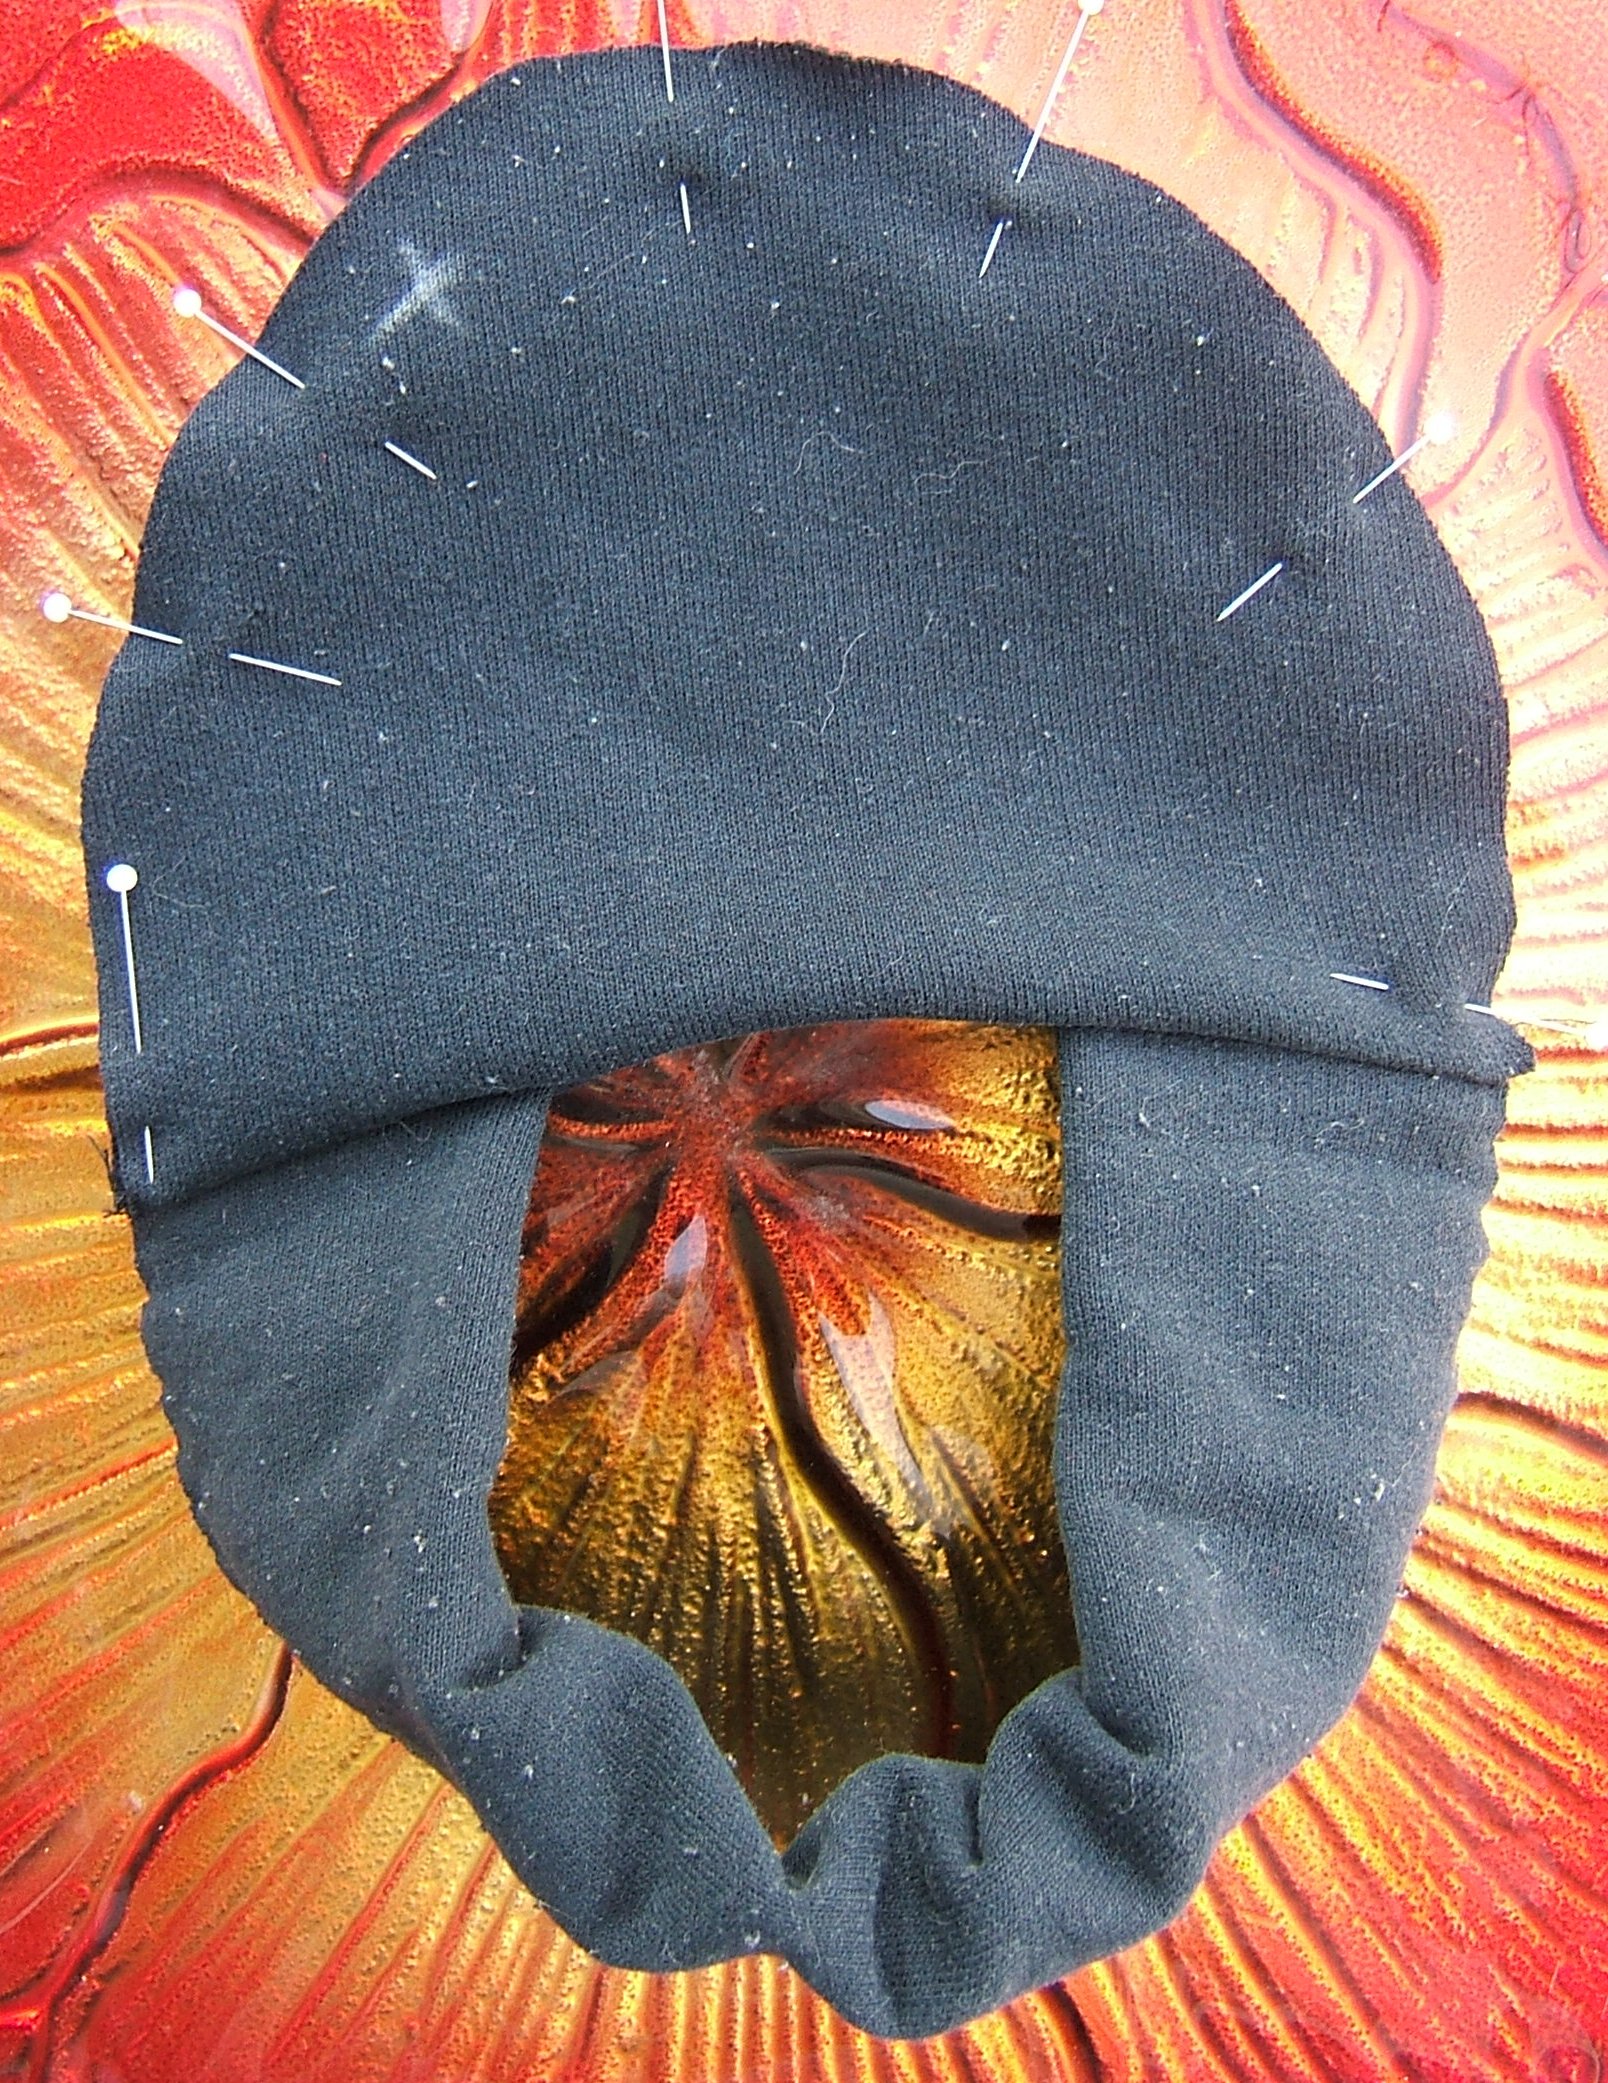
This upper is ready for hand basting.
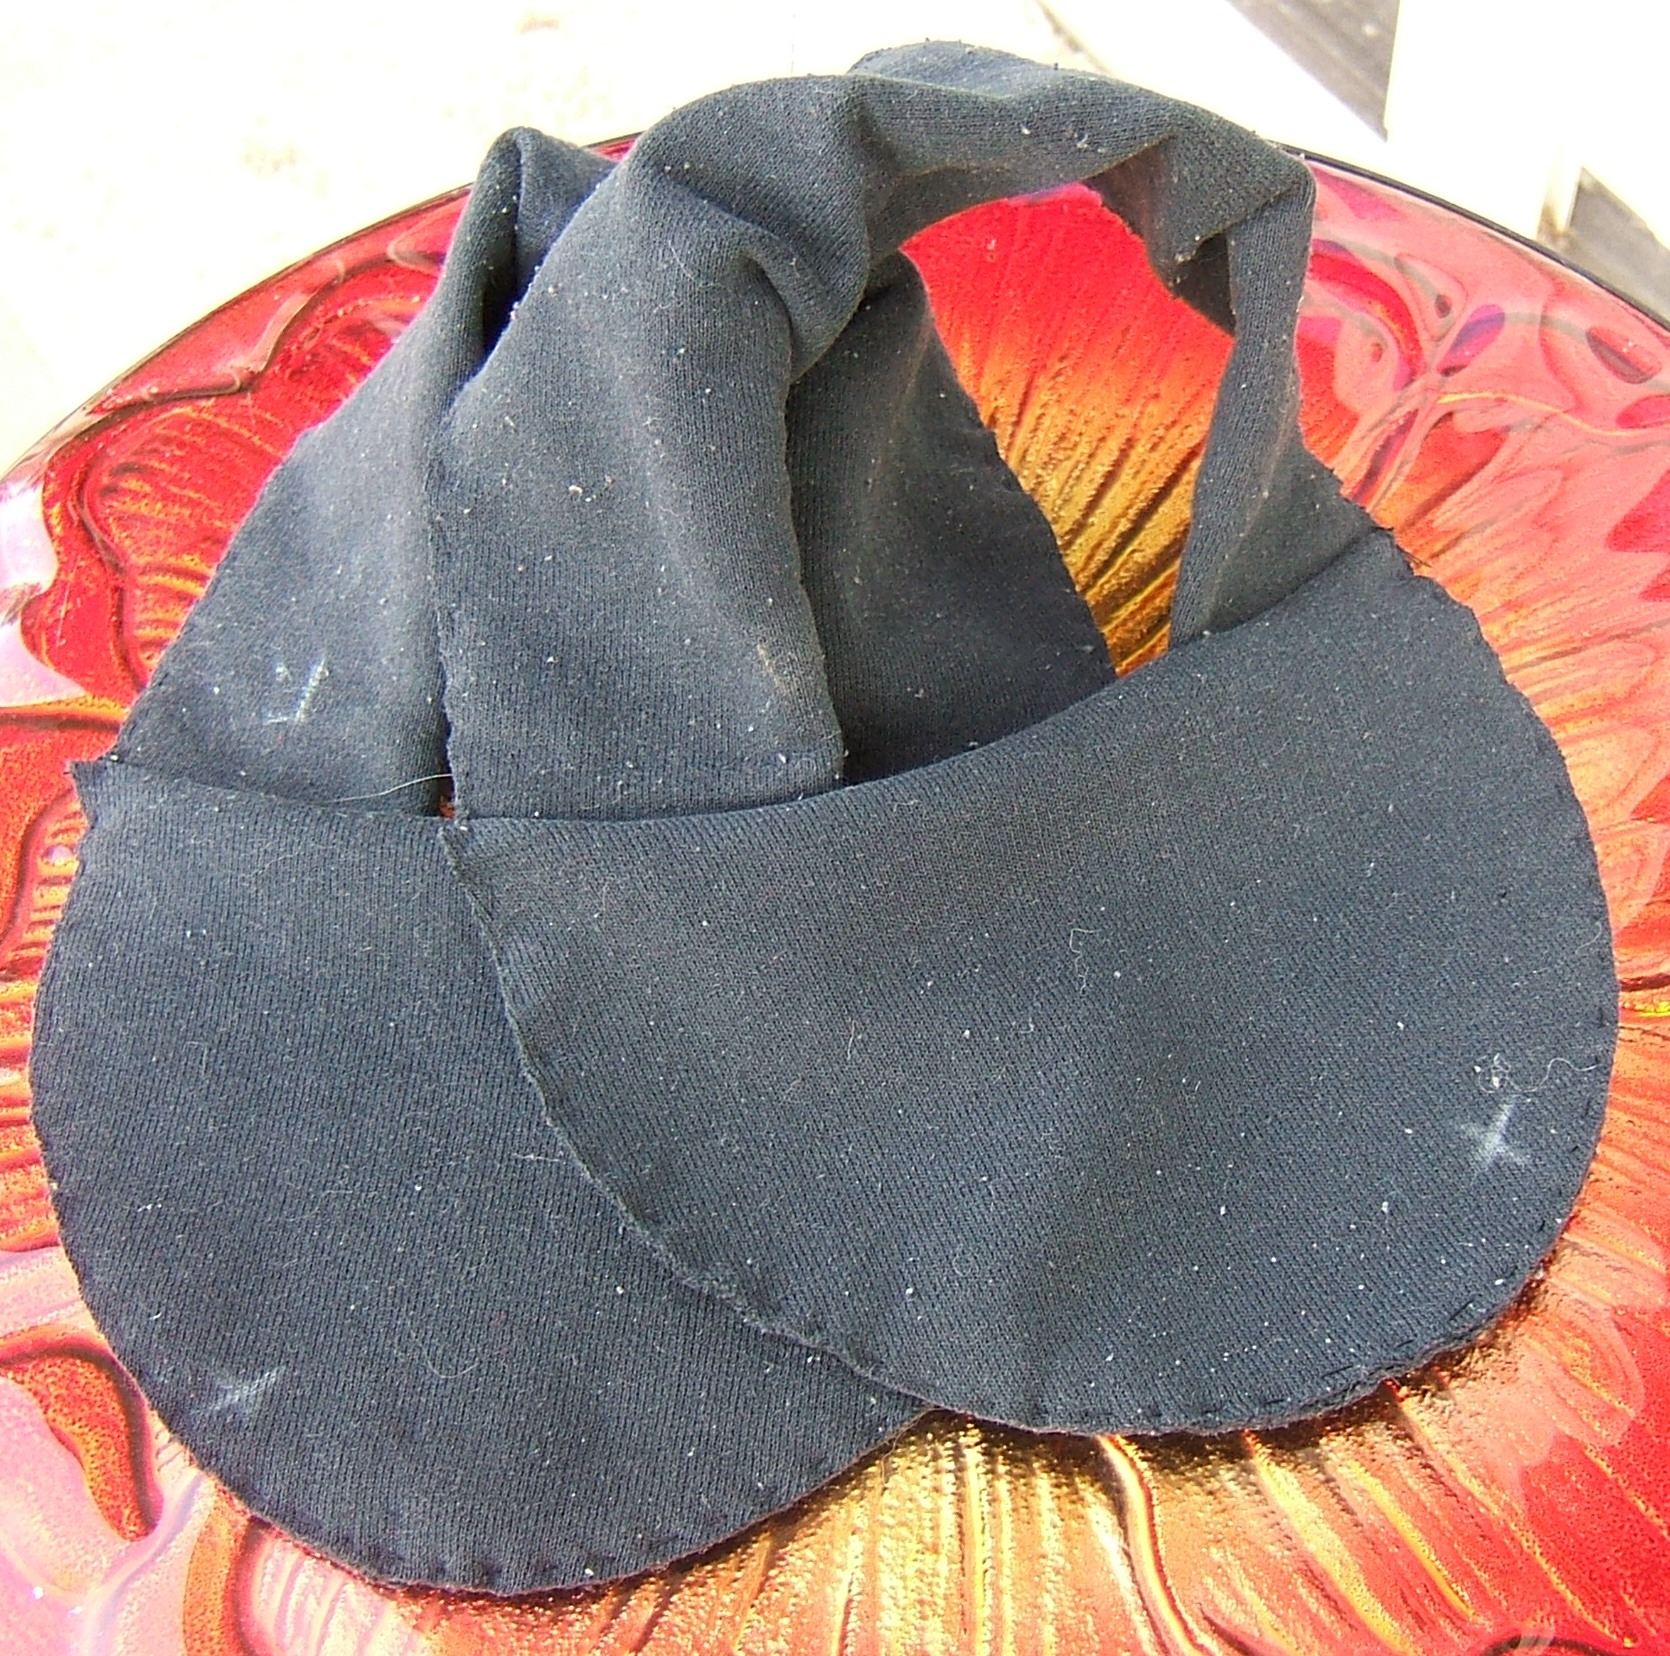
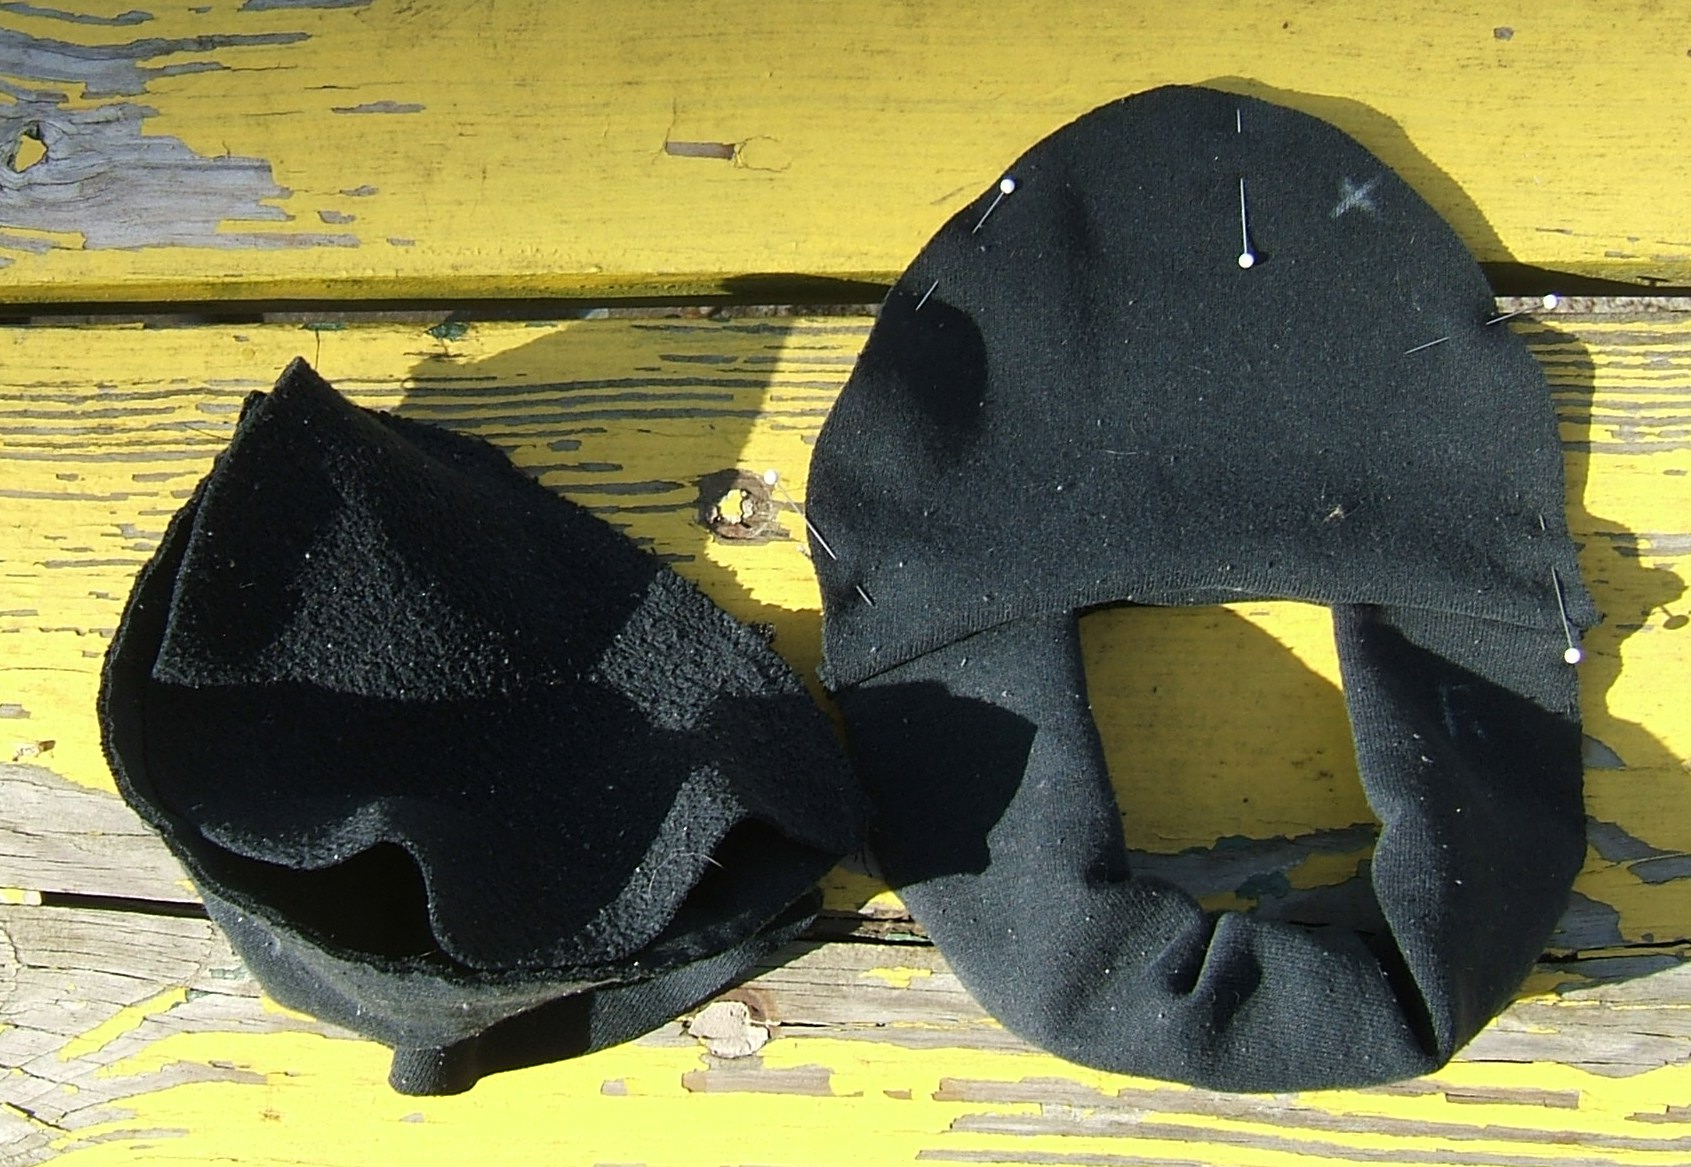
Both uppers are ready to sew to the sole.
Both slippers are now pinned together. I folded the heel piece in half, marked the center, pinned that to the heel of the sole, and worked toward the toe in both directions. I stretched the sole very slightly as I pinned, but the circumferences of the uppers and soles are almost exactly the same. I didn't plan it that way; it just worked out.
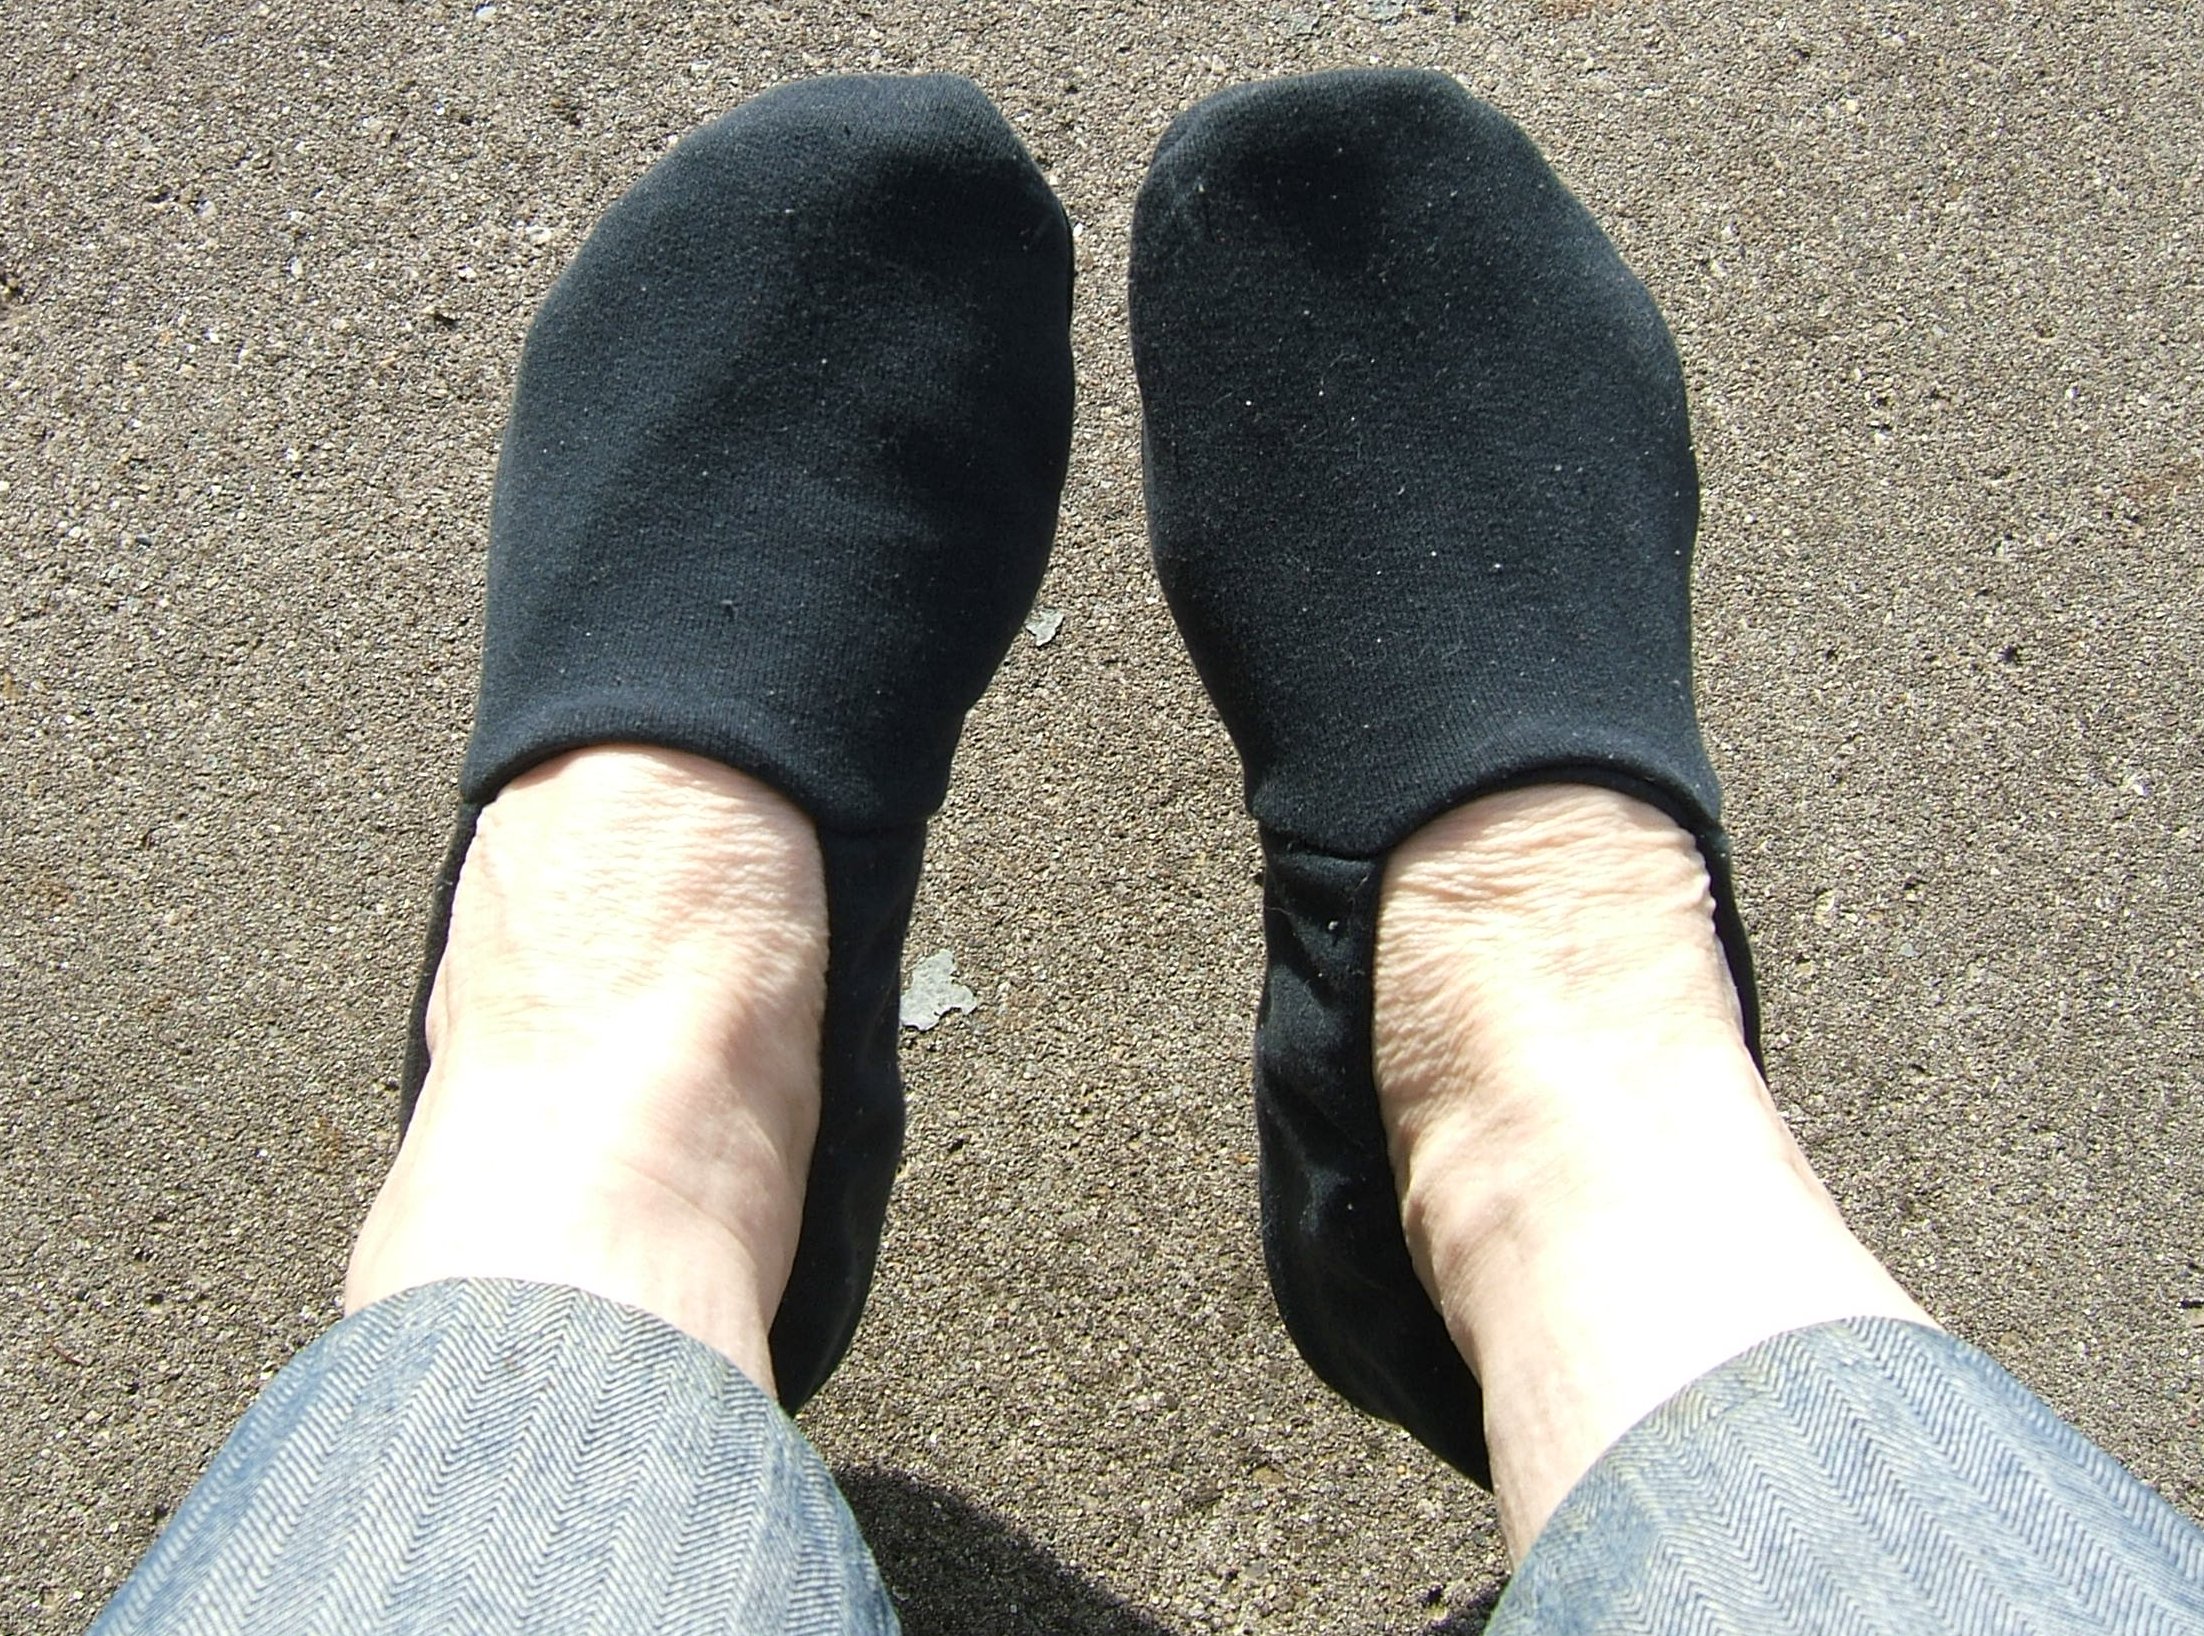
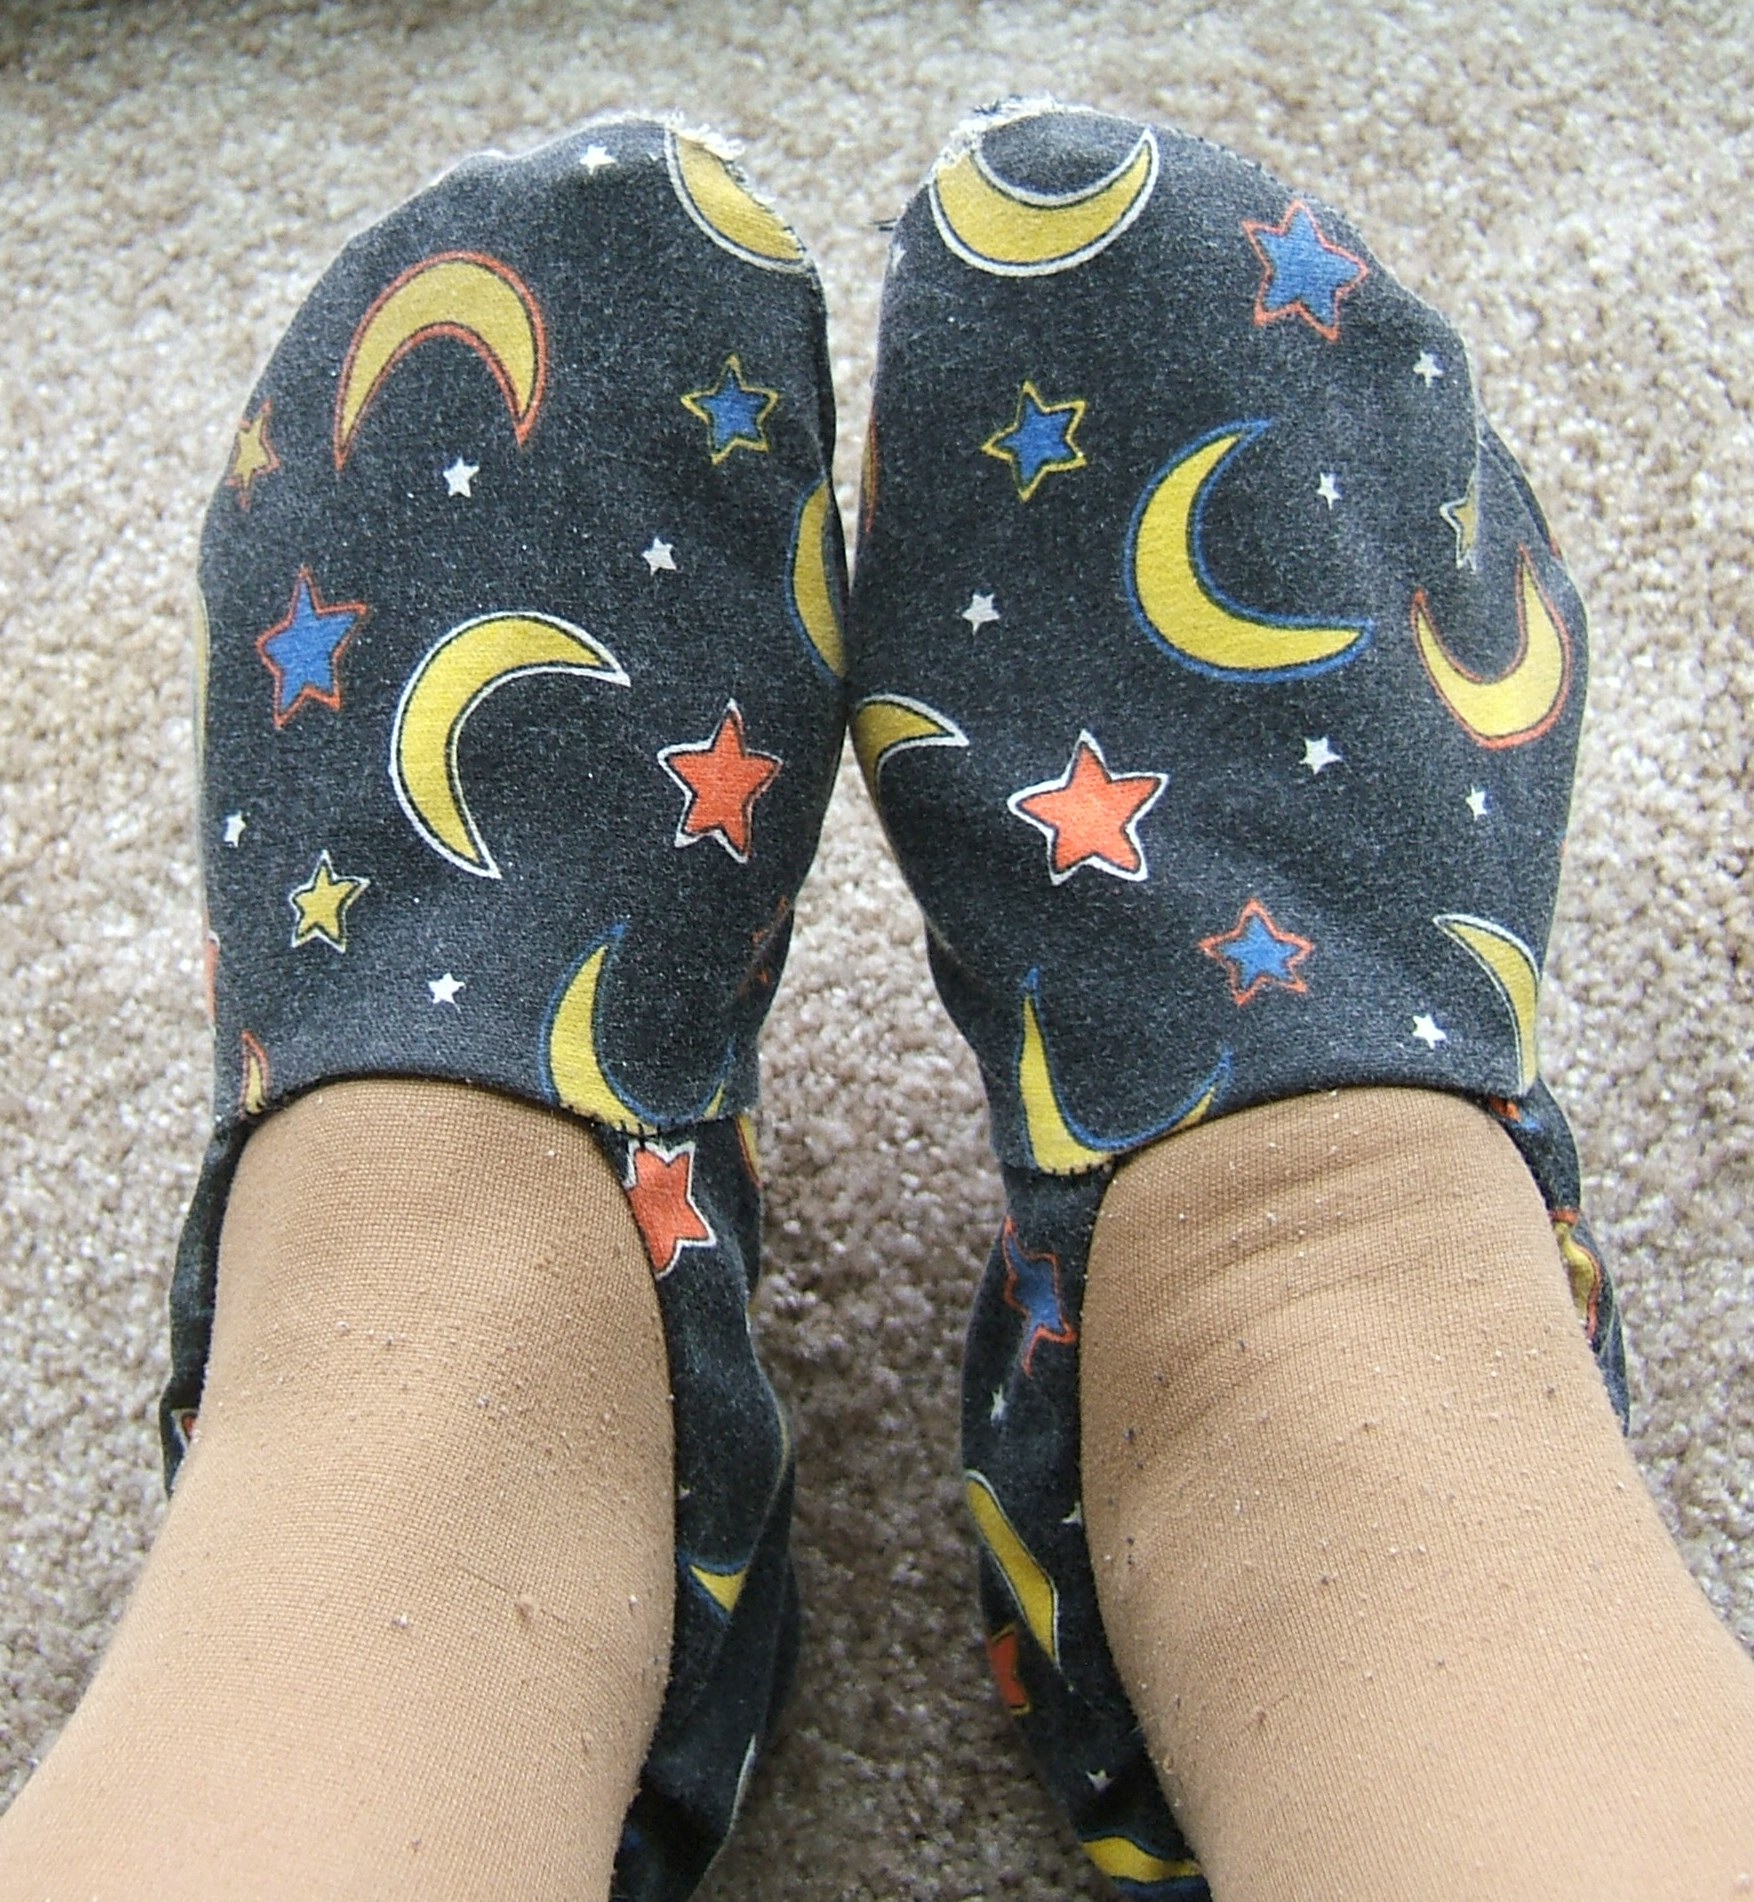
And it's all done!
Comments and criticism are solicited.
Back to Rough Sewing
Back
to the writing page
Back to the links page
Back to the cover page