I tried to rub a sample of one line off with a wet rag, but though the blue marks came off, the faint yellow marks didn't. They don't show on the right side -- or, rather on the side that has become the right side by virtue of not showing those lines; this plain-woven fabric is the same on both sides -- but I felt that I had no alternative to basting hems on the two raw edges and running the fabric through a rinse-and-wring cycle. If that doesn't take the marks out, I'll be obliged to wash it.
I hand-basted the hems because hand basting is a lot easier to get out, and not much more trouble than preparing a hem for machine basting.
First I pinched a quarter-inch fold to the wrong side. I formed this crease carefully because I'll be able to use it later but, because the fabric is linen, didn't need to press it -- I just pinched a quarter inch in two places, stretched the fabric to make a straight fold, and drew my fingernail under the taut fabric to firm the crease. The fold that enclosed the raw edge of this fold formed almost automatically as I stitched it down.
Almost nap time now. The fabric came out of the washer with no markings, neither blue nor yellow. But while hanging it to dry, I found a small spot that looks like foxing, and it looks as though it's in the part of the fabric that will end up in the shirt. Ah, well, if it doesn't come out when rubbed with real soap, I can camouflage it with white chalk. I will ignore it, save for being careful not to iron it, until I wash the finished shirt.
The ribbon is still hot (or at least very warm) but appears to have come through the experience unscathed. I won't even need to iron it. Will, though, to be sure it can be ironed. But I'll iron it through a cloth, and do it that way after the shirt is made, too.
3 August 2010
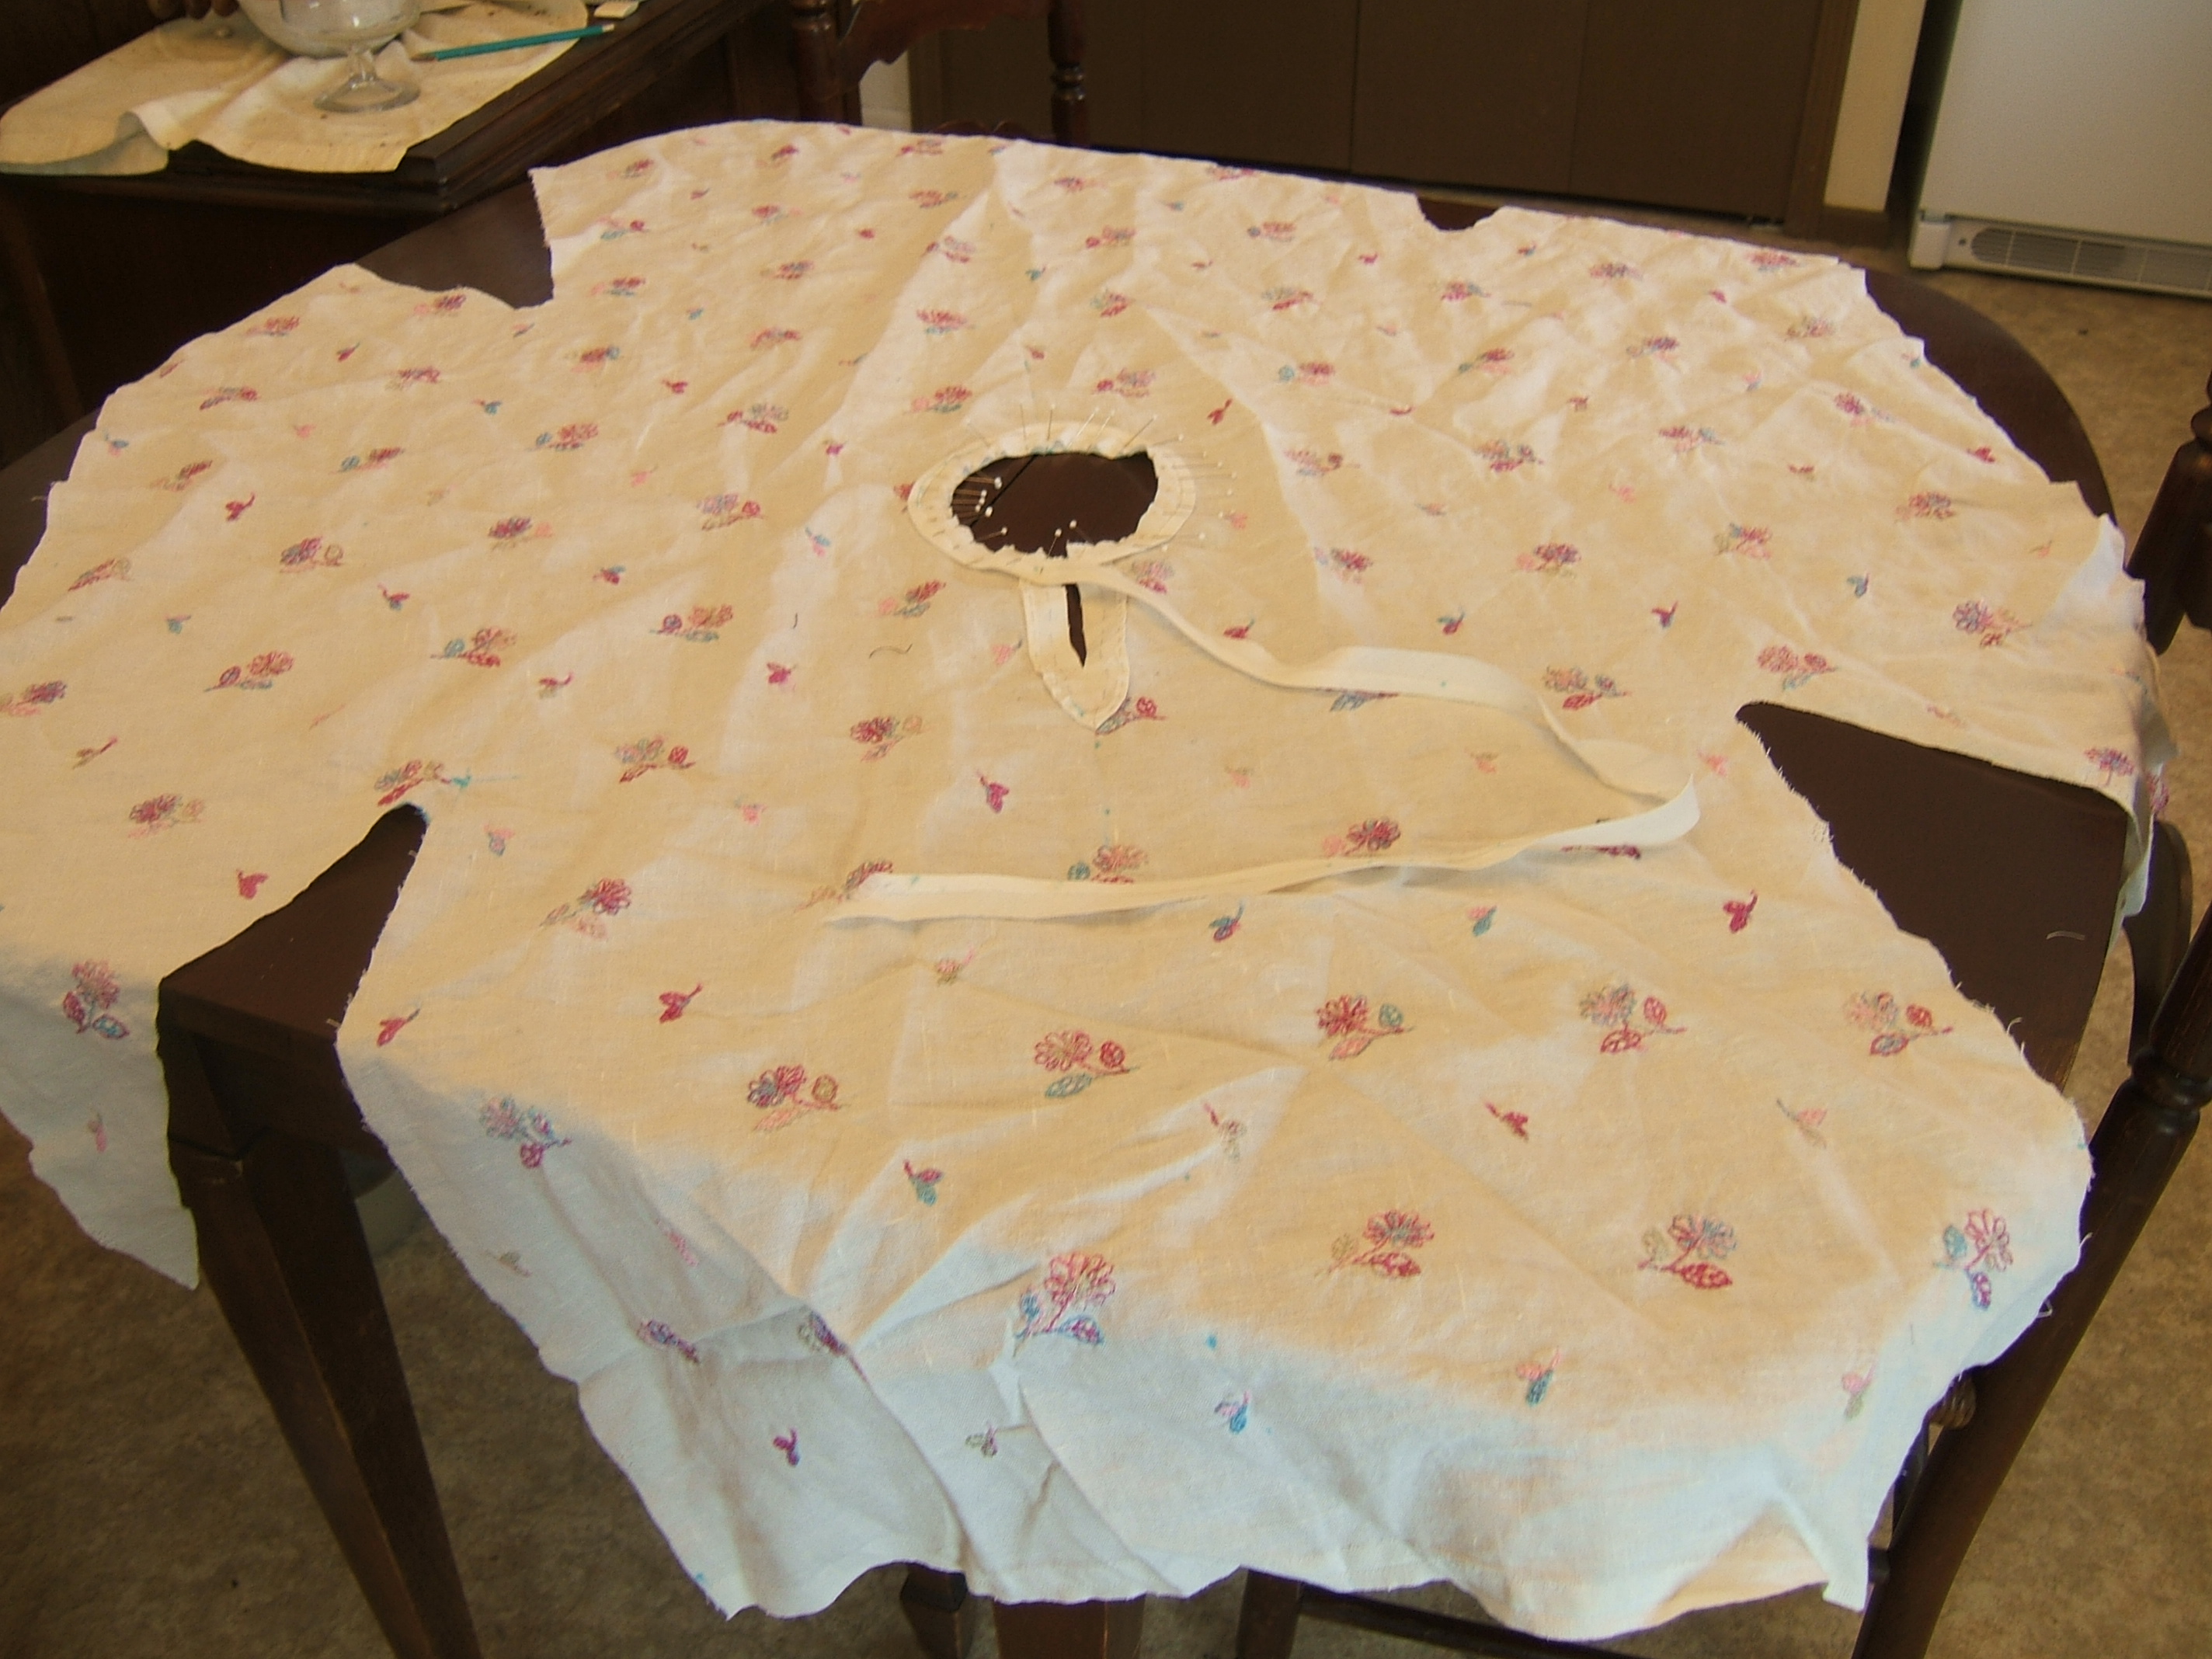
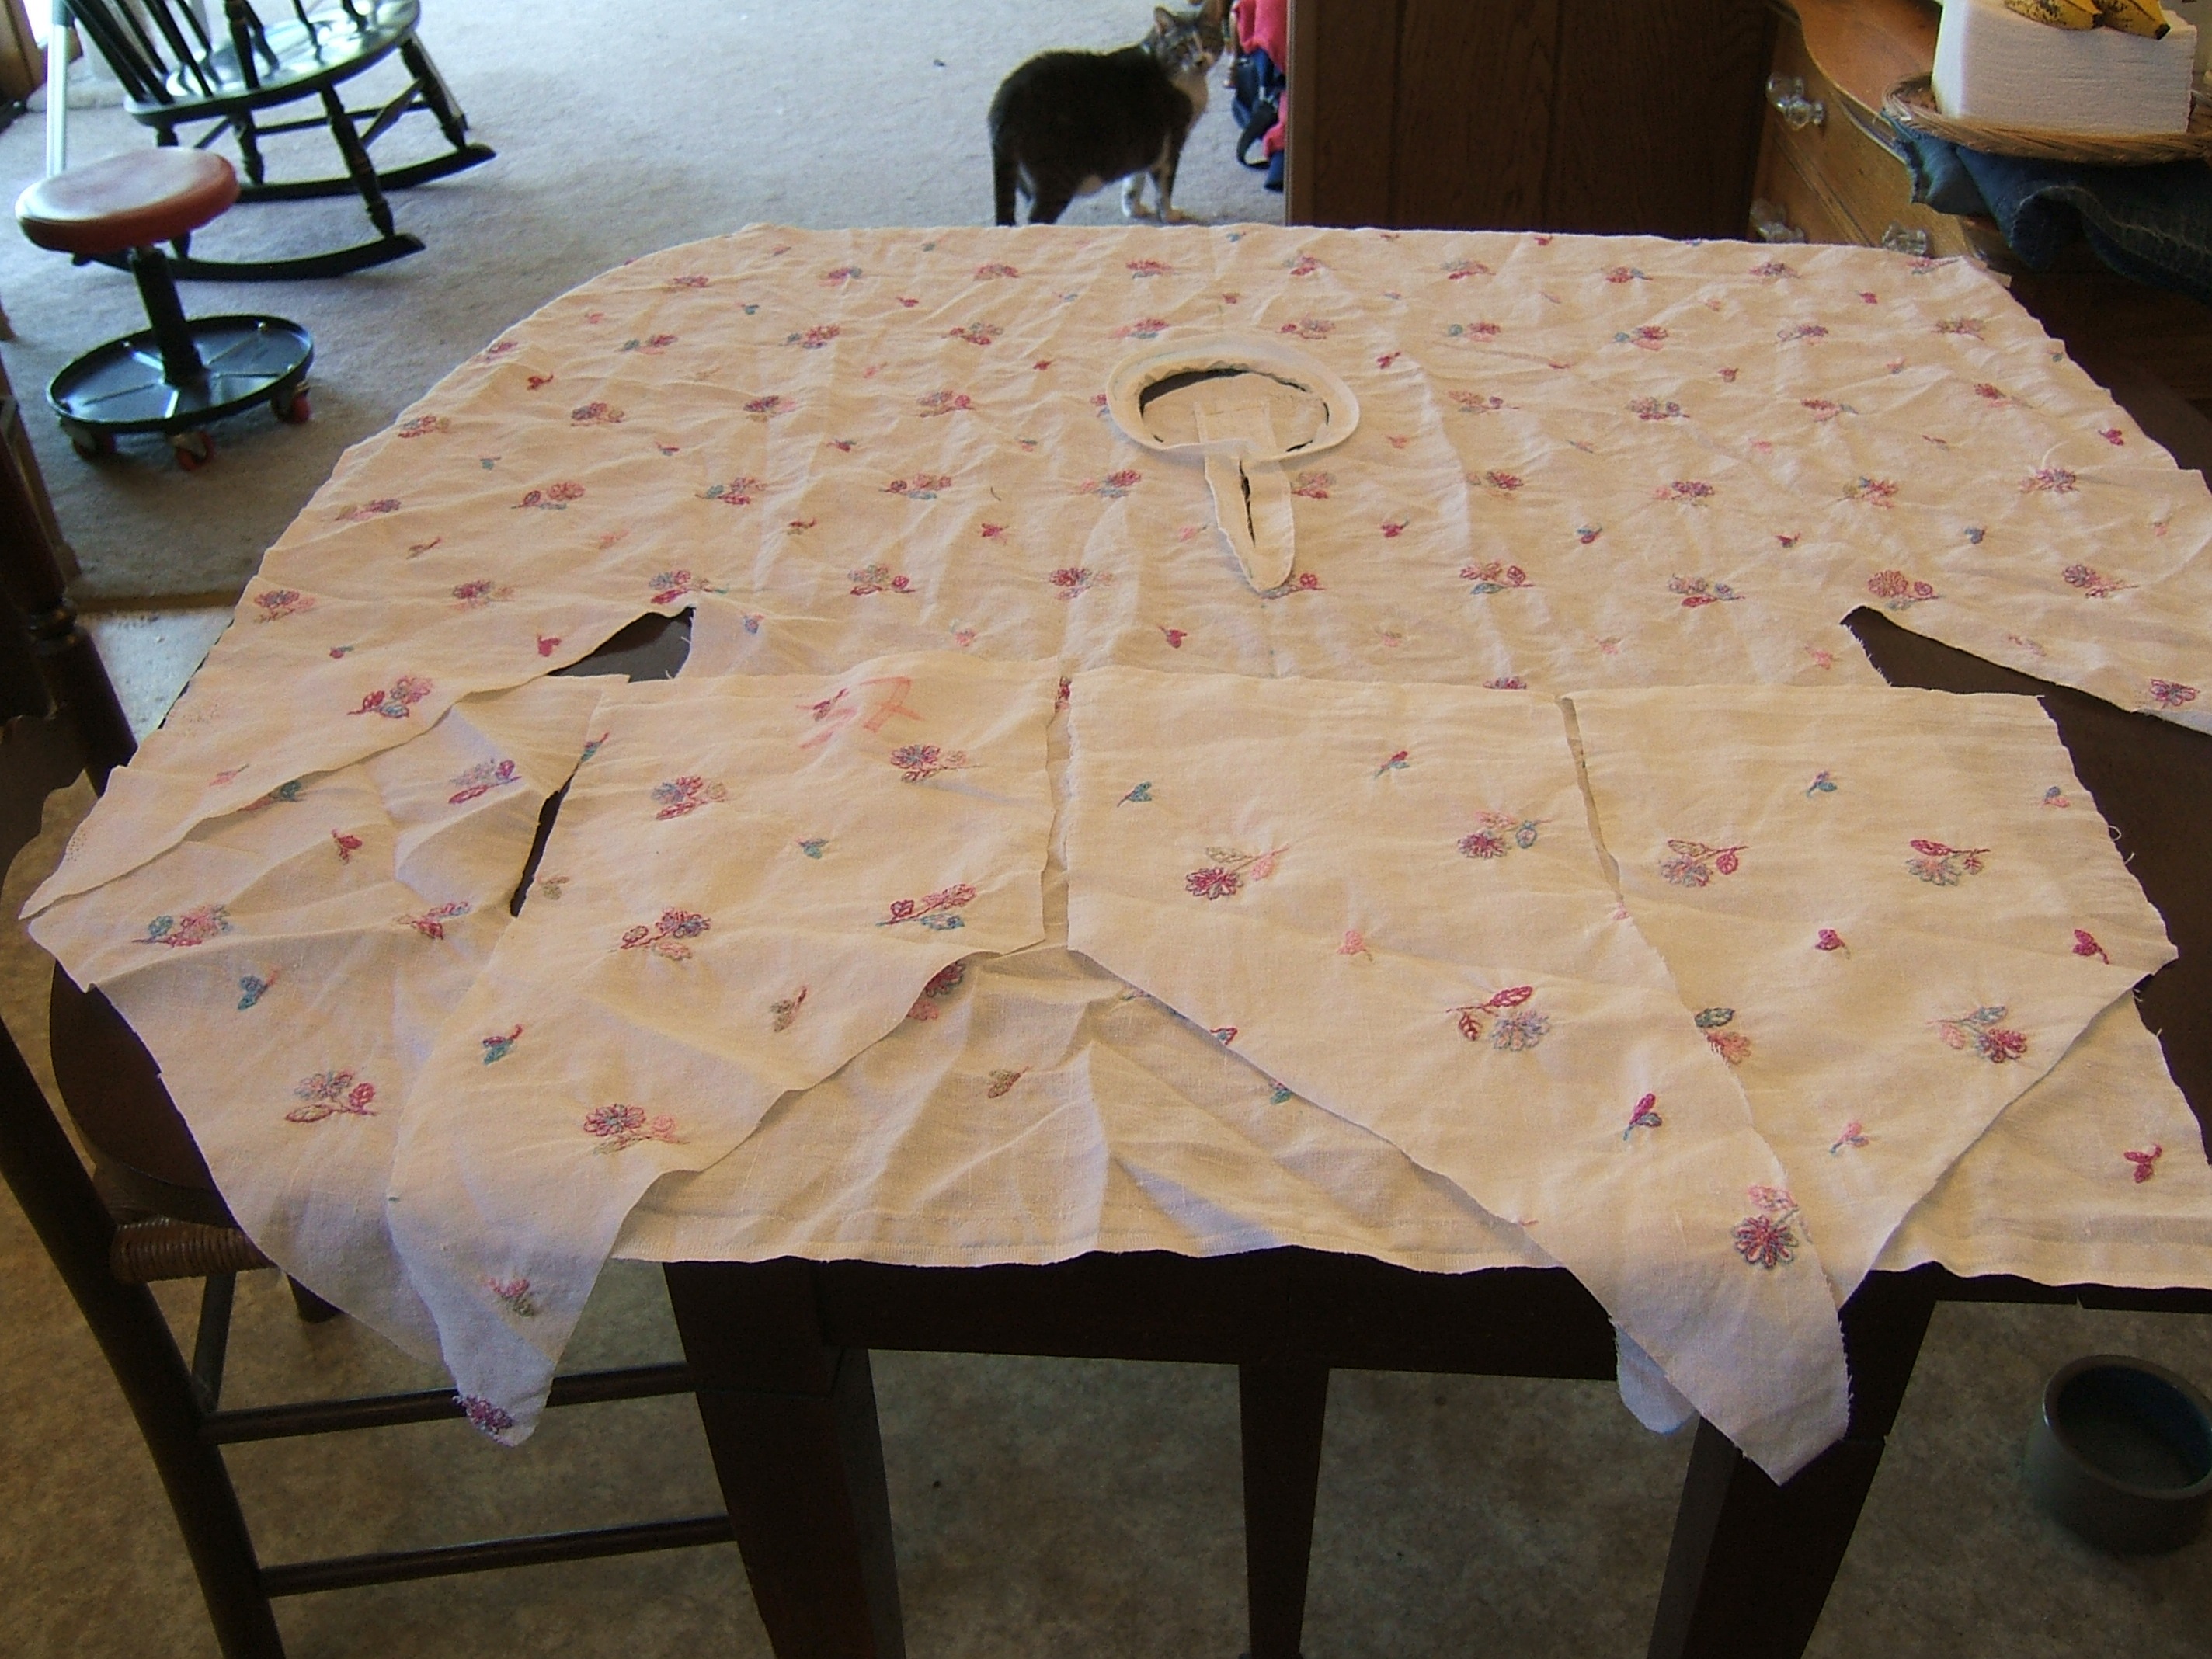
Today I got around to taking a picture of the fabric and the shirt I'm using for a pattern. Couldn't see the viewfinder for the glare, so the first picture cut off the hem and the second picture cut off one sleeve. I present the second here, since what you can't see is a reflection of what you can see.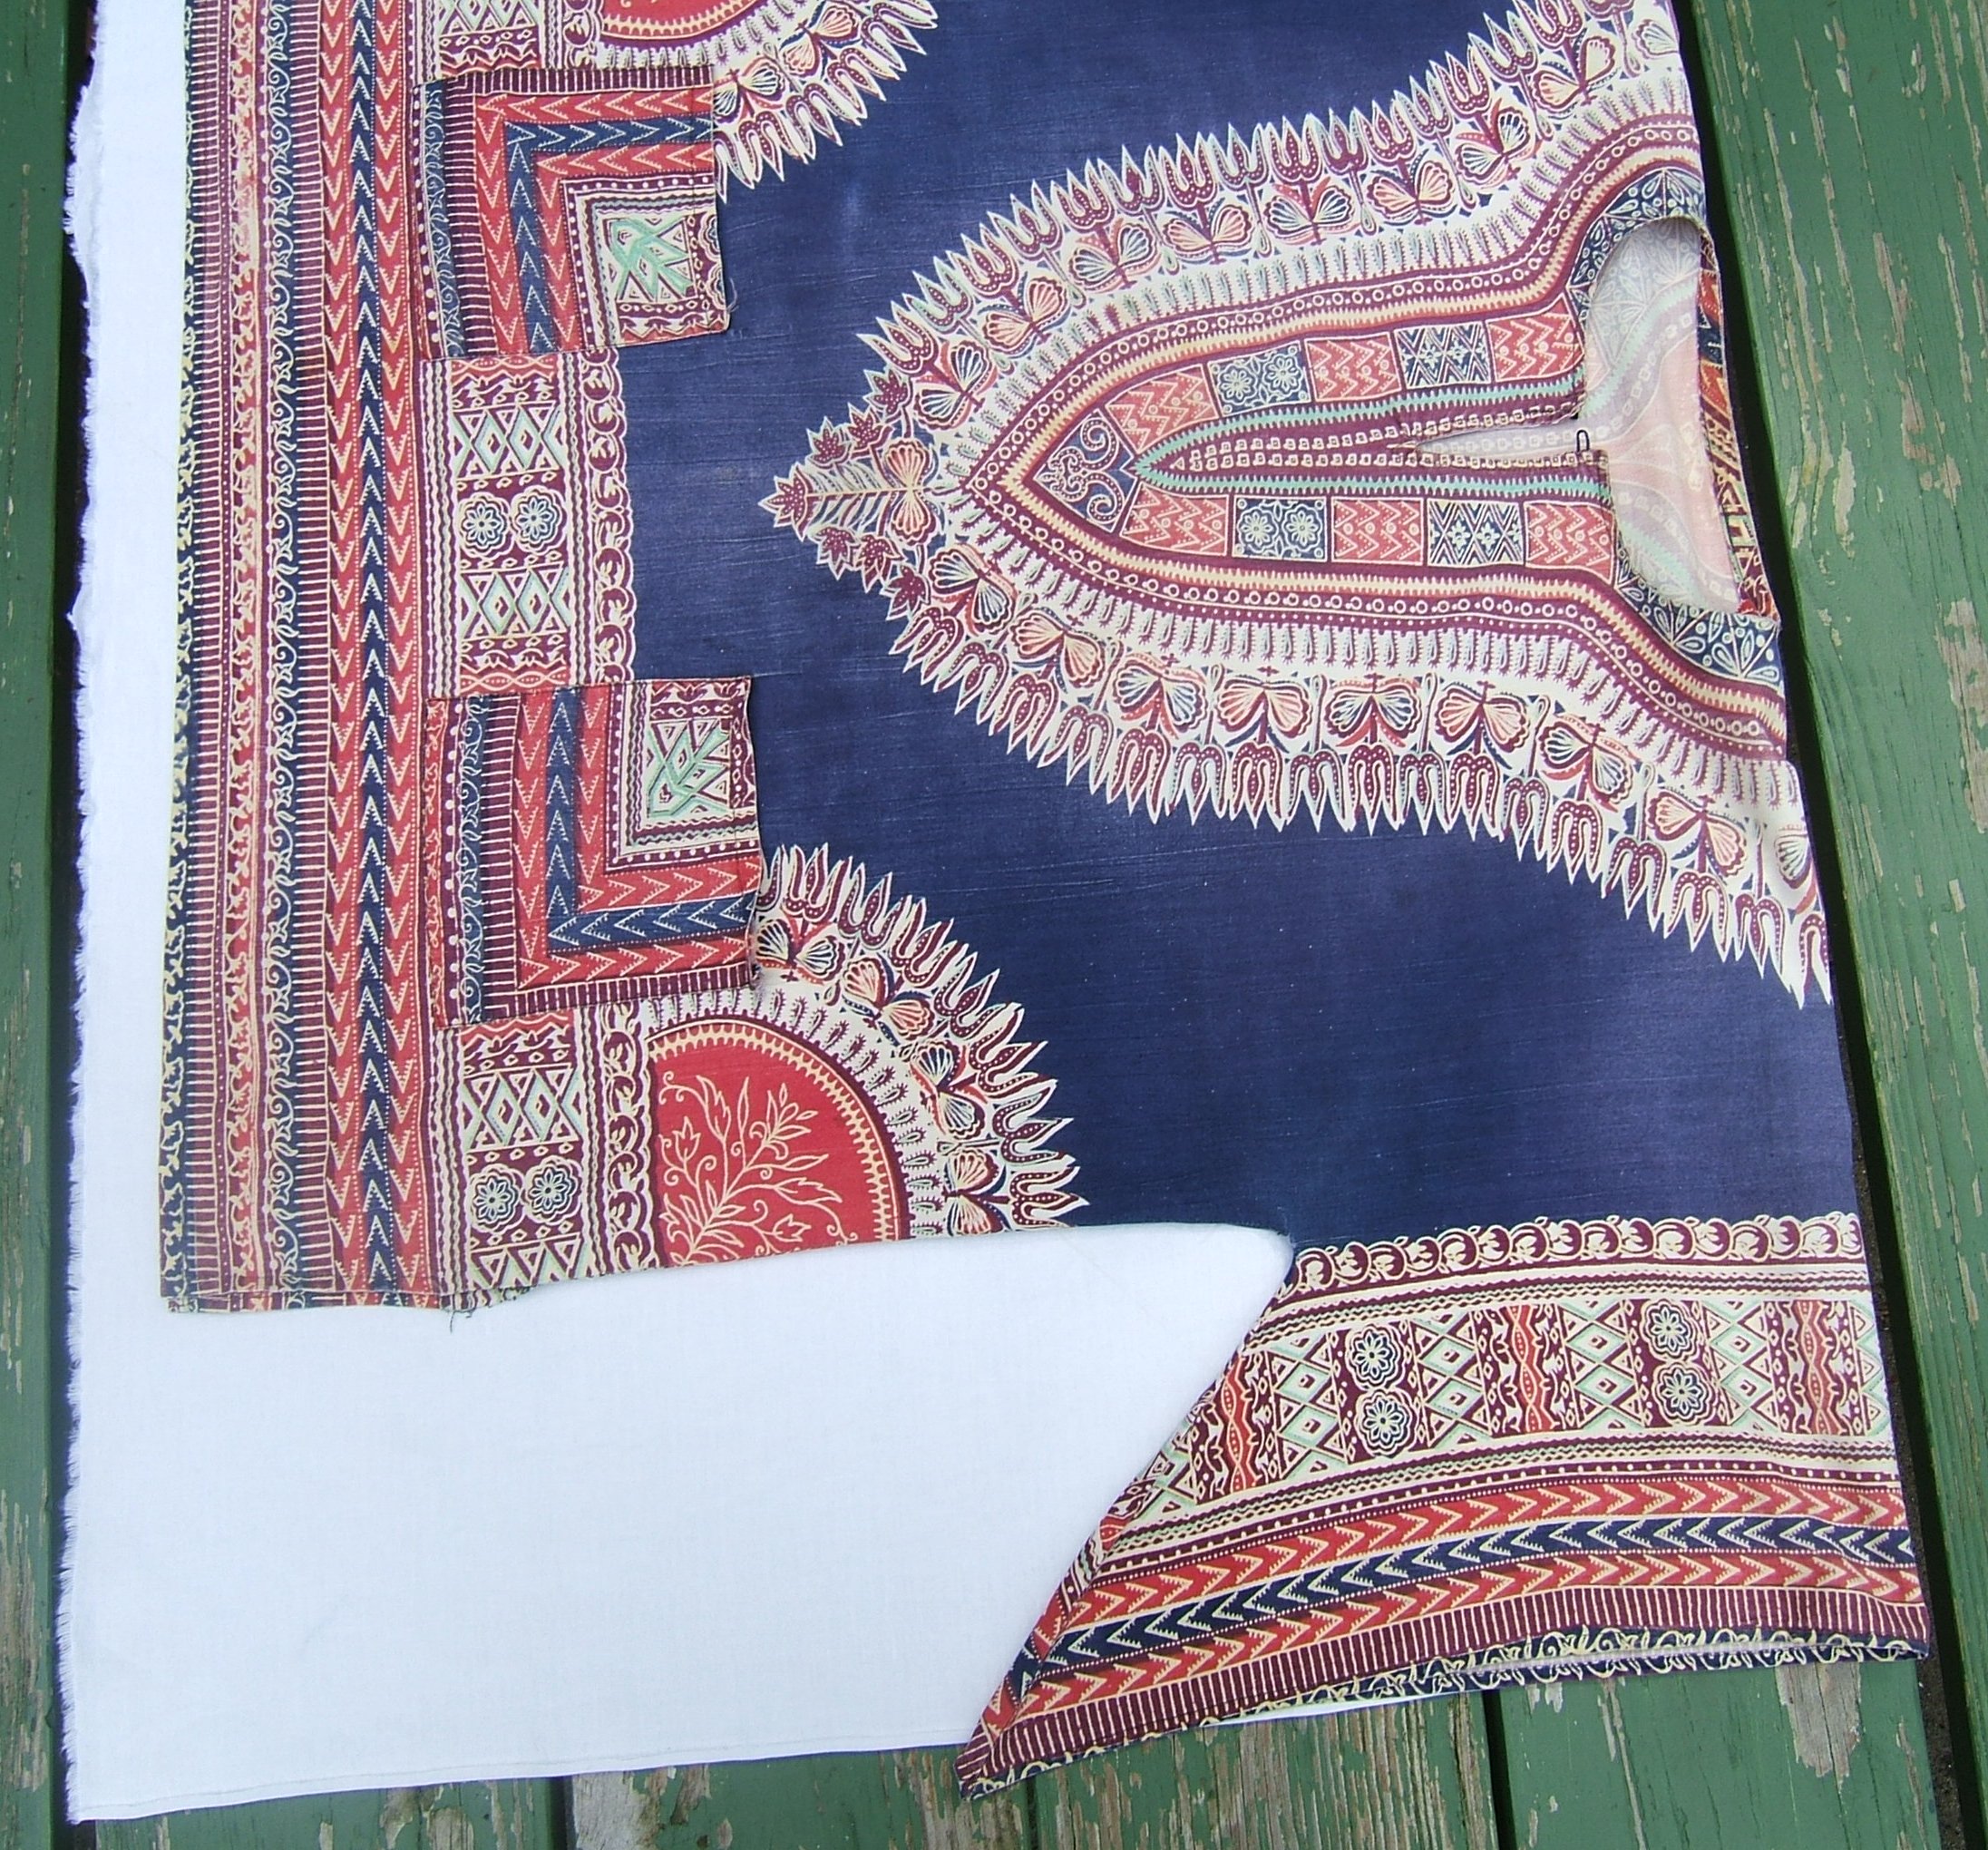
Two bits of bad news were revealed: first, the fabric isn't quite as wide as I thought. Back to a shirt-tail hem for the sleeve, and it's still going to be a quarter inch shorter than the model. Ah well, said the fox, shirt-tail hems are easier to make, and the narrow hem on the model works just fine.
Second, when I laid the fabric out in the sun, I discovered that the mystery marks hadn't come out after all. But they don't show on the right side.
I have decided that appliquéing the ribbon to the fabric should be my first step. For that, I need the expanded table to spread the work out on. So I can't mark it before supper, and after supper I have an appointment.
I've been dithering over the fuzzy selvages. Fuzzy selvages tend to come undone in the wash, but using the selvage instead of turning the edge under makes a less-conspicuous hem. Perhaps I'll zig-zag over the fuzzy edge?
4 August 2010
Folded the fabric in half and ironed in a crease to mark the shoulder line. Had to baste around the edges to keep the fabric lined up while I ironed -- which is one reason professional seamstresses have big padded tables to iron on.5 August 2010
On second thought, after marking the neck-hole and the position of the trim with bright blue lines, I sewed the facings to the neck hole and basted them down so that I could try on the shirt to see whether I liked the position of the ribbon.Y'know, gang, those bright blue lines don't show up at all well in a mirror.
I thought I'd scooped the neck more than I like, but when I tried it on again after basting the ribbon in place, it looked fine to me. And the ribbon looks fine, though I failed to take into account, when planning the decoration, that in a poncho shirt wrinkles hang down from the shoulder, fanning out like raglan lines.
Using my old poncho, the one I keep in the car in case of emergency, as a pattern, I drew a circle 4.75 inches in diameter on a sheet of stiff paper, putting the center of the circle on a line creased into the paper so that it would be easy to match the diameter of the circle to the center of the shirt. (I finger-creased the center line and dotted it with washout marker.) I placed the circle pattern tangent to the shoulder line -- which was still a fold at this time. (Pity I couldn't leave the basting in to keep the fabric lined up while I cut the side seams, but I didn't want raw edges flapping around while I worked on the neck-hole and the ribbon.)
Drawing around the circle made it a marker-width larger, then sewing the bias tape to it made the radius a quarter inch longer, which made the diameter half an inch wider. This made the hole rather larger than I expected: among other factors, I forgot that the seam allowance comes off both sides of the hole. But I don't think I'll have to wear a scarf to keep the sun off.
The bias tape used was made from this same piece of fabric, left over from making the four bras. It even had a crease already pressed into one edge, and was exactly the right length.
To face the slit, I cut a crossgrain strip off one of the scraps -- crossgrain because I'm making the shirt on the sideways of the cloth. The strip was two inches wide and considerably longer than I wanted; I left trimming it to length until I cut the neck hole. I basted folds into three edges, snipping a little triangle off the two corners to blunt them. Then I drew a thread to mark the exact center, beginning just a hint farther from the end than it was from the edges. I matched the end of the drawn thread to a mark on the center- front line that was four inches from the circle marked for the neck hole, then basted along the drawn thread.
Sewing the facing to the shirt turned out to be a struggle. I marked blue lines to guide me in sewing the minimum-possible seam allowance from the drawn line, but after the stitching was done, I saw that I'd sewn less seam allowance than was possible. So I stitched again, just outside the first line, and lifted the foot to make one big stitch to the other side instead of re-stitching the point, which would have made it impossible to turn. The seam allowance is still a bit too narrow, but it's double stitched, and I'll be putting in a third row of stitching when I hand- backstitch around the neck and slit to keep the edge sharp.
And the blue lines are fully enclosed.
I turned at the top of the stitching to sew along where the bias tape would later be sewn, so that the raw ends of the tape could be covered by the facing when all were turned to the inside. I did a terrible job of turning the corners the first time, thought that the necessity of stitching again would enable me to correct that, did an even worse job.
Then I said "Well, duh!", hand-basted between the stitching line and the cutting line, and picked both sets of stitches out of the corners. Then I cut on the cutting line, cut on the drawn thread — the rotary cutter was very handy for this -- and installed the bias tape, stitching around the corners at the beginning and end of the tape. This was dead easy, and the corners turned beautifully.
After I un-turned them and snipped two tiny triangles of fabric off each corner, of course. This was, for a change, not a mistake -- I wanted to see how much lump there was before I started trying to get rid of it.
And the end of the slit turned easily, with no puckering at all. I had used the cutter like a razor blade to cut exactly to, but not into, the two stitches that met in a V at the end of the slit.
This neat end of the slit won't look so neat after the slit gets pulled on a few times, because this point is very weak, and any force applied anywhere along the slit is funneled exactly there. But I read in a vintage sewing book somewhere about how to make this precise sort of slit -- well, the one in the book was hemmed, rather than faced. All I have to do is to work a buttonholed bar about half an inch above the end of the slit to intercept the strain. I'll probably make it less than half an inch, because my slit is narrower than the one in the book, and I'll skip the part about buttonholing the curve at the end of the slit instead of hemming it. I may throw up an overcast stitch or three when I do the edge stitching, however.
I thought I'd need to make four seams to form the ribbon into a diamond, but it turned out to be possible to miter the corners by folding, so the sharp point in front is the only seam in the ribbon. I had to trim and scrunkle and stitch to get the seam allowances out of sight where it meets in a sharp point, but the embroidered edges meet neatly.
Then I replaced the pins holding the ribbon in place with basting, partly so I could try the shirt on, and partly because pins are sure to fall out when I wool the shirt around doing all that hand sewing.
I suspect that I'd be wise to make that buttonholed bar my first job of hand sewing! Or maybe I'll sew the edges together with baseball stitch, several stitches worked in the same place like a bar tack.
6 August 2010
I can cut and sew the side seams before finishing the neck and ribbon, since all remaining work is to be done by hand. But I can't use the dining table to cut it, because my spouse got fed up with the white marks and other flaws on the tabletop, so he took it out to the shop and is working it over with a belt sander.Fortunately,
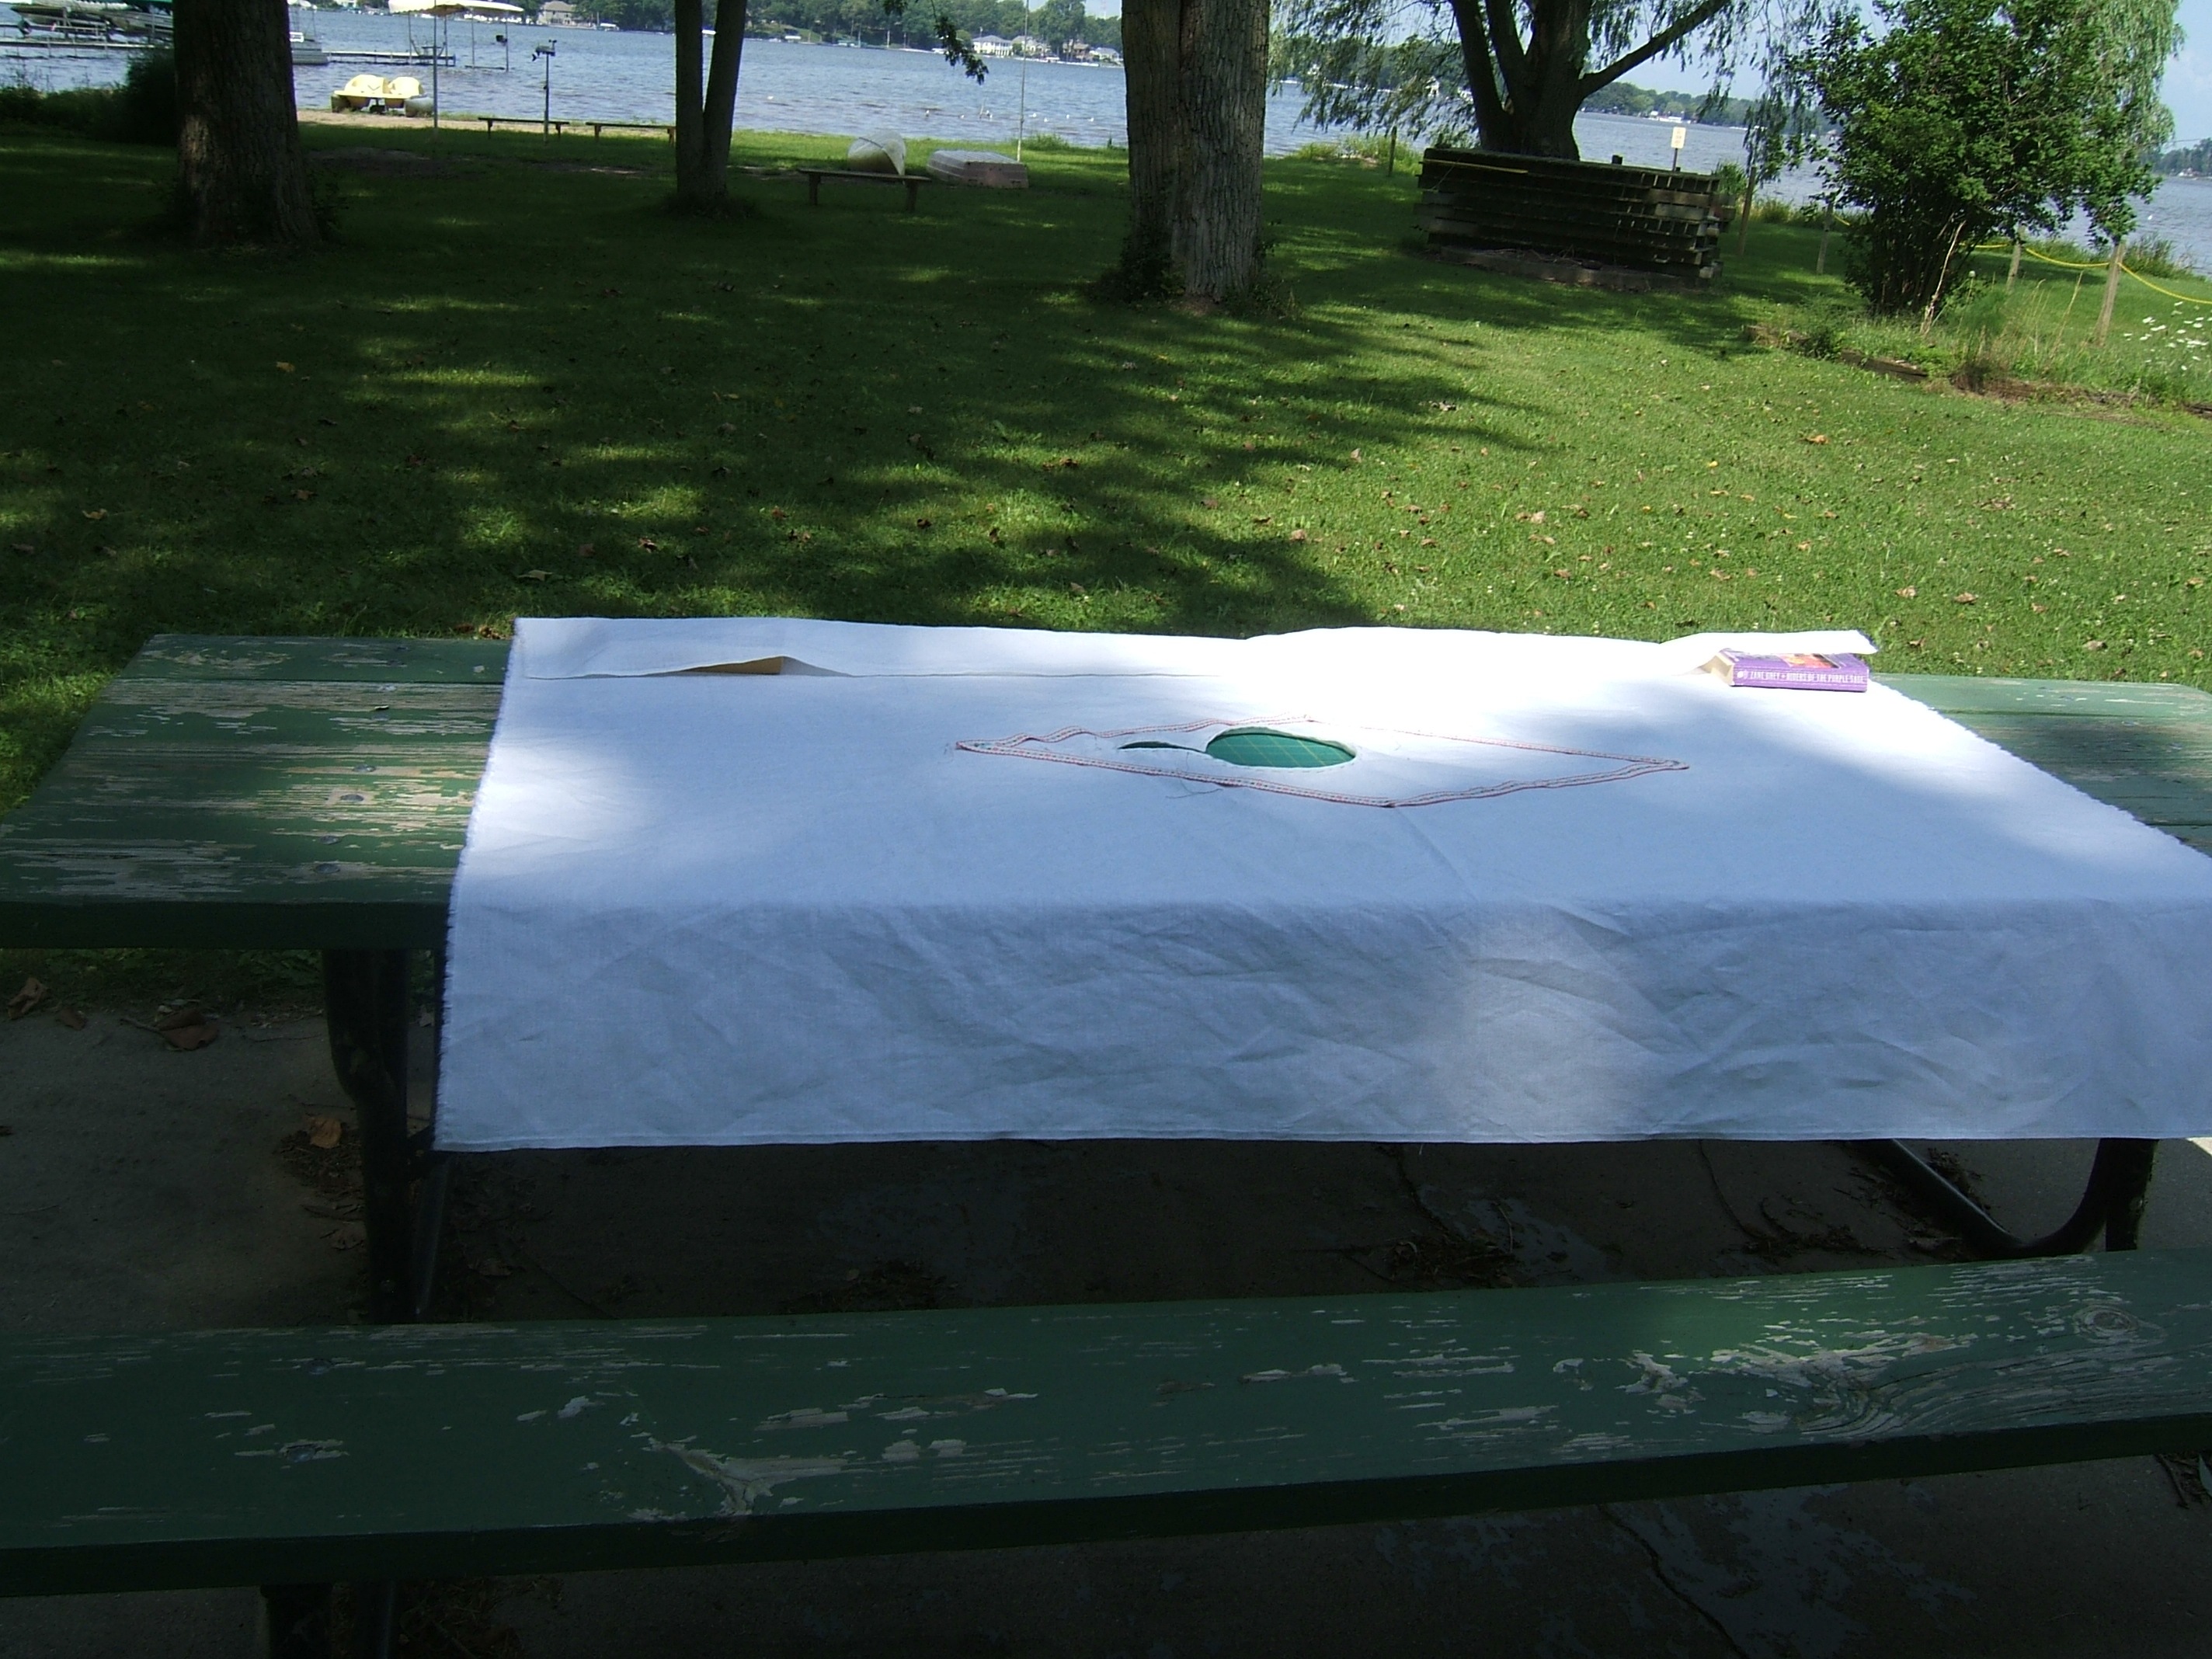
The wind came up when I went inside to get the camera, so I had to go back for a couple of books.
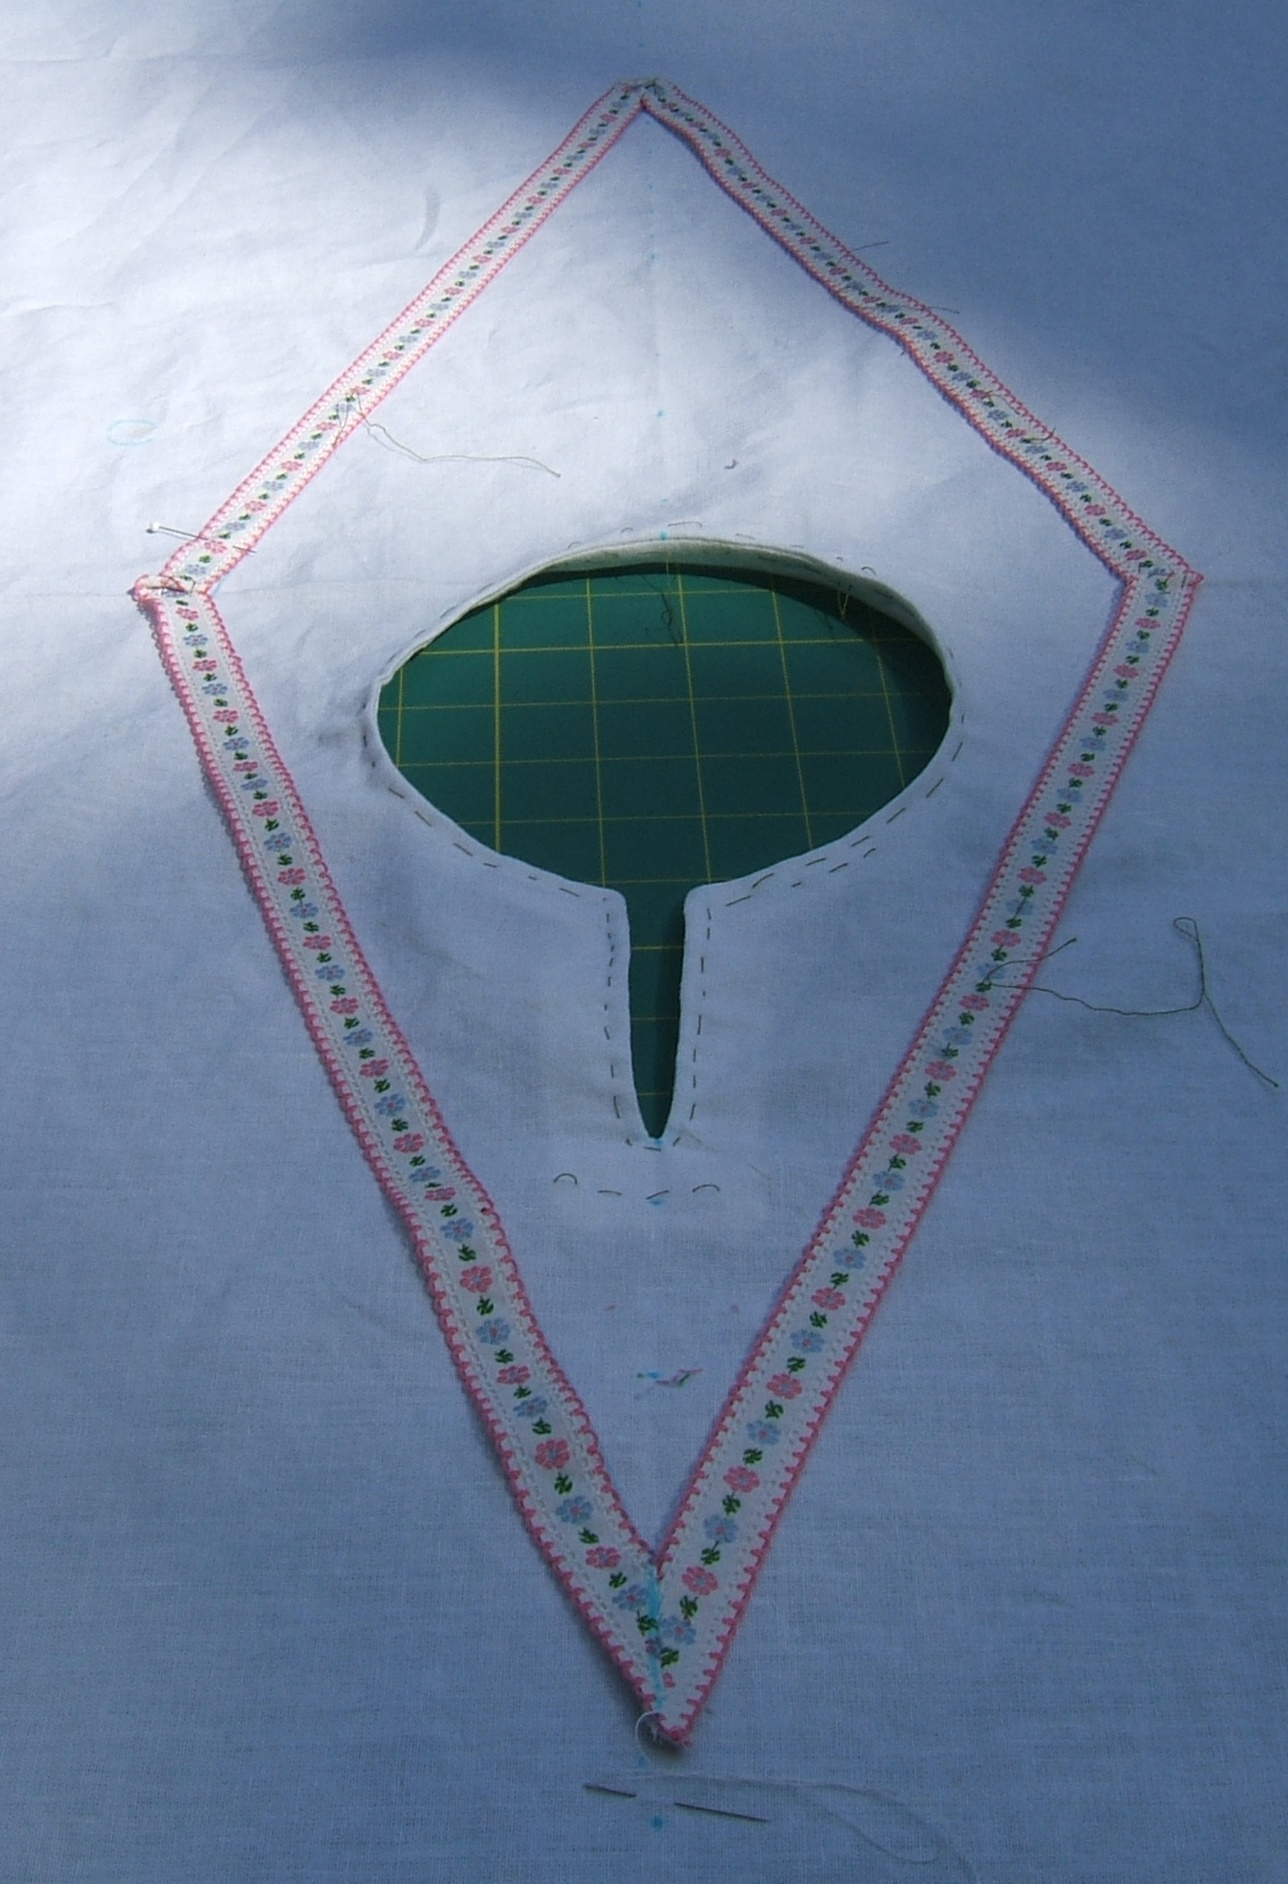
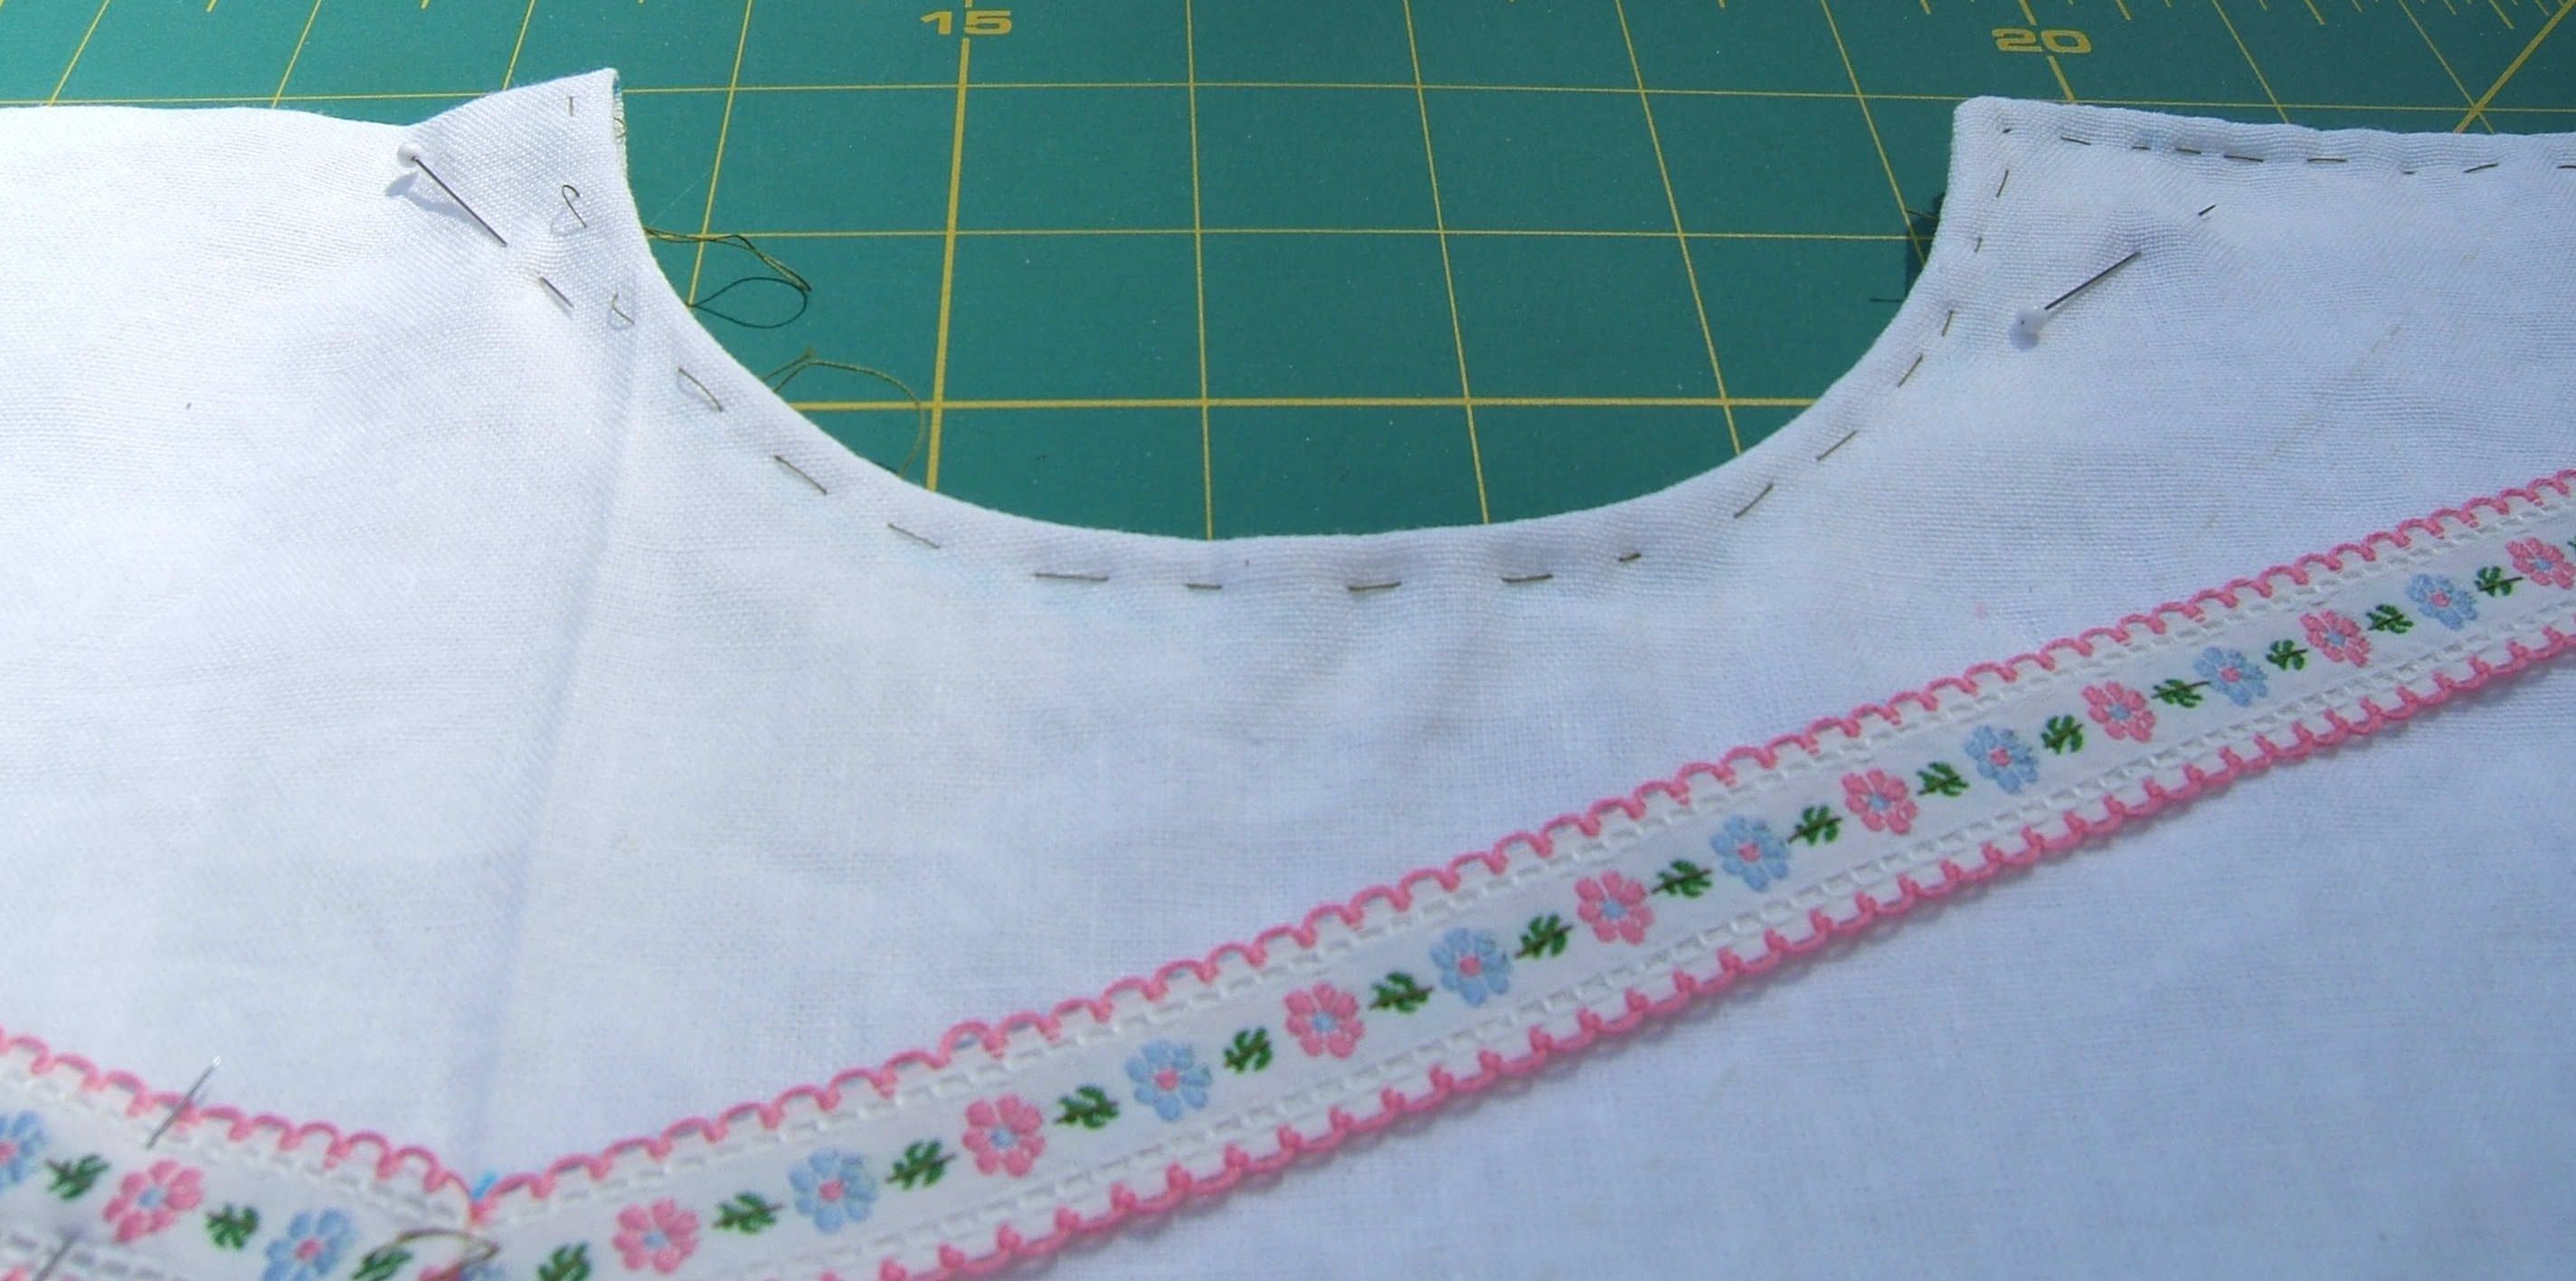
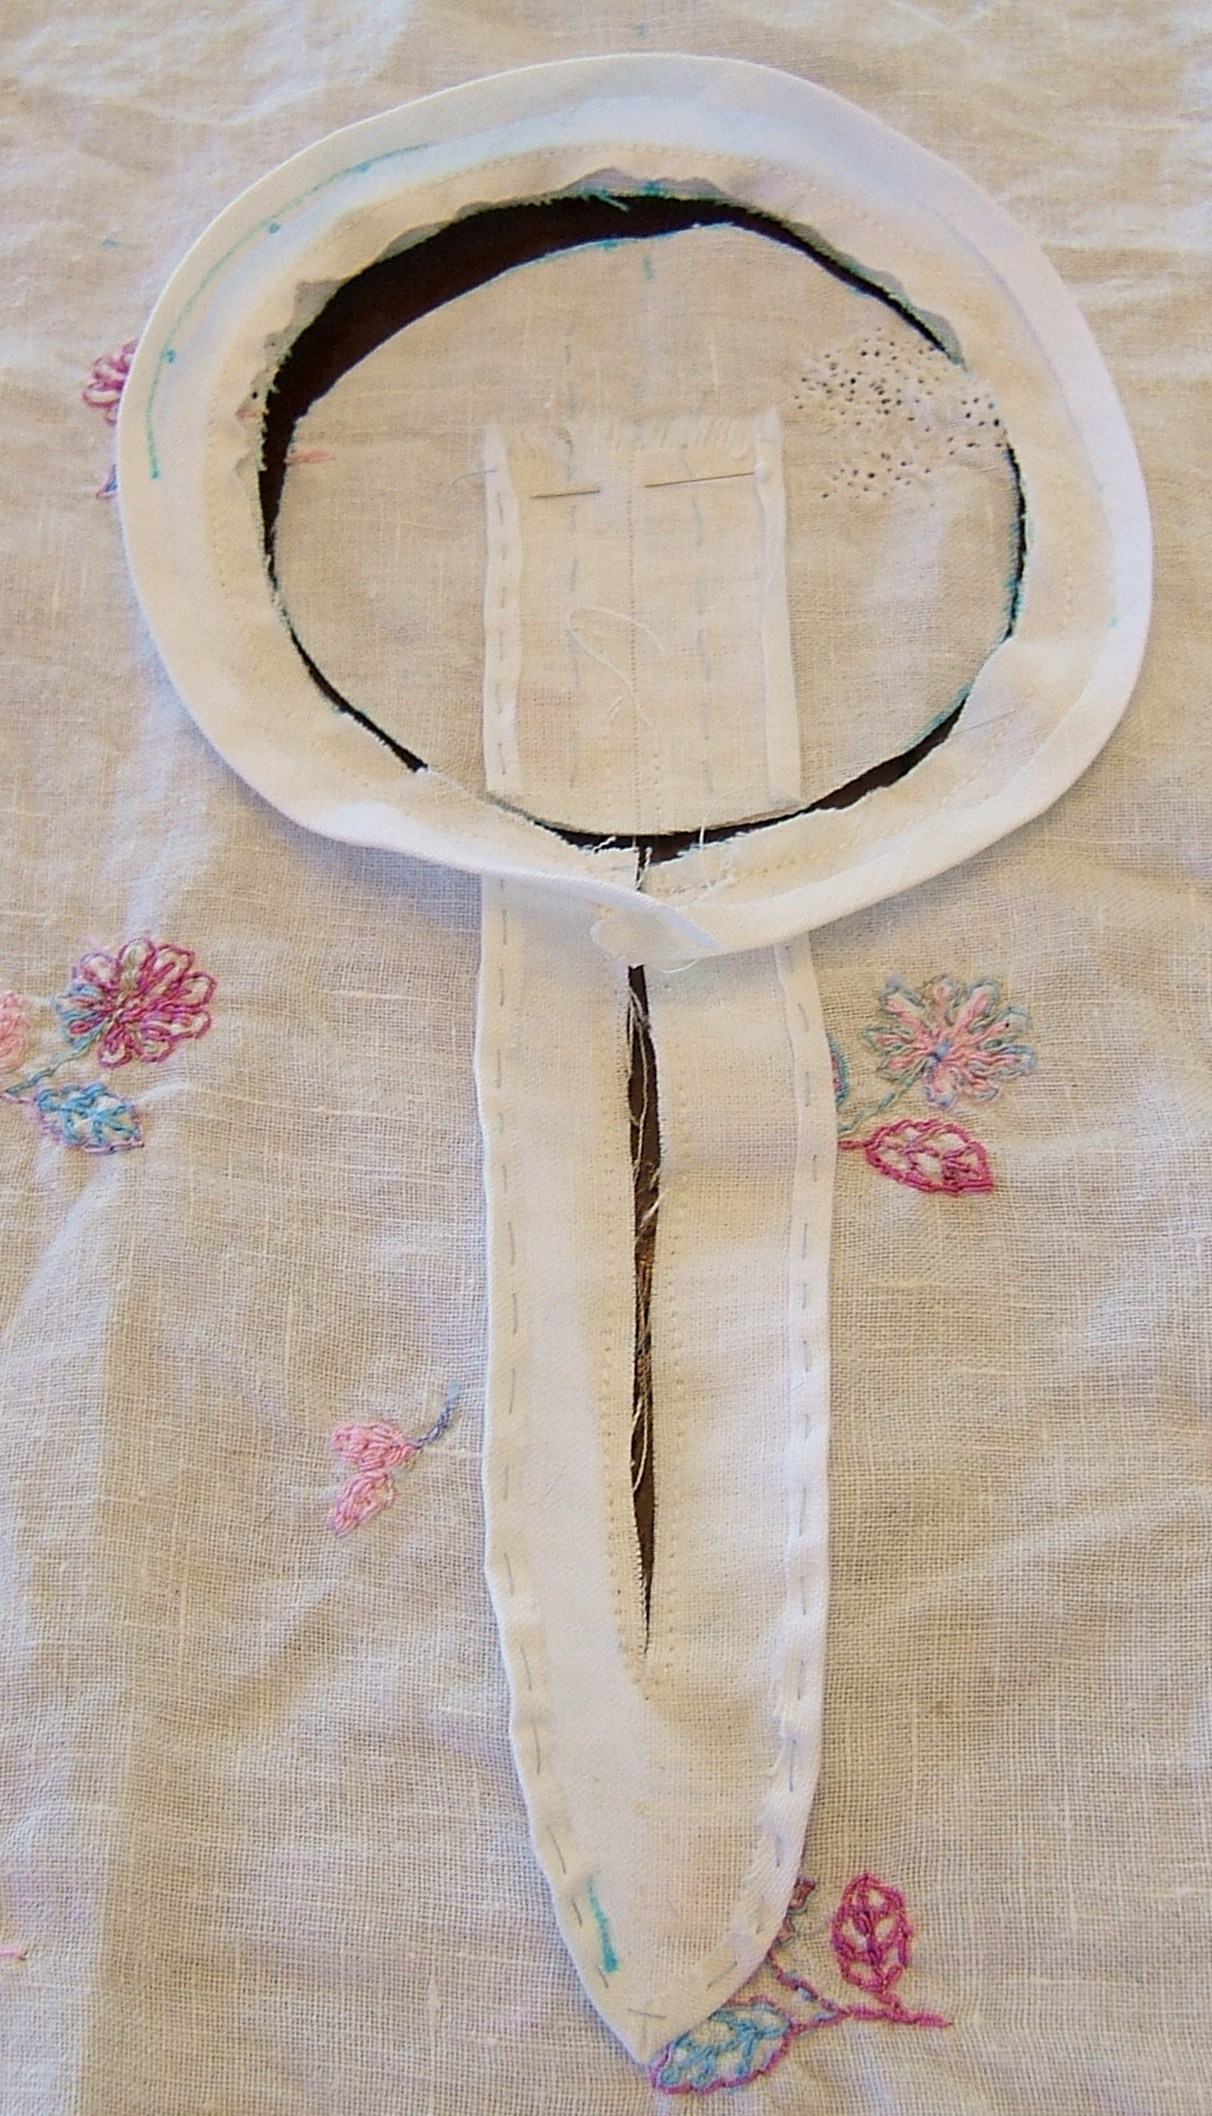
Here's a close-up of the basted neck-hole and ribbon. I want to do the edge-stitching before I press the facing flat and hem it down.
Then I folded the fabric lengthwise -- of course leaving in the basting I used to press in the shoulder line wouldn't have done! The two parts of the center-front fold must lie neatly on top of one another, not be nested one inside the other. Even a thin fabric such as this has a significant "turn of the cloth".
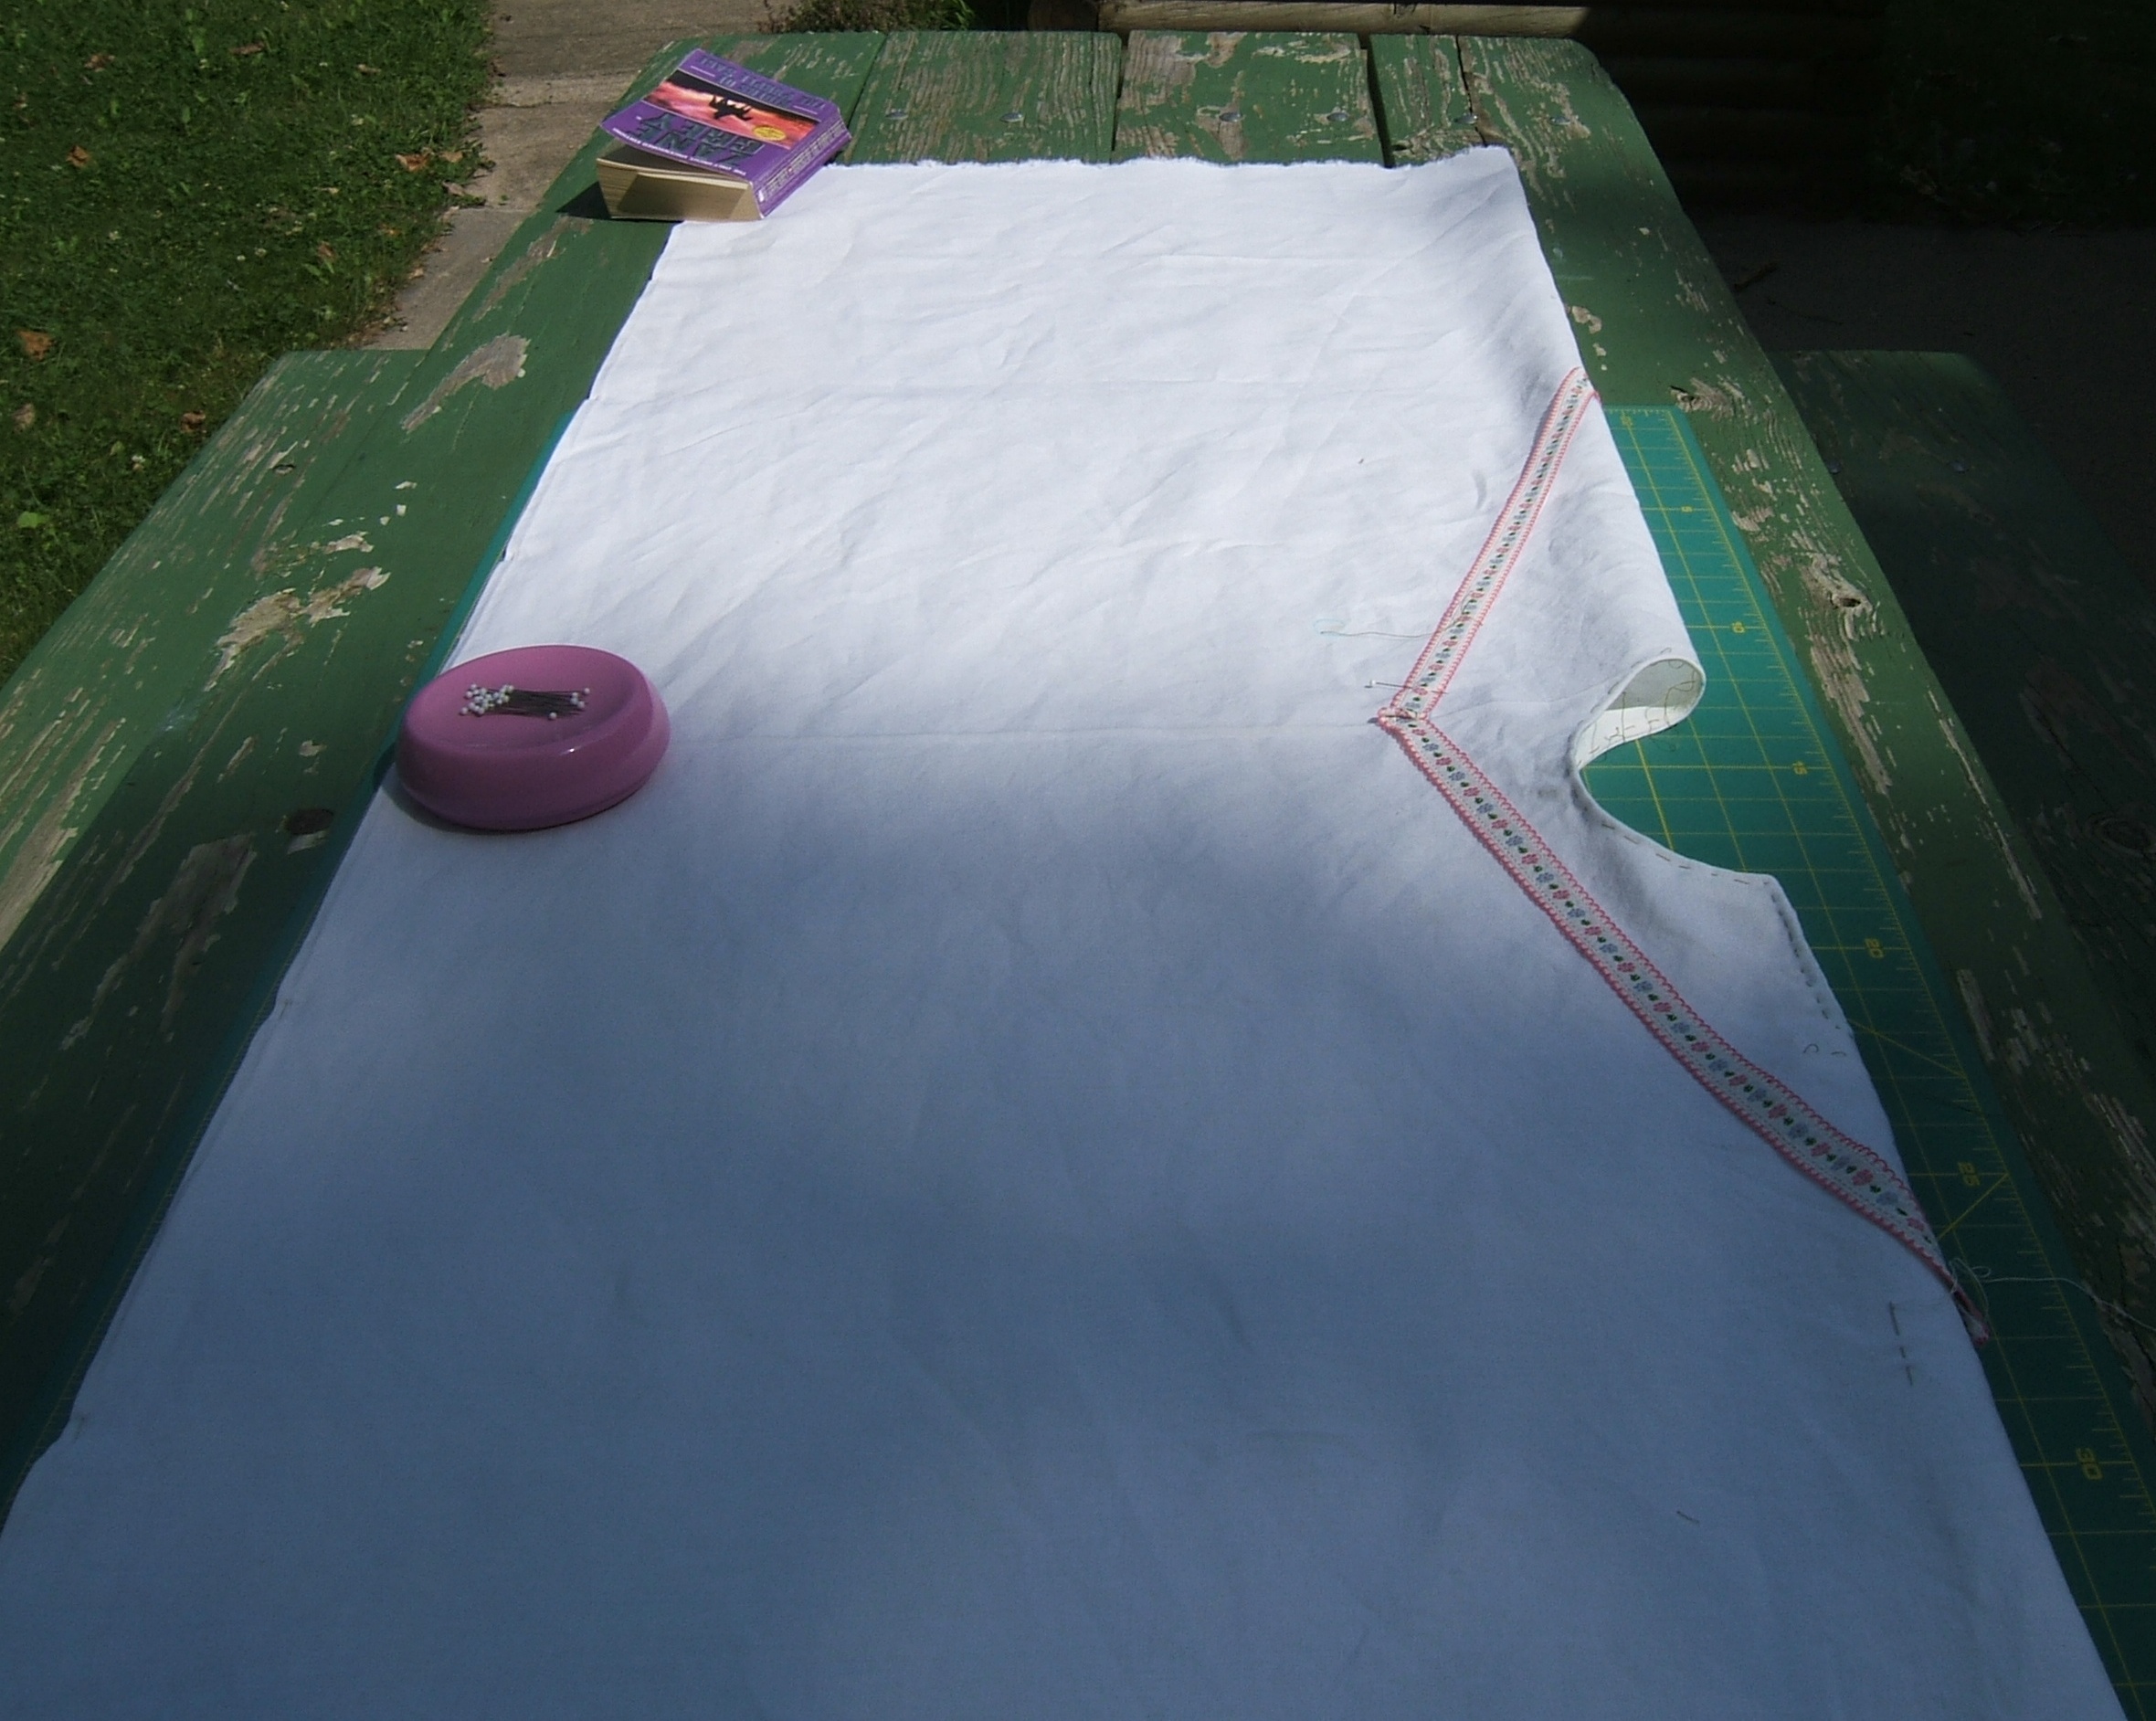
A couple of pins persuaded the neckline to fold neatly
I folded the shirt into quarters
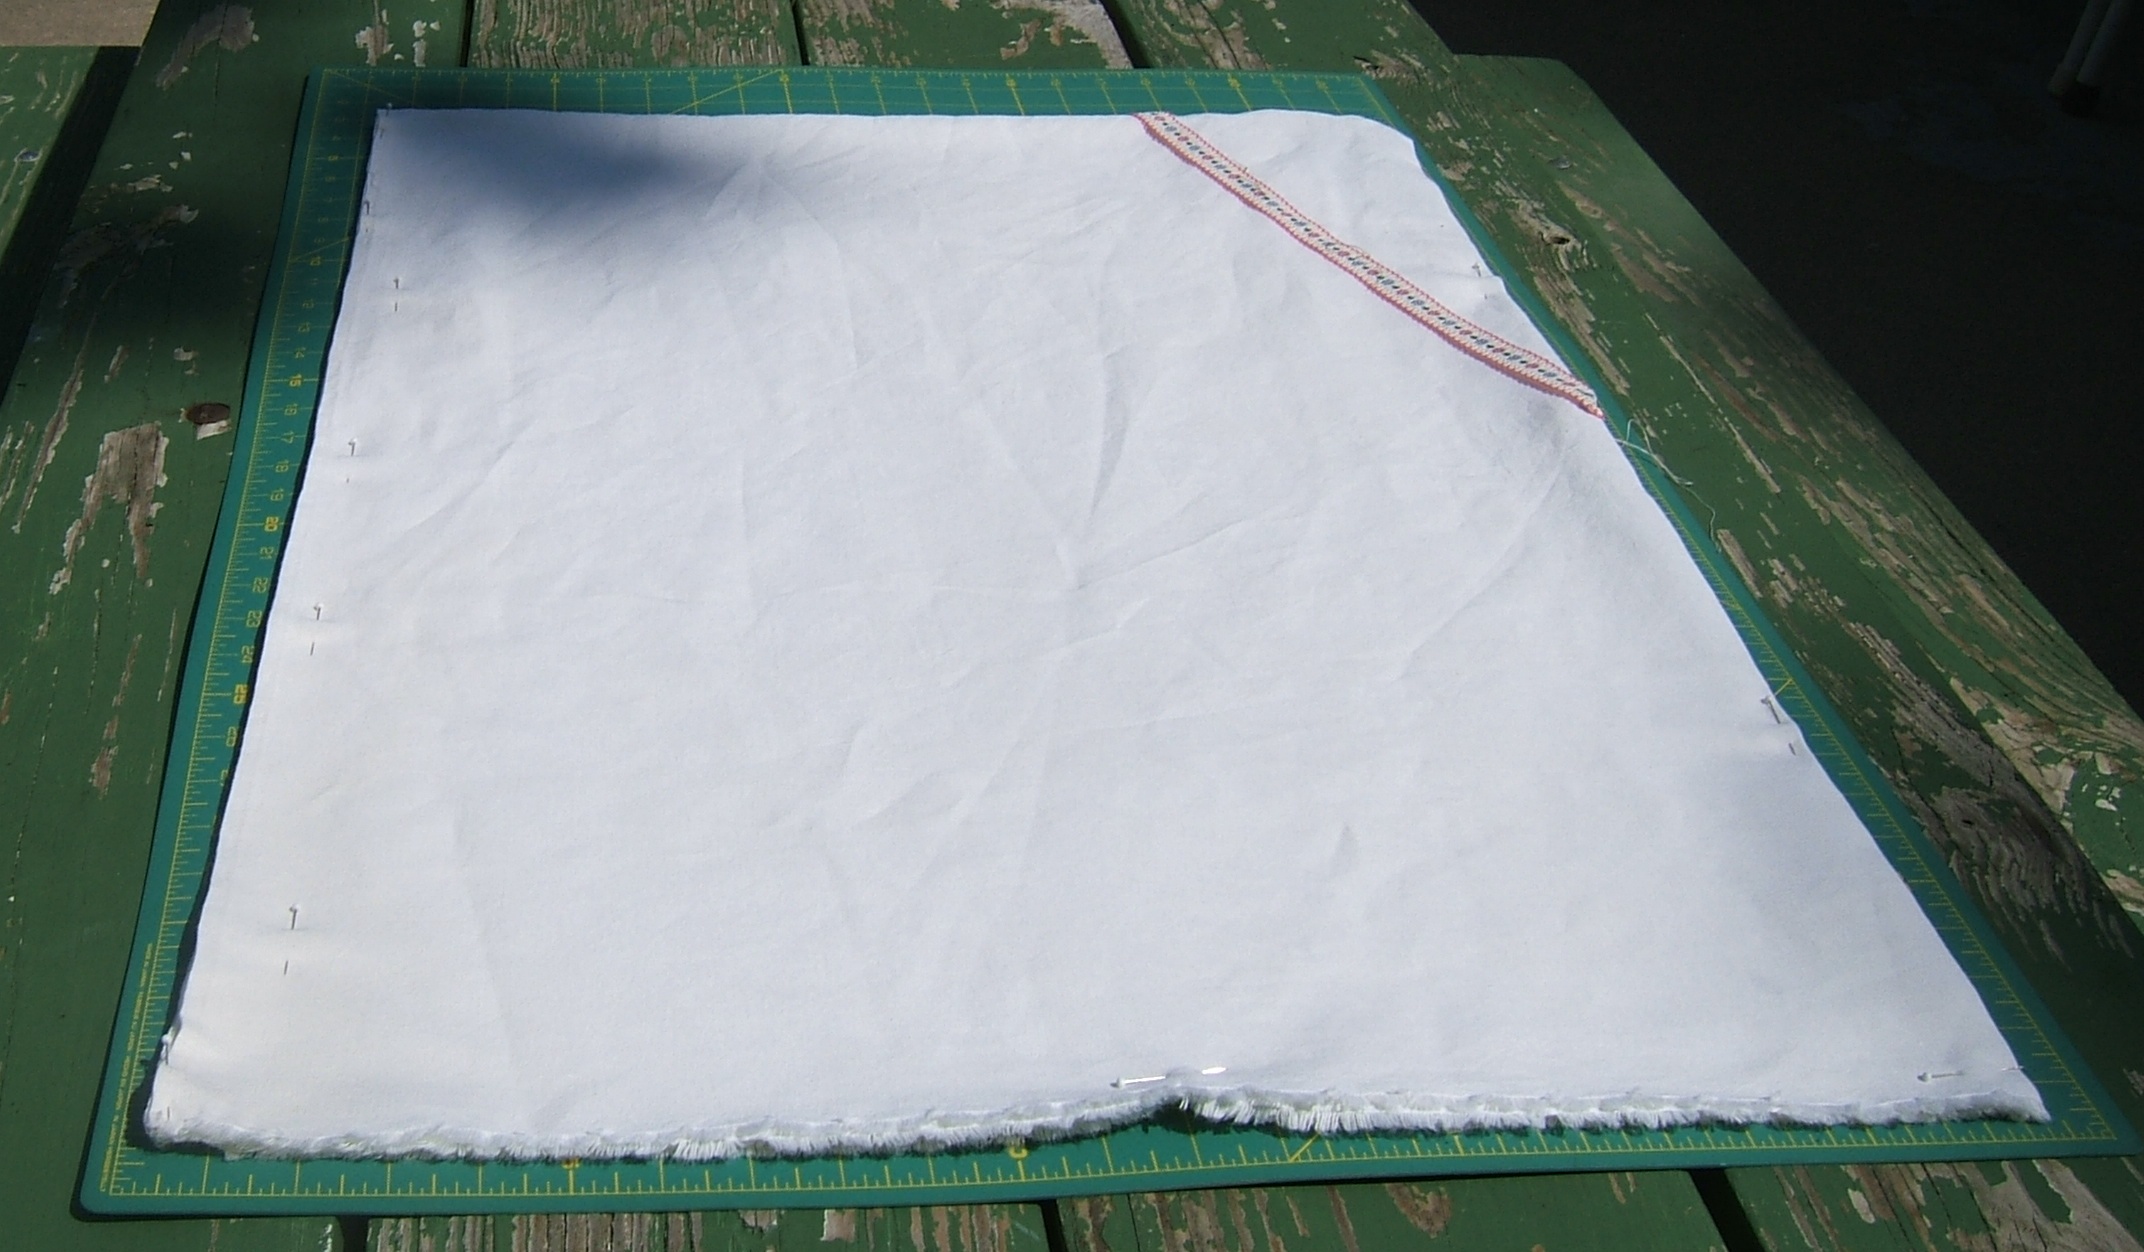
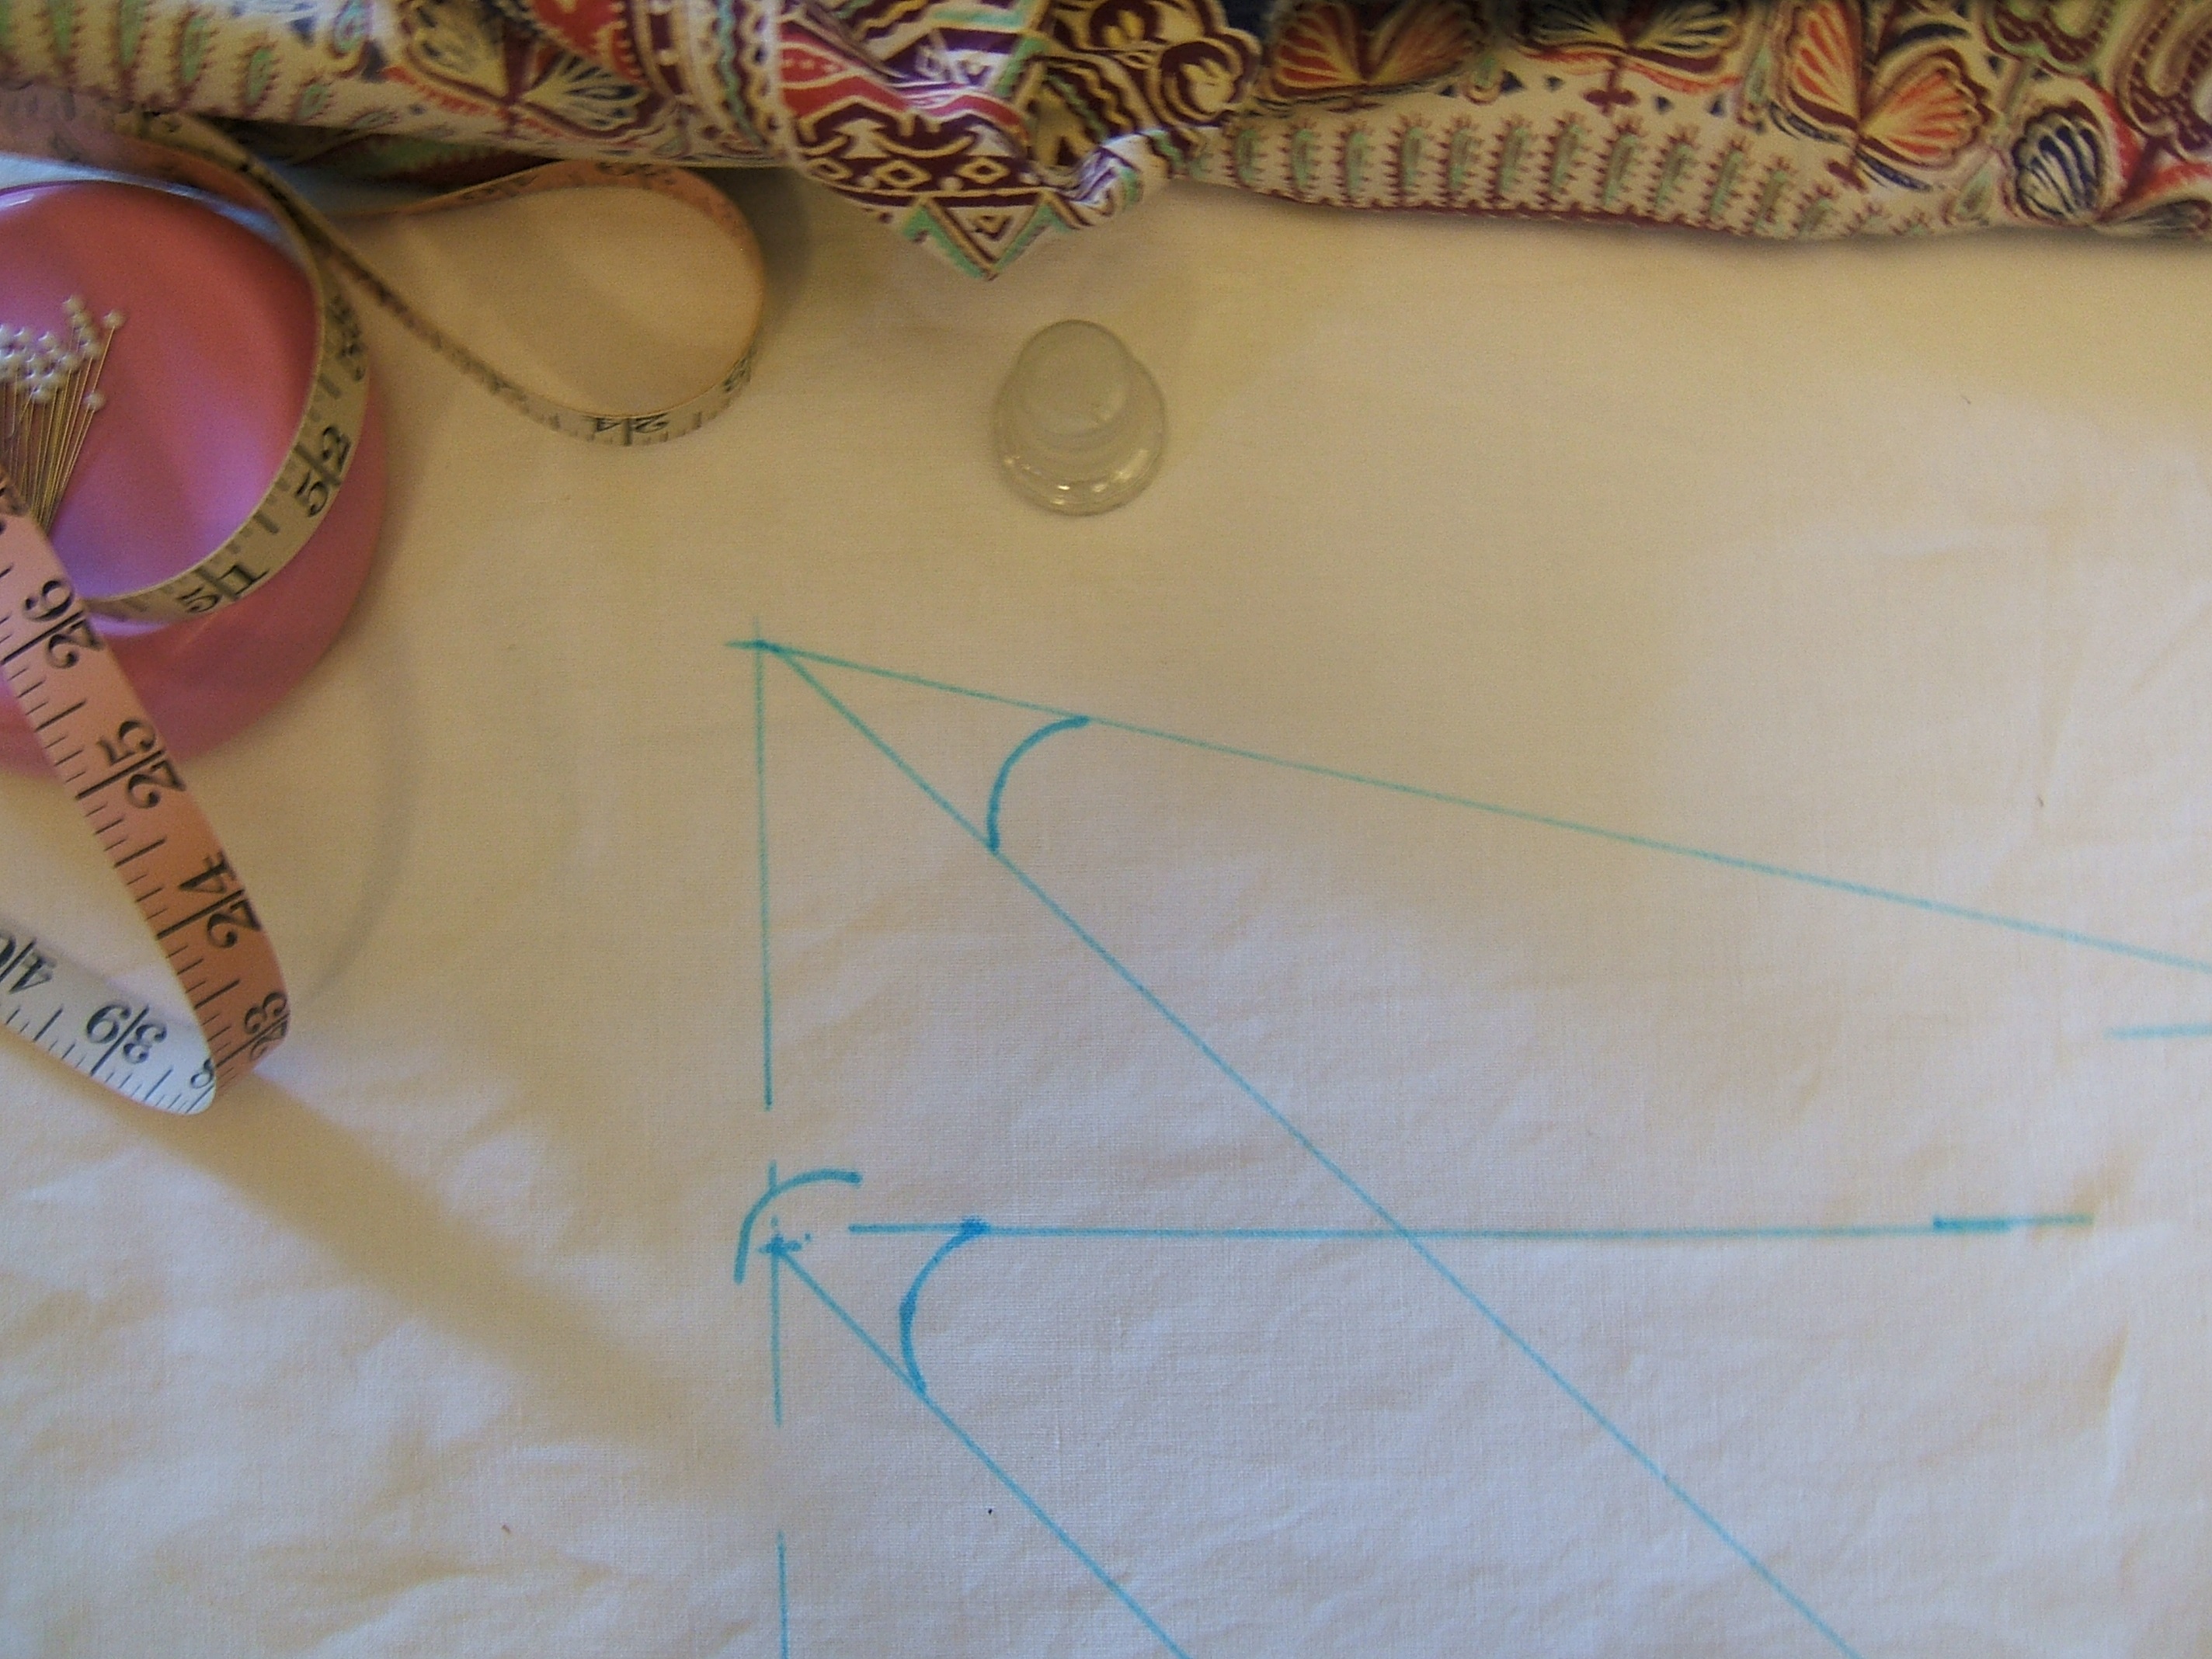
and drew lines on it according to the instructions in the text files.
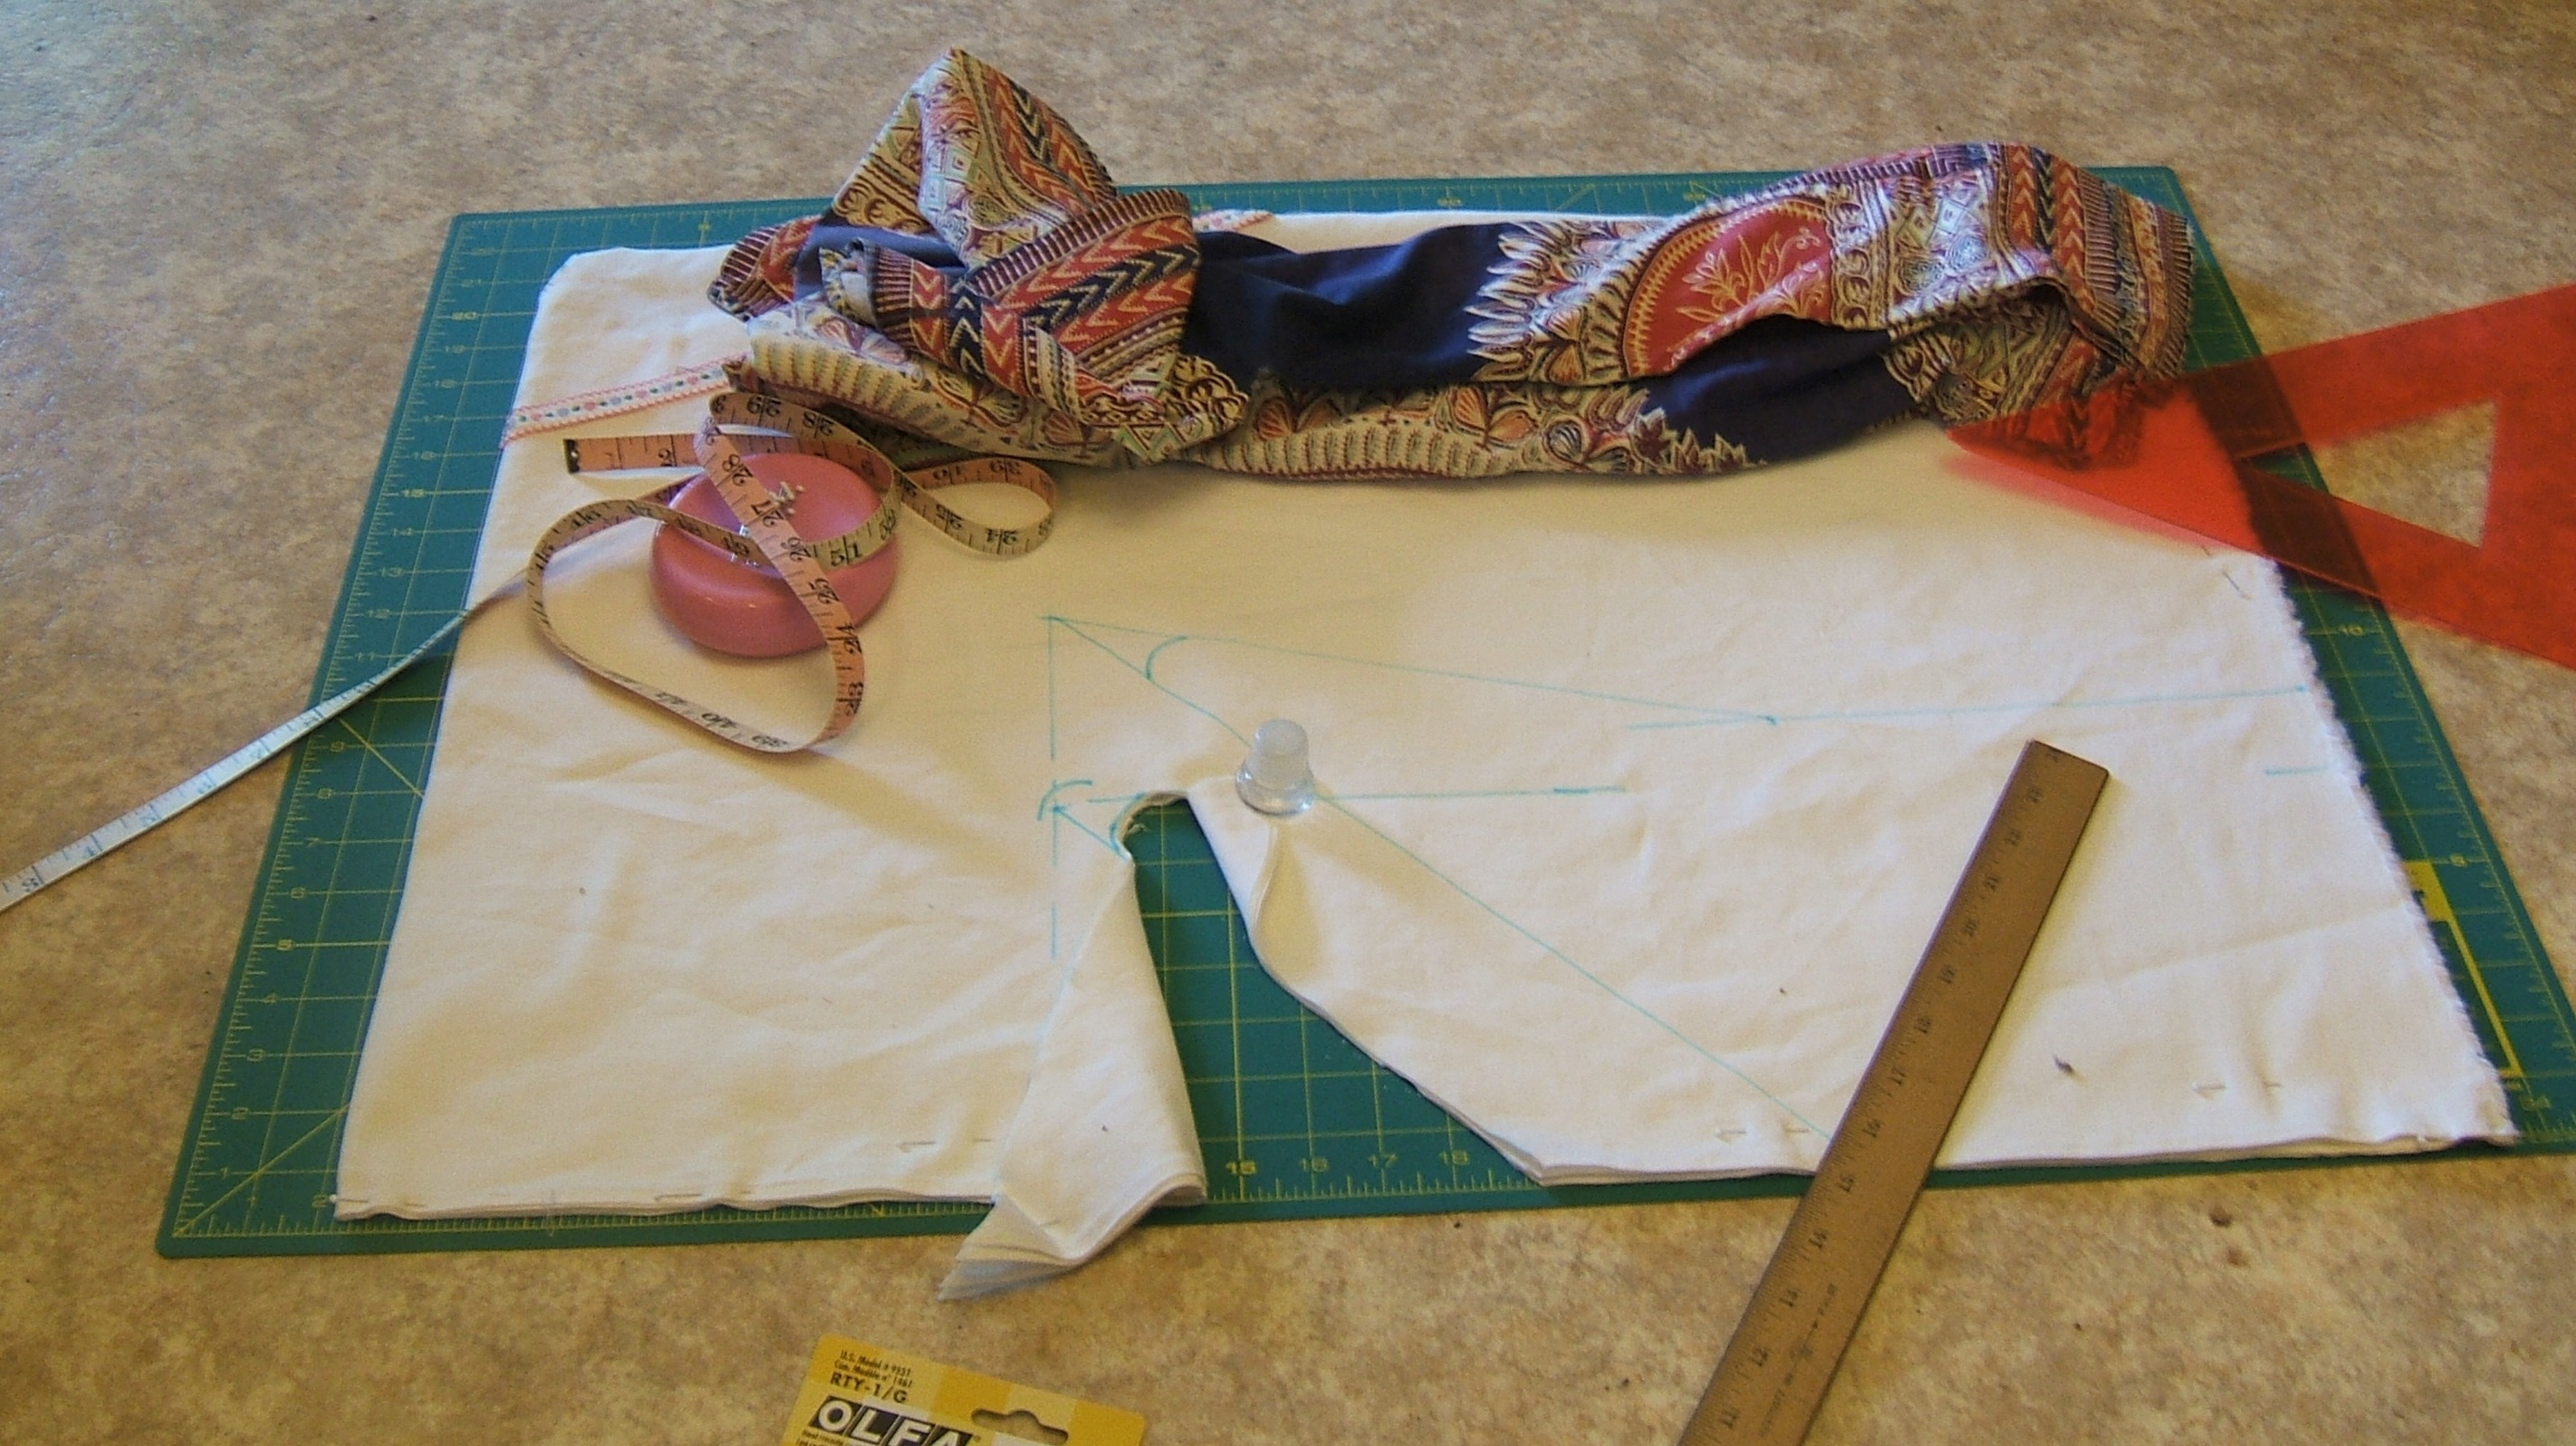
At this point I got tired of trying to get decent photographs in the dappled shade. Since it now fit entirely on the cutting mat, it was easy to carry the project in and lay it on the floor under the chandelier that usually hangs over the eating table.
This option came with other difficulties.

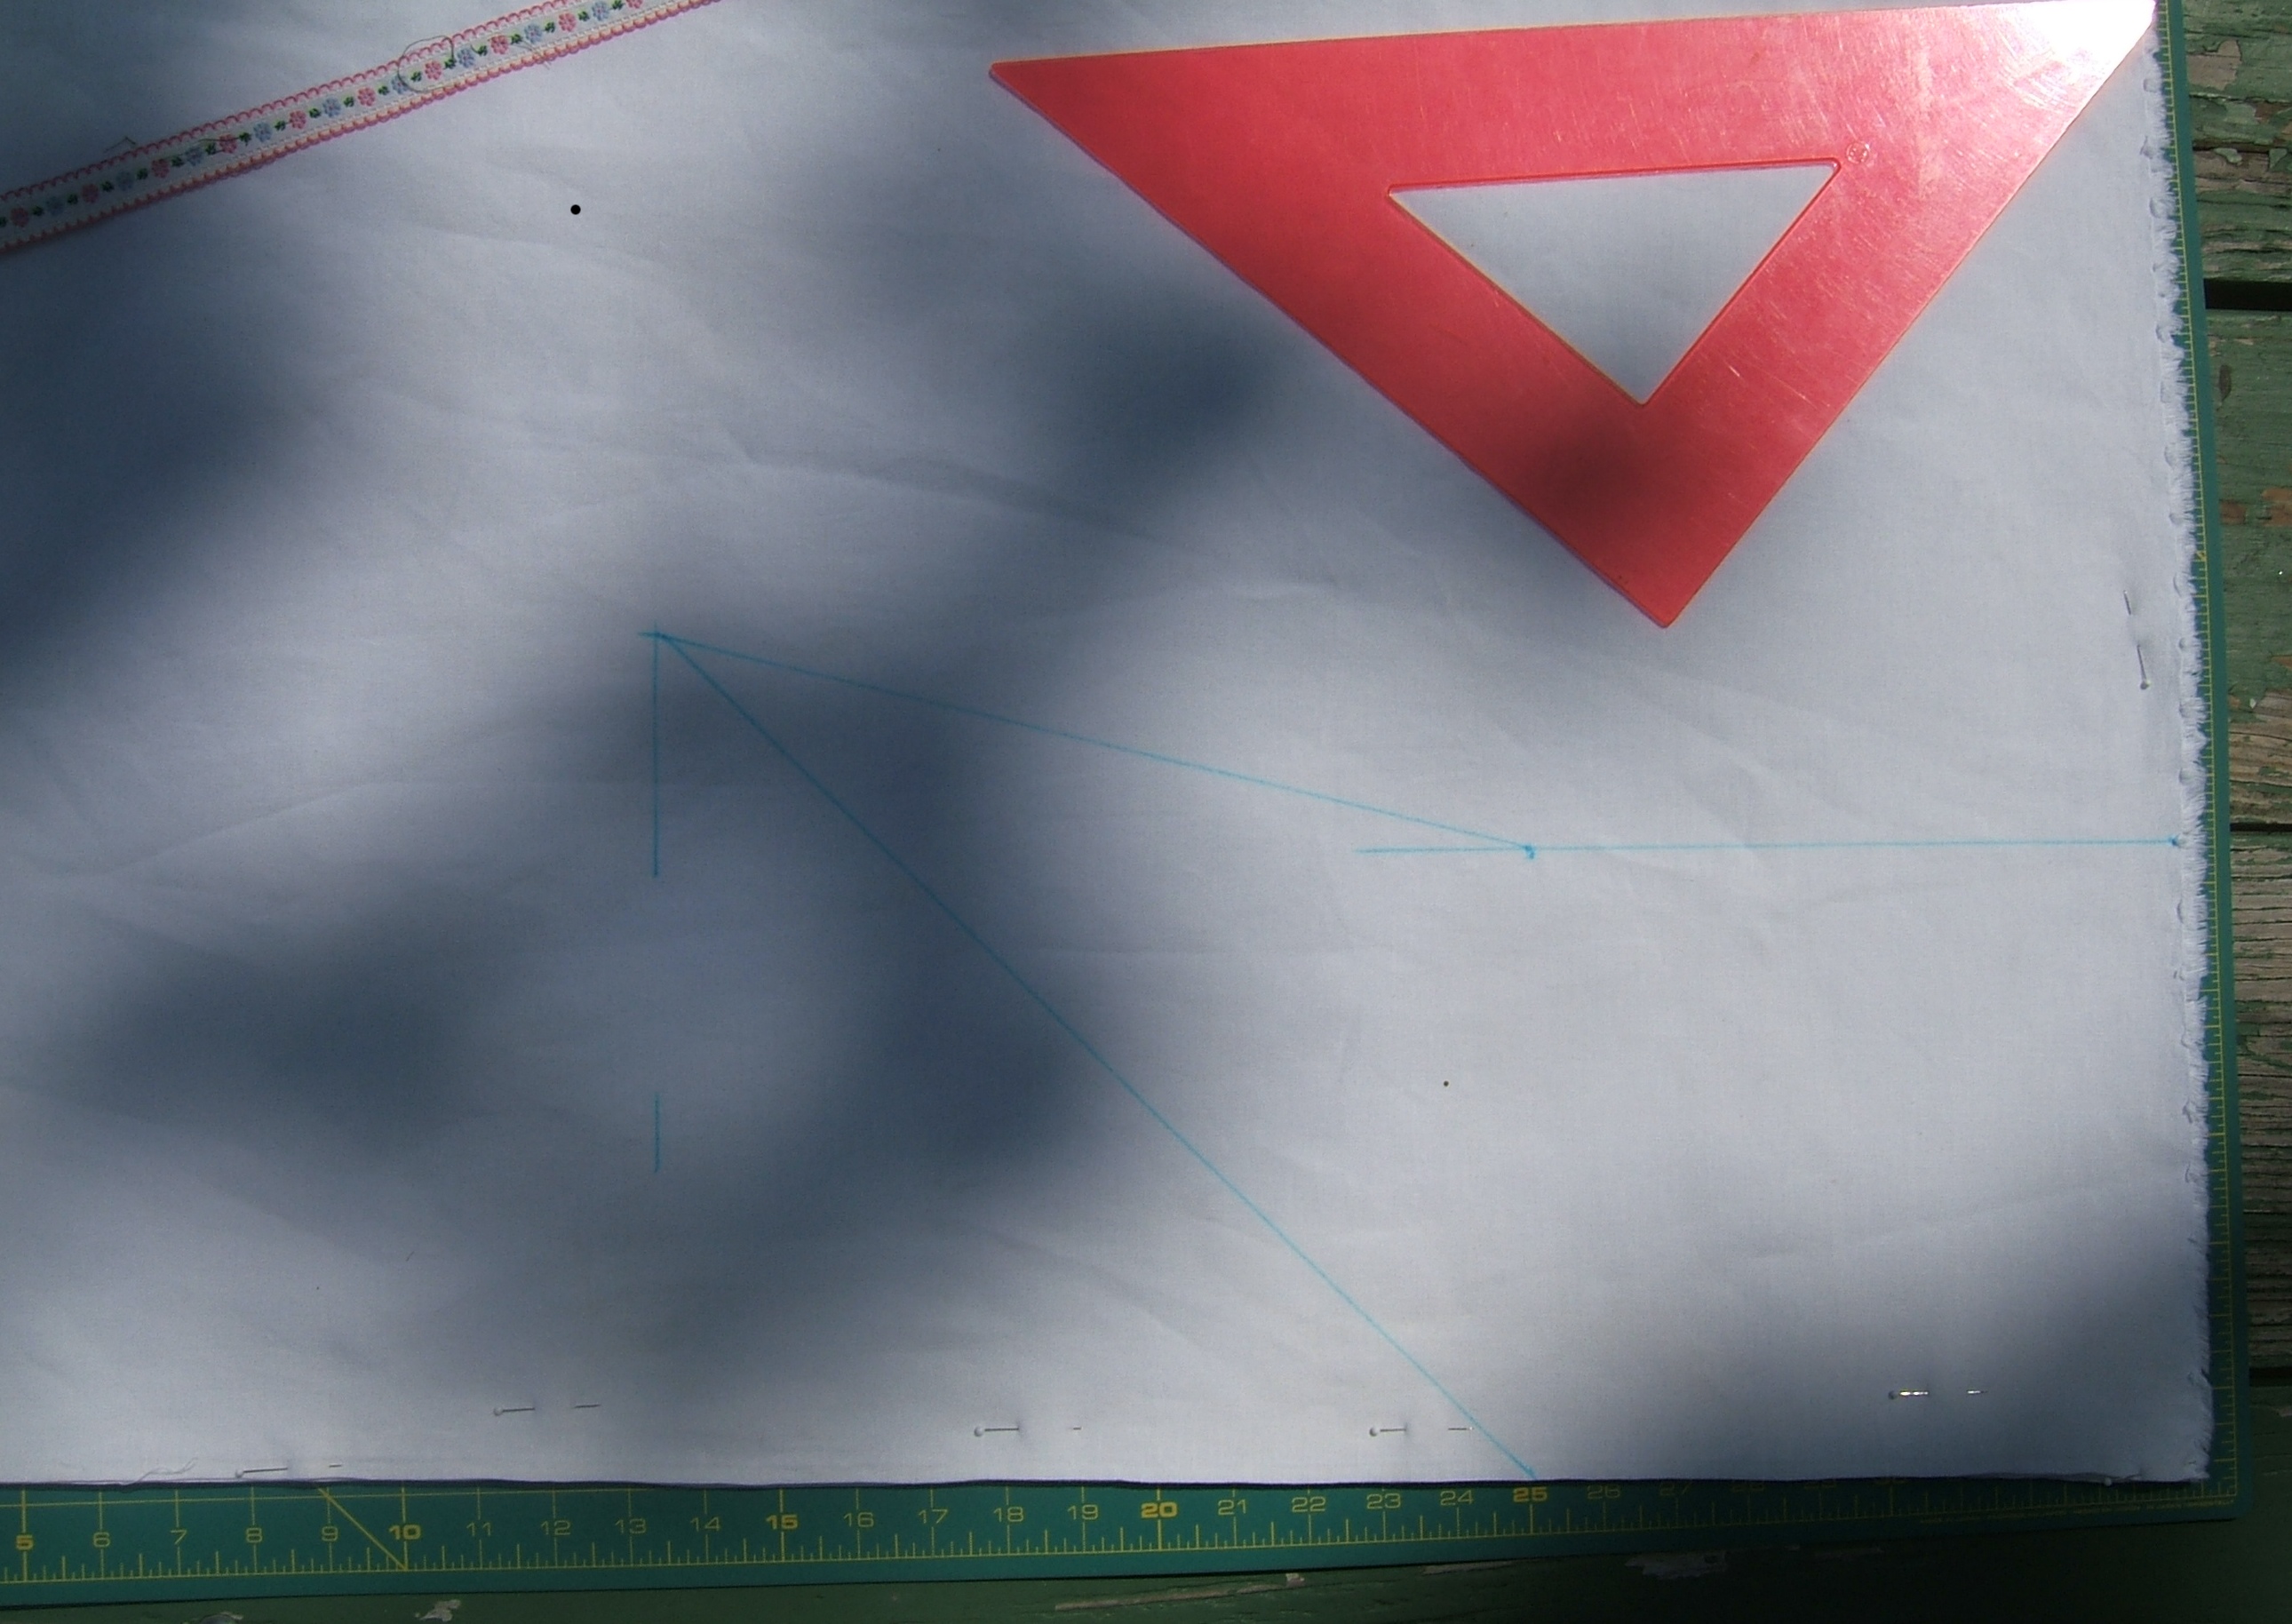
Now to add the gusset according to the insight of September 2004.
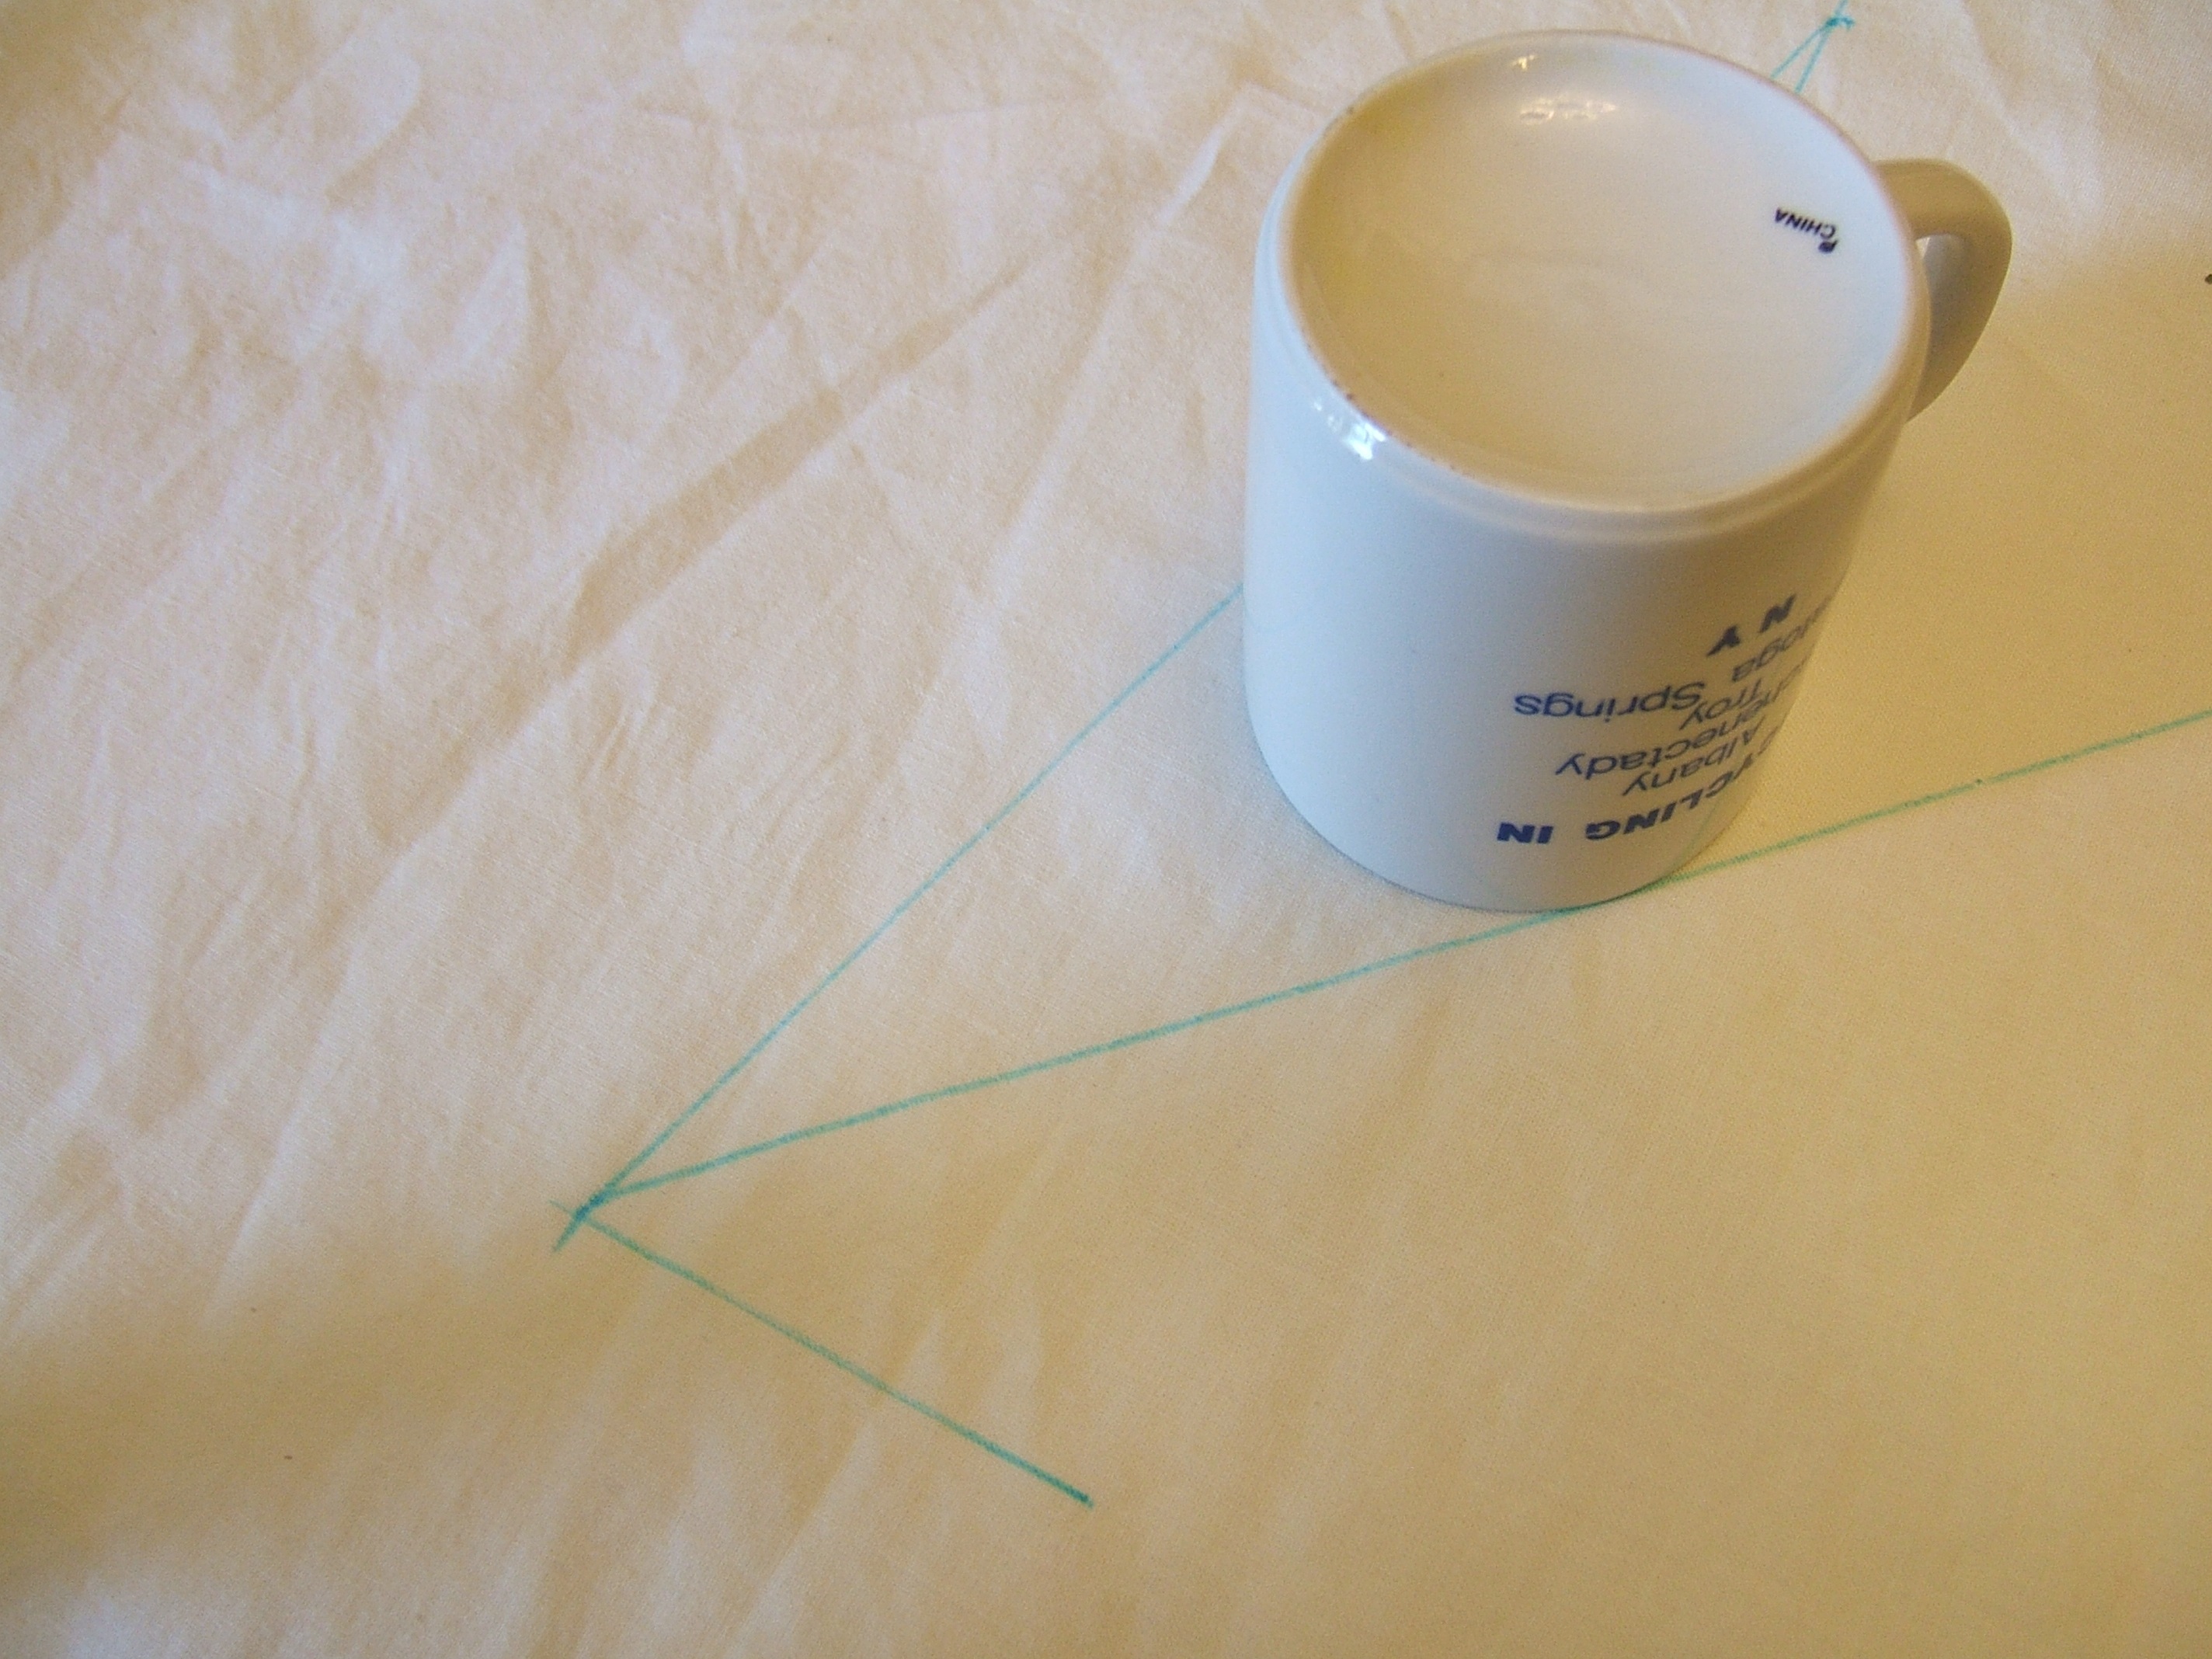
I guess that insight wasn't all that insightful. But this bottle cap isn't too horribly far out. (Later, I realized that I should have used a nickel.)
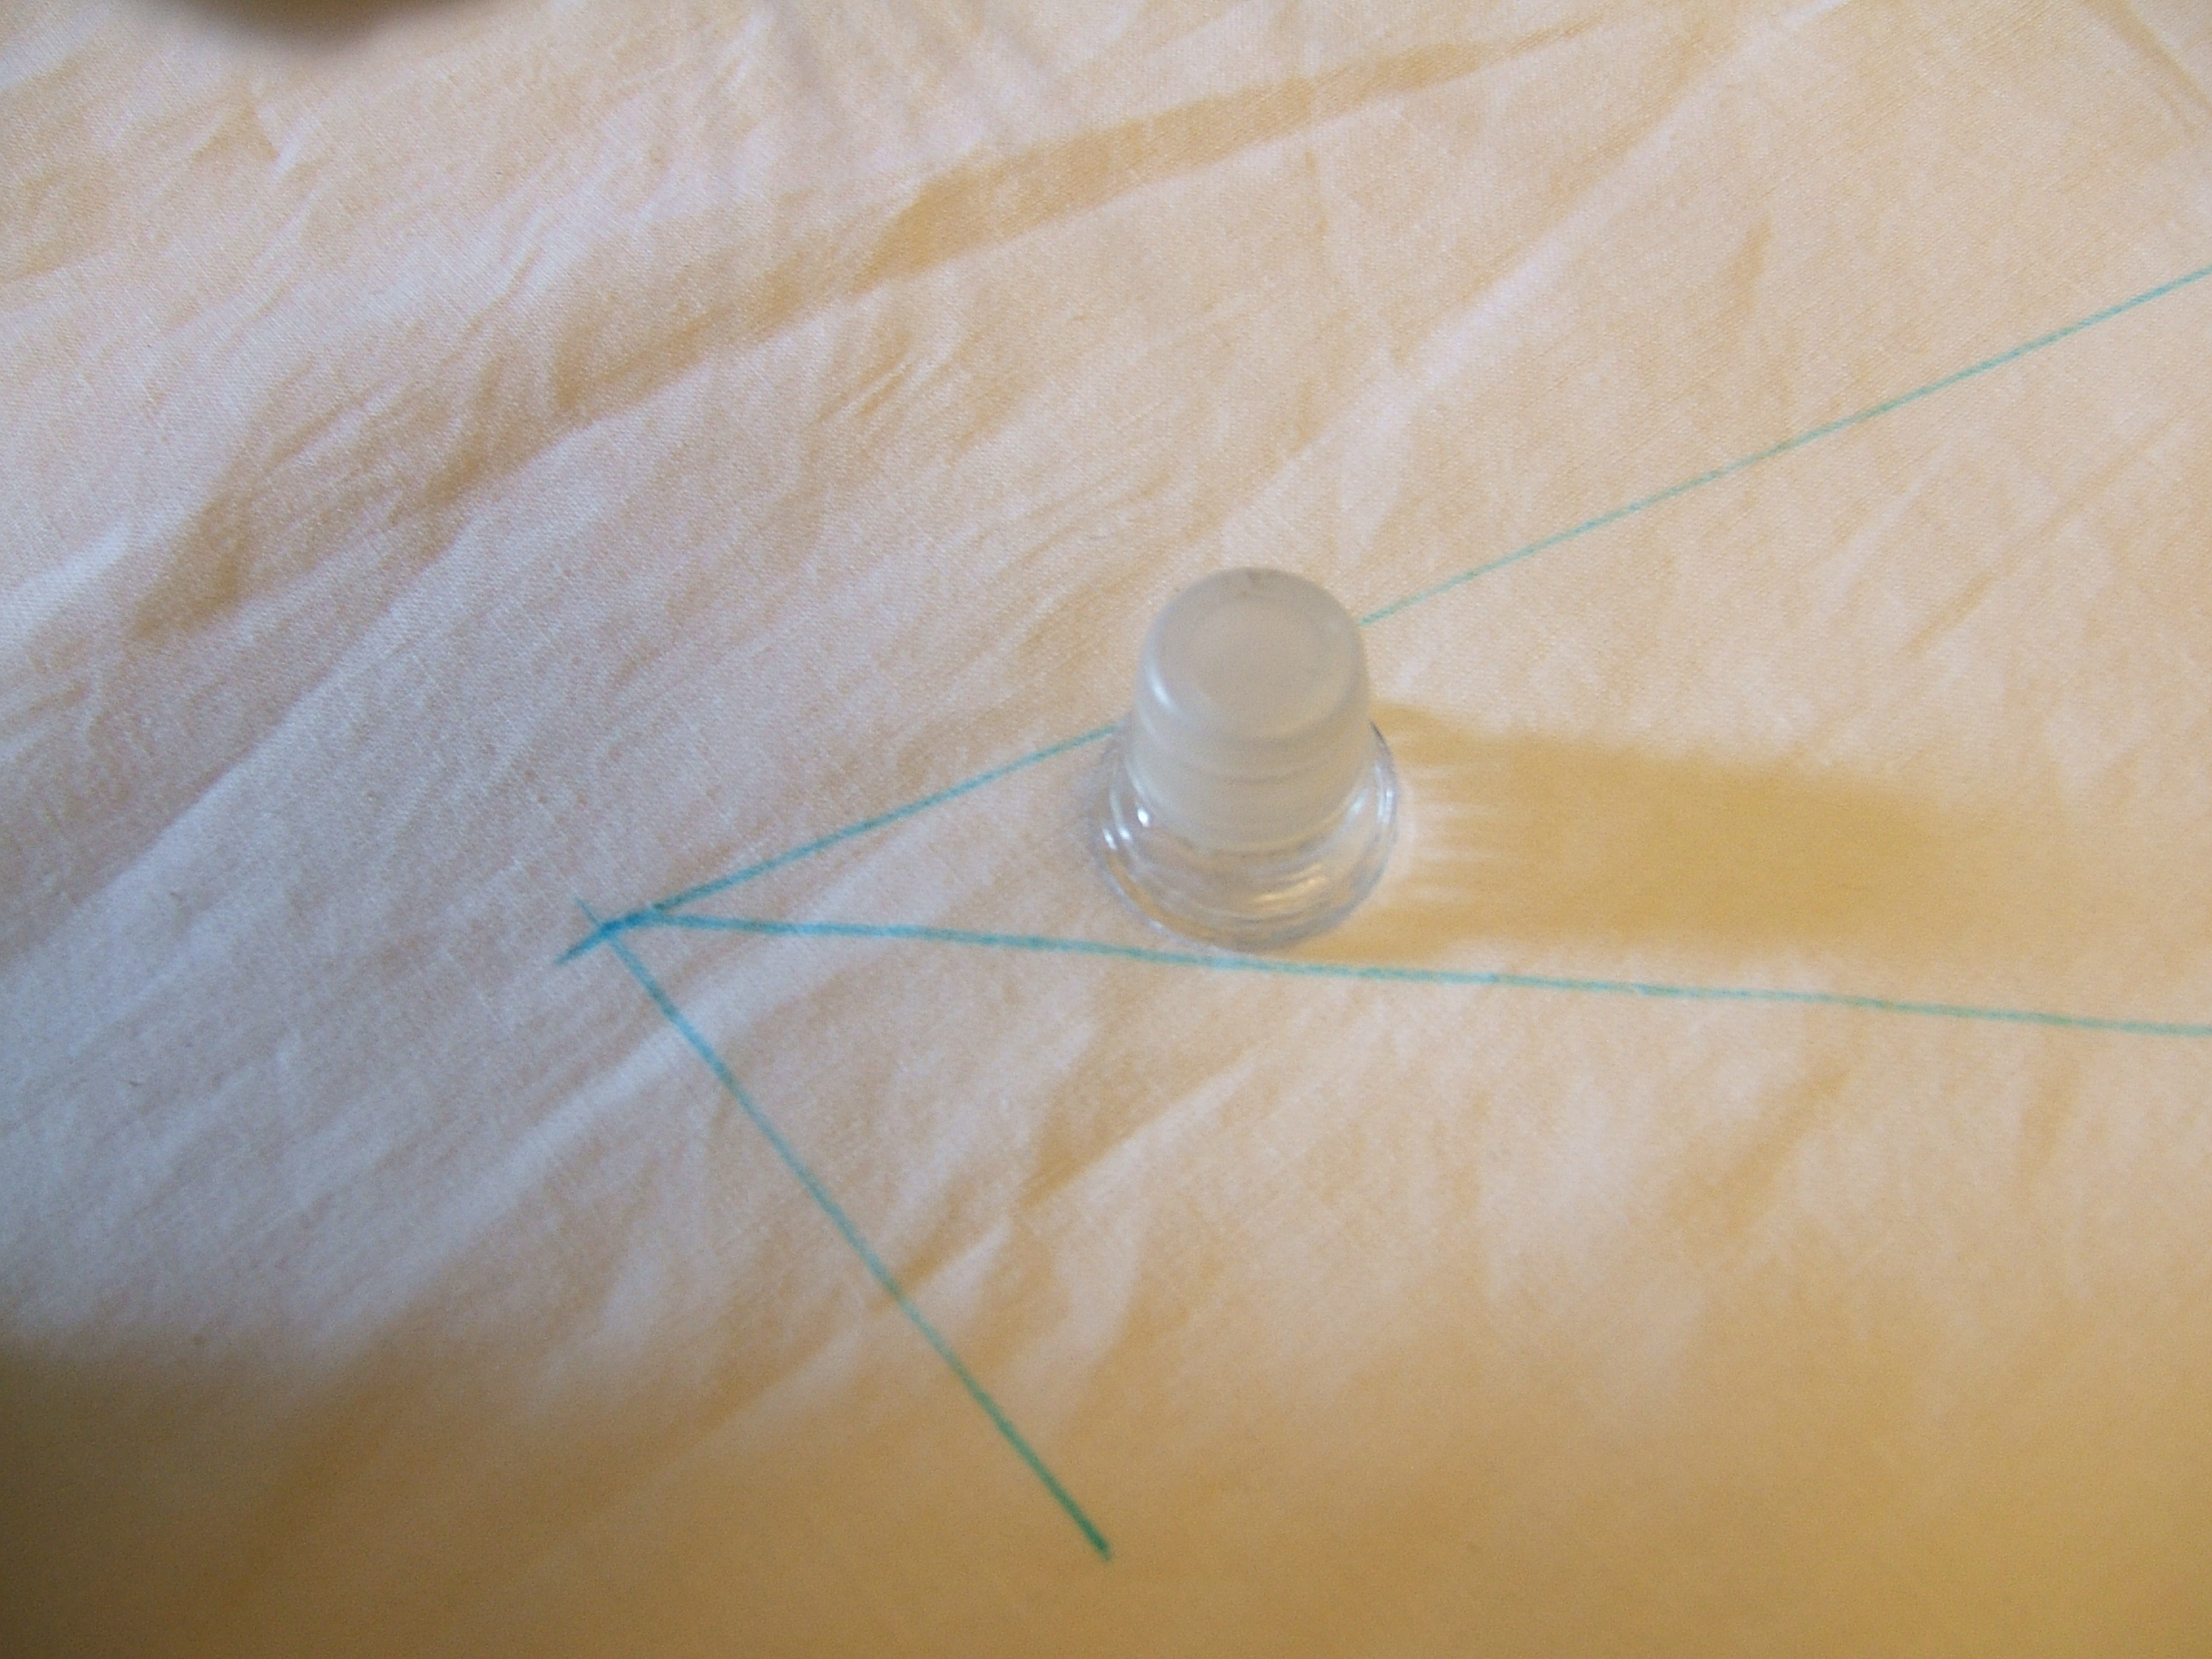
Now to lay the model shirt over the markings for a sanity check.
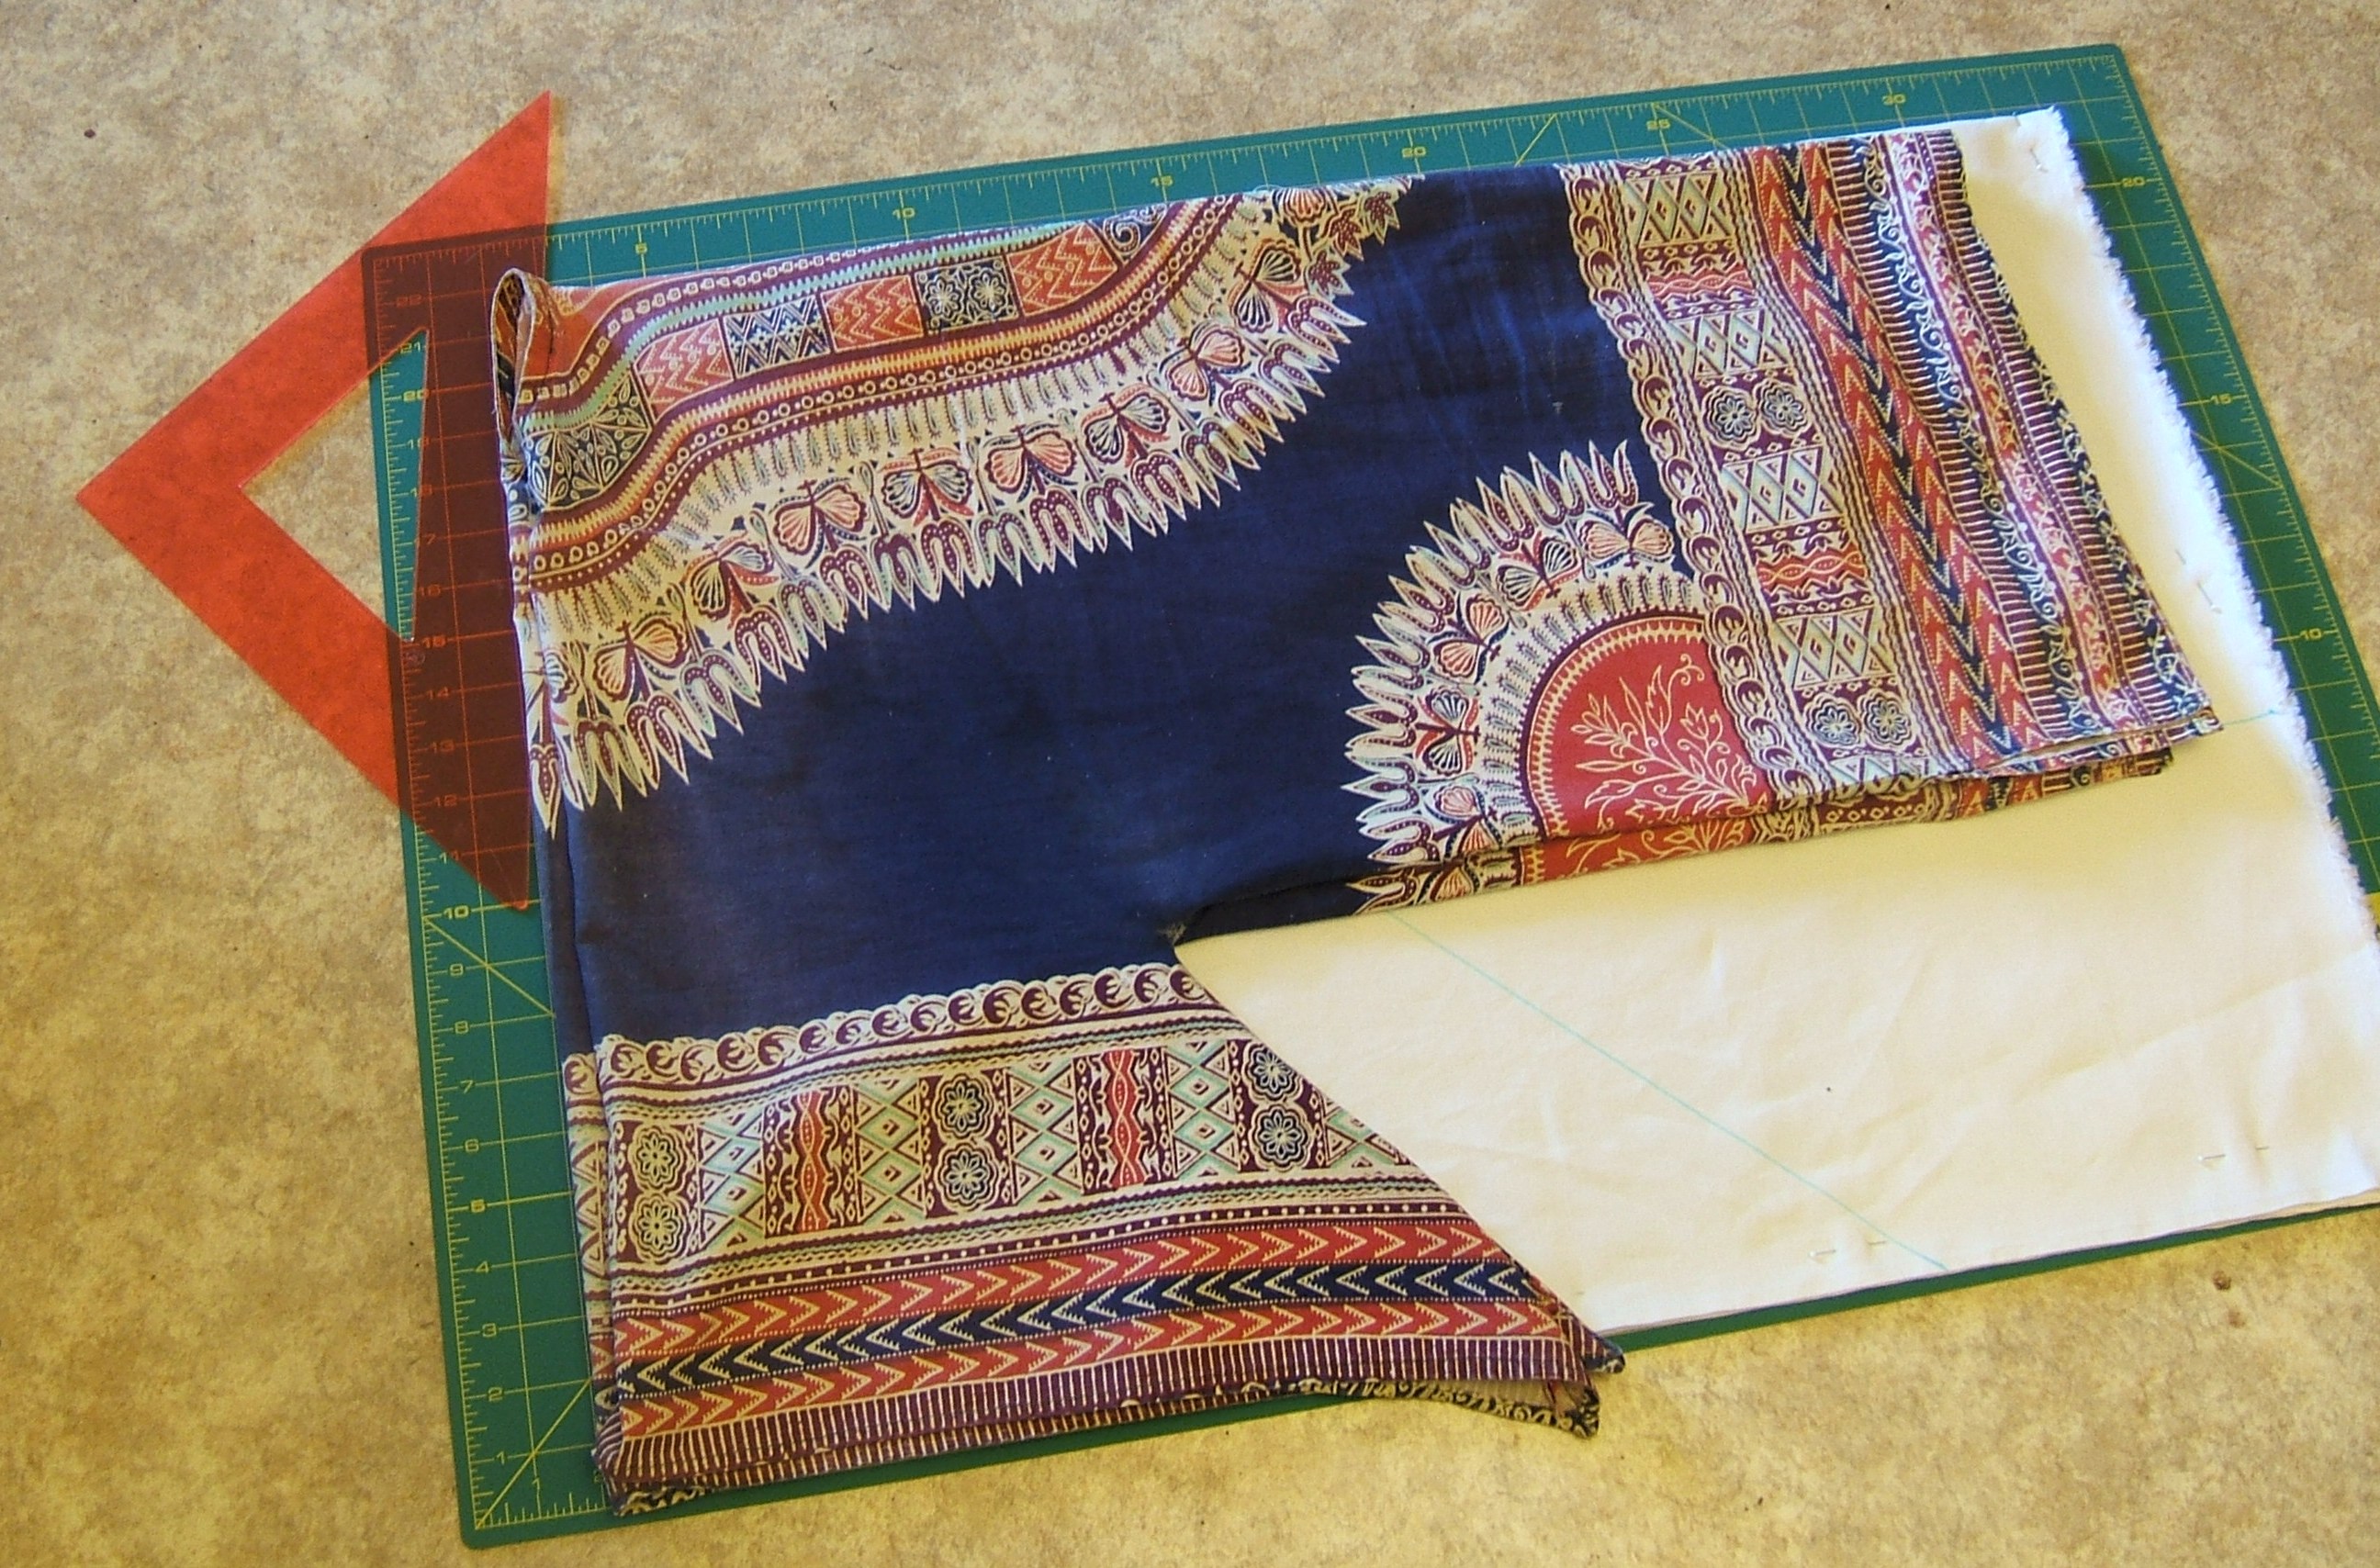
Which was flunked rather badly.
So I made a mark where the armpit of the model shirt came
and drew new cutting lines. The hem of the model shirt wasn't any wider than the marks already on the shirt, so there was no longer any room for flare. I marked the cutting line on the straight of grain.
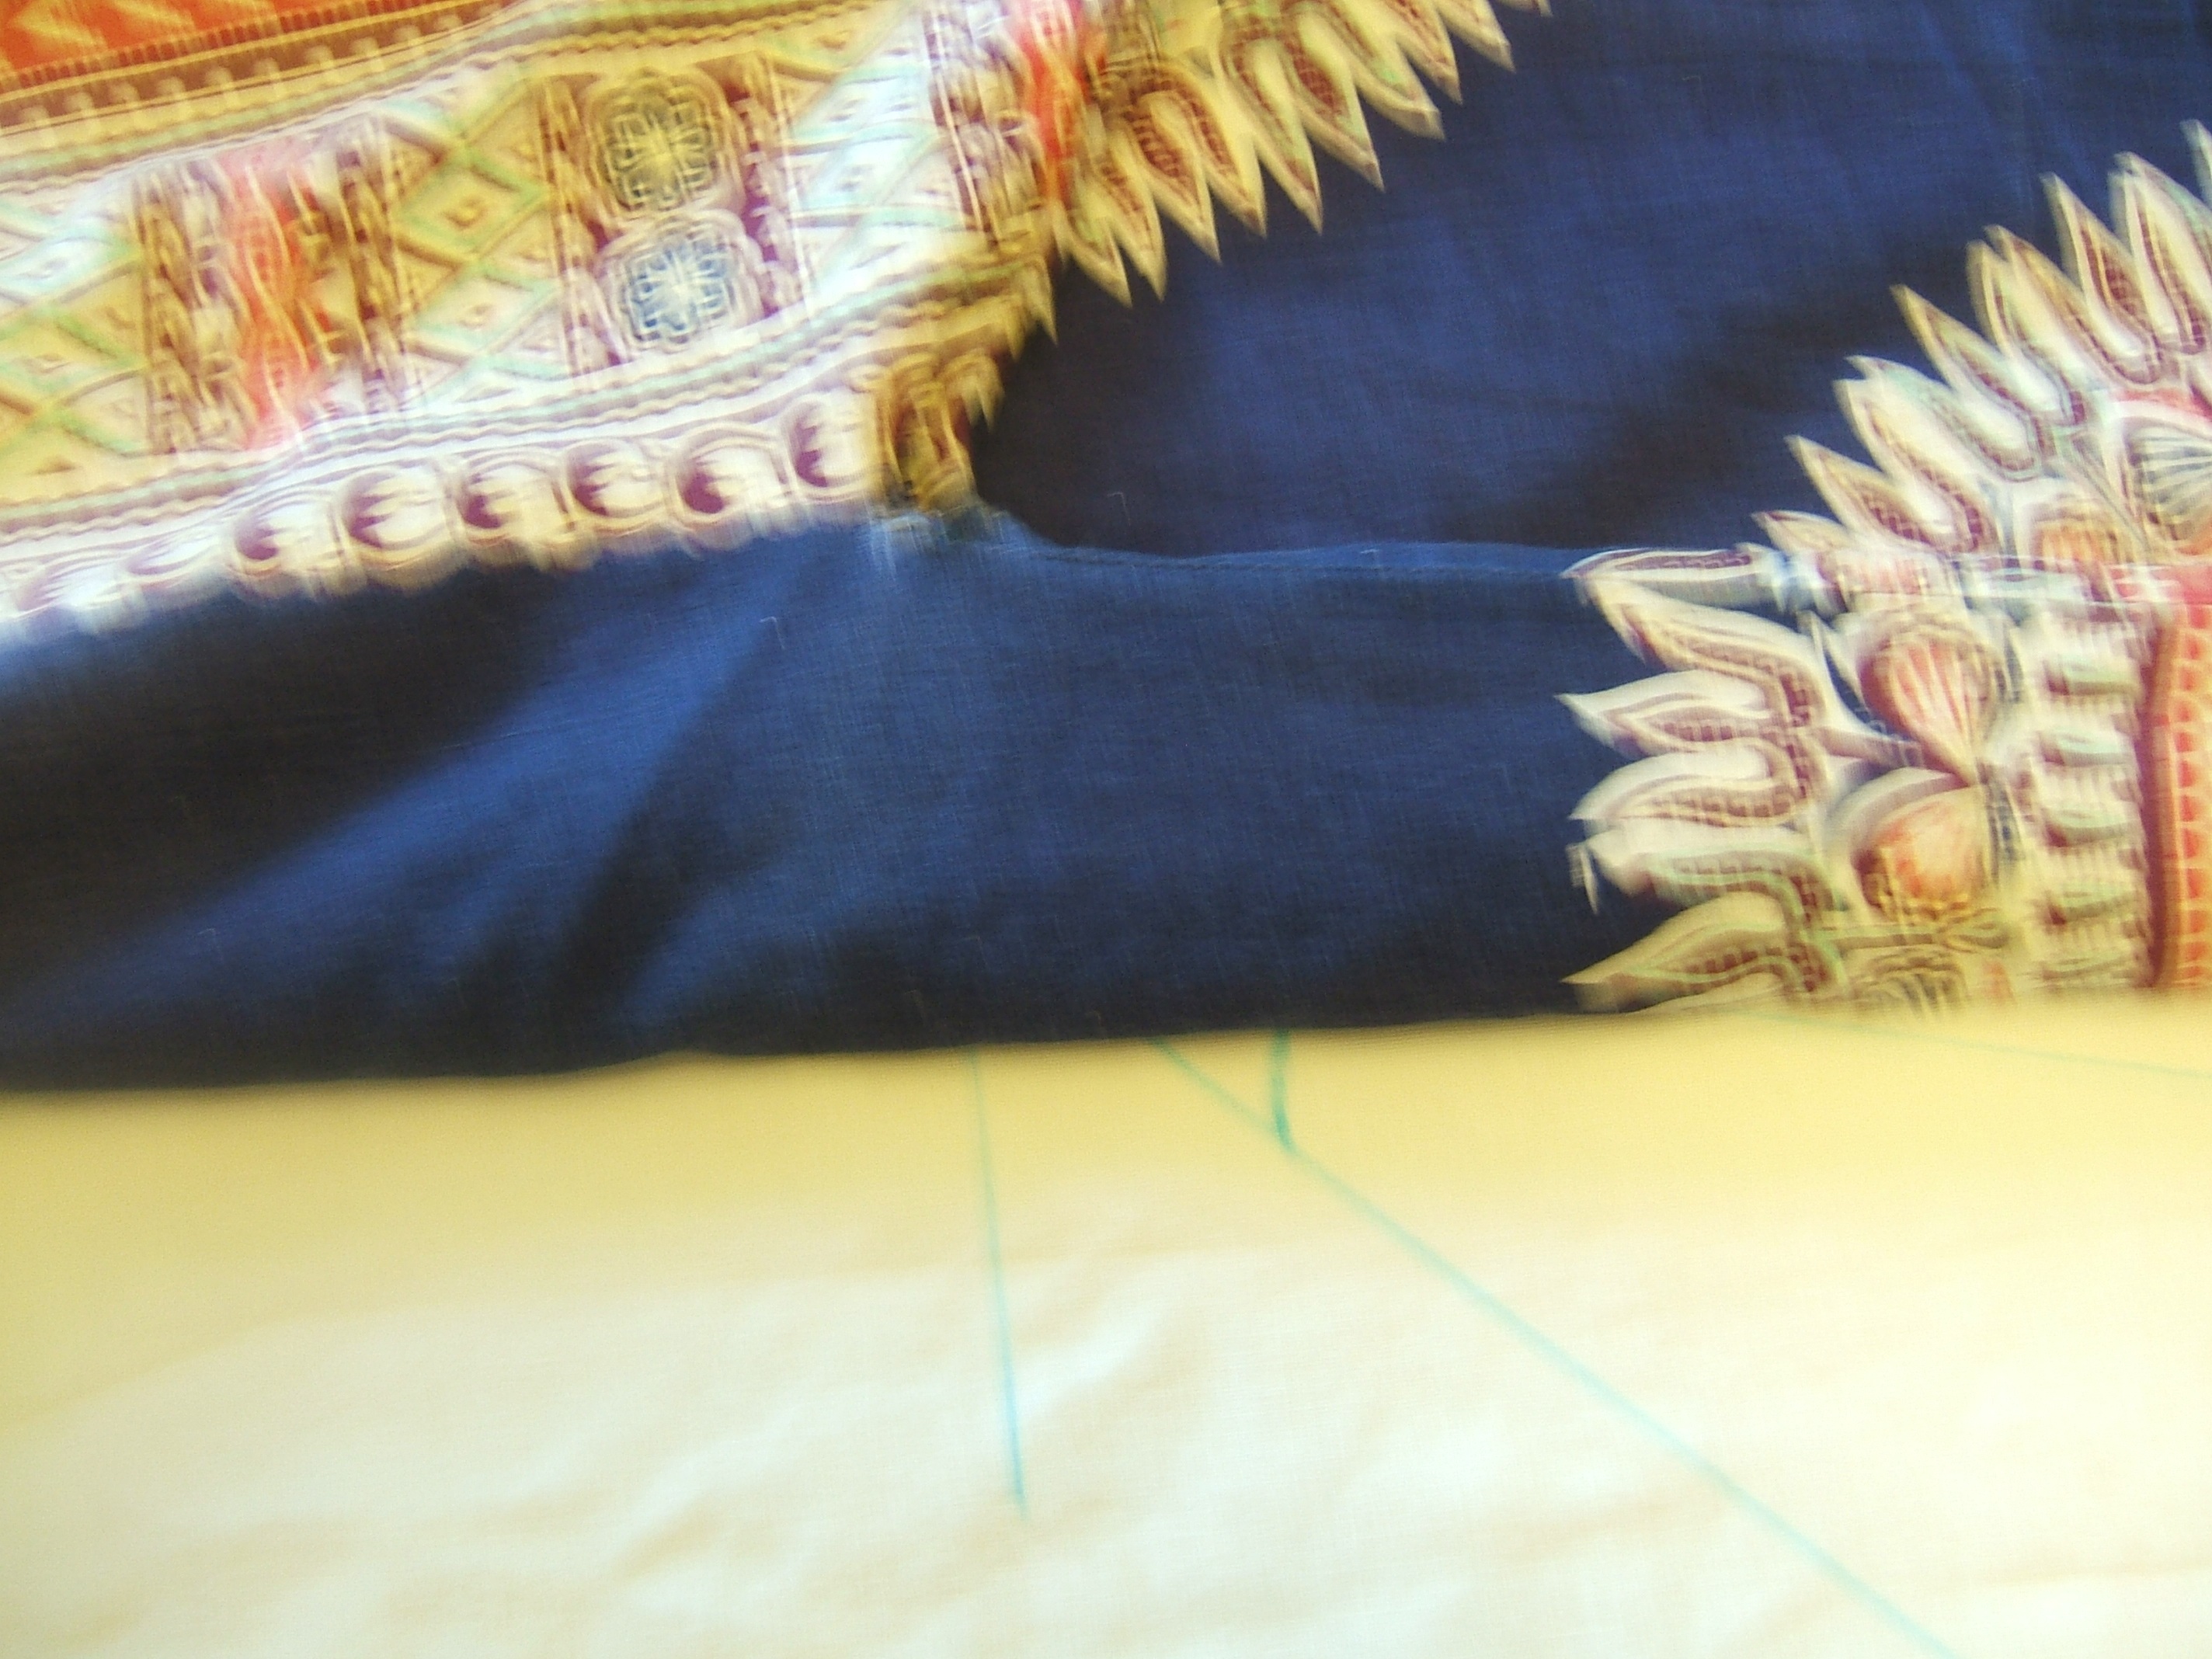
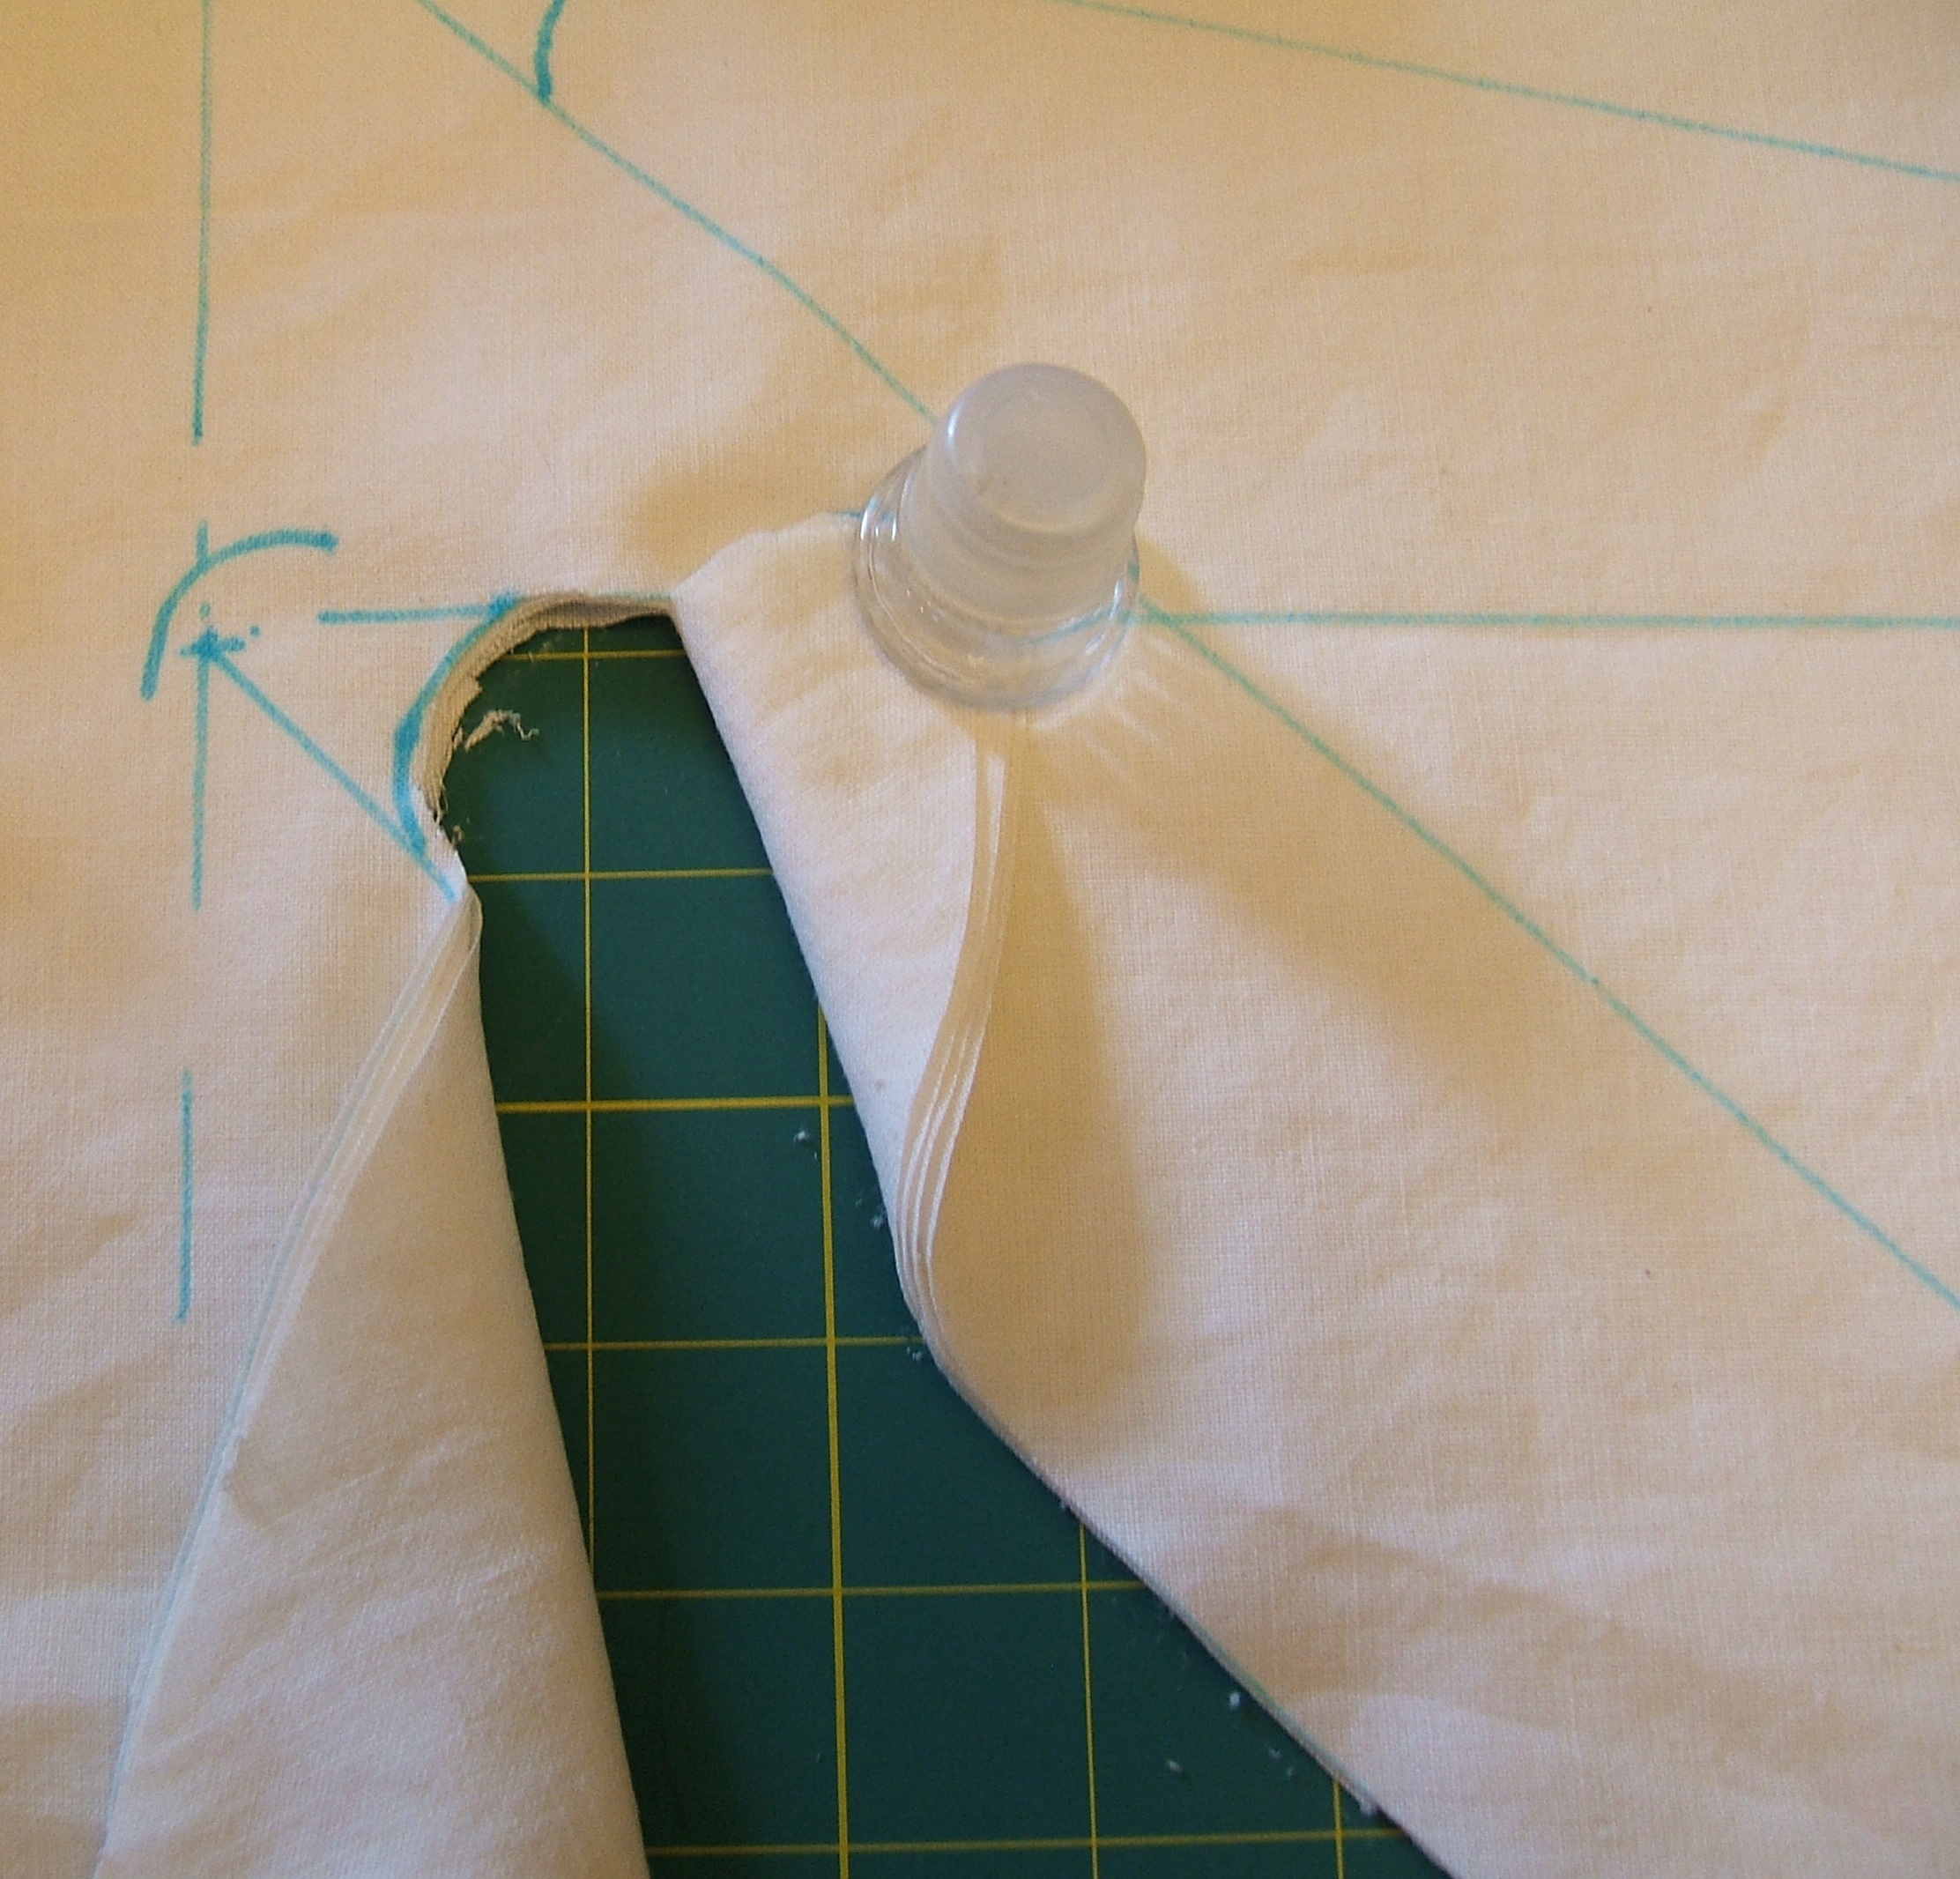
All cut out! Since the side seam is on the straight of grain, I will draw threads to mark it. Hems are much easier to make on thread-straight edges.
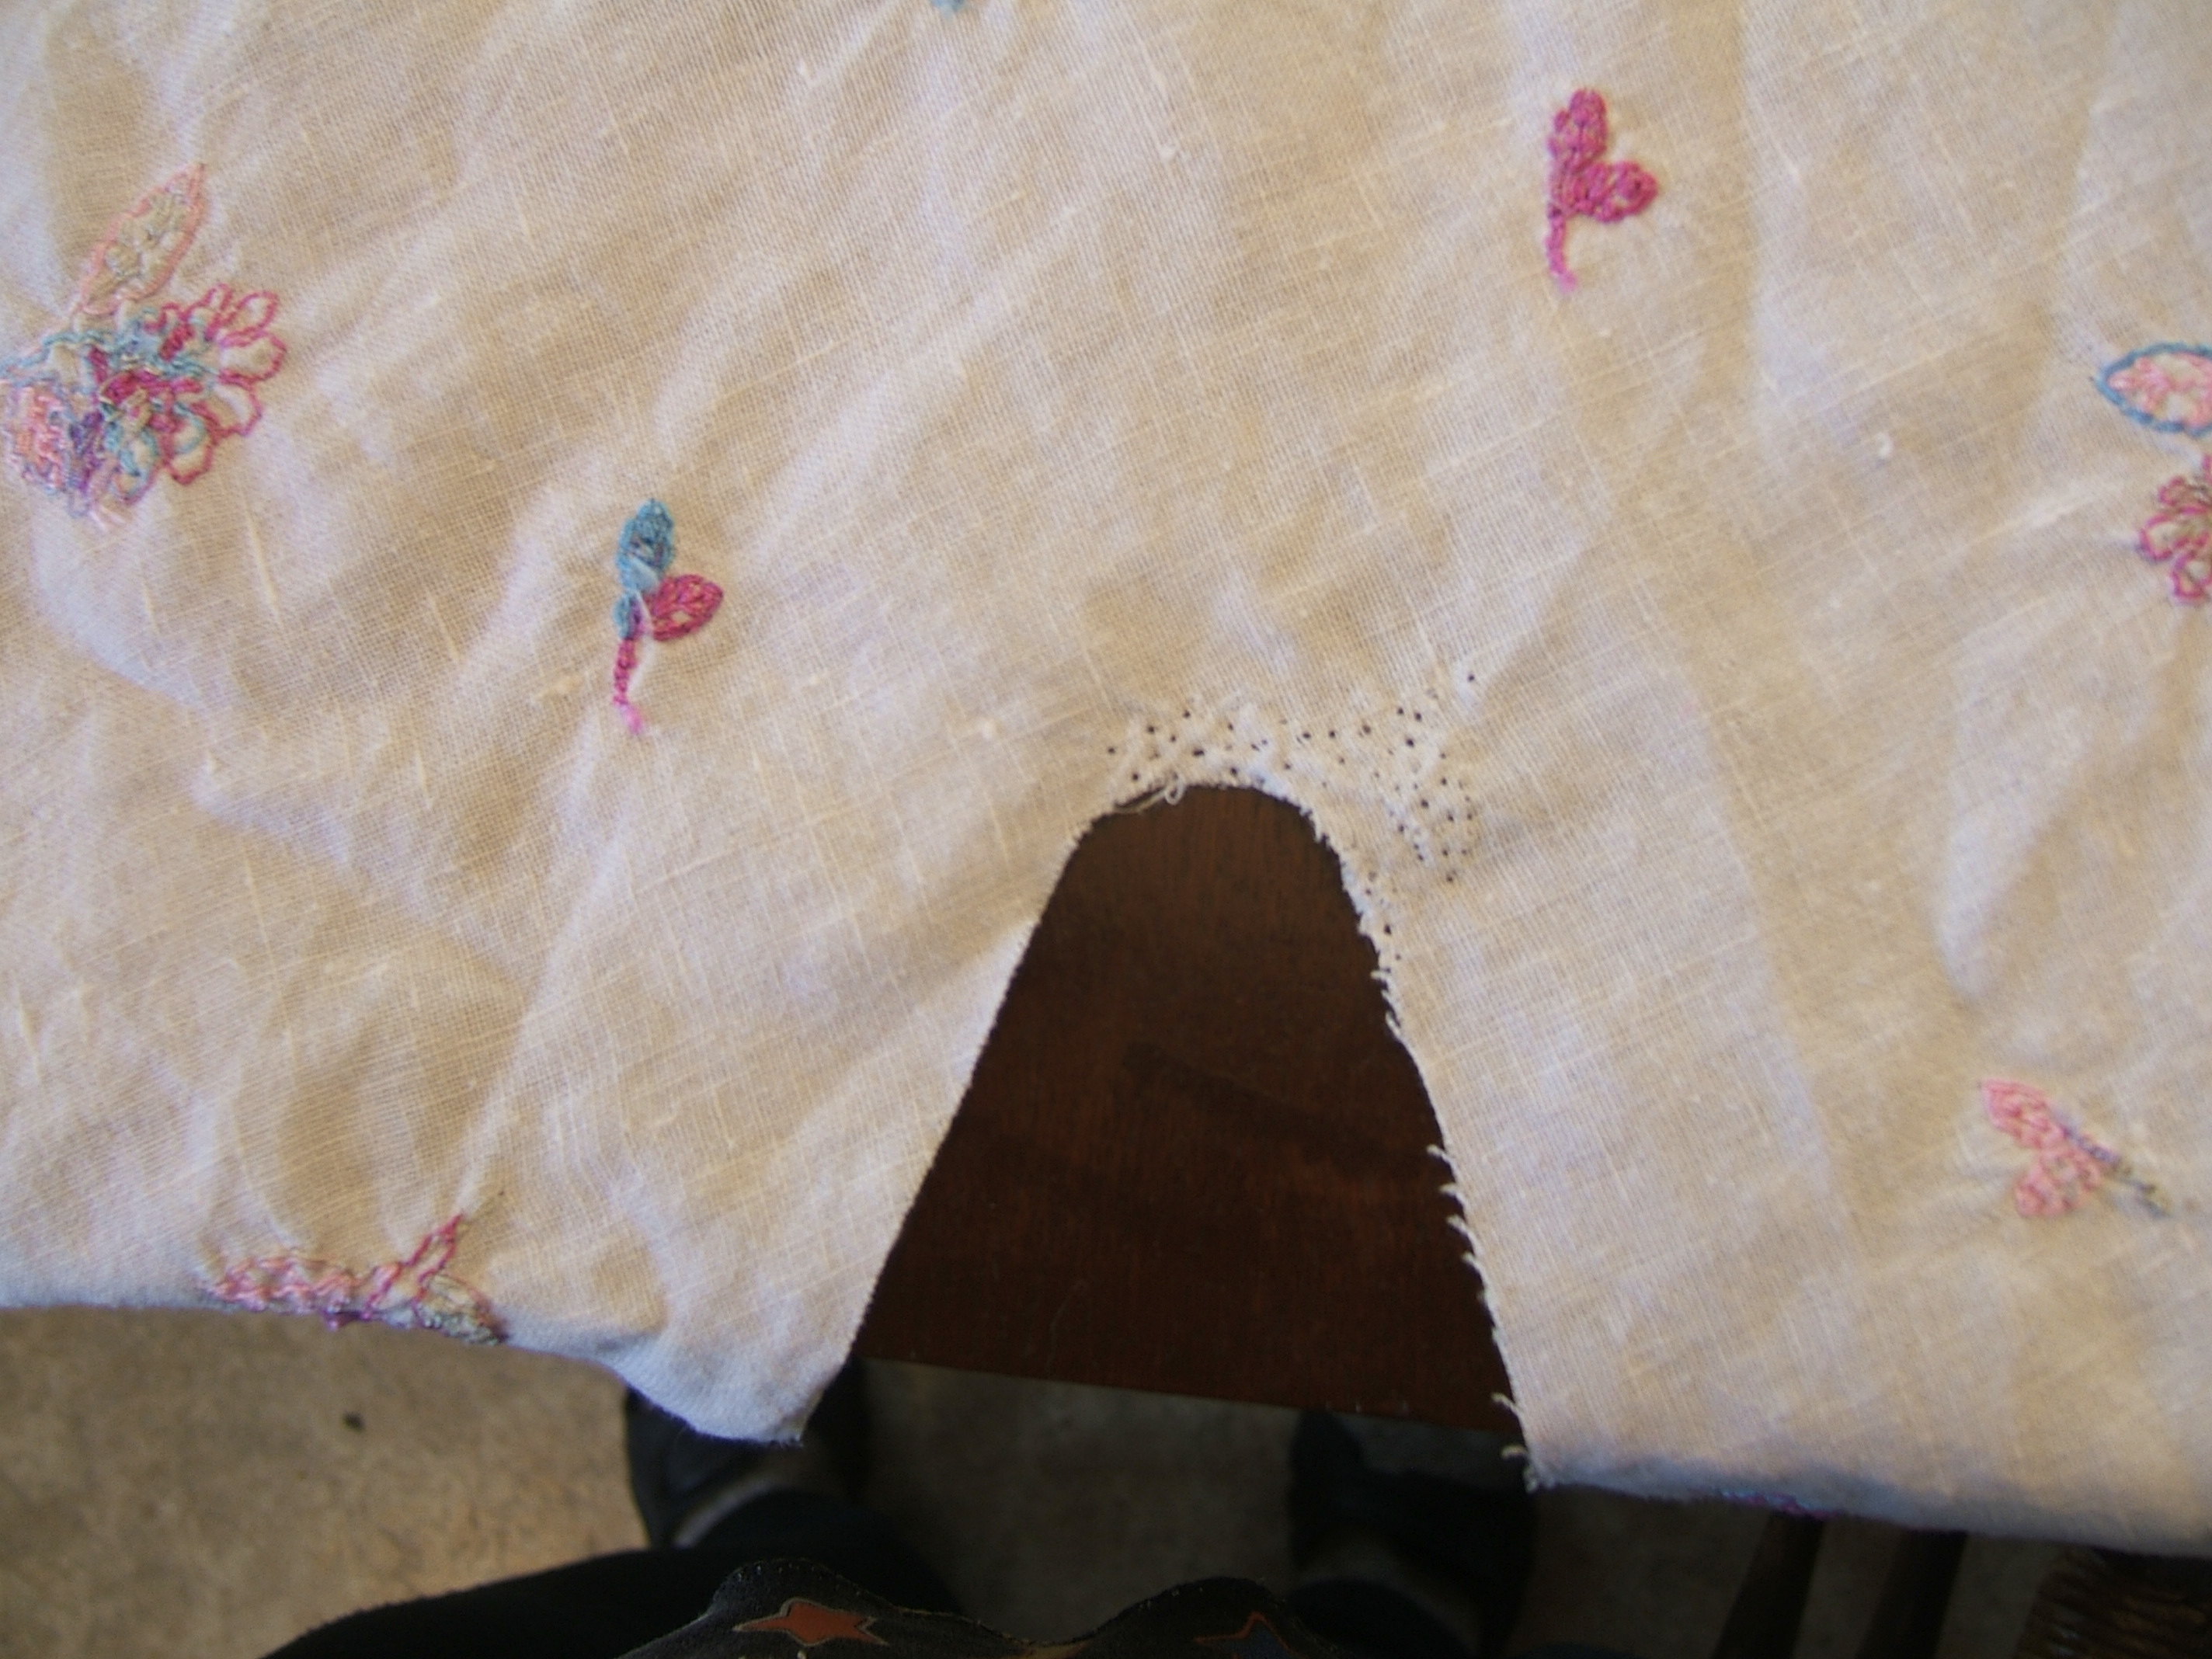
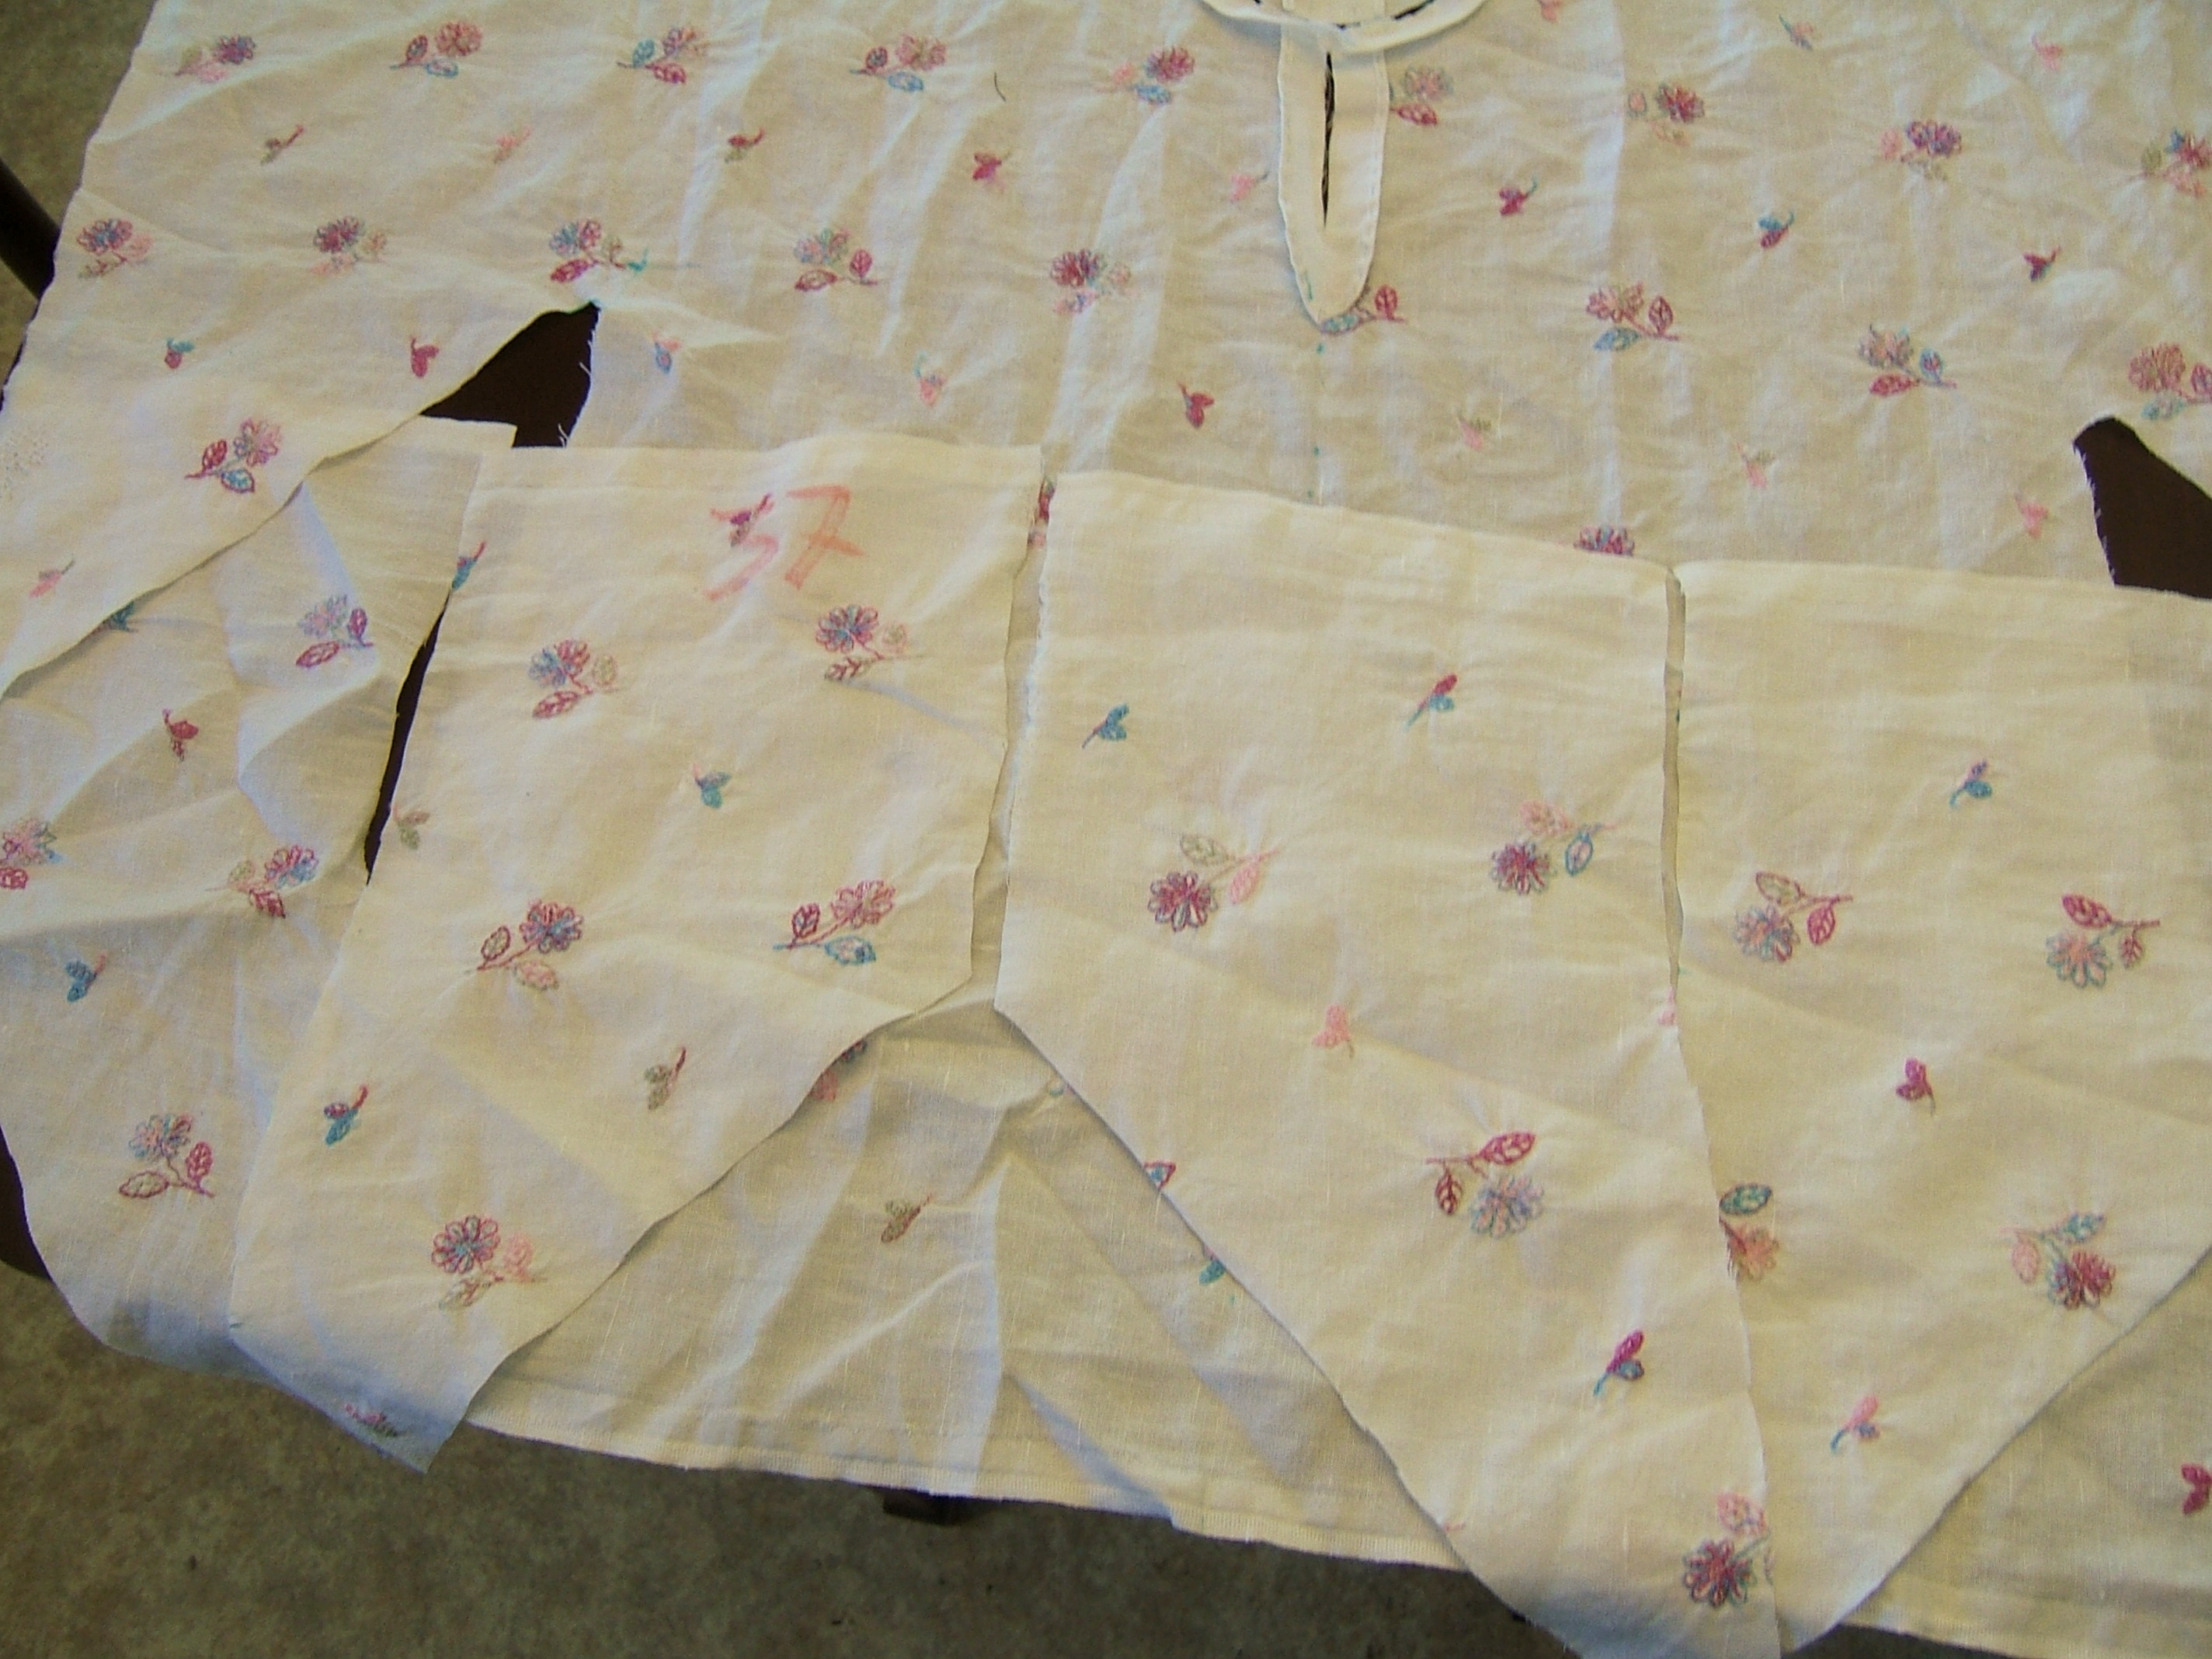
A close-up view of the cut.
Above commentary was reconstructed several days later by studying the photographs.
So when I put on the model shirt to take a walk that evening, I noticed that there is a lot of extra fabric under the arms -- this is a man's shirt; of course it was cut straight from the shoulder all the way down!
The pockets are made and pinned to the shirt, but I had to pick stitches out twice while hemming the pockets, so I think I'll wait until tomorrow to sew them on.
After putting my sewing stuff away, I opened Gimp and cropped and shrank a photo I took a few days ago. Now that I have an idea of what I'm doing, I should be able to process several photographs next time.
7 August 2010
Shopping day, but after supper I backstitched around the neck hole. I whipped the sharp curve at the bottom of the slit by putting the needle in through the slit after each backstitch, coming up again in exactly the same place, and making the next backstitch. This worked very neatly, but I was so relieved to be done with the whipping that I forgot to throw a bar tack across the slit in the same manner.I have decided to postpone correcting this oversight until after I've pressed preparatory to hemming the facing down. The ribbon needs to be pressed before it's sewn down too. I shall use the embroidered edge of the ribbon as a guide for making my stitches uniform.
9 August 2010
The refinished tabletop is beautiful. (But now I'll have to be careful when I use it for a cutting table.)Processed pictures up to #6 today, and sewed the pockets on in the evening.
10 August 2010
Pressed the ribbon and facings; also ironed the model shirt, which I washed yesterday.
The side seams are to be pressed open, folded under, and stitched down. Folding under is easier done before sewing the seams, and folds are at least as easy to match as raw edges.
11 August 2010
Running-stitched around the outside of the diamond of ribbon at Handwork Circle yesterday.Finished commenting on the batch of photographs this morning. I have another picture which is still in the camera.
In the evening, I hemmed down the facing, worked the bar tack, and stitched the other side of the ribbon. For the sake of symmetry, I worked the bar tack by stabbing straight down and coming up in the slit. Considered buttonholing it, but the first half-hitch slid to the center of the figure 8, so I said "I meant to do that", worked another half hitch to keep it company, and fastened off.

All the rest will be done by machine, except for the bar tacks at the top of the slits.
12 August 2010
And the pit bias, of course.Sewed side seams, pressed them open. I couldn't get the iron into the armpit, but, being linen, it finger-pressed adequately. I may backstitch the crease in anyway, as it stops thread slippage.
14 August 2010
I wore the new shirt on our evening walk today. More poncho than shirt, but cool.I didn't think I needed the side slits, but just in case, I sewed the front and back hems separately, closing the ends, and worked bar tacks. If I change my mind, all I have to do is to pick out some stitches.
Unless I want the slits to be longer, in which case I'll also have to pick out two bar tacks.
I'm saving sewing in the bias tape for Tuesday night.
When I said I had no suitable linen prints, I forgot about the ten yards of embroidered linen in the laundry room (which is where I keep fabrics too wide to hang in the closet). This fabric will make an adequate poncho shirt. Alas, it has a beautiful selvage -- and it's too wide to use the selvages to finish the sleeves, so I'm going to have to cut it off.
On the other hand, the flowers will look at least as good if I use it sideways, and that would be more economical of the cloth.
On closer inspection, it's only a tuck selvage. Still plenty good enough to make a turned-once hem.
Making an Embroidered-Linen Poncho Shirt
22 August 2010
Drew a thread forty-five inches from the straight end of the embroidered linen yesterday, but I'd skipped my nap and was afraid to use sharp implements, so I didn't cut it off.Drawing the thread involved picking out some embroidery. The thread on the right side is as thick as crochet cotton, and the thread on the back is very, very fine, so the embroidery is practically couched on. Even though the stitches are piled on top of one another, they were comparatively easy to pick out: cut a few threads on the back, pull out such loops as can be seen to be connected to the cuts, turn to the right side, pluck a thread to pull the cut ends through the fabric and undo a few more stitches, repeat.
This method gets the varigated thread off in one piece, so I've been putting the pieces in a baggie and plan to pin the baggie to the rest of the fabric when I put it away, in case I have an idea that calls for it. I might make a pocket of plain fabric, for example, and run the hem with embroidery thread. Not for this shirt, but there was, I'm pretty sure, more than ten yards to start with; I'll someday make something else with this fabric.

29 December 2010
Took two pictures, after writing the above:
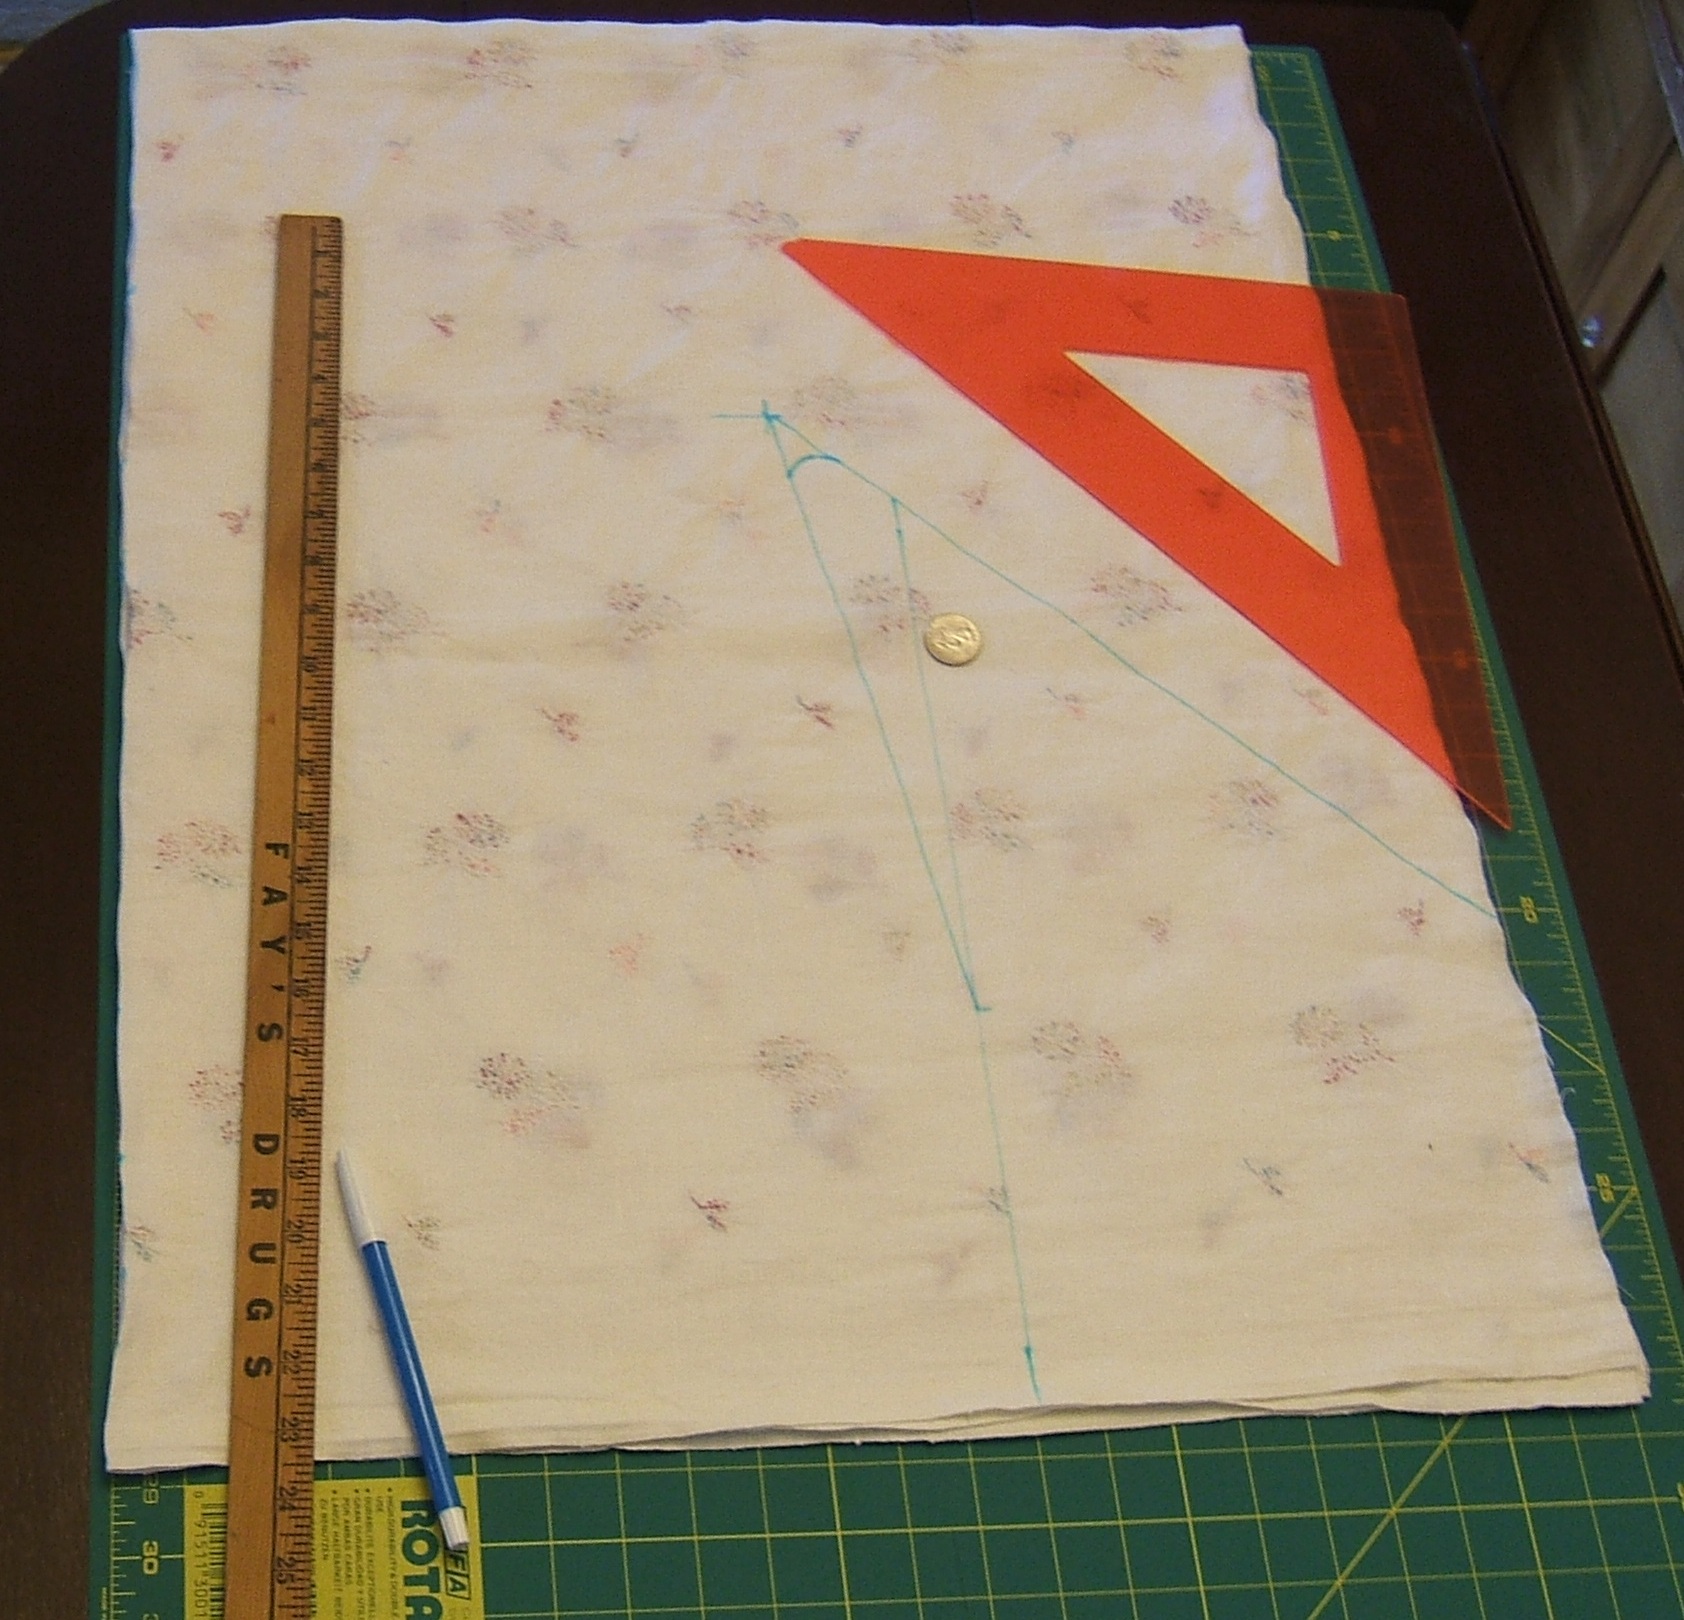
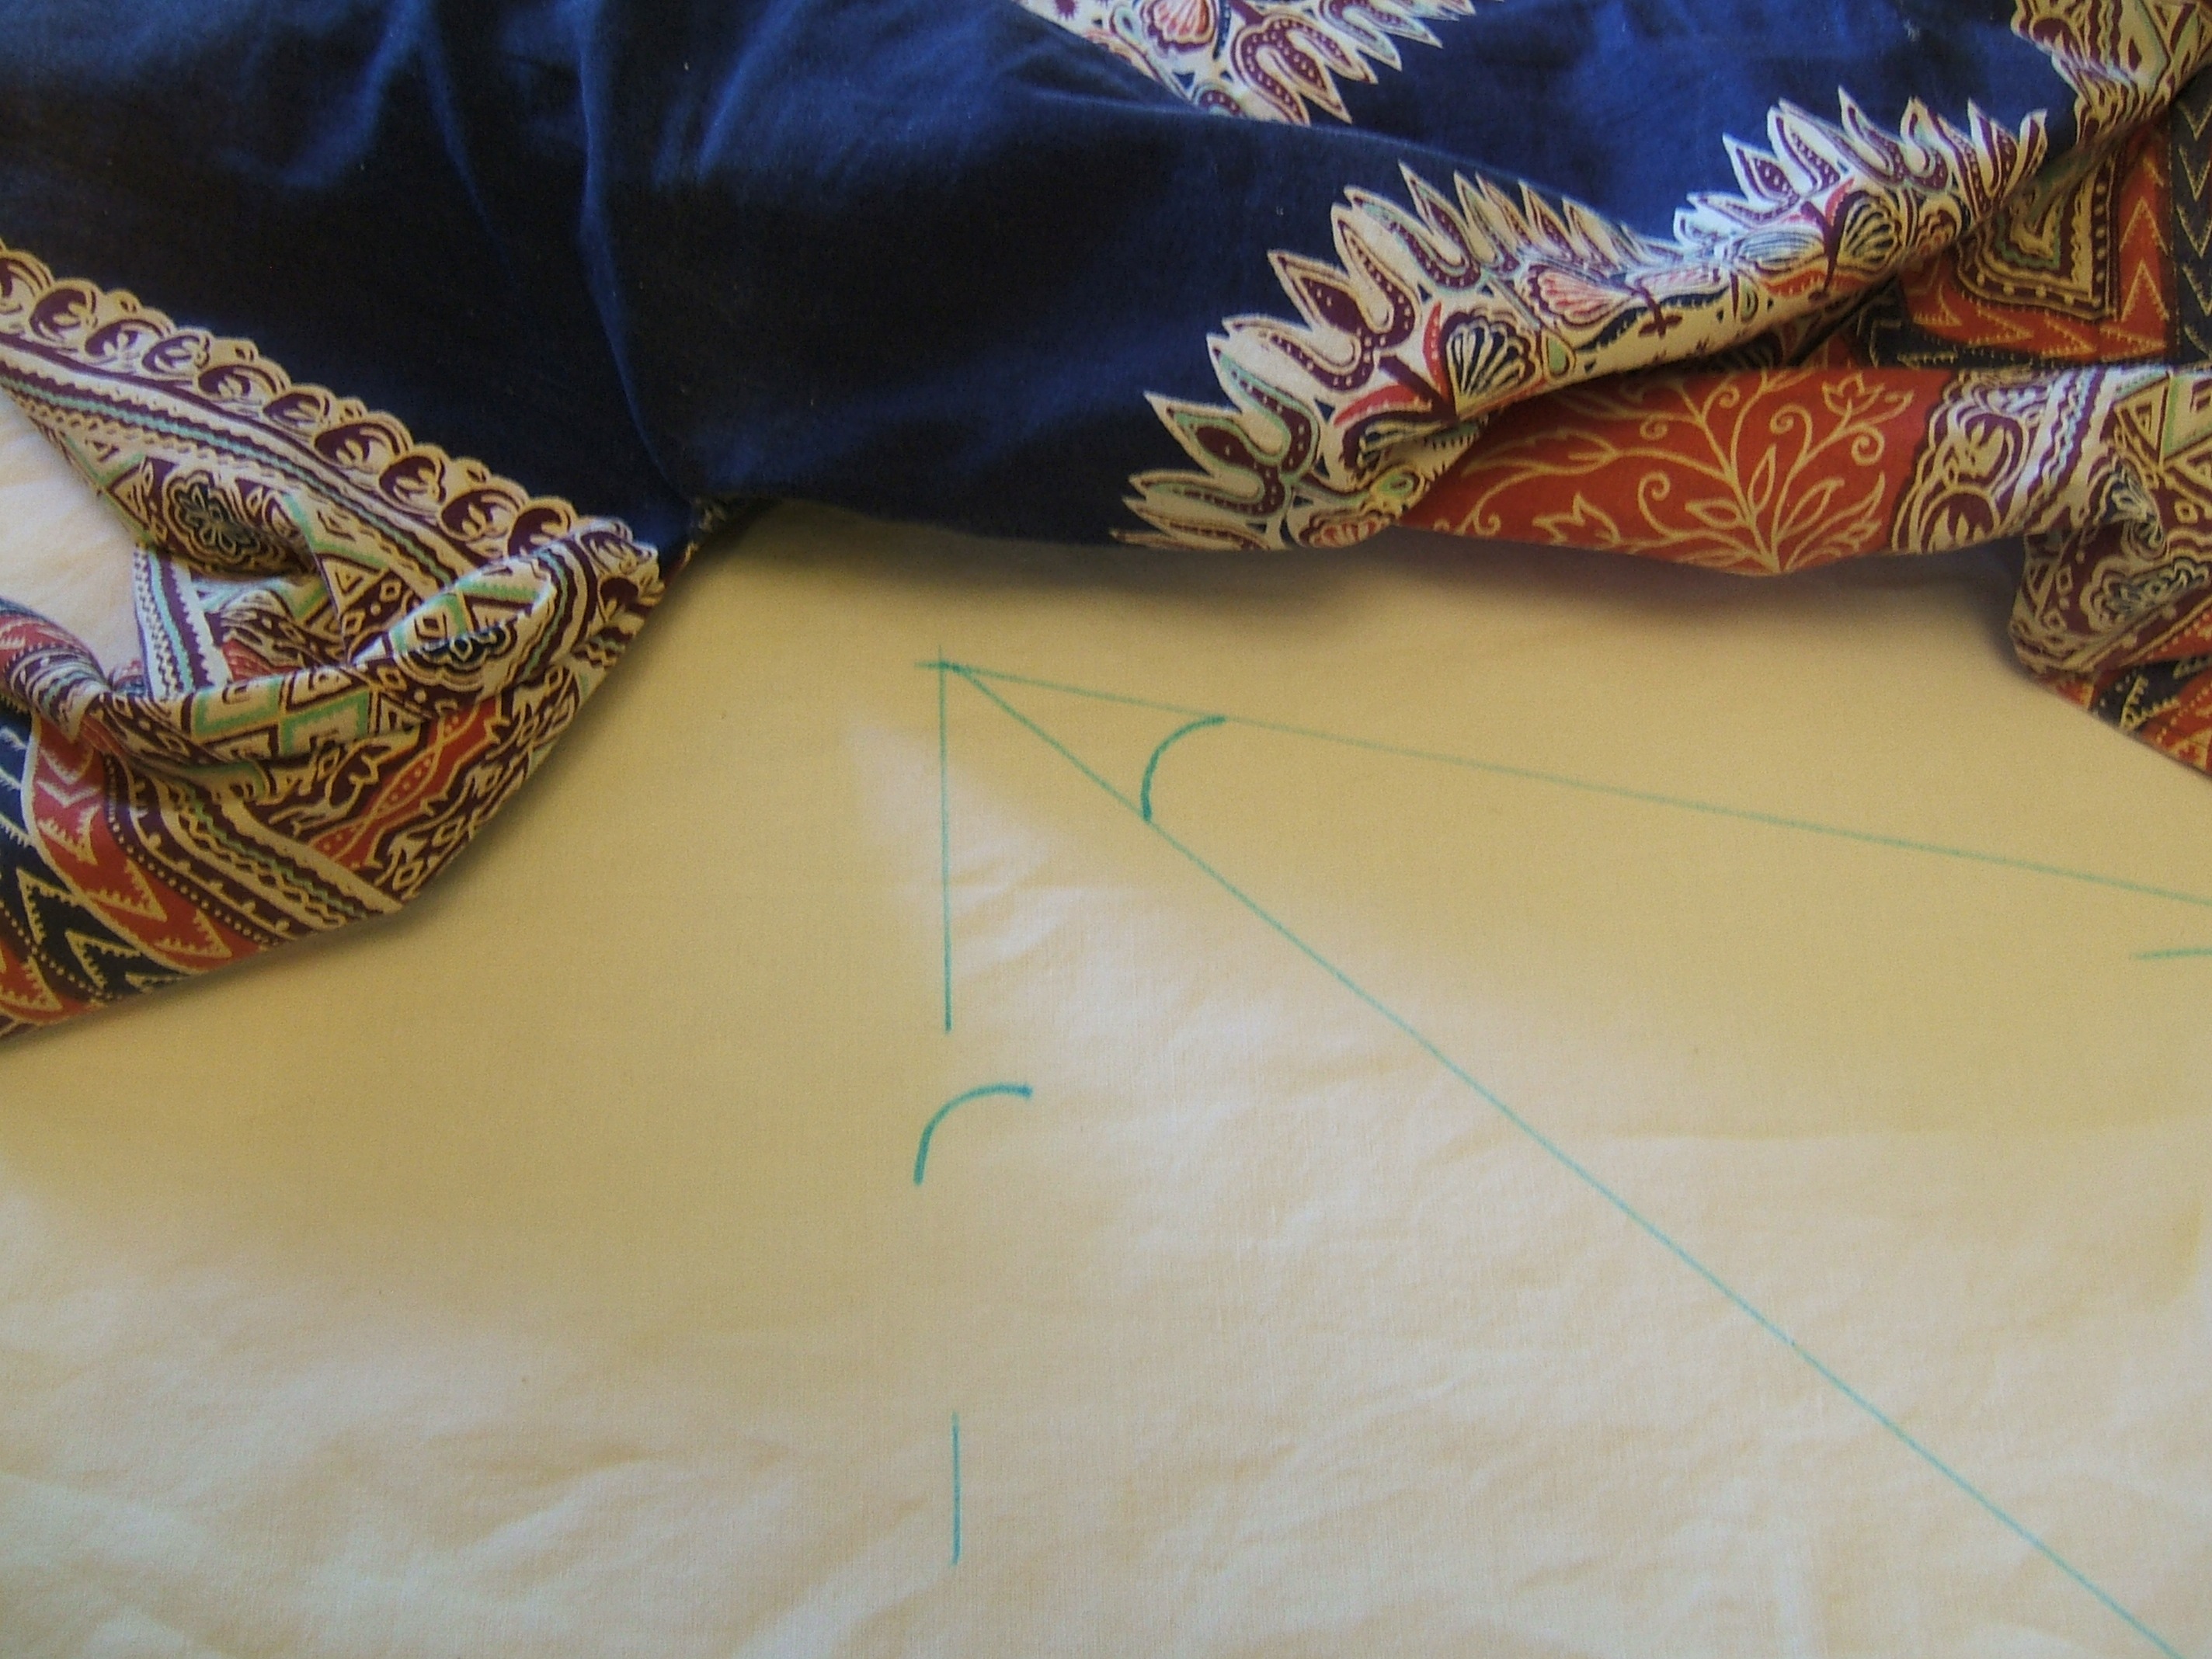
one after drawing lines to cut out the shirt — note the nickel used for marking the gusset under the arm —

and one after drawing the neck hole tangent to the shoulder crease, marking along the center crease for the slit, and drawing a short line across this line to mark the end of the slit. It looks as though I marked the center line before unfolding the fabric, by rubbing the marker along the crease.
It was pure good luck that I selected for the front the side where no embroidery had to be picked out to make the slit. Perhaps, had I chosen the other side, I'd have noticed bumps while drawing the slit line and looked to see whether the other was better.
Then I made a facing -- apparently out of a scrap from the other shirt, as there are no holes to show where embroidery has been picked out. Or it could have been a scrap from the bias tape. (I'm pretty sure the other shirt and the bias tape were made from the same piece of linen, so that's a purely technical difference.) The square end of the other facing came out unpleasantly concave, so I shaped the end of this one as two curves meeting in a mitered corner.
I sewed the facing to the shirt, cut out the neck hole, cut the slit between the stitches, and pinned the bias tape to the neck hole, on top of the facing so that the raw ends of the tape would be under the facing when tape and facing are turned to the wrong side.
Then I wanted to photograph this stage before shifting the pins into stitching position, but for some reason couldn't take a picture just then. So I set it aside for the moment, got distracted, and here it is almost next year.
Haven't got my Christmas New
Year's letter written yet either.
9 September 2010 Monday, party. Tuesday, washed clothes. Wednesday I thought I'd get some sewing done, so I cut the piece of pink linen in half, pinned two selvages together, went into the bedroom to open the sewing machine, stepped on a sharp piece of cat litter, ended up sweeping the whole room (except for under furniture one person can't move) with a broom, including many areas that were thick with dust because the vacuum can't reach them. Amid many side trips. When I went back for the dustpan, for example, I saw my coffee mug and stopped to make a cup of dried-cranberry tea with a sprig of apple mint in it -- I did fetch the apple mint without making any side trips. I should have picked ginger mint instead. I guess I'll have to have another cup of tea tomorrow.
I did get the seam sewn eventually, and also sewed a facing to my new poncho shirt -- had to pick the facing stitches out twice, and the point still isn't quite symmetrical. Then I pinned bias tape round the neck with radial pins, and meant to take a picture of it for my blog before moving them to the sewing position, but the batteries in the camera died. The camera appeared to be working perfectly, the lens would crank in and out, you could review the pictures already in it, but it wouldn't record a new one. Very puzzling until Dave told me what was going on.
20 January 2011
So I'm writing the account by analyzing the pictures again, and some of the pictures are missing.
The picture above was taken several days ago, when the shirt was first shaken out flat after lying in a heap for months waiting for me to get around to photographing the intermediate stage of pinning the bias tape on.
Documenting this process was supposed to keep it moving, not cause it to hang up for months! Didn't help that the end of scorching-hot weather took out some of the motivation.
Here's a close-up of the holes left when I picked out embroidery to keep it from messing up the underarm seam. Someday I may remember the point of taking that shot.
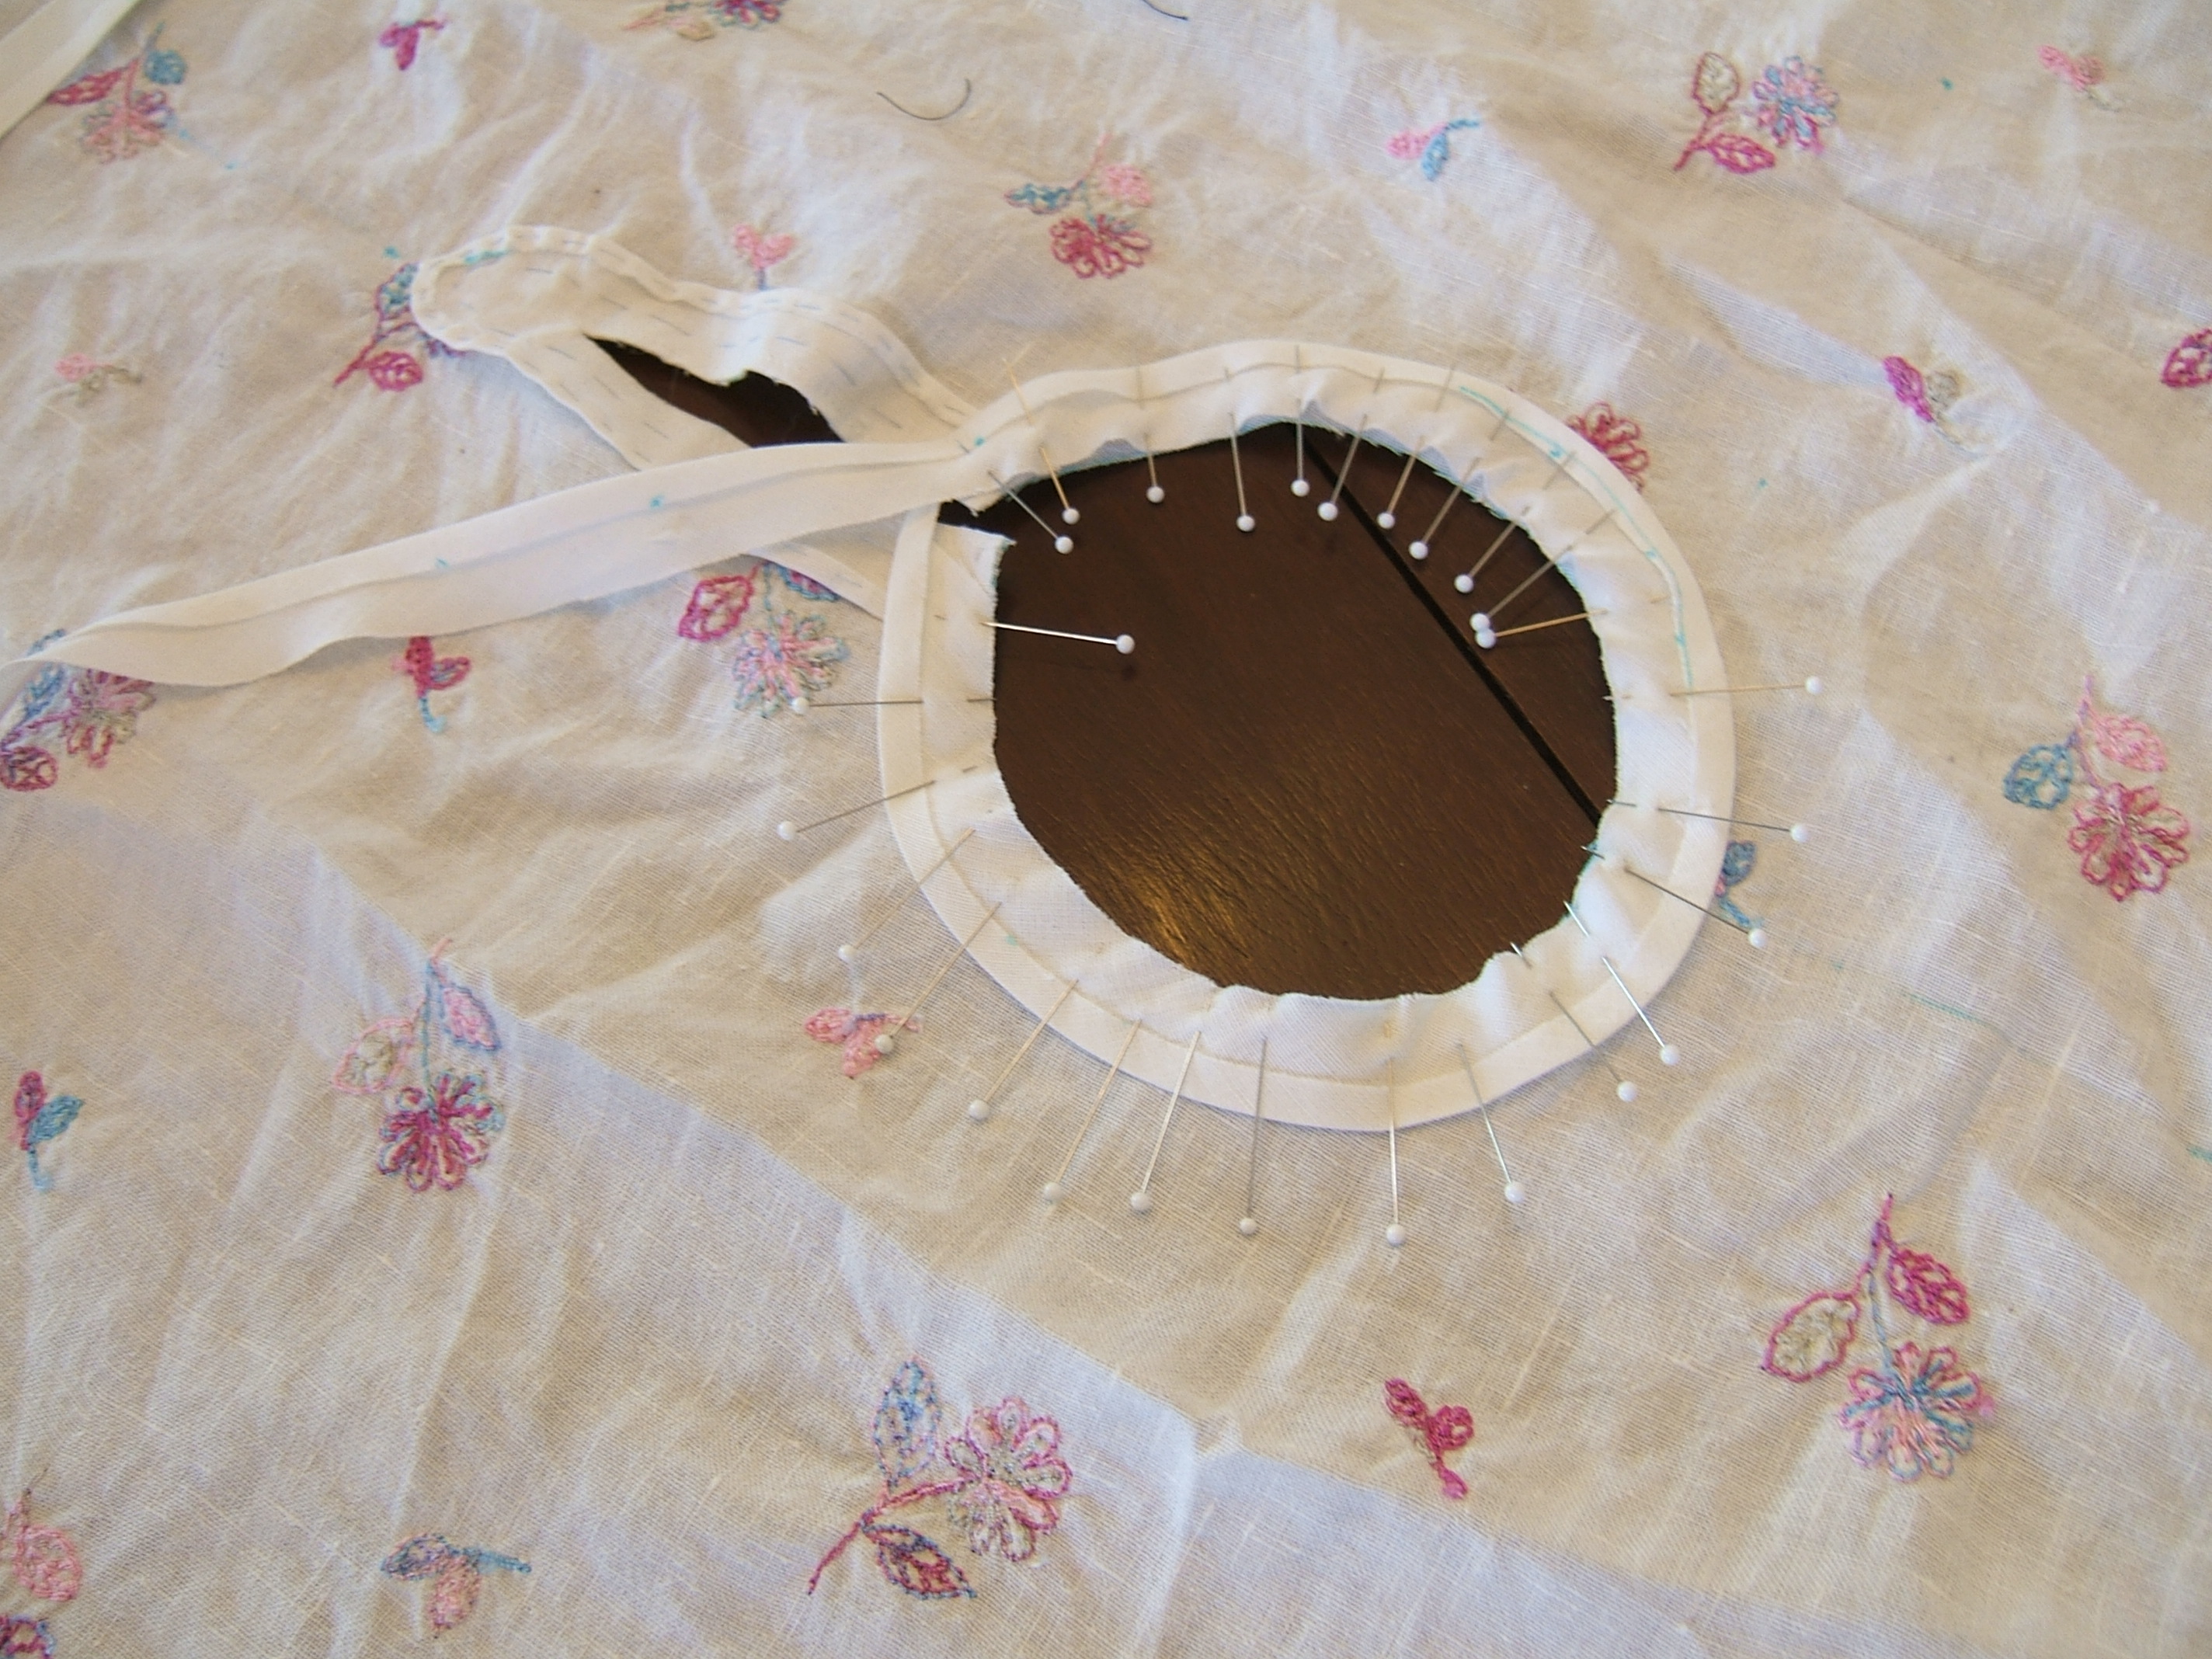
The bias tape pinned to the neck hole.
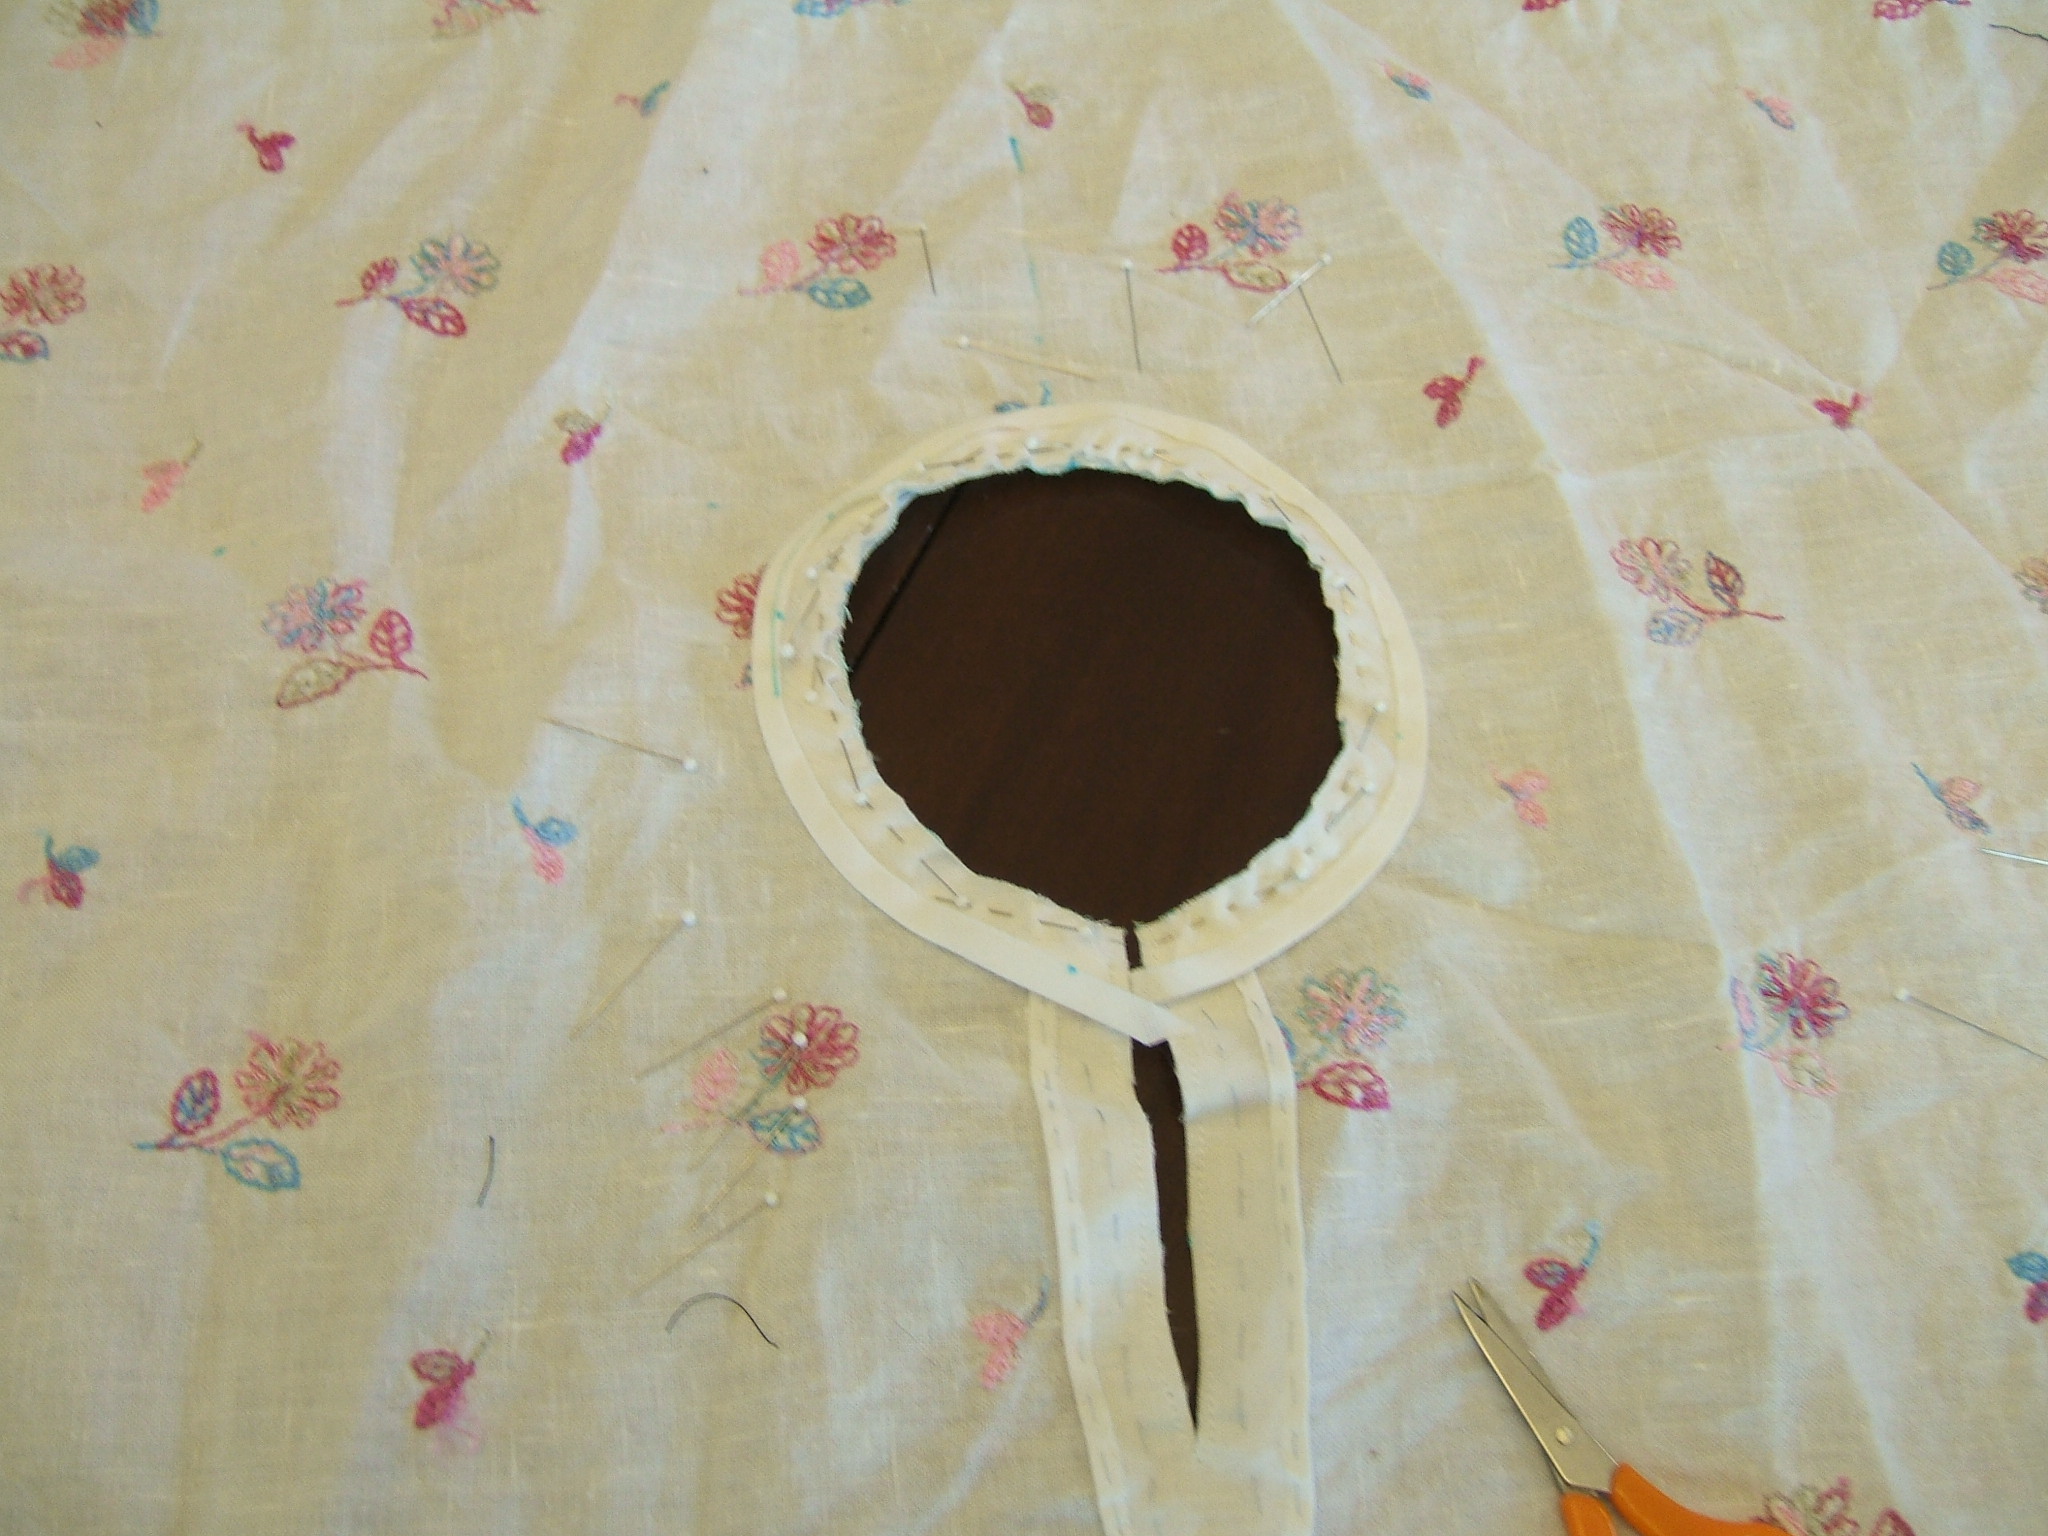
And the pins shifted into the seamline so I can sew this seam by machine.
21 January 2011
I mailed the last of the New Year's letters on Wednesday.
I think part of this account was meant for another file, but I'm not going to remove it. Might check hemsheet.htm to see whether it needs the first part of the intrusive entry, though.
Dime dropped a while back, and I'm now scaling all photos to 600 pixels wide instead of messing around with 25% or whatnot. Still forgetting to take notes on how high the image is.
Someday I may filet some of the photos out of this diary and write a "how to make a poncho shirt" tutorial.
Looky! I managed not to lose any of the scraps!
When I made the first shirt, I had a terrible time turning the corner when sewing the facing on. This time I just stitched straight down, and cut off the excess stitching with the excess facing. Then I turned the corner of the facing at the beginning and end of sewing on the bias tape. That was much easier.
The flowers of the scraps on the left are the same way up as the flowers on the front of the shirt -- but I'll never get that stain out. So, will-I nill-I, it's going to be the two scraps on the right.
There aren't a lot of flowers on the pockets, said the fox.
28 January 2011
Made the pockets, picked out the bad corner of the facing stitching. Won't sew pockets on until after ironing the poncho front very well -- the pockets got ironed very well in the process of hemming and creasing, and I don't want the embroidery on the pockets to pull up more than the embroidery on the shirt when the shirt is washed.
8 February 2011
Finished the neck-stitching sometime or another. Tonight I determined to iron the front and sew the pockets on; while ironing the front, I thought that I might as well hem the tails while I was at it.
And once the pockets are attached and the tails are hemmed, I might as well sew up the side seams. Drew the line at pressing the seams open and stitching the allowances down because I was getting a little stupid.
But this got the shirt to a stage where I could try it on -- it fits much better than the first one. But the fabric is thinner; I'm definitely going to have to wear white bras with it. Fortunately, I wore out all my speckled bras.
The pointed end to the slit facing worked out well, but I don't think it needs to be quite so long.
Remaining to be done: hem down the neck facing, finish side seam and armpit curves.
11 February 2011
Hemmed the sleeves today, and got a start on stitching the armpit curves.
I listened to a 63 min. audio CD while doing the handwork, and all I did was miter two corners and stitch three-fourths of an underarm curve. Gives me renewed perspective on how much work handwork is!
'Course I was doing very fine catch-just-one-thread overcasting on the miters, and two-thread backstitching on the underarm curves — and two rows of it on each side of the seam.
Now is a fine time to remember that I do one of those two rows after putting on the bias tape!
I think that I'll wash the shirt before taping the underarm curves. It's gotten a little grungy sitting around all these months, and the temporary marks have set. I rub them out with a wet rag and they come back when ironed!
I plan to begin retrofitting the ribbon-trimmed shirt as soon as this one is wearable.
18 February 2011
And it's wearable today, but I have several jobs of higher priority than retrofitting the ribbon- trimmed shirt, which is, after all, wearable.
Today I hemmed down the neck facing — using running back stitch instead of back stitch so it went faster even though I wove the needle only twice except for the straight-of-grain sides of the slit facing. Then I stitched the other armpit — only one row on each side of the seam! — worked the bar tacks at the tops of the slits, and threw the shirt in the washer. (With what few white things had accumulated since washday.) I let it soak fifteen minutes before putting soap in, to maximize the removal of temporary marks. Won't know whether it worked until I iron it, of course.
I put off taping the armpits until after washing, since washing will help fray out the allowances to make them lie flat. I did cut a few threads to help the process along.
19 February 2011
Ironed the shirt. Took a while, since I had to iron only one layer at a time in order to iron the embroidery from the back, and that called for a lot of sleeve-board work.
But I had to iron the pockets from the front, and the embroidery didn't complain
The temporary marks didn't de-temporary when ironed, but I found a small pink stain like the one that made me reject the right-side-up pocket scraps. Can't find it when the shirt is on the hanger, so I guess it doesn't show much.
Now to wait for hot weather so I can try it out.
19 March 2011
Found an excuse to wear the shirt. Needs pressing but isn't dirty. Underarms seem to be doing well without tape over the fringes. I'll leave taping until I see signs of strain — the tight curve isn't quite as tight as on earlier versions, so the stitching might be enough.
«»«»«»«»«»
«»«»«»«»«»
«»«»«»«»«»
Back to Rough Sewing
Back to the writing page
Back to the links page